


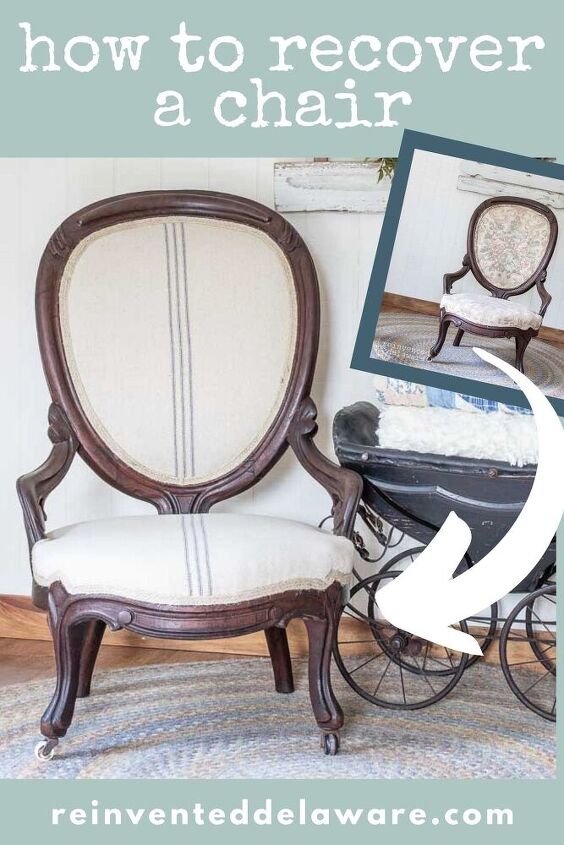
How to Recover a Chair | Victorian Chair

Are you wondering how to recover a chair with new fabric? This beginner-intermediate reupholstery project is for you!
Let’s get started!
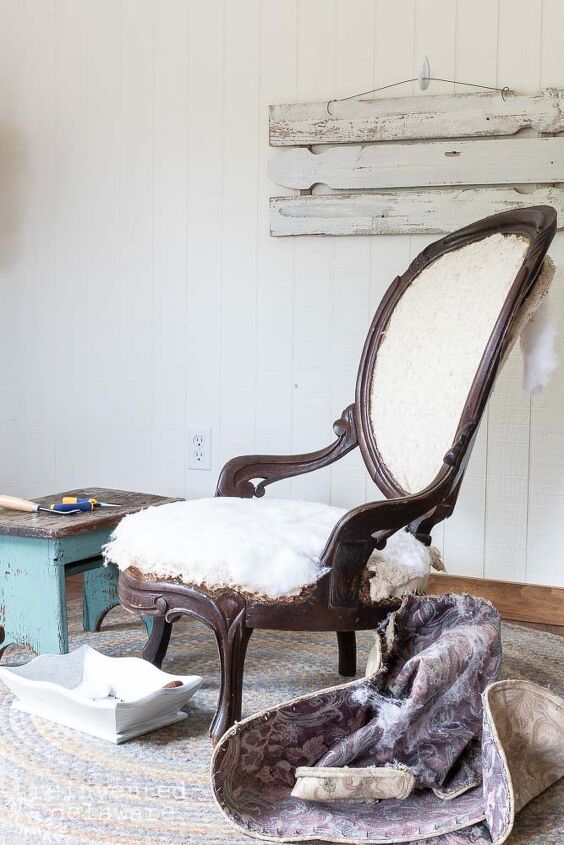
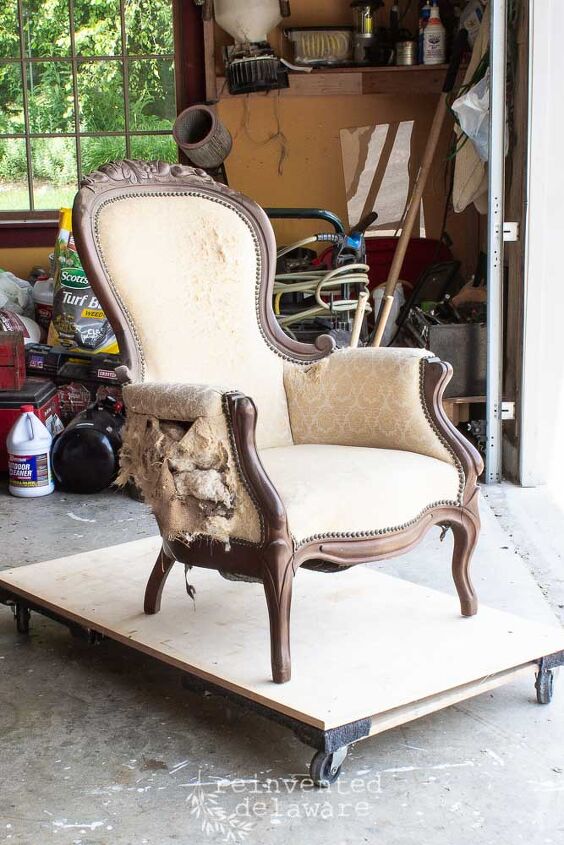
thrifted antique victorian chair
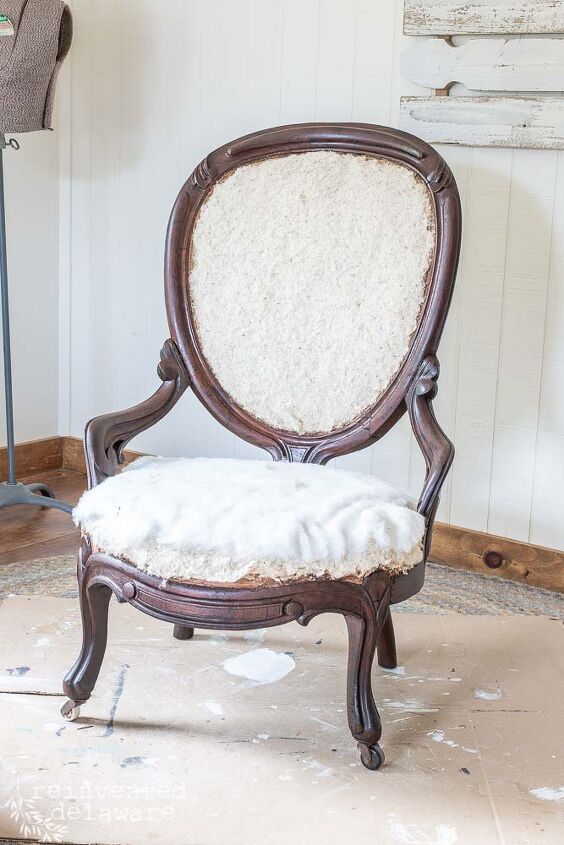
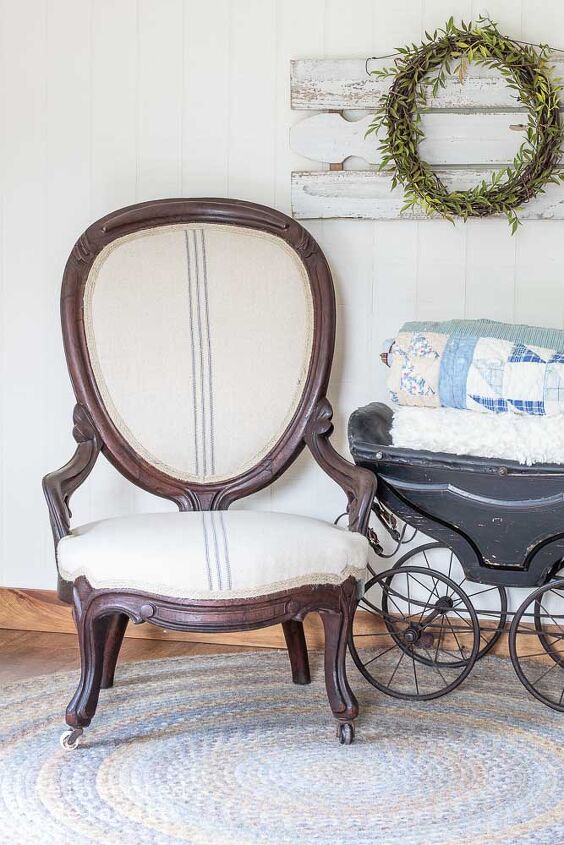
This is the Victorian-style chair that I found while out thrifting. The wood-carved details stole my heart.
I’m a sucker for this style of a chair!
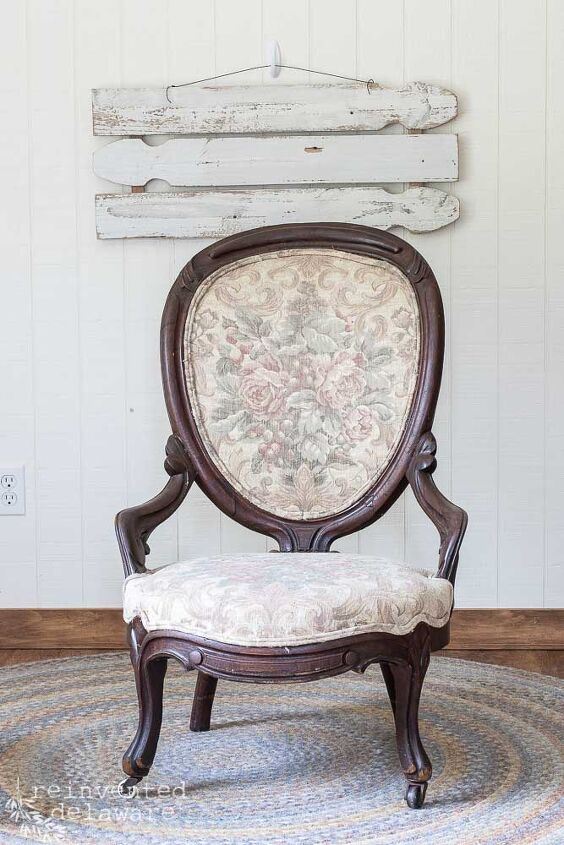
The upholstery wasn’t in bad condition but it was faded.
how to remove upoholstery tacks and staples
I used my upholstery tack remover and pliers to pull out the tacks. Afterwards, I ran the shop vac all over the area I worked in and even beyond. Those small tacks can go all over the floor and they really hurt if you step on one!
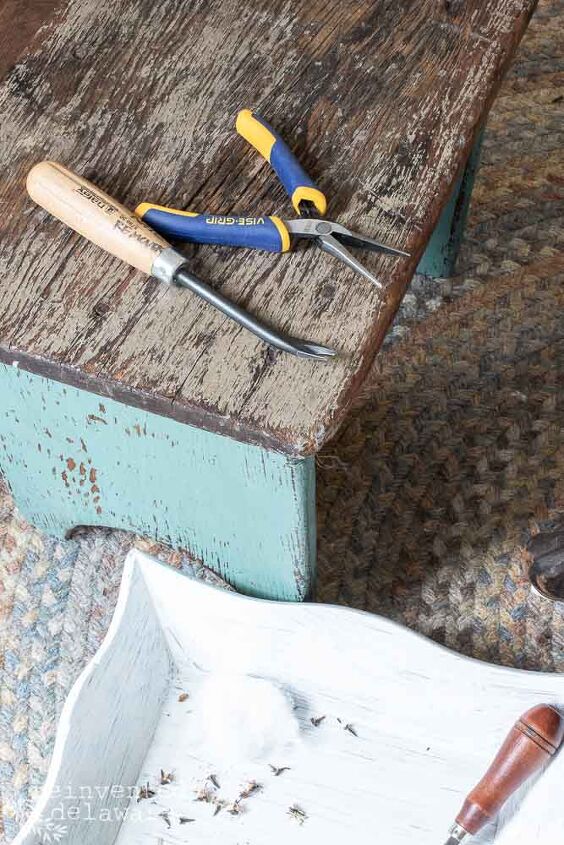
BTW, see that cute white tray in the image above? I made the sweetest little project out of one just like it! You’ve got to see this upcycle!! Check it out here:
The Easiest Upcycled Wooden Tray Makeover
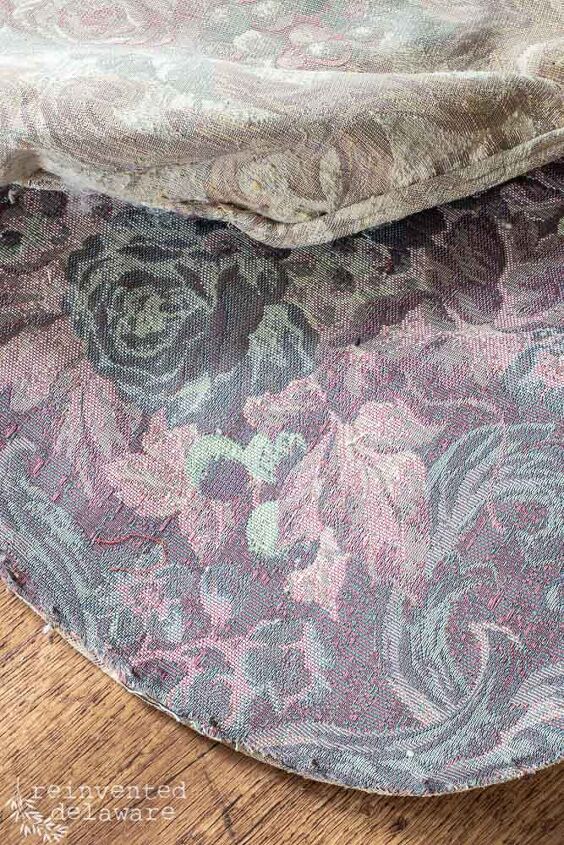
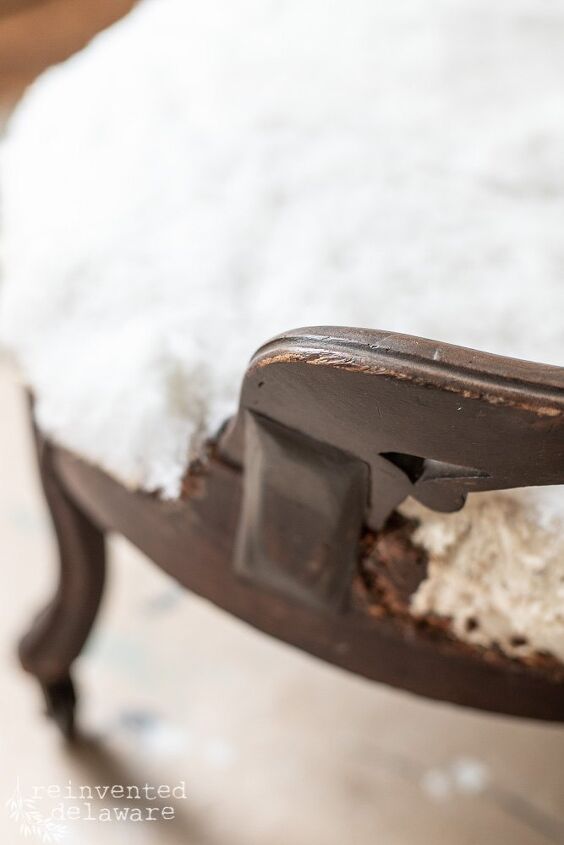
The upholstery batting was still in good shape so I didn’t remove it. The wood frame was in great shape too. There were a couple of areas that had to be glued and clamped but nothing serious at all.
Like I said, the fabric was in great shape and I didn’t want to just toss it aside. I have plans for those scraps of fabric and I will be sure to share that tutorial here as well.
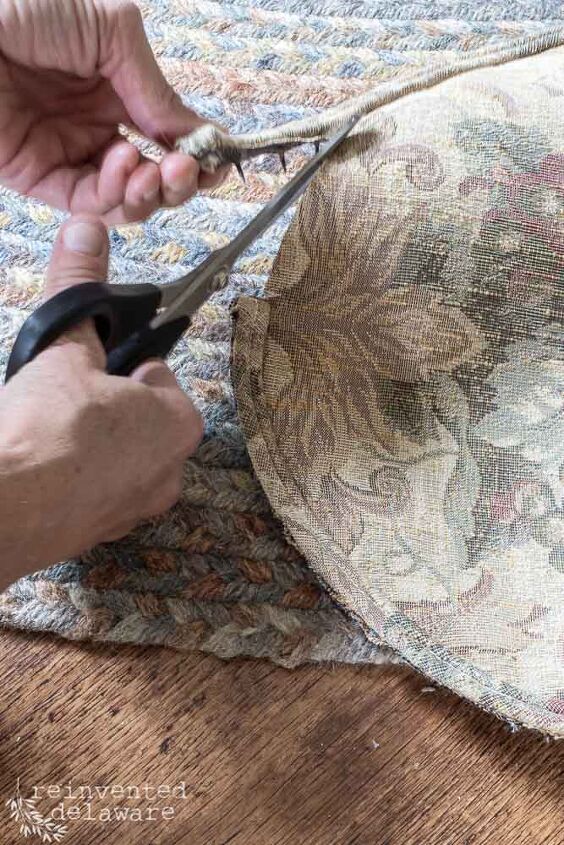
I used my sharp scissors to cut off the welting. By doing this, I also cut off most of the upholstery tacks.
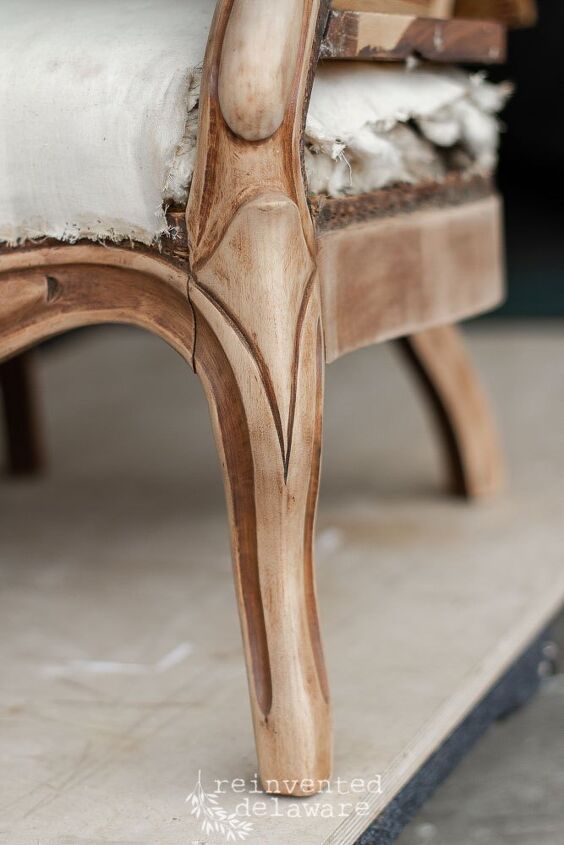
how to restore wood furniture without sanding
Even though the hand carved wood frame was in amazing condition, I wanted to restore the orignal dark color.
But I didn’t want to have to sand all the wood down and reapply a stain and then a top coat.
Here’s an easy solution: Howard’s Restor-A-Finish. I chose the color Dark Walnut.
This stuff works like magic! Brush it on, and wipe off the excess!
That’s it!
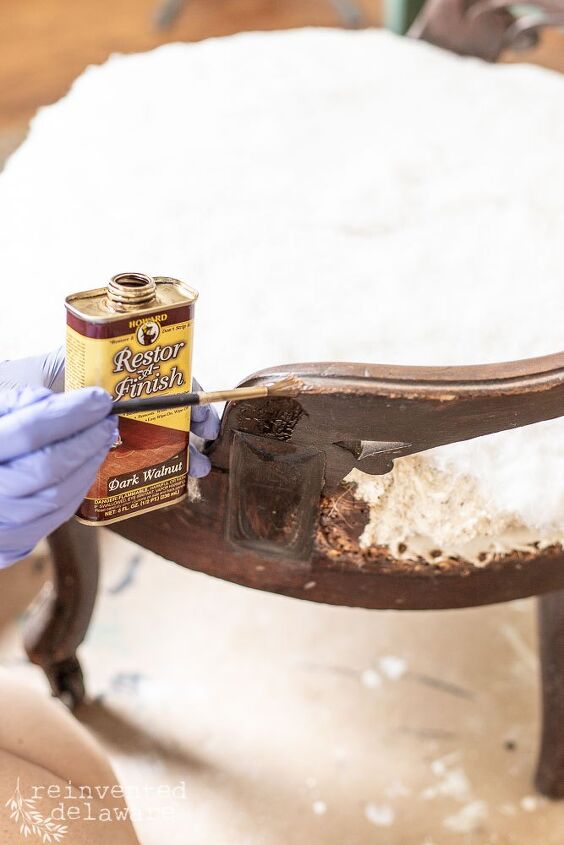
I used a small artist’s paint brush to apply so that I could control the product easily. Remember, the batting is still on the chair and I didn’t want the Restor-A-Finish on the batting.
Once I applied the Restor-A-Finish to a section, I used a blue shop towel to wipe off the excess.
The Nitrile gloves helped to protect my manicure! Haha! Who am I kidding – I don’t get manicures!!
Still, I wanted my hands to be free of the dark finish.
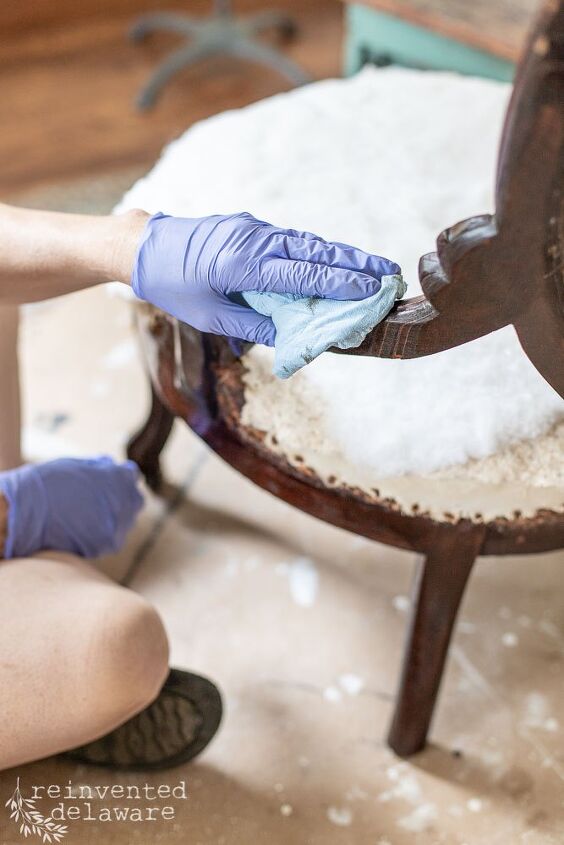
Look at the results! Howard’s Restor-A-Finish is an amazing product to keep in the workshop. It brought the wood back to a color close the original without sanding!
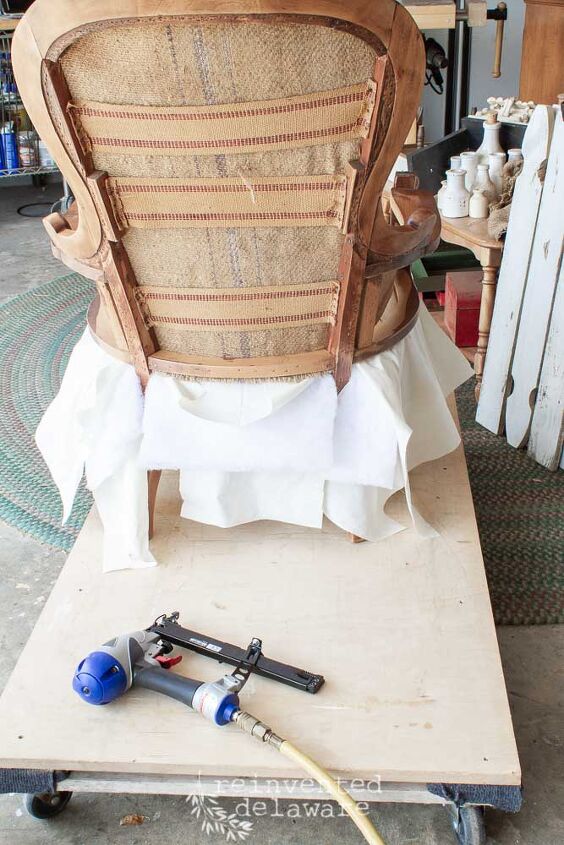
how to recover a chair seat and back
Attaching the new upholstery fabric is fairly straightforward. I go into detail in this four-part series:
Victorian Reupholstered Chair Part One, Part Two, Part Three and Part Four
If you want to learn to recover a chair, I suggest you start with one not that difficult. Instead, choose a chair that is simpler like the one in this post.
The one above has more sections to it but the principles are still the same.
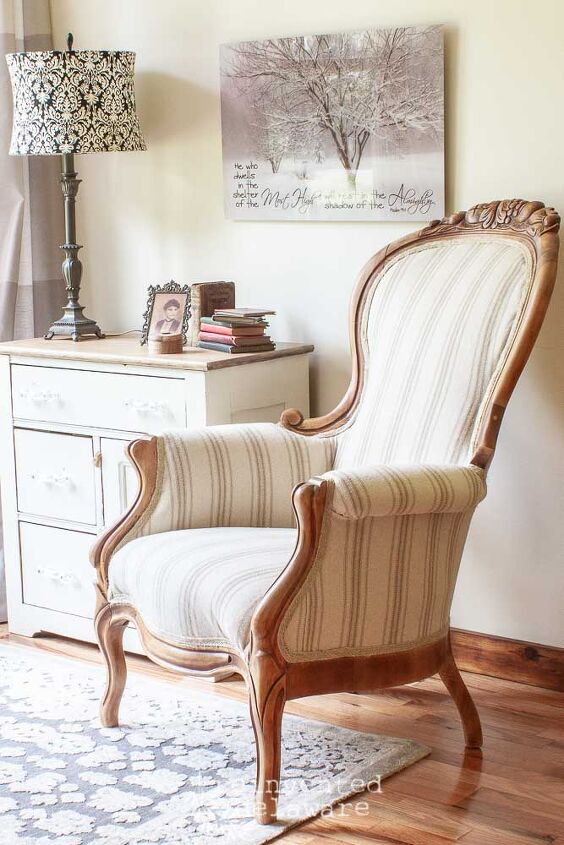
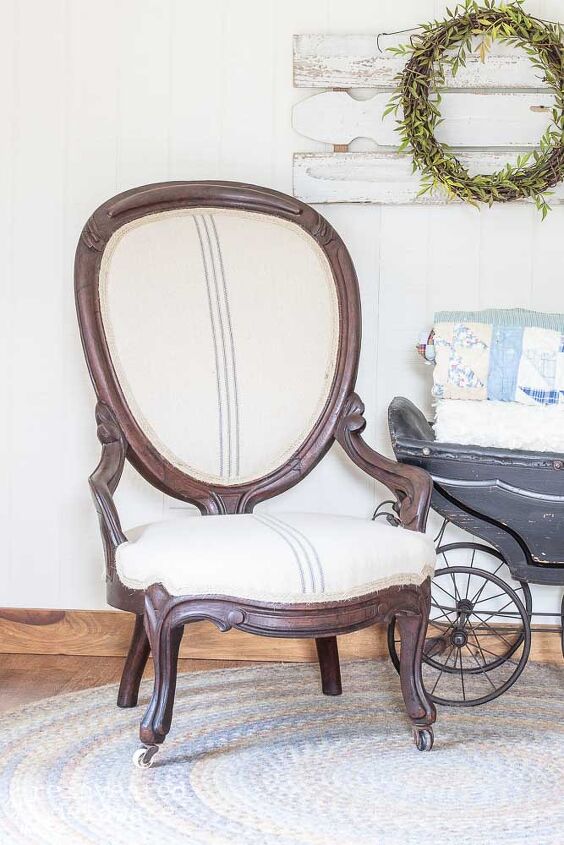
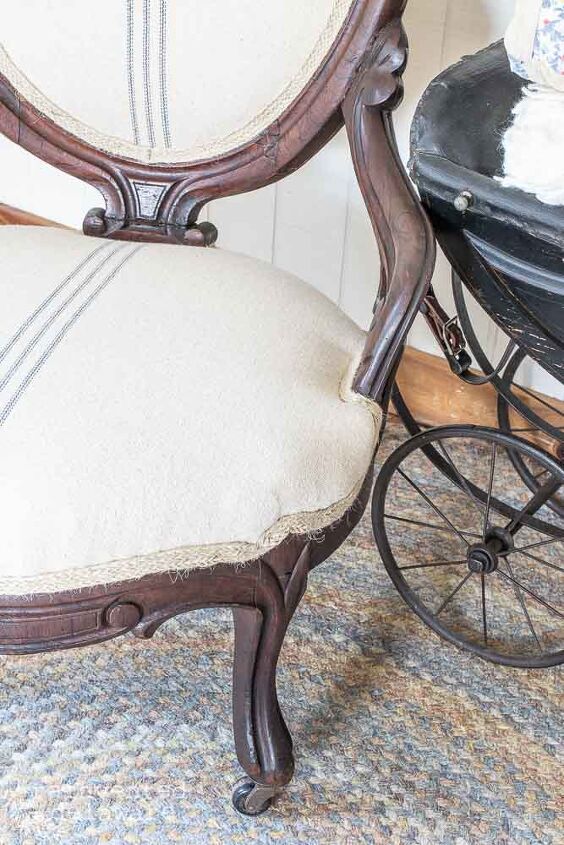
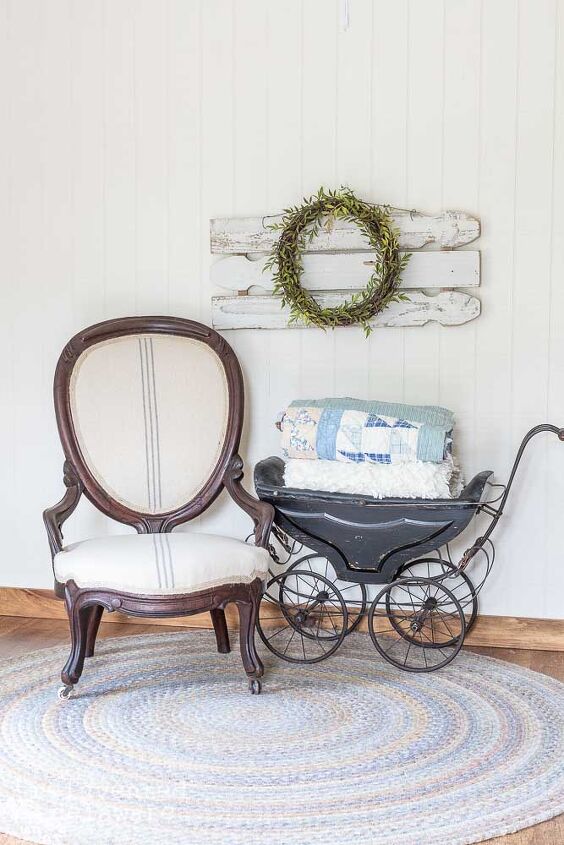
And here she is! Isn’t she lovely??
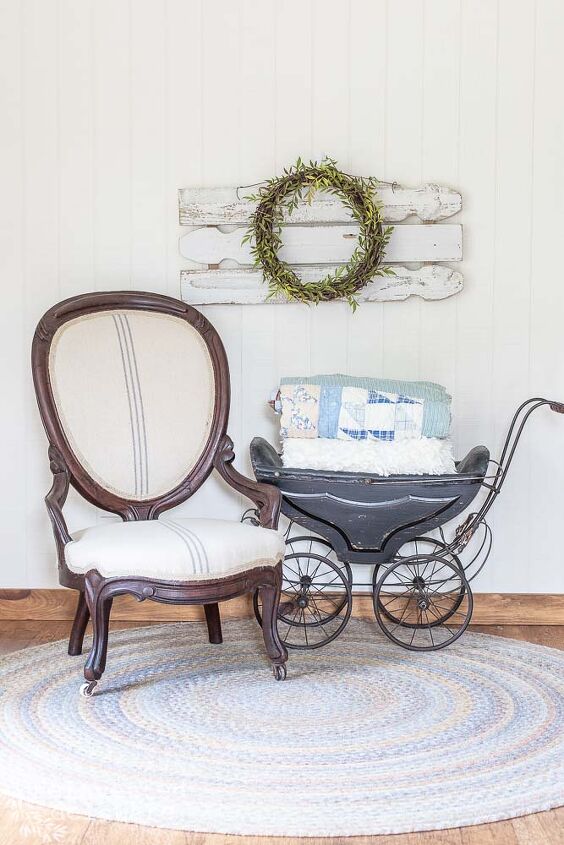
The dark restored wood next to the light colored grainsack reproduction fabric is so pretty together!
I love the look of one era mixed with another era of furniture.
The Victorian Era would have had ornate fabric like a tapestry or maybe hand stitched needle point.
farmhouse grainsack fabric
But this farmhouse style grainsack fabric looks amazing.
At least in my opinion! What do you think of mixing styles from different eras?
how to recover a chair with piping or trim
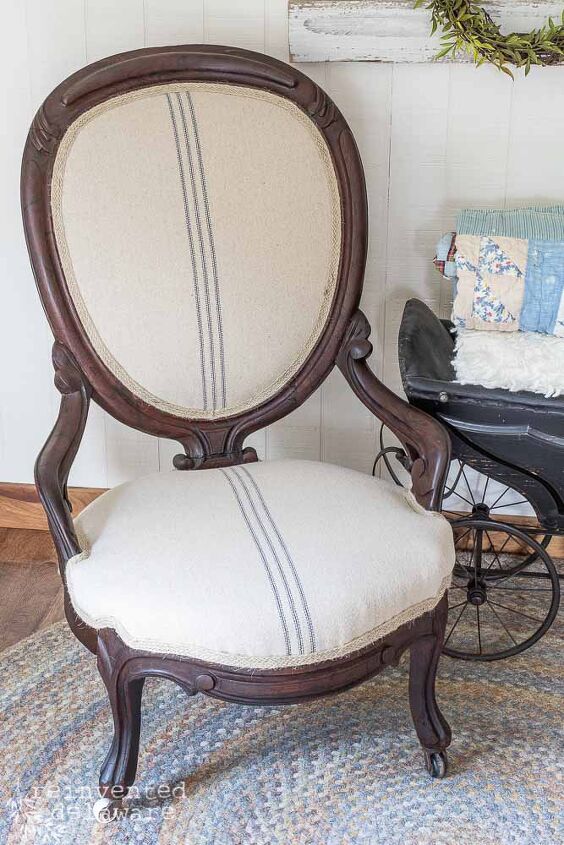
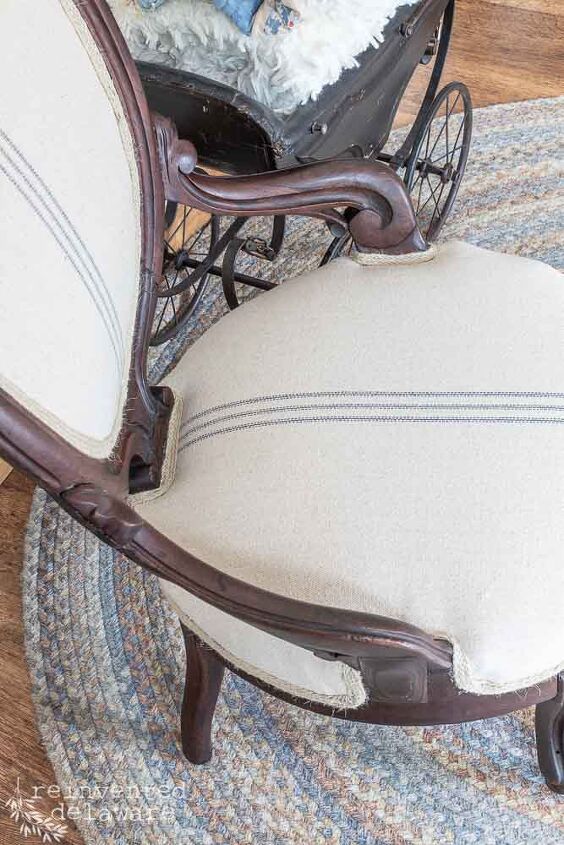
The raw edge of the fabric was trimmed in my favorite jute trim. To me, it’s the contrast of two styles that blend so well together.
Applyiing the jute trim is as simple as using a glue gun and moving around the piece in one continuous piece of trim, gluing as you go.
The soft curved back goes beautifully with the grainsack stripe.
list of supplies
Here is a list of supplies I used for this project. You will also see the link below for those items. Shopping through my links helps to support this blog and all the free tutorials we offer you!
- needle nose pliers
- upholstery tack remover
- scissors
- shop vac
- Restor-A-Finish Dark Walnut
- Nitrile disposable gloves
- pneumatic upholstery gun
- upholstery staples
- air compressor
- grainsack style fabric
- braided jute trim
- glue gun and glue sticks
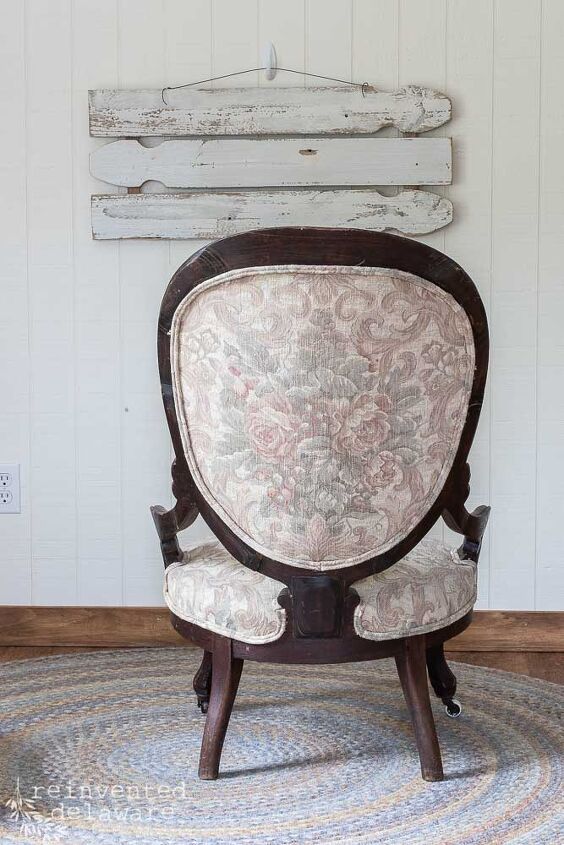
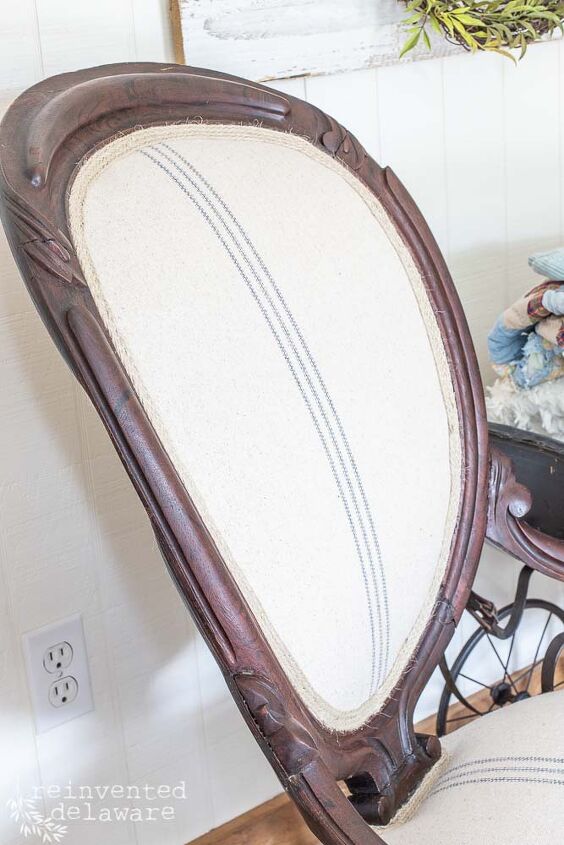
Did you see the amazing carved detail at the back on the chair? I love details like that!
The back of the chair is just as lovely. The graceful curve of the chair provides a nice recline for the sitter.

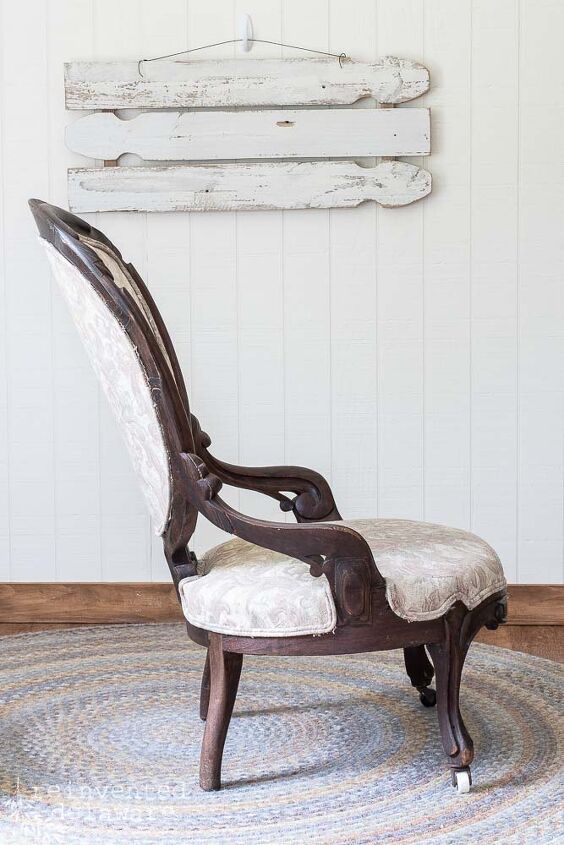
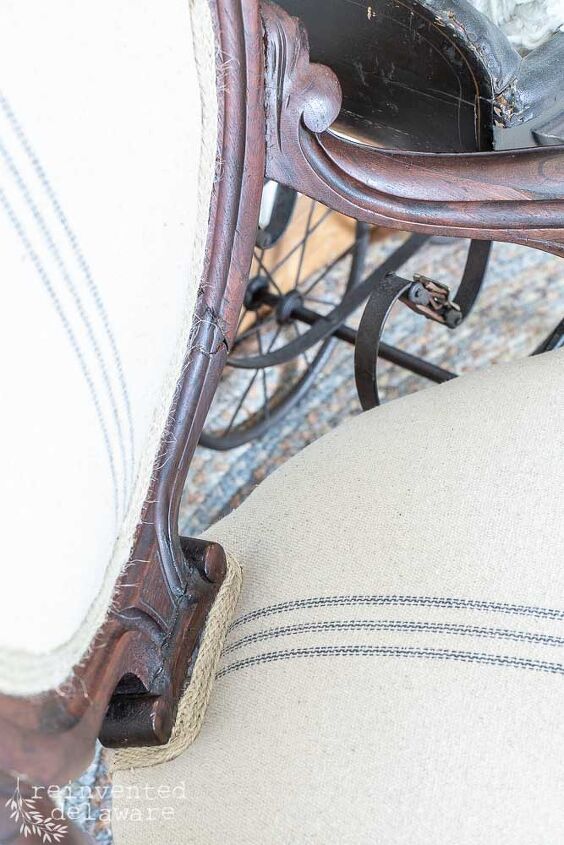
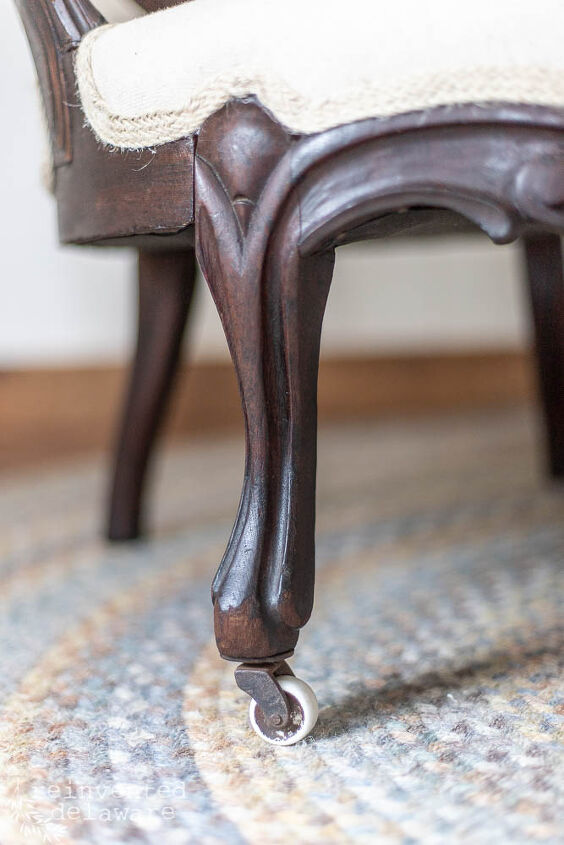
casters for the win!
And of course, casters make everything better! Funny fact about the two casters on this chair: they don’t match!
One is black and one is white, both a porcelain.
Look closely in the image below the close up shot and you’ll see the two of them!
Since this chair is neutral in color, it will go in a variety of home settings. It can be tucked away in a corner and pulled out when needed. Or it could go in a guest room to help your guests feel welcome with a place to sit.
how to recover a chair without sewing
So what do you think? Could you recover a chair with simple lines like this one? Let’s chat about it in the comments!
Thanks so much for joining me for this tutorial on how to recover a chair. I hope you found this helpful. If you have any questions, feel free to ask in the comments below.
Also be sure to check out the other posts I have for you on how to reupholster. Check the menu at the top under “Textile Tutorials” where I share lots of other reupholstery projects!
Feel free to pin any of the images to your Pinterest boards for future reference!
We would love you to join our journey over on Instagram and Facebook! You can also find more inspiration on our Pinterest page! We’re always pinning fresh ideas!
Looking for a few budget-friendly ways to update any room in your home? Sign up below and I’ll send you my top five ideas!
Until next time…

Resources for this project:
See all materials


Comments
Join the conversation
-
Excellent way of turning a vintage chair into a more modern look!! Nice choice of fabric…simple, but elegant!! Great job!
-
Love the chair and what you’ve done to it to breathe new life into it! Also love, love the fence pickets as architectural interest on the wall…I’m stealing that, by the way! 😉


Frequently asked questions
Have a question about this project?
I've wanted that style of chair for my smallish bedroom but didn't think l could redo the upholstery so l never tried! I'm newly inspired and love your choice of fabric! Could it be done in recycled denim? Also if my find is as good a shape as yours would it be possible to just cover with newer fabric without removing the older? Thanks for any feedback!
I have a similar chair and wanted to re-upholster it; this gives me some help with the re-do. Did you use the old fabric cover for the pattern to cut the new fabric? Did you use upholstery tack to attach the fabric to the chair before using the jute trim and glue gun? Thanks for your response.