


How to Restore Your Garden Table
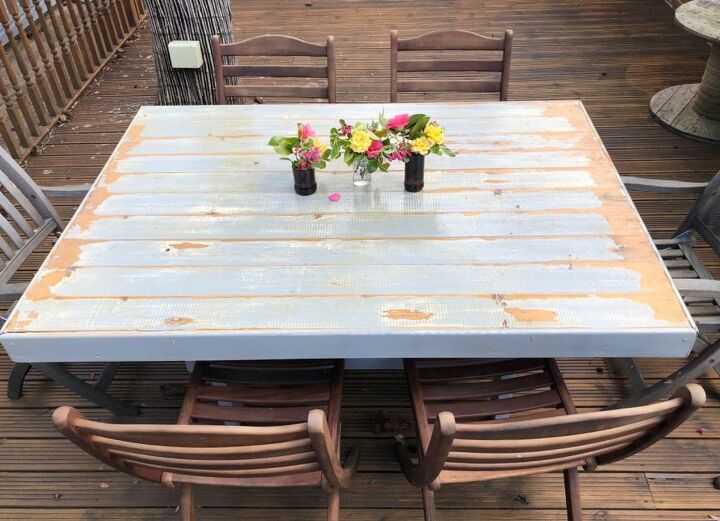
Last summer my husband kindly made us a large garden table from our old garden shed (you can read how here). It is a fabulous table, somehow it seems perfect for four but at a squeeze you can fit ten people round it. This spring we are tidying up the garden ready for summer- sadly we omitted to cover the table over winter, consequently some of the paint we had originally used on the table had started to peel.
If you have some old wooden garden furniture with peeling paint and chipped or splintered wood, it’s really not that hard to make them look fantastic.
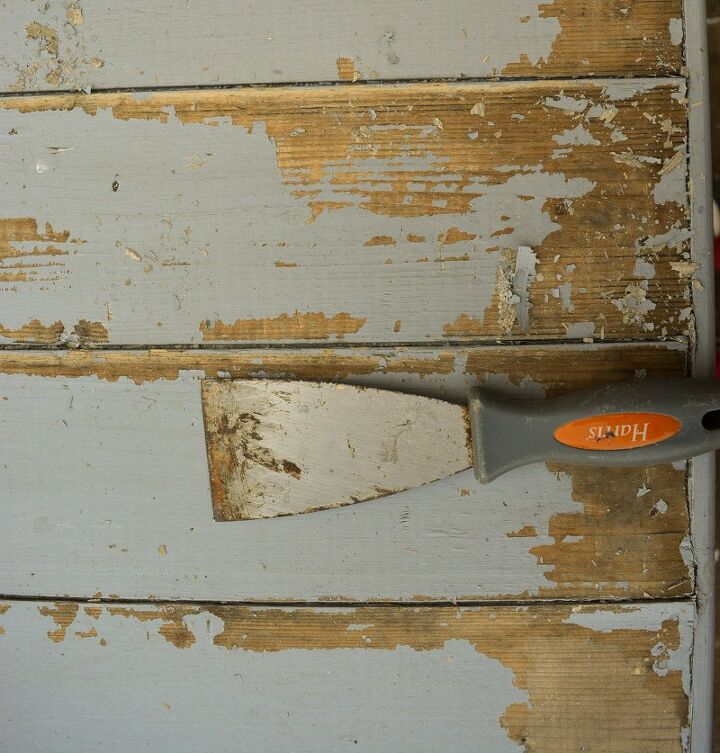
Start by preparing the surface. Remove any loose paint, You can use a wire brush, or a filling knife to scrape off the loose paint.
If you have any filling to do use a putty knife to spread a paste wood filler over the required area. Allow to dry.
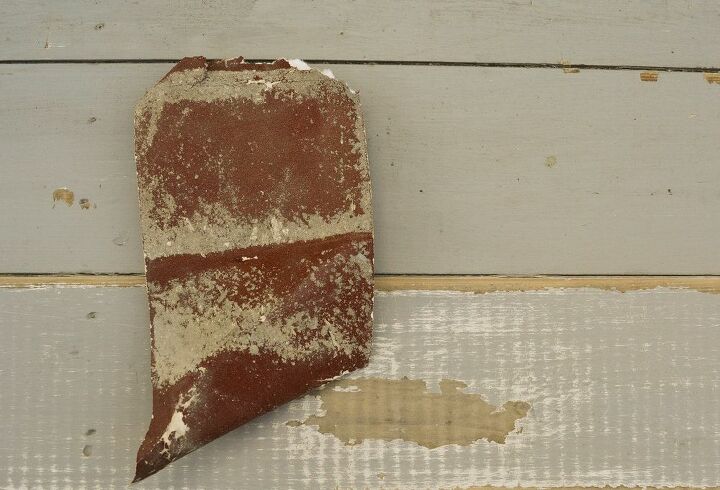
Next sand the surface gently, I recommend a 220-grit sandpaper. Wipe away any sanding residue with a damp cloth and allow to fully dry.
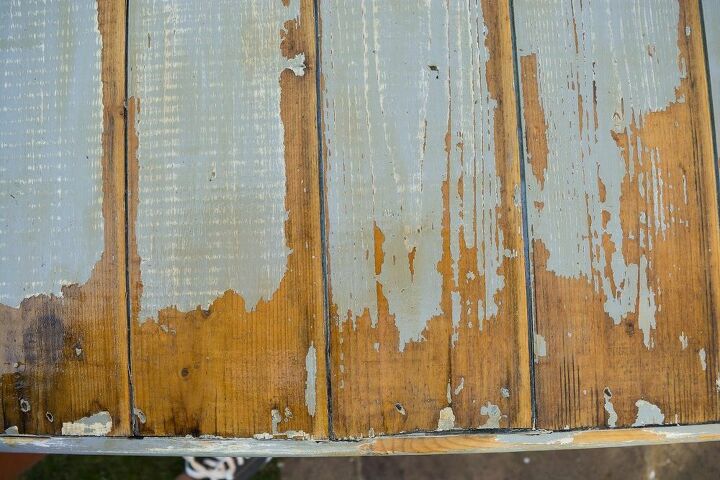
Decide on the finish you would like. We decided we liked the rustic upcycled look of seeing some of the bare wood so chose to use an external wood varnish. Having read up on the product we knew that it would dry with a brownish tint but as this toned in we were happy with this.
If you would rather a painted finish apply primer to the bare wood and allow to dry before applying at least one coat of external wood paint.
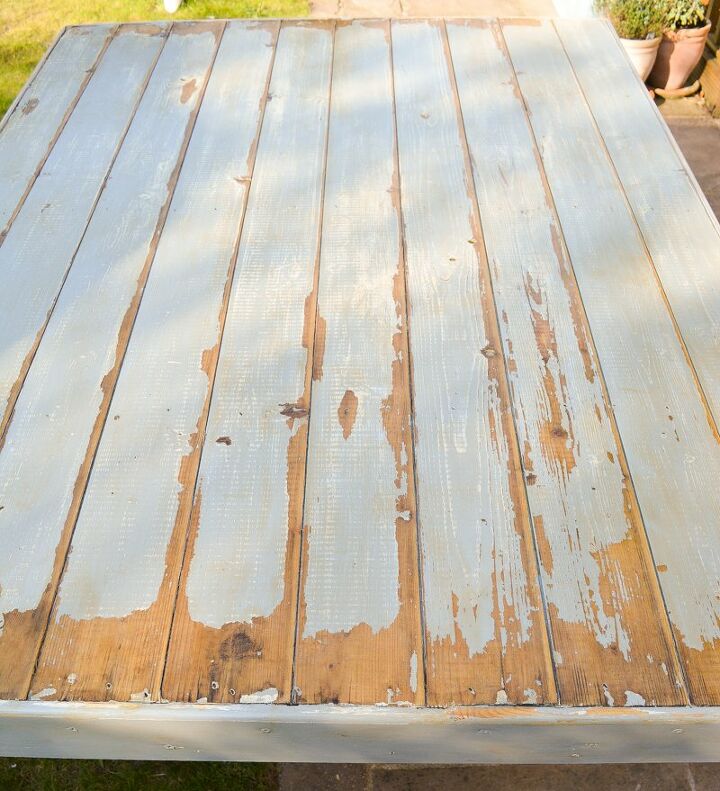
One table, with a bit of love and care ready for the summer months.


Comments
Join the conversation
-
I love the rustic look of the scraped paint! I actually prefer it to regular paint. Great job!
-
very nice job...I like that it matches your house....


Frequently asked questions
Have a question about this project?