


How to Transform a Cheap Cabinet Into a Beautiful Home Decor Piece

This tutorial demonstrates how to transform a $20 garage sale cabinet into a lovely piece of furniture using paint and stencils. Each step of the process is covered as well as showing how to add new hardware to give the old cabinet and new and modern look with a traditional style. This post is Part 2 and focuses on how to add a beautiful stencil design to a newly painted cabinet.
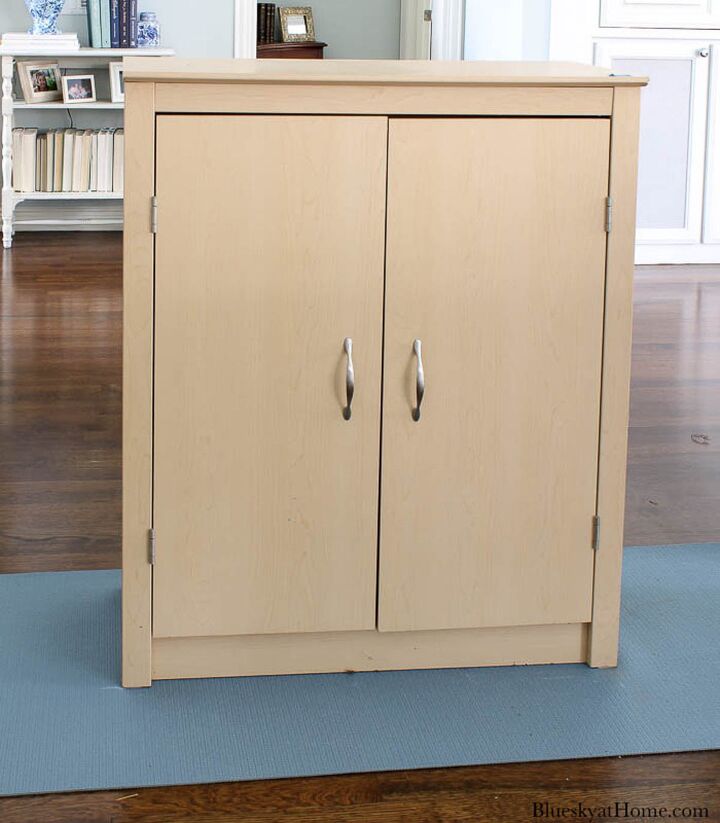
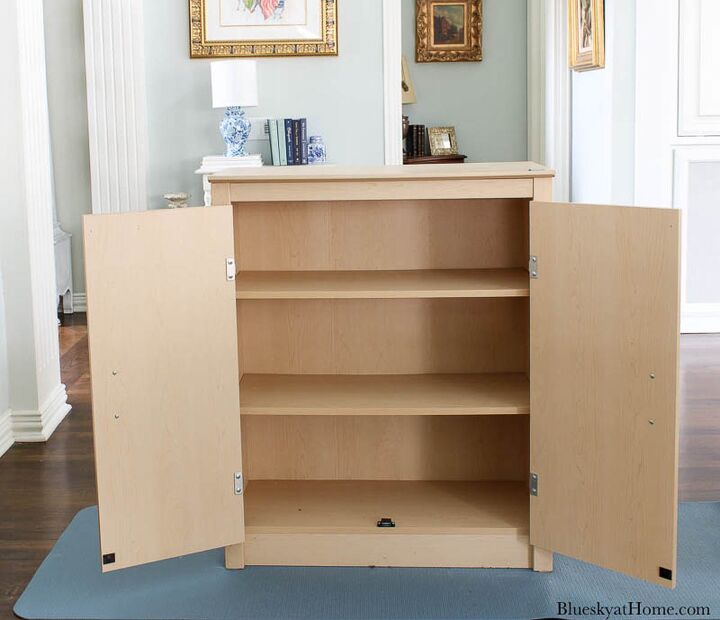
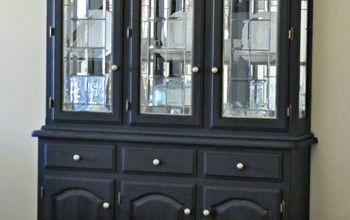
This cabinet was sturdy and well~constructed for extra dish story, but the yellow color and veneer lent a cheap look. The hardware looked like an old kitchen door cabinet. Fortunately, it had adjustable shelves inside.
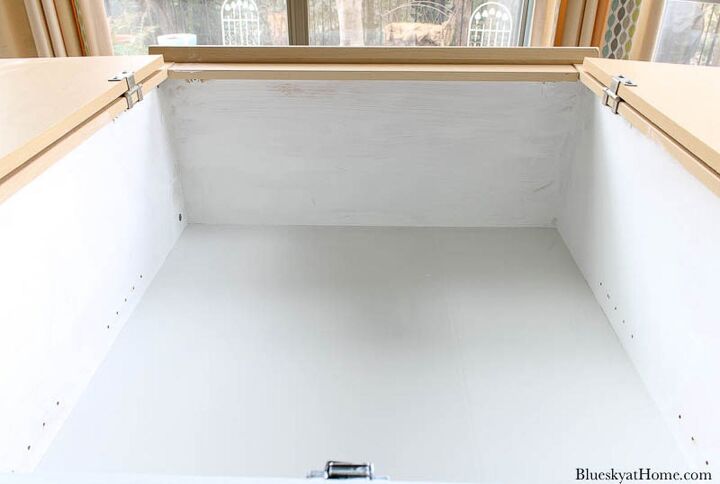
I knew the look I wanted for this new cabinet. Since I knew it would be placed just outside the main area of our living room, I wanted a bright deep blue color with a stencil design. I found the paint colors I wanted and ordered them. I thoroughly wiped down the inside of the cabinet to remove any dust and grime. Then I used One Step Paint in Bauhaus Buff for the inside and shelves. I removed the shelves and painted them. Then I painted the inside. I used two coats of paint on all surfaces.
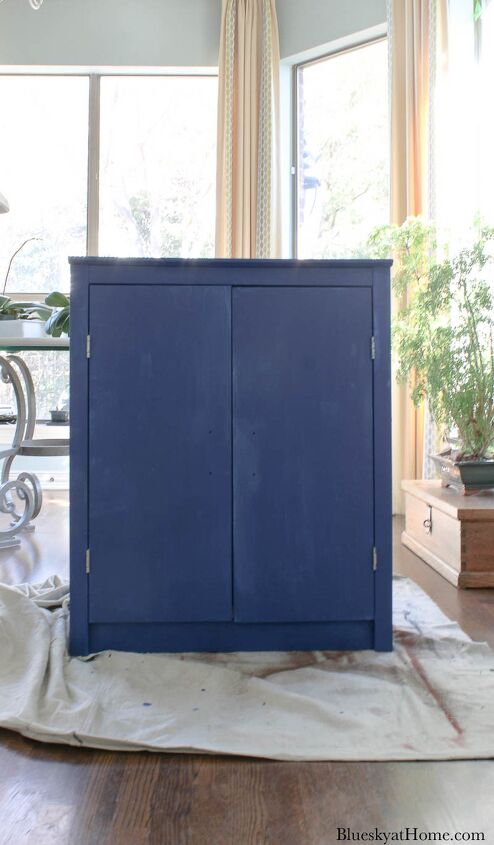
The next step was to paint the outside of the cabinet. The blue color I chose was One Step Paint in American Dream. Again, I wiped down the cabinet to remove dust and grime. I placed the cabinet on top of our breakfast room table. I realized quickly that the paint was not covering the slick surface of the veneer. Before continuing to paint, I lightly sanded the entire surface of the outside of the cabinet. Then I wiped it down to remove all the residue.
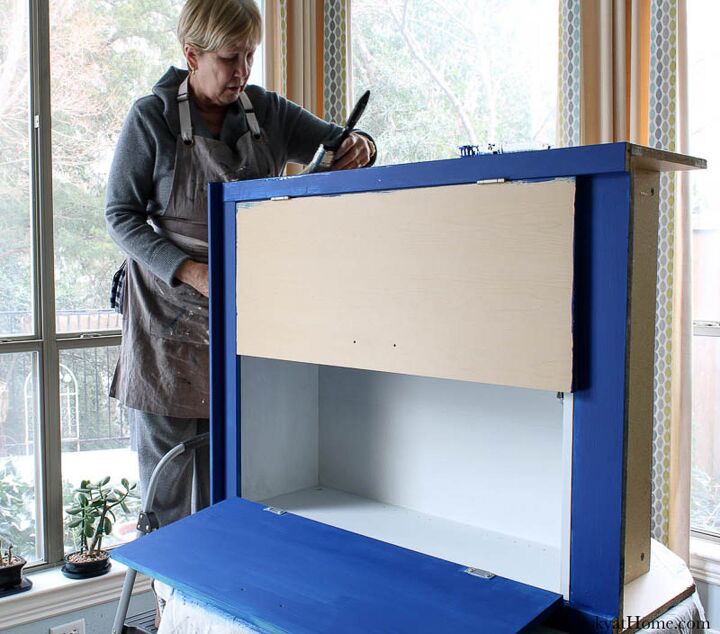
I painted the inside of the cabinet doors first. Then I painted the front frame and sides. The last thing to paint was the top of the cabinet. After painting the cabinet with two coats of blue, I allowed the paint to dry thoroughly.
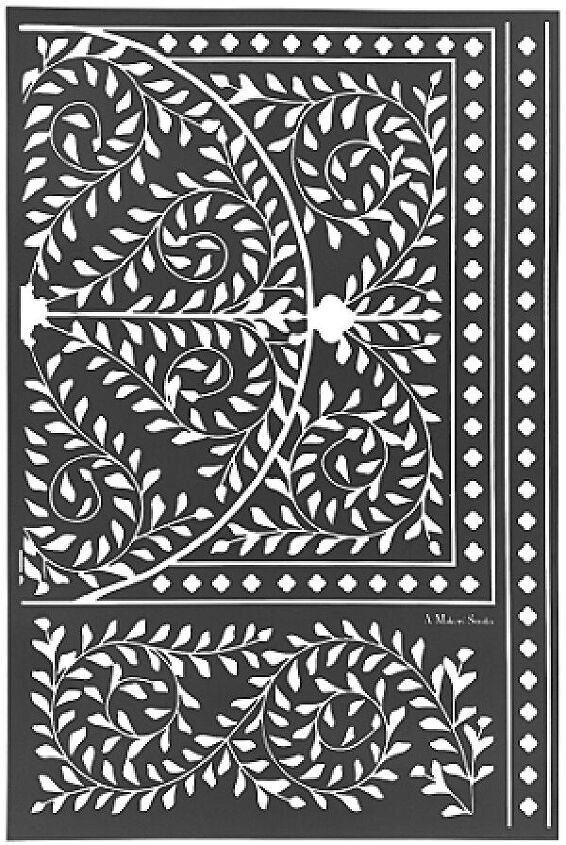
Now it was time to add the stencil. I used a large stencil with a leaf design from A Makers' Studio called Moroccan. I would use different parts of the stencil for different areas of the cabinet.
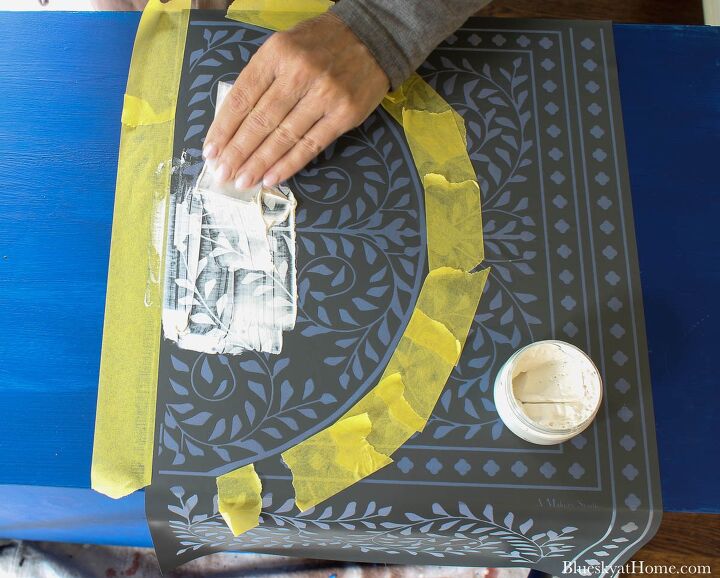
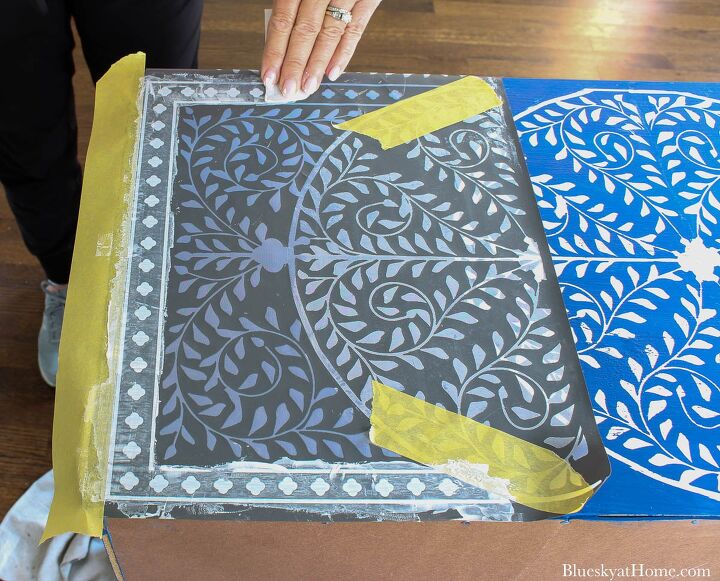
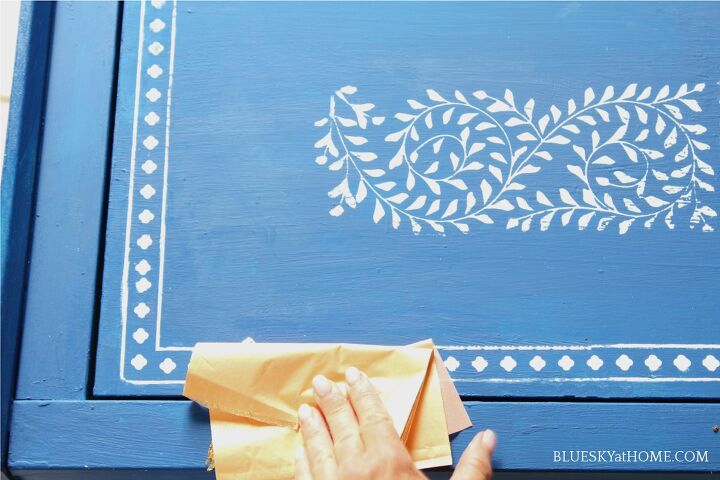
These stencils have an adhesive backing so they are easy to place and reposition as needed. I started on the top of the cabinet. I used painters' tape to section off areas before applying ChalkArt to parts of this large stencil.
ChalkArt is meant to use with stencils. I use a plastic scraper to apply it across the stencil design. It doesn't take much paint, but you do want to make sure that your design is completely covered in a smooth coating.
Once one side of my design was painted, I carefully removed the stencil and repositioned it on the other side to create a circle. I repeated the ChalfArt application in the same way.
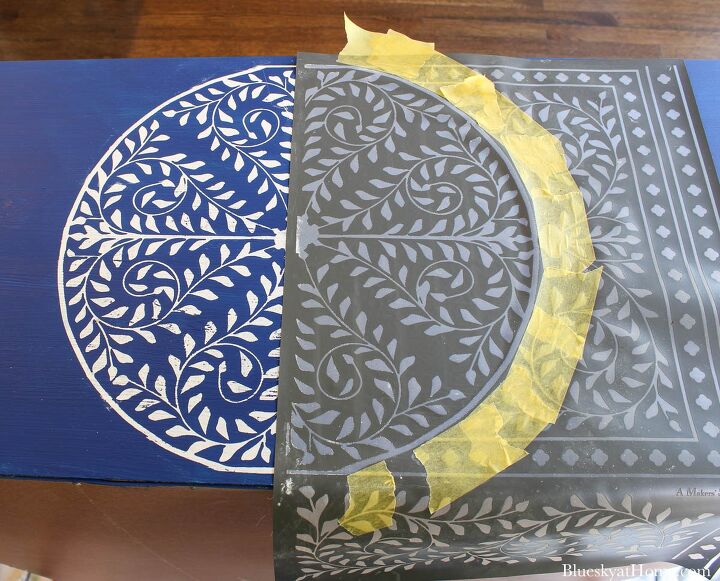
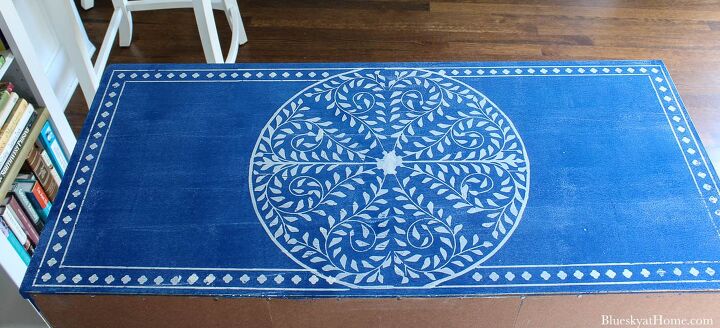
Next, I added another party of the stencil to create a stenciled edge design on the top of the cabinet.
Here is the finished top of the cabinet.
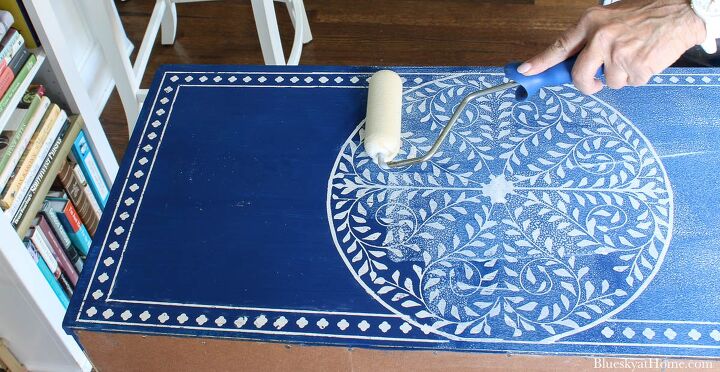
Because this area would have decorative items sitting on it, I sealed the top with Matte Sealer. I applied it with a roller brush for a smooth finish. The Matte Sealer goes on white, but dries clear. Be sure to let it dry for several hours or overnight before placing anything on it.
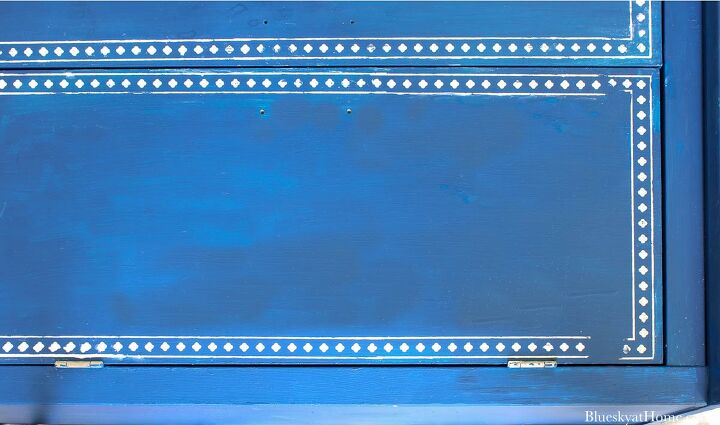
Now I was ready to apply stencils to the cabinet doors. I started with the same edge design as I used on the top of the cabinet.
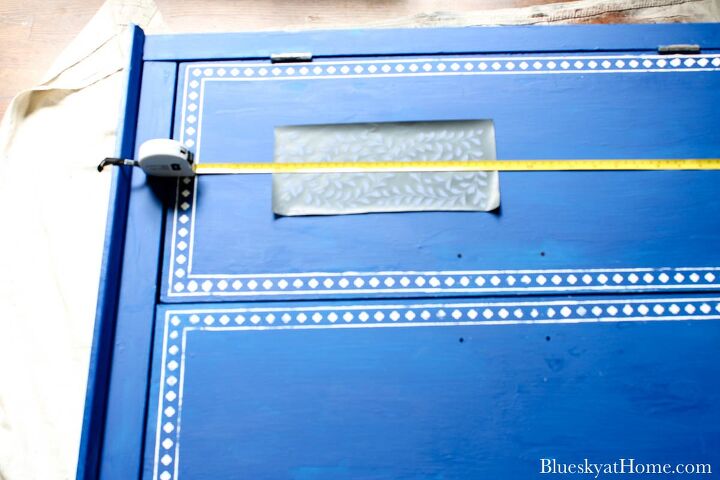
I measured the cabinet door to center the final stencil on the cabinet door.
I applied the ChalkArt in the same manner as the previous ones. Once you know how to do that, you can stencil anything.
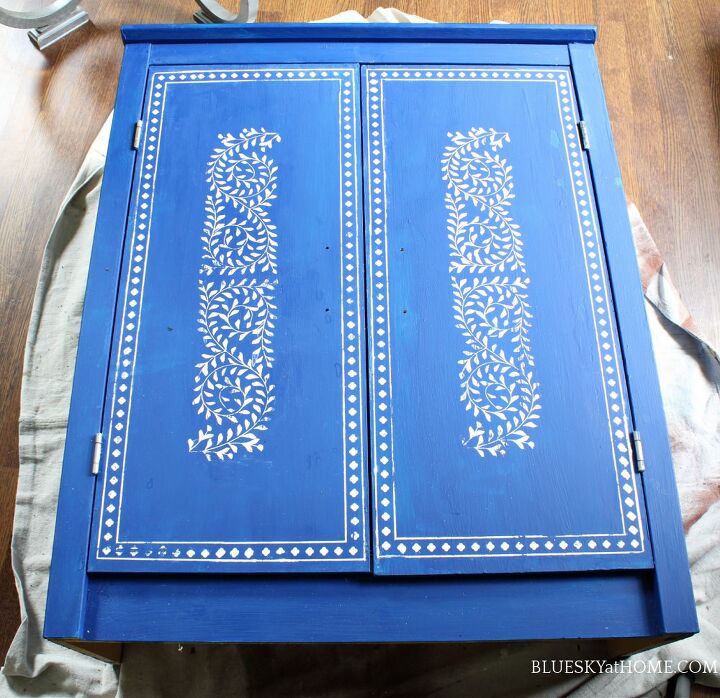
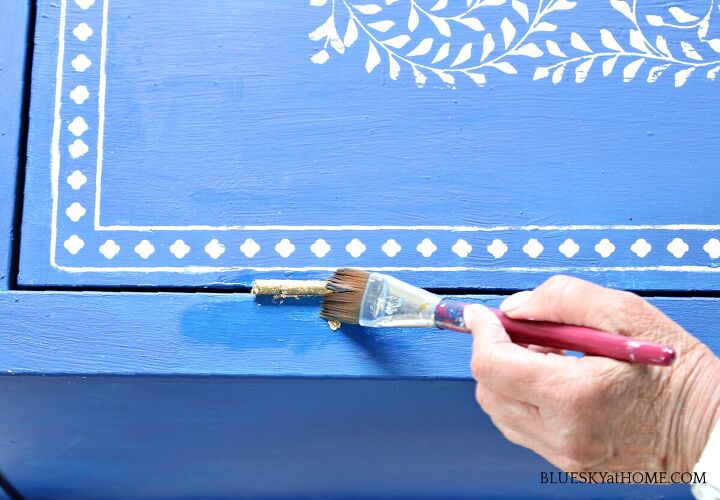
The application of the stencils was complete. Now for the finishing touches. Gold accents would give the cabinet some pizazz and a more modern look. The original hinges were a dull silver.
First, I brushed GIlding Size on the hinges and allowed it to dry until tacky to the touch. Then I applied the leaf by gently rubbing a sheet of Gold Leaf from A Makers' Studio on the hinges.
Next, I used a soft brush to remove any excess Gold Leaf.
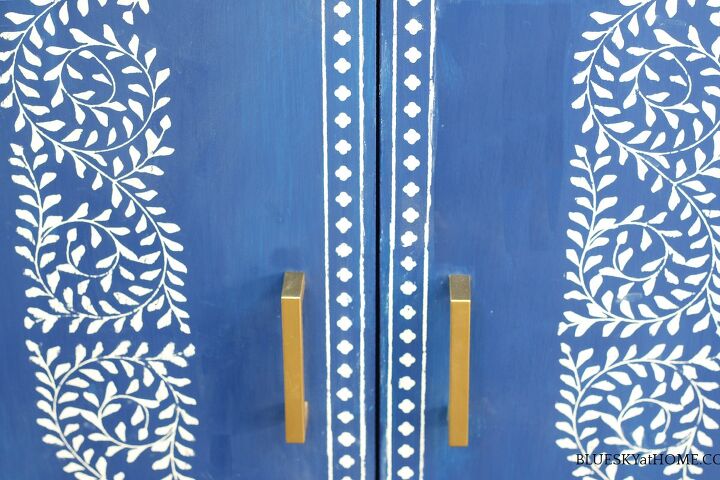
I found some gold handles at Lowe's to add a clean, modern touch.
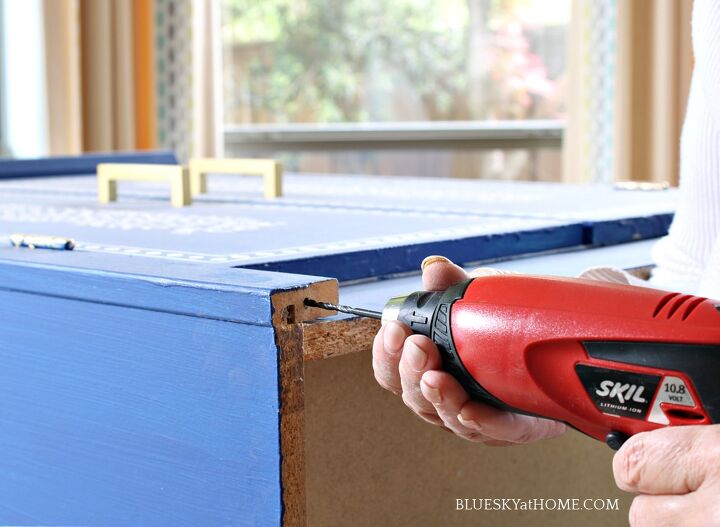
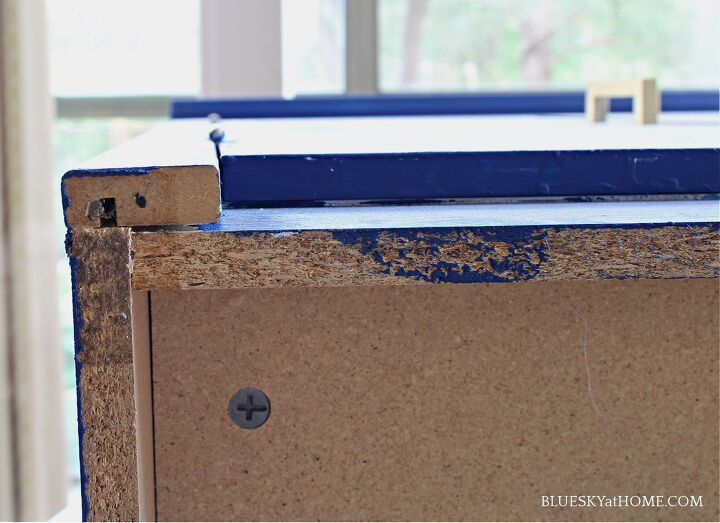
I felt that the cabinet needed more height and more gold hardware to balance the gold handles. I couldn't find any legs at Lowe's but I did find some round pulls in the same gold finish. To attach them, we first drilled pilot holes in the bottom of the cabinet base.
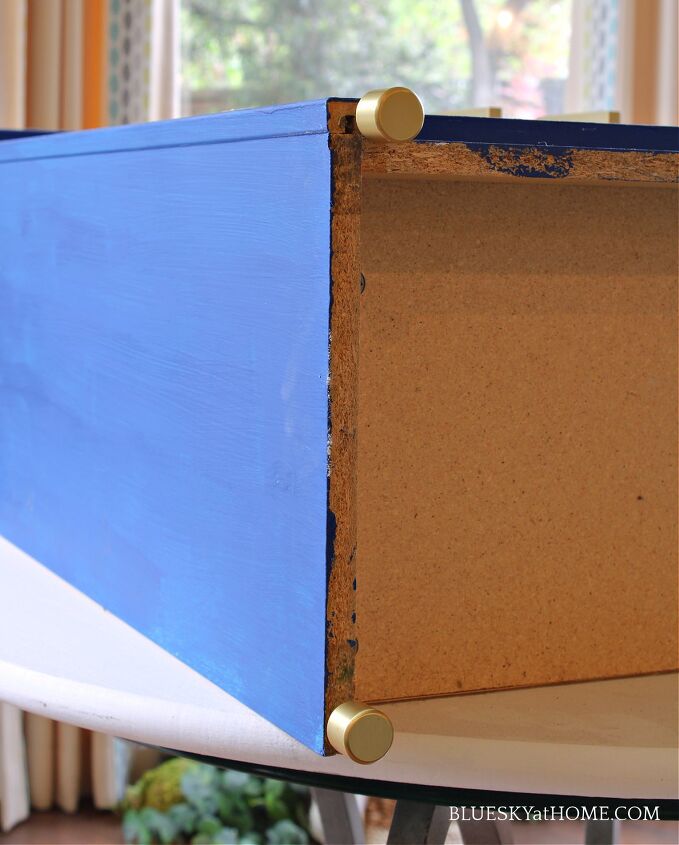
Next, we took the cap off four screws with a Dremel. Then we screwed them into the hole. All that was left to do was screw on the gold pulls as our legs.
That step basically completed the transformation of this estate sale yellow veneer cabinet into something more modern and definitely prettier.
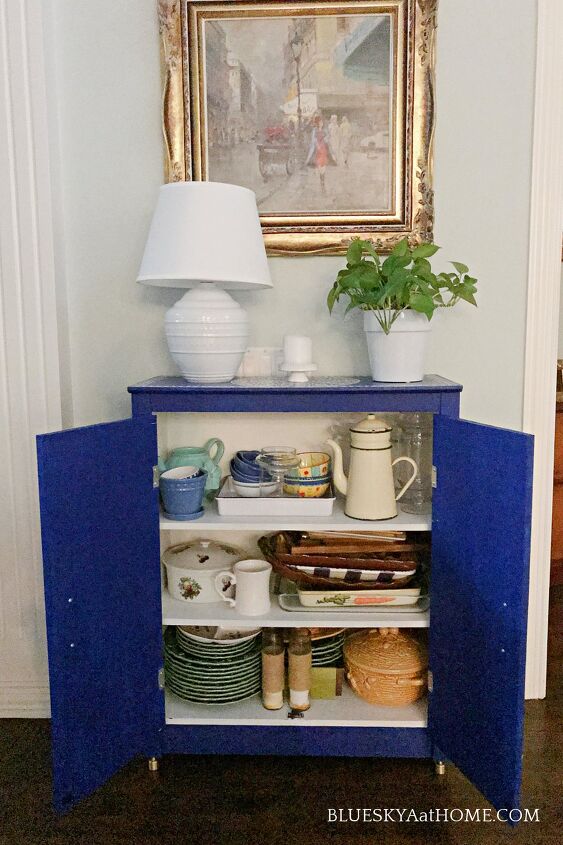
You can see how much storage the cabinet provides.
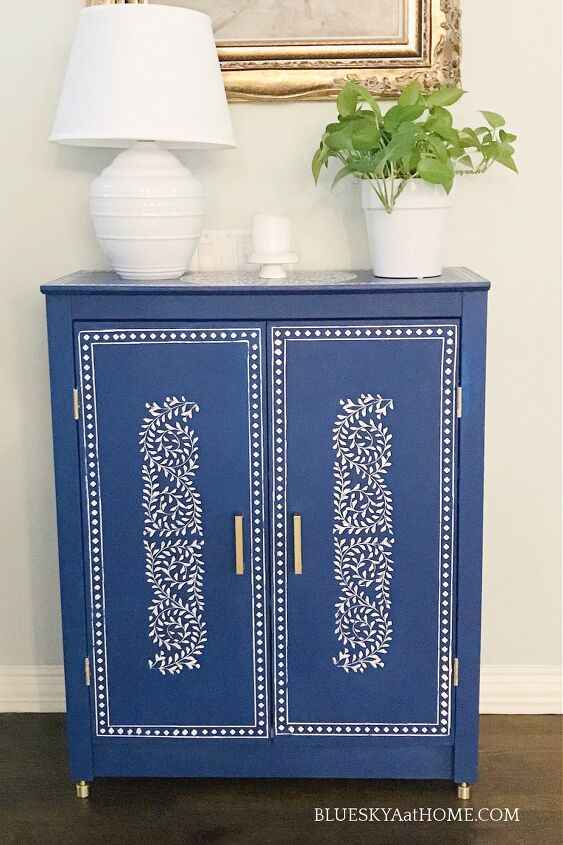
Here is the completed cabinet, ready for display in our living room. I'm so pleased with the way it turned out. I gained a place for more storage and a pretty accent piece that can be used to display of accessories.


Comments
Join the conversation
-
I agree with Betty Bennett; the gold legs are the perfect finishing touch. Definitely wouldn't have thought of that. Nice job on the whole cabinet. The only thing i would add is a small stencil on the inside of each door, for a little surprise pop when you open the cabinet, but that's just me. Beautiful and recycled! my favorite things!
-
Great job!


Frequently asked questions
Have a question about this project?
Shouldn't the design on the door be mirroring each other back to back, instead of the same direction on both?