


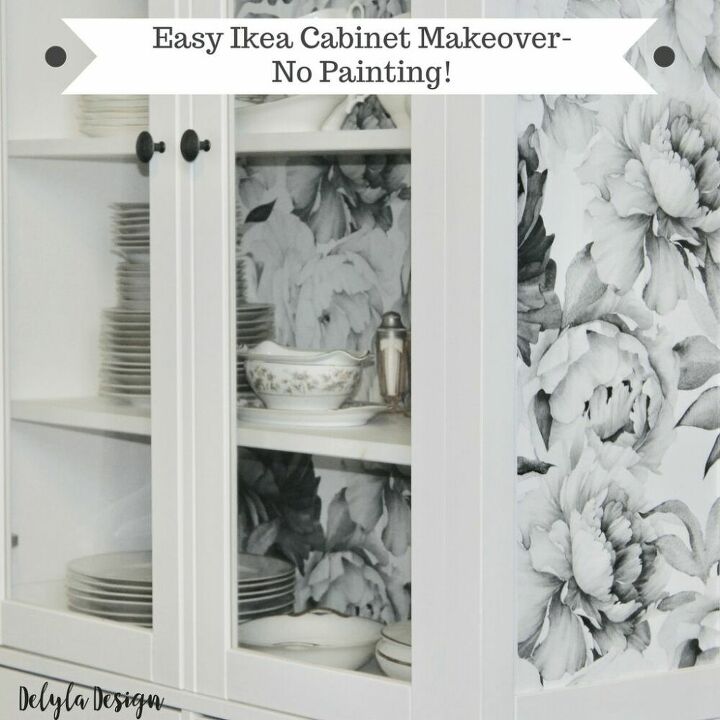
IKEA Cabinet Makeover With Removable Wallpaper
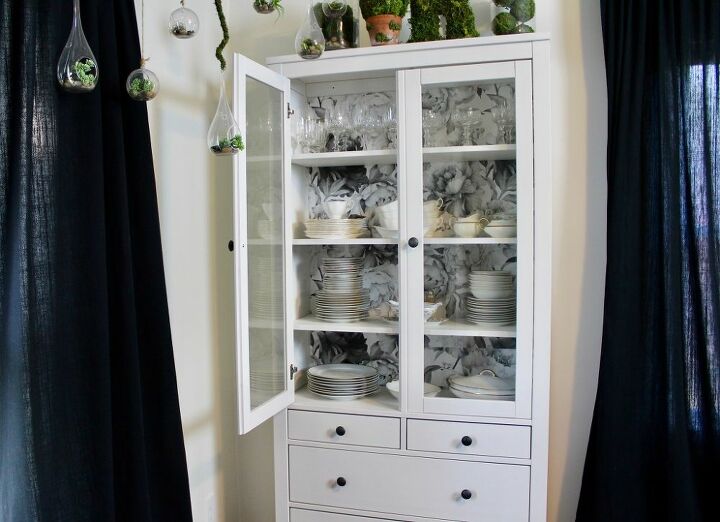
I have loved my white IKEA cabinet for years but If you know me you know that I like my furniture to have a little bit of personality. So what’s a girl to do? A little DIY of course! I saw this bold and beautiful black and white floral wallpaper online and instantly knew that I was going to makeover my IKEA cabinet with removable wallpaper! Perfect solution! No painting and the perfect fit for our black, white and green botanical dining room. Follow me as I use removable wallpaper to turn this boring IKEA Cabinet into a bold statement piece without painting.
Cabinet Makeover With Removable Wallpaper
I have loved my white IKEA cabinet for years but If you know me you know that I like my furniture to have a little bit of personality. So what’s a girl to do? A little DIY of course! I saw this bold and beautiful black and white floral wallpaper online and instantly knew that I was going to makeover my IKEA cabinet with removable wallpaper! Perfect solution! No painting and the perfect fit for our black, white and green botanical dining room. Follow me as I use removable wallpaper to turn this boring IKEA Cabinet into a bold statement piece without painting.
This post contains affiliate links. Affiliate links allow me to share products that I love with you and I may receive a small compensation. There is no extra cost to you. Read our Full disclosure in our website's disclosure policy.
Once I got the removable wallpaper in the mail ( mail  I removed everything from the inside and cleaned it well with simple green.
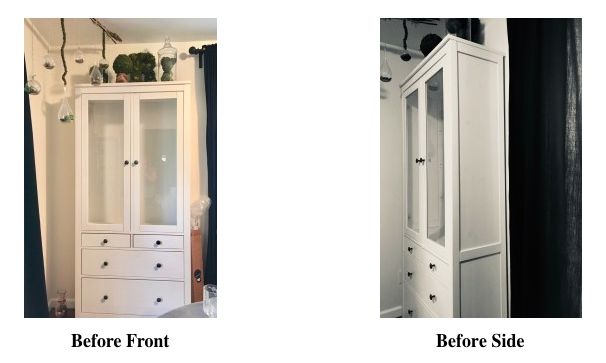
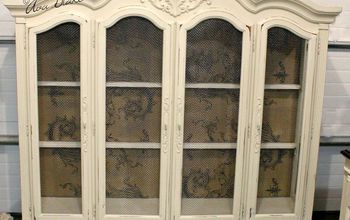
Btw here is my cabinet before
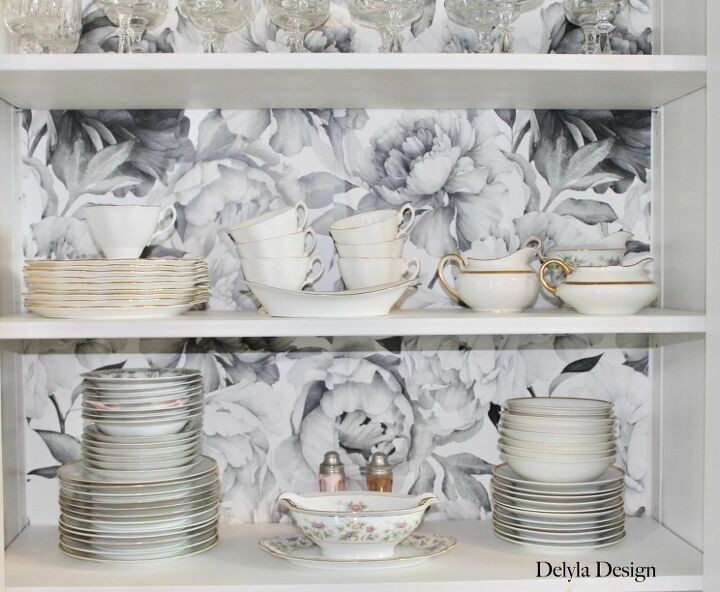
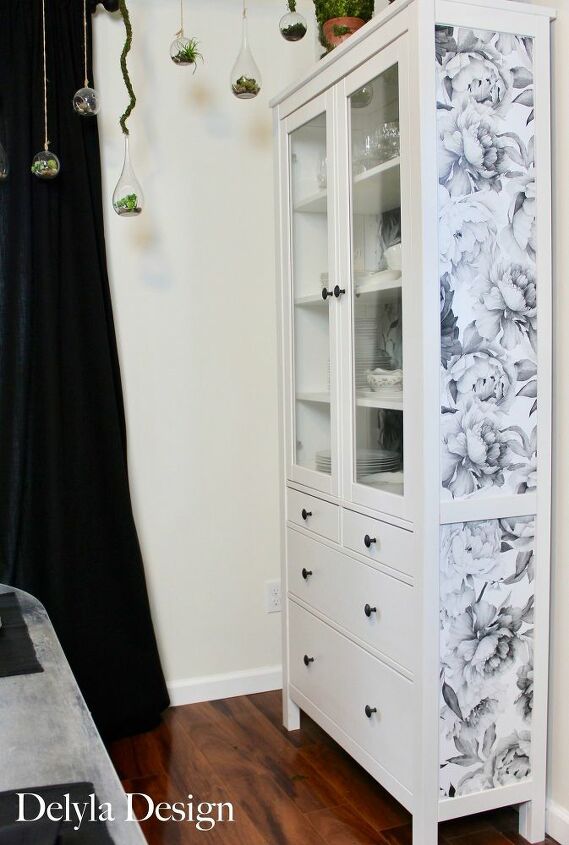
I decided to add the removable wallpaper to the side panels but of course, you can customize it for your piece of furniture. You could also keep it simple and add it to the drawer fronts, drawer sides (pop of interest) Inside the drawers or anywhere your imagination and creativity takes you.
So next you have to measure and cut. I am not going to give a tutorial for this because A) It would kinda be like the blind leading the blind B) I may have had to ask my husband for help but I did figure out how to match the pattern all by myself . They do include instructions and some video tutorials on their website.
Here are some helpful tips:
- Peel back your wallpaper 15-20 inches and stick it to the top and remove the backing and smooth out the paper as you go.
- The paper is removable which is very helpful. If you mess up just remove and repeat. Just be careful to keep it from sticking to itself.
- Use a credit card or a plastic squeegee to smooth out the wrinkles
- Measure 50 times and cut once.
- If you need to match up the pattern like I did on the inside of the cabinet, lay your pieces side by side with the paper backing still on and visually match your pattern and then measure and cut. This part was a bit tricky but I got it to work. YAY!
Not a fan of black and white florals? Here are some other options that I think would look great on furniture.
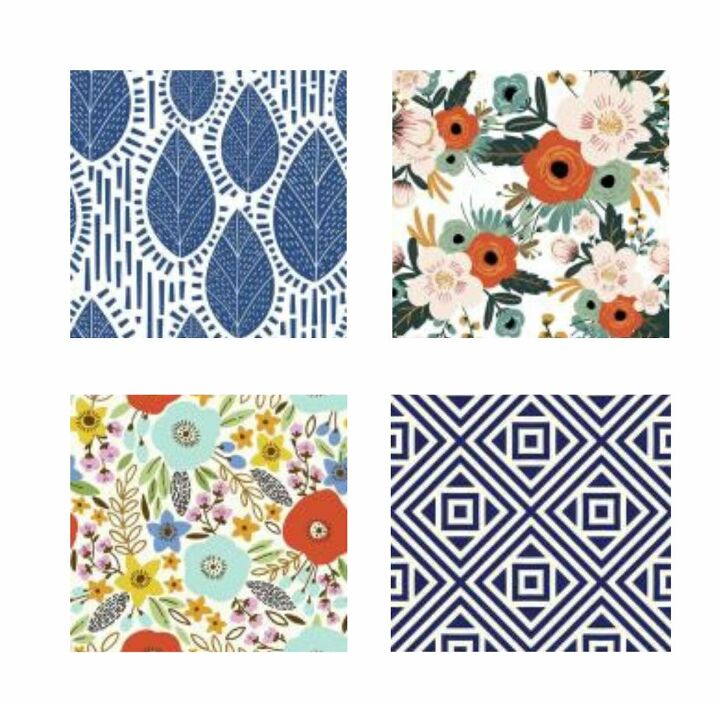
A) Beat Generation Removable Wallpaper B) Juncaceae Removable Wallpaper C) Dicot Removable Wallpaper D) Jack Robinson Removable Wallpaper
I could go on and on. There are so many great options with new designs being added all of the time. Imagine using these on stair threads, doors, or ceilings. I have so many ideas for these beauties and I hope you are inspired to create something happy in your home.
As always thank you so much for visiting my little piece of the world wide web until next time.
Delyla
Thank you to Walls Need Love for sponsoring this post. Delyla Design only works with Companies and products that bring Joy, Happiness, and beauty to our home and life. We love to share these awesome companies with you.
Resources for this project:


Comments
Join the conversation
-
Great job! Love your choice of wallpaper too!
-
Looks amazing!


Frequently asked questions
Have a question about this project?