


Inspired By…”Old Hollywood” Vanity Chair

by
A
8 Materials
$65
2 Days
Medium
Long story, short…Flea Market, ugly chair, $5, SOLD! I’ve been working on a vanity from the 1940’s and searching for the perfect chair. I found it at the flea market, however, it was hidden under layers of gaudy fabric and fringe. I knew immediately what I wanted it to look like, and for that matter, the direction my vanity was going to take. Old Hollywood. My mind conjured up images of lux fabrics and shiny trims. I hit the internet and found exactly what I needed to make it happen…glass buttons, silver velvet, and gorgeous dupioni silk. The best find I didn’t even know I was looking for was a shabby rose trim.
Here's the thing…I had the chair, I had the vision, and I had the supplies. I had absolutely no idea how to reupholster a chair. I spent most of this weekend learning how.
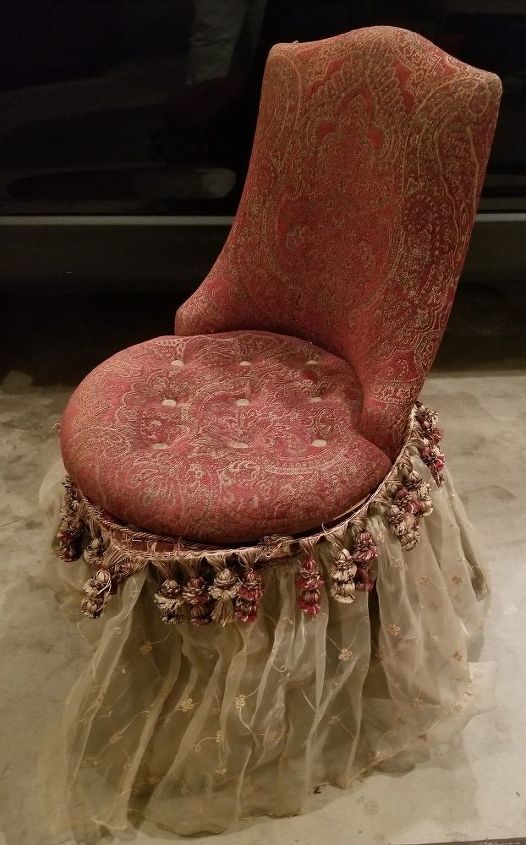
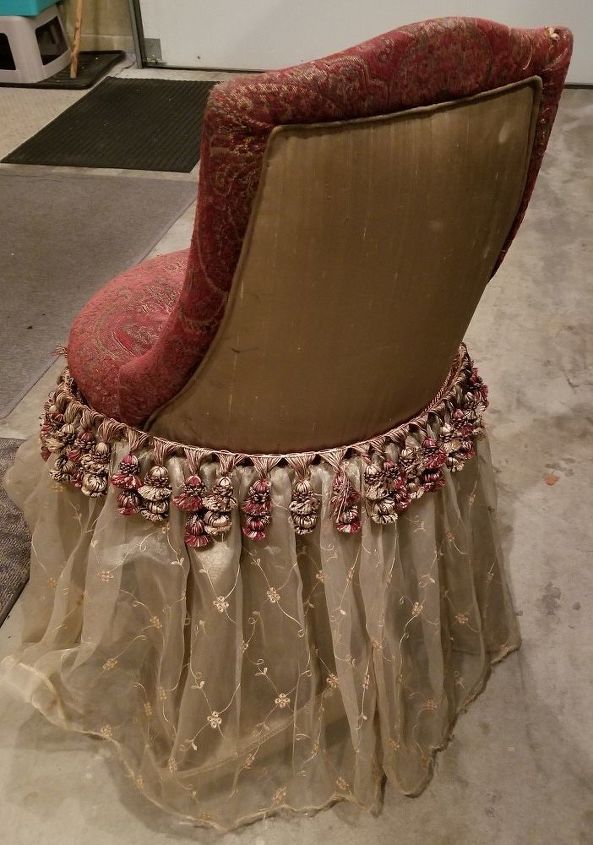
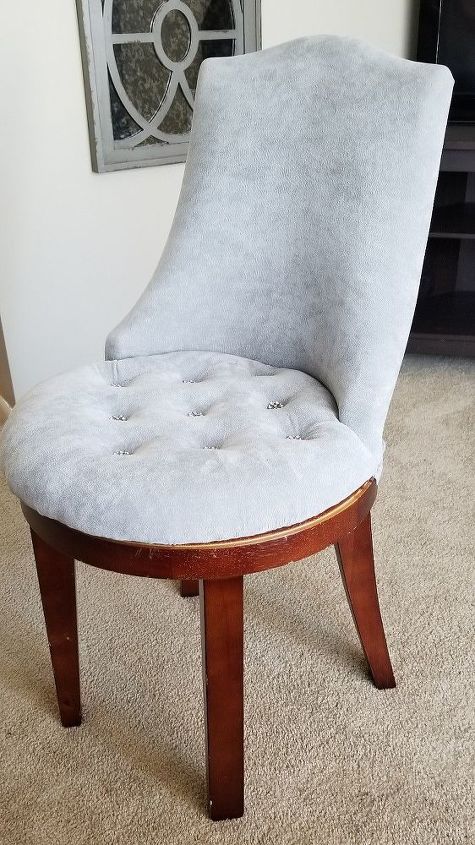
This is what I took home from the flea market. I think it looks like a belly dancer.
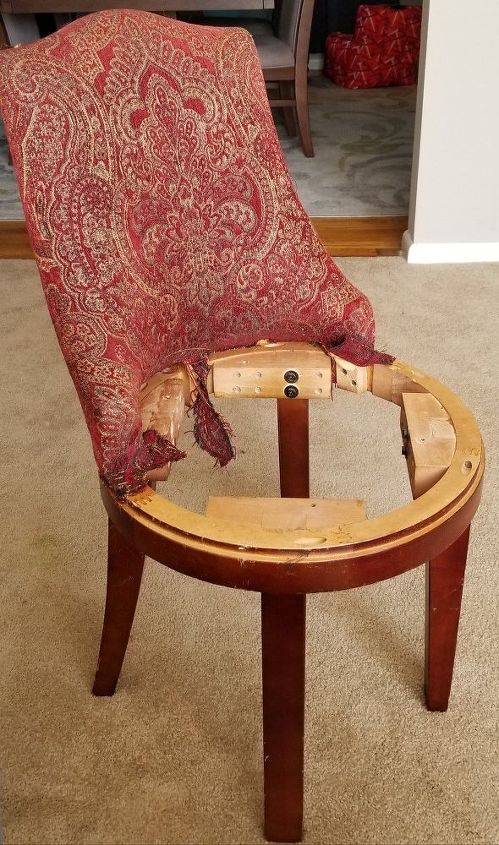
The initial tear down was just a matter of ripping off the fringe and skirt, but as things progressed, it became more difficult. I needed the original fabric to use as a pattern for cutting the new fabric so I couldn’t just rip it off. Let me just say, I have never seen so many staples in my life!
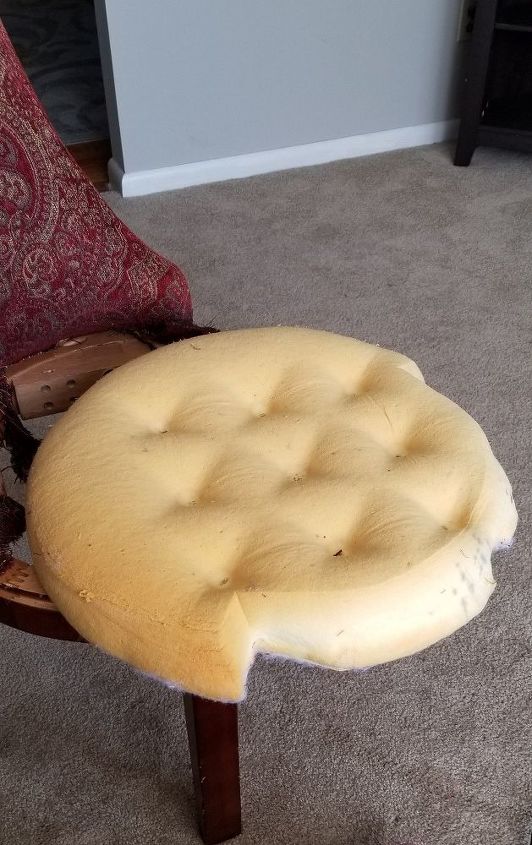
I unscrewed the seat from the bottom and removed the staples, buttons, fabric and batting. The foam was in great shape so I kept it intact. I also saved the tufting cords for the buttons and the washers used under the buttons.
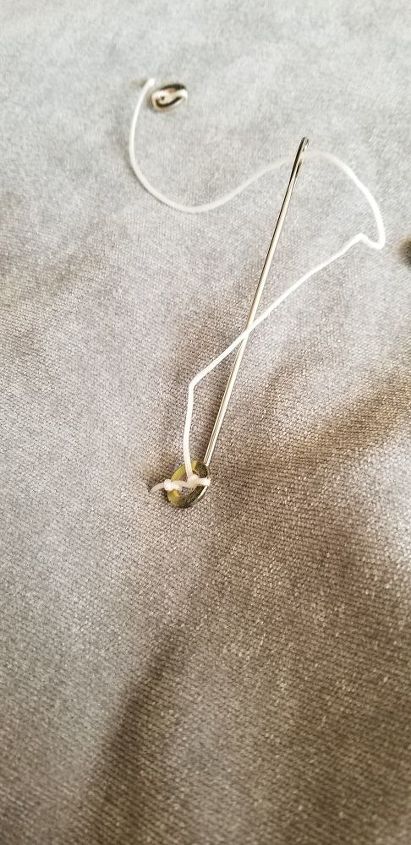
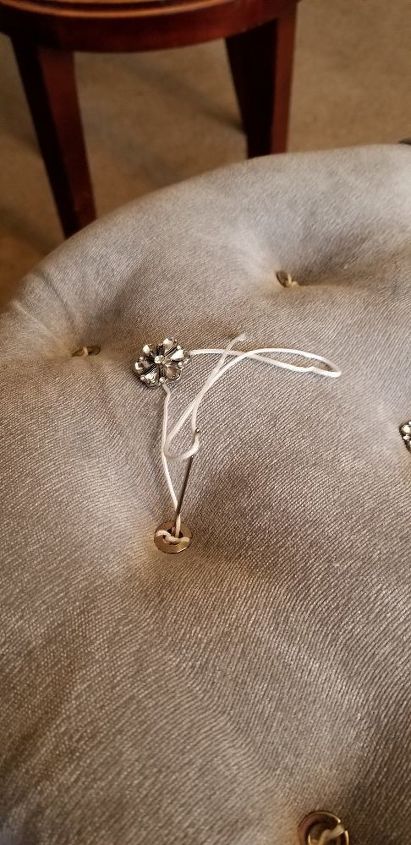
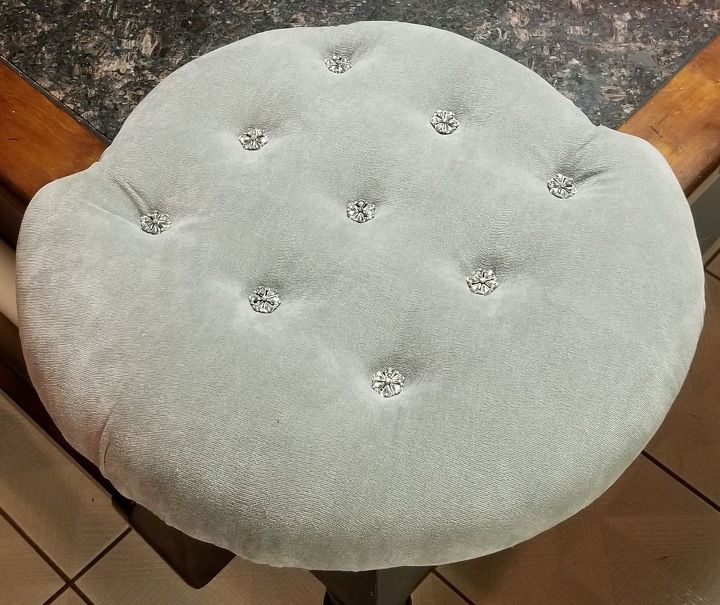
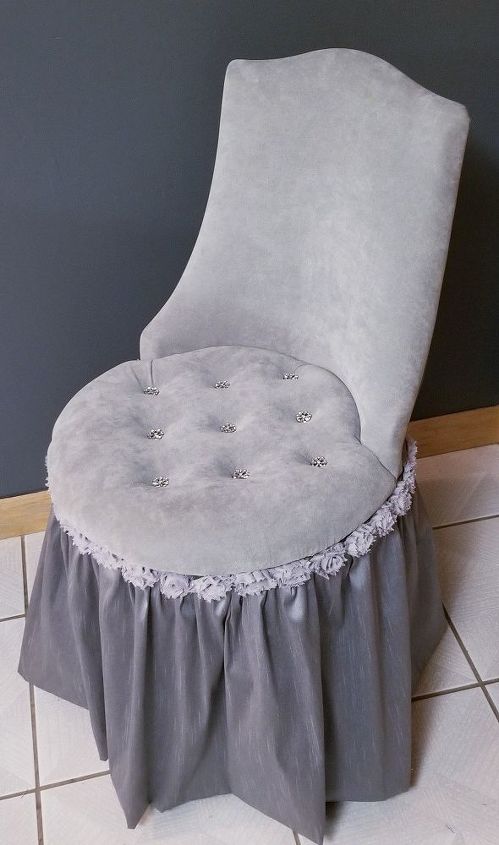
Using the old fabric, a round was cut for the seat. Using the existing holes, I threaded the cords attached to the washers, pulled tight and stapled in place. I repeated this with the glass shank buttons.
Once the tufting was in place, the fabric was pulled taught and stapled to the bottom of the seat.
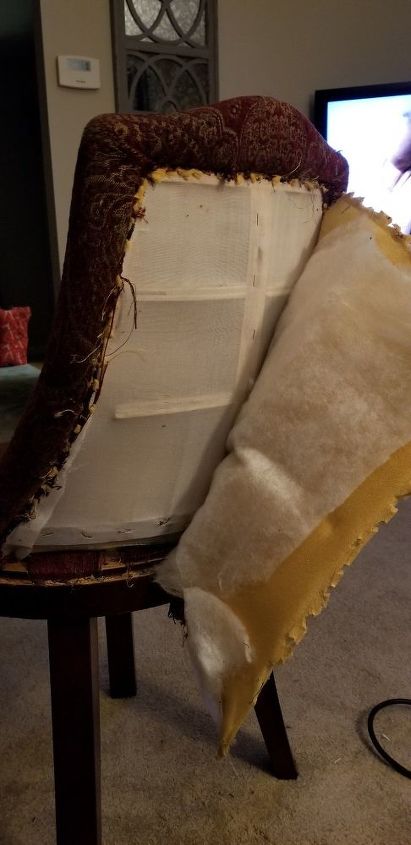
Next the fabric was removed from the seat back. This had to be done very carefully since I did not know the first thing about reupholstery. As I took it apart, I made mental notes about how and where the fabric was stapled in place.
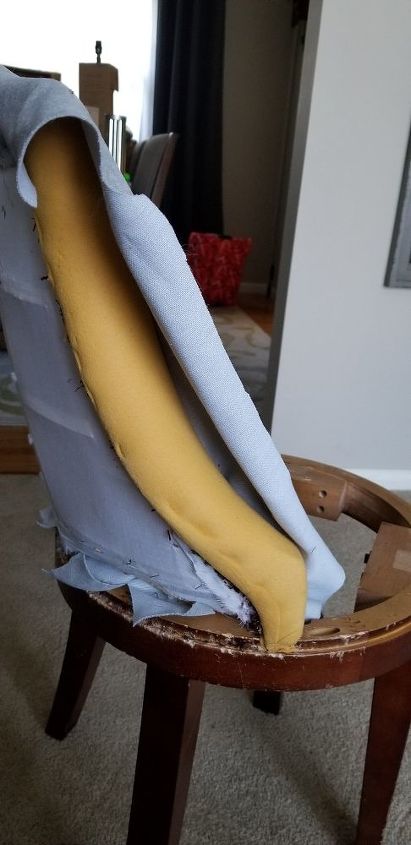
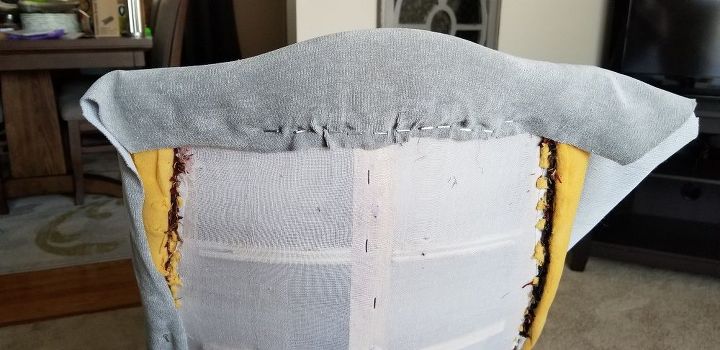
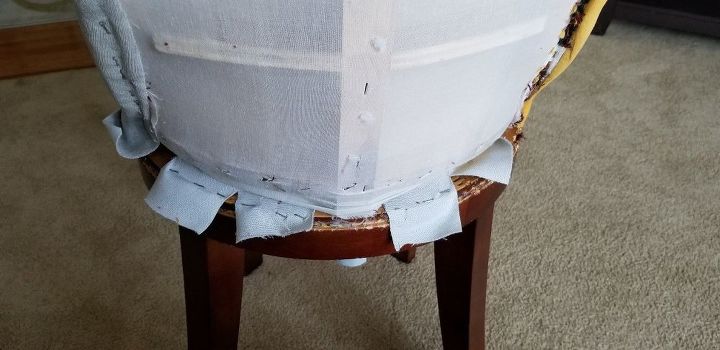
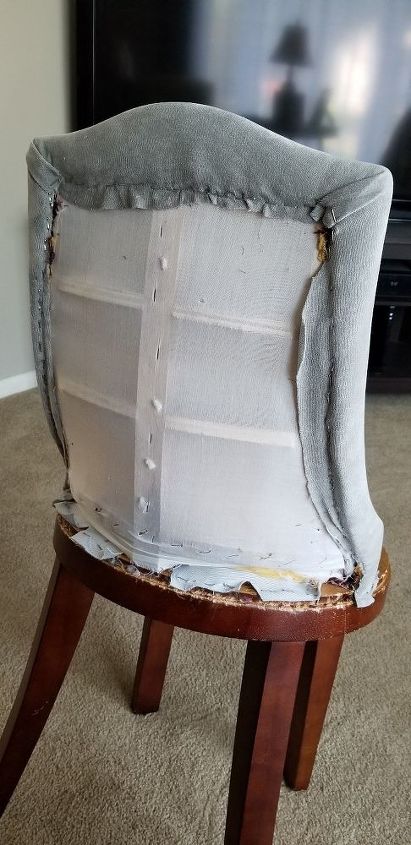
Again, using the old fabric pieces as a pattern, I cut new pieces for the chair. Beginning with the front, at the top, I stapled the fabric up an over the top edge. I then pulled the bottom of the fabric thru to the back and stapled into place. Once it was all in place, it was just a matter of pulling and stapling into place.
The finished seat was then put into place and screwed in from the bottom – not that it should have been at this point, but I really needed to see some progress after all of that staple removing.
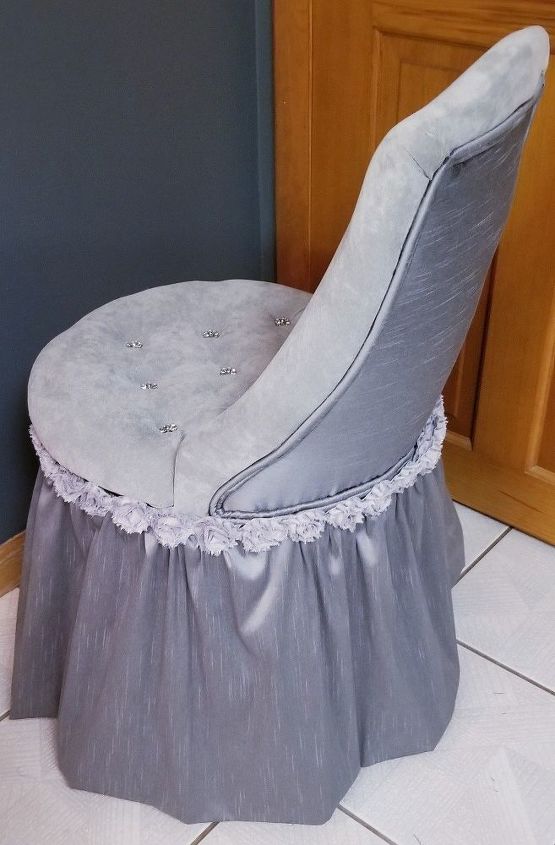
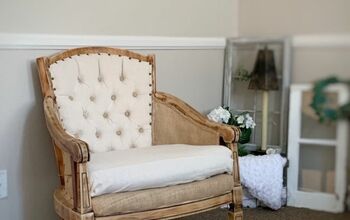
I used velvet for the seat and the front of the seat back and dupioni silk for the seat back and skirt. Everything was stapled into place. I made piping from the silk and glued it in place to cover the staples on the back. The shabby rose trim was used to cover the staples at the top of the skirt.
I used velvet for the seat and the front of the seat back and dupioni silk for the seat back and skirt. Everything was stapled into place. I made piping from the silk and glued it in place to cover the staples on the back. The shabby rose trim was used to cover the staples at the top of the skirt.
I’m pleased with how it turned out and it is going to look great with the vanity whenever that gets done. That said, I don’t think I’ll be doing any upholstery work like this in the near future. My fingers are cut and sore. I have a new found respect for my upholsterer and the prices that I am quoted. They earn every penny!


Any price and availability information displayed on [relevant Amazon Site(s), as applicable] at the time of purchase will apply to the purchase of this product.
Hometalk may collect a small share of sales from the links on this page.More info
Comments
Join the conversation
2 of 96 comments
-
Man, what a change. I have a little vanity chair that I have't gotten around to it.
I love the color you choose, and you did a great job upholstered it.

Please don't take it bad, but honestly I like it with the skirt & floral trim. But the beauty of DIY, is that we make it our own. Thanks for the inspiration.
-
Wow! For a first project, you did a fantastic job....she is gorgeous!!!


Frequently asked questions
Have a question about this project?