


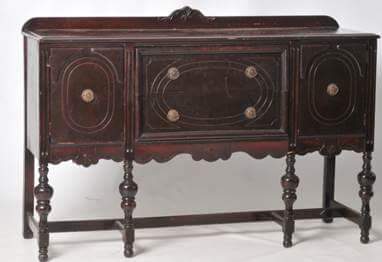
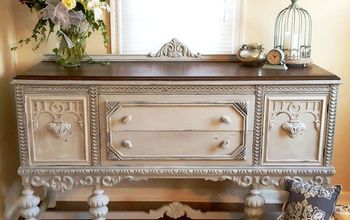
Is It a Buffet or a Sideboard?
5 Materials
Learn a little about the history of sideboards, and see a great transformation — including an unexpected surprise!
What do you call it?
Don’t you hate when you call something by the wrong name? All my life, I called this large piece of furniture that my grandparents had in the dining room a “buffet.” While that isn’t totally incorrect, the true name is a “sideboard.” Buffet is meant to be used as a verb, to dine, or a way of serving food, not the piece of furniture itself. What originally began as simple planks or boards set up beside a table on which to serve food–literally a “side board”–evolved over time to a status symbol with more and more grandiose designs. For families who were wealthy enough to have a room dedicated solely to dining, a sideboard made serving meals to guests easier, and with great style. Homeowners (or their help) stored their silverware, dishes and linens in the built-in compartments. Nowadays these tables, which can often be found at estate auctions and antique stores, are seen not only in dining rooms but in living rooms or hallways where homeowners want to display their collectibles or create an interesting accent piece.
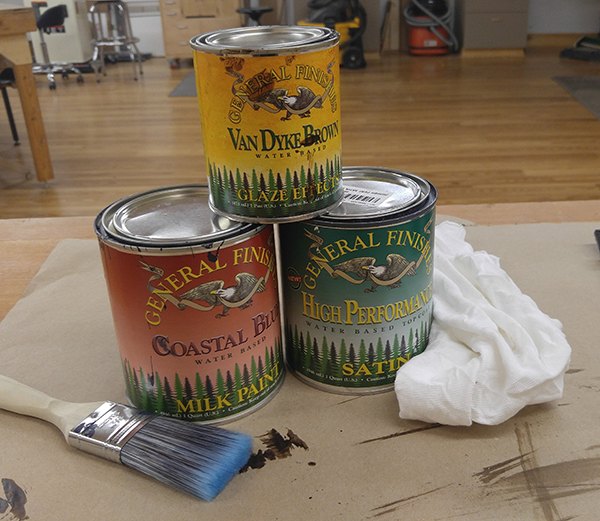
Supplies
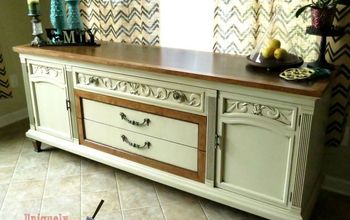
At one time the vast majority of sideboards were made with very beautiful wood, but I recently purchased a painted sideboard that I wanted to redo for my home. The color wasn’t terrible – a dark color distressed over time (or perhaps with intent, I don’t know) with red underneath – but it wasn’t the color I wanted. I had my eye on a beautiful deep blue color from General Finishes called Coastal Blue, one of their water-based milk paint products.
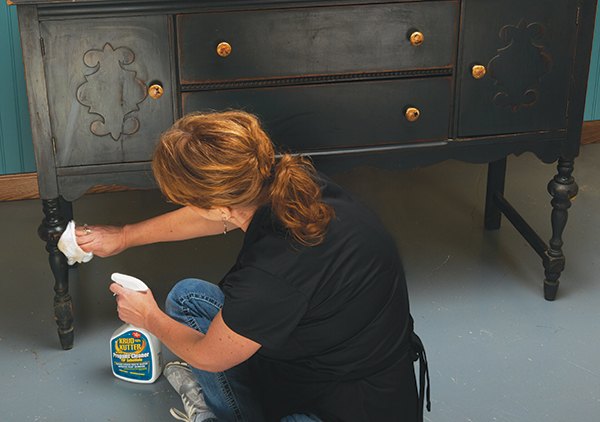
Clean the entire piece before painting
The first step was to prepare the surface for paint. Using Krud Kutter Prepaint Cleaner, a no-rinse TSP (trisodium phosphate) substitute, and a shop cloth, I went over the entire piece to clean it for better paint adhesion. Anytime you are painting, you will have much better results if you clean the piece to remove dirt or grease and knock down the shine with some sandpaper if it has a glossy finish currently on it.
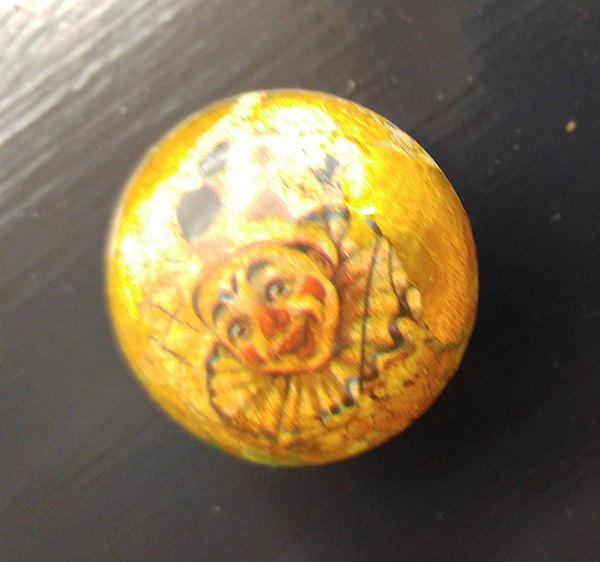
Surprise! Aren't they fun?
Next I removed the knobs so I didn’t have to paint around them. My original intent was to replace them with some snazzy new hardware, but when I removed them, I made a wonderful discovery! The previous owner, an artist, had created custom knobs featuring a different clown face on each one. Truthfully I’m not crazy about clowns, but these were so neat and because the artist is no longer living, I just had to keep them! I think they give my updated table some great character.

Time to paint!
The stretcher bar underneath the sideboard, which stabilizes the legs, was missing so a new one was created. We happened to have some scrap walnut in the workshop just the right size. Normally we wouldn’t recommend painting wood as nice as walnut though.
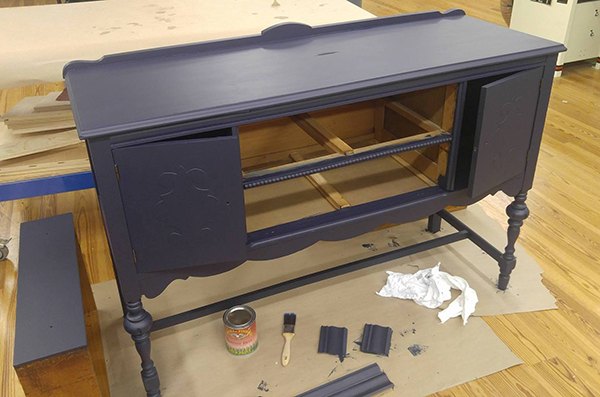
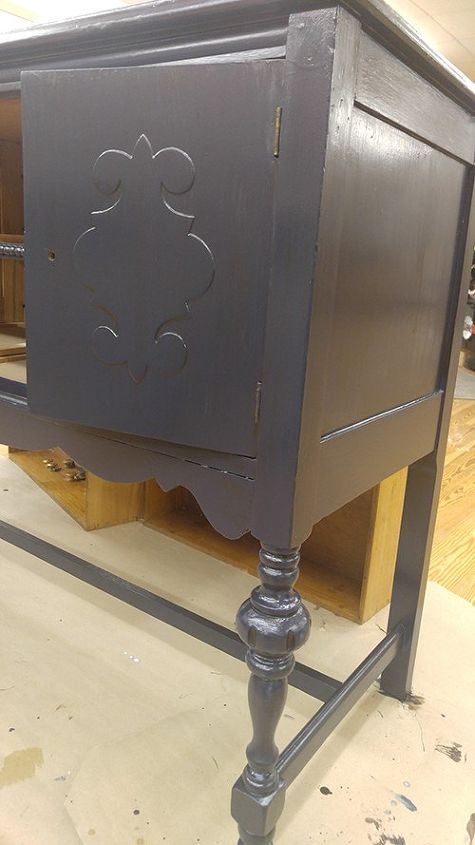
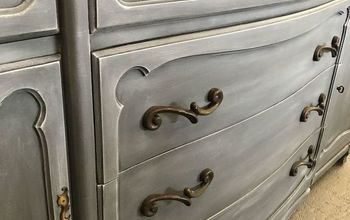
General Finishes Coastal Blue - amazing color
The blue was beautiful, but I decided to add some extra depth to the color by adding General Finishes Van Dyke Brown Glaze Effects over the blue. The glaze also gives a little more antiqued appearance.
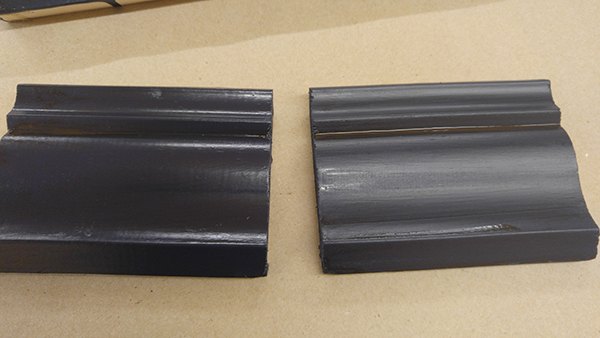
My experiment - topcoat before glazing or no?
I had originally considered adding the topcoat before glazing, but I did a test on some scrap molding to see how much difference it made. To my surprise, the only difference I could see was the sheen, which was going to be coated after glazing in either case. In the photo shown, the piece with topcoat before glazing is on the left. Since I used a dark color over another dark color, the contrast wasn’t as noticeable. However, with another color combination, it may look very different with each method.
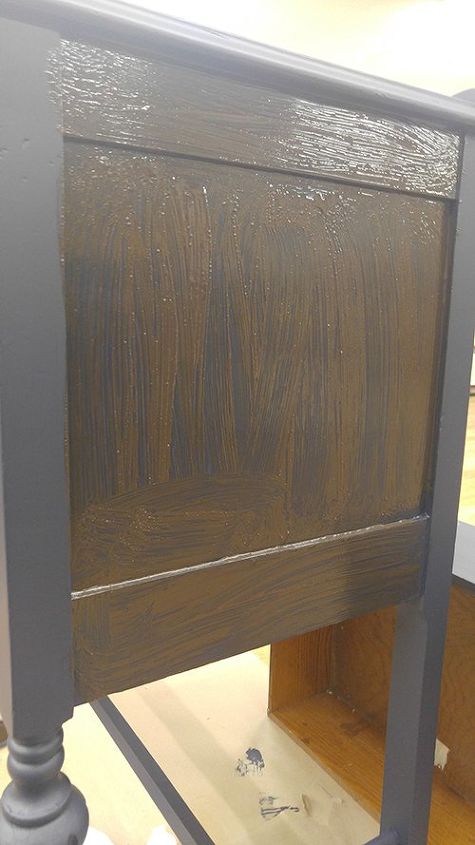
Add glaze with a cheap chip brush
Also, when working on large pieces (or in low humidity), General Finishes recommends adding 10% General Finishes Extender to the glaze. This gives you more dry time to wipe the glaze off. Again because of my color combination, I skipped that step, but you should do a test on scrap to determine what works best for your project.
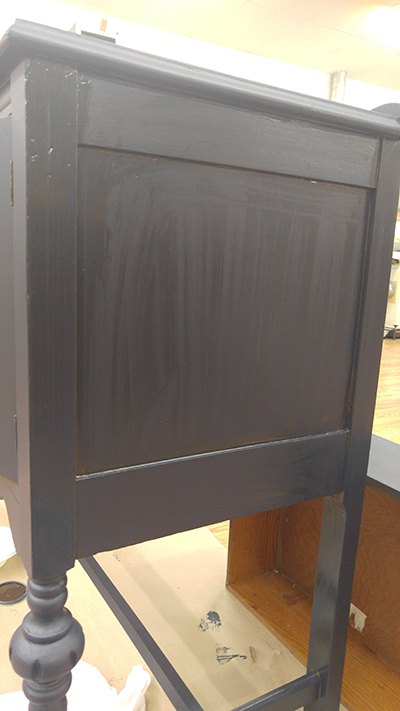
Wipe off glaze with clean shop cloth
Using a clean shop cloth, I wiped off the glaze, turning the cloth to a clean spot with each swipe. Don’t overwipe or you’re basically just moving the glaze around. Also be careful not to drag the “tails” of your cloth across what you just wiped.
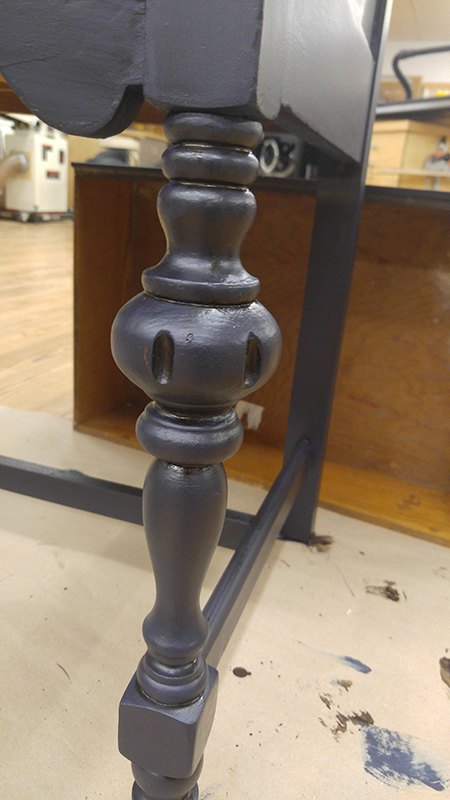
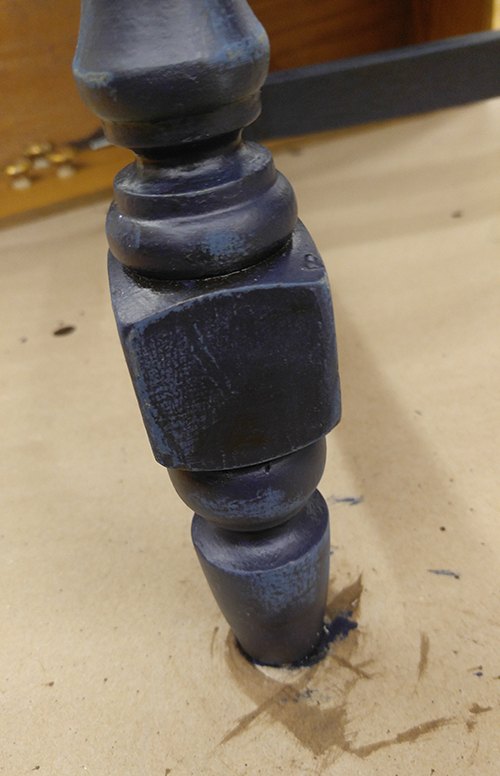
Table leg shown after glazing—subtle, but adds a little dimension.
Light distressing
After I completed the glazing process, I debated about adding some distressing to the piece. (Sanding off what I just did scares me a little!) Since I had the little molding samples, I did another test sanding off a little bit of the edges. I liked how it brought out a little lighter shade of blue. So I used 320-grit sandpaper and lightly went over all the edges and places where the table might normally show wear over time. It is a personal preference on how much paint to remove—mine is pretty subtle but just enough to take off that “new paint feel.” In retrospect, I wish I had distressed it a bit more, as what looked very dramatic up close wasn’t nearly as visible when viewing the piece from a normal angle.
Almost finished – after letting the glaze dry a few hours, I gave the entire piece 2 coats of HP Topcoat (3 coats on top) to seal in the color, drying for several hours in between. Since the top of the table will get more punishment on a daily basis, I amped up the protection with 3 coats of blue and 3 coats of topcoat.
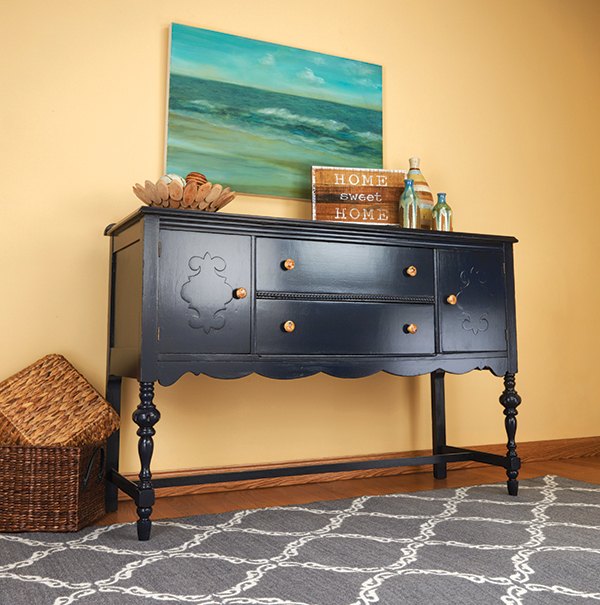
What do you think?
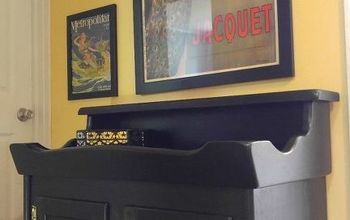
Here is the updated sideboard, and I must say, I really love how it turned out! But I’ll probably still call it a buffet.

Want more details about this and other DIY projects? Check out my blog post!
Comments
Join the conversation
4 of 5 comments
-
Its all semantics! Sideboard or buffet.....sofa table or console. A rose by any other name is still a rose. You did a great job! I love the clown pulls (handles). A bit of historical character.
-
So amazing!


Frequently asked questions
Have a question about this project?