


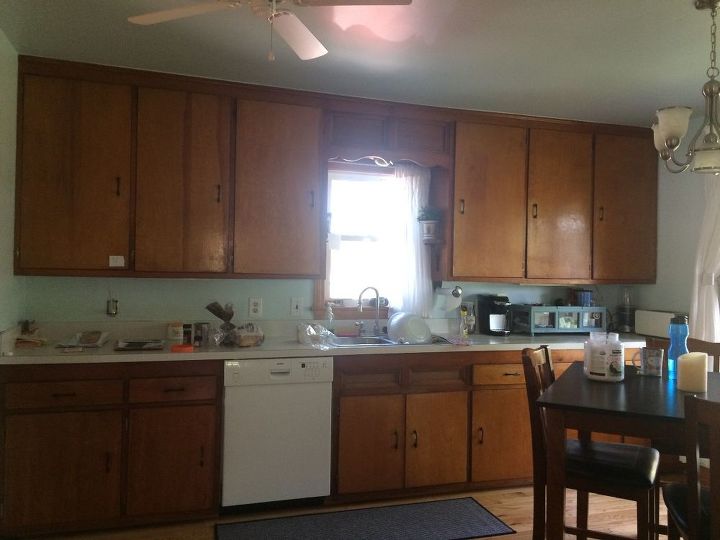
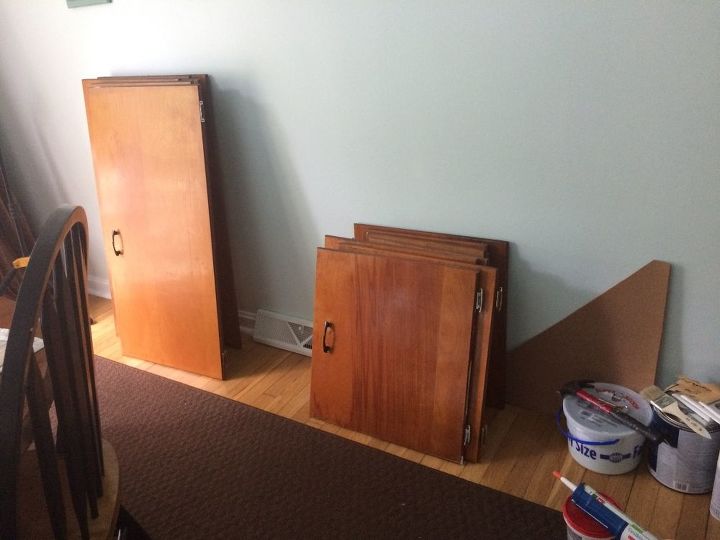
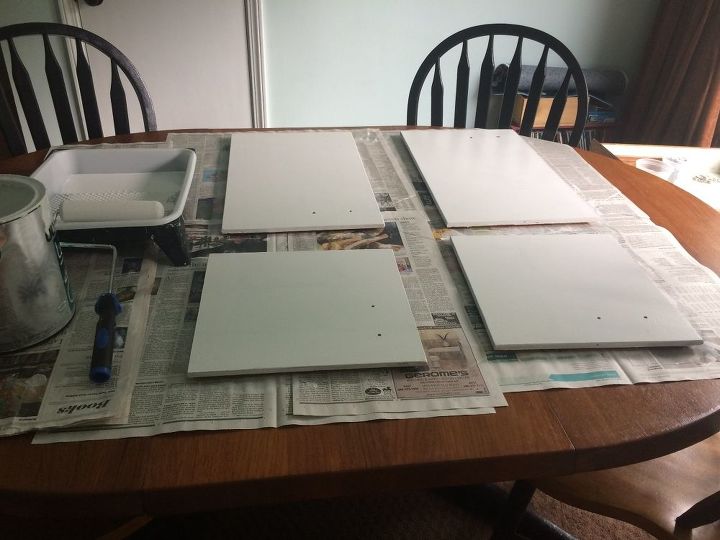
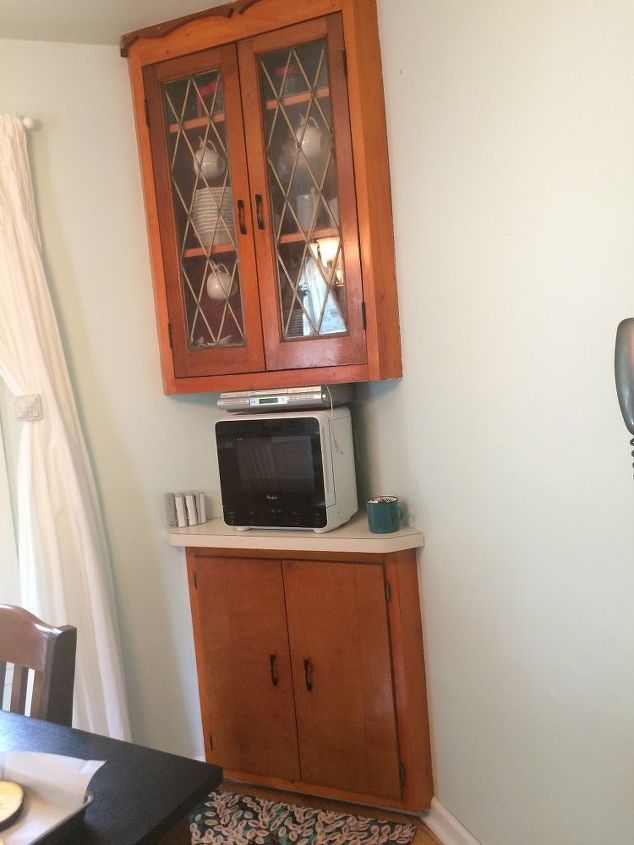
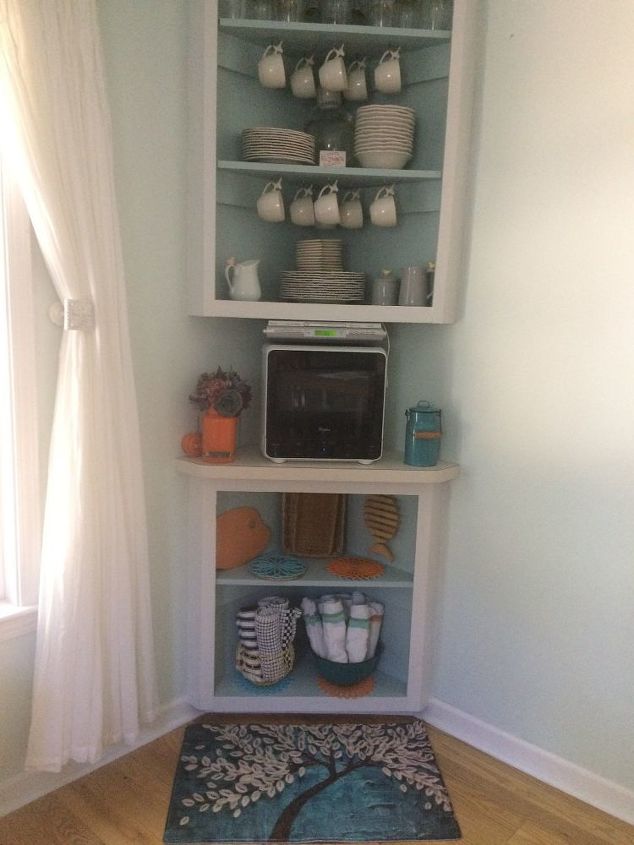
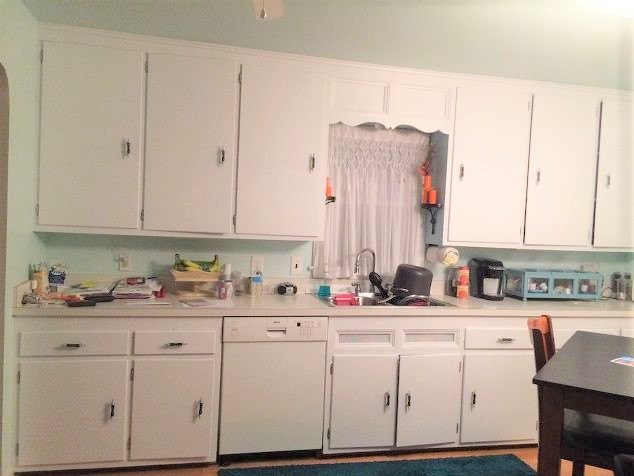
Kitchen Update


Resources for this project:
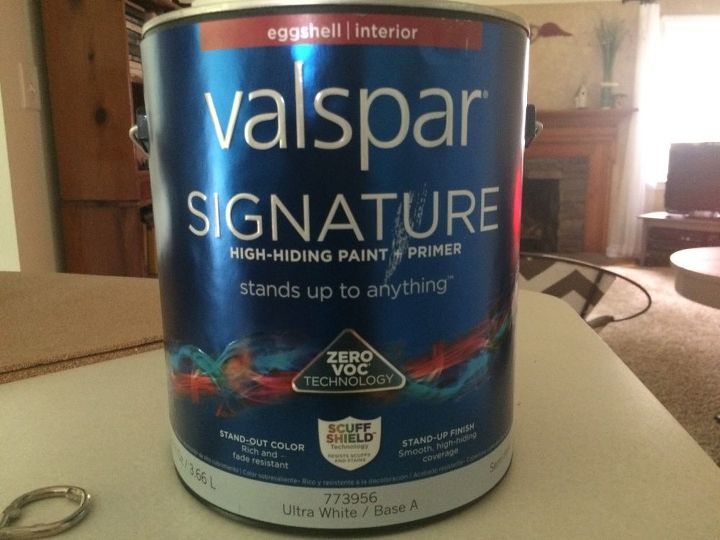
See all materials


Comments
Join the conversation
-
U should b very PROUD of your self!! U did a GREAT JOB!!!
-
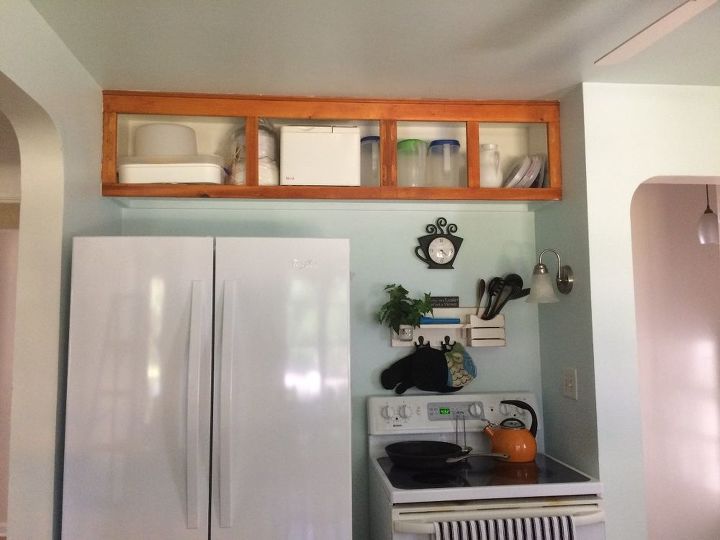
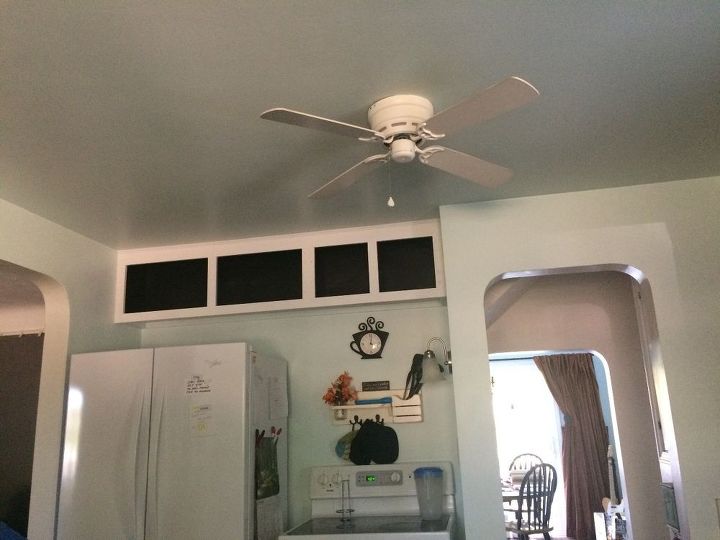
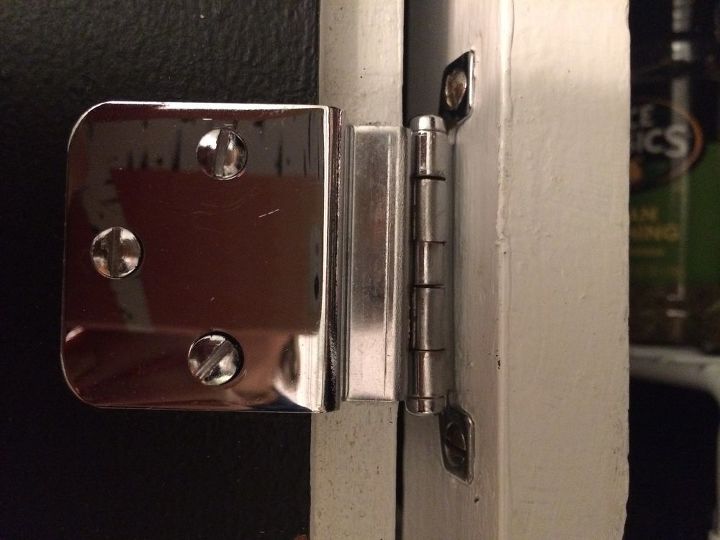
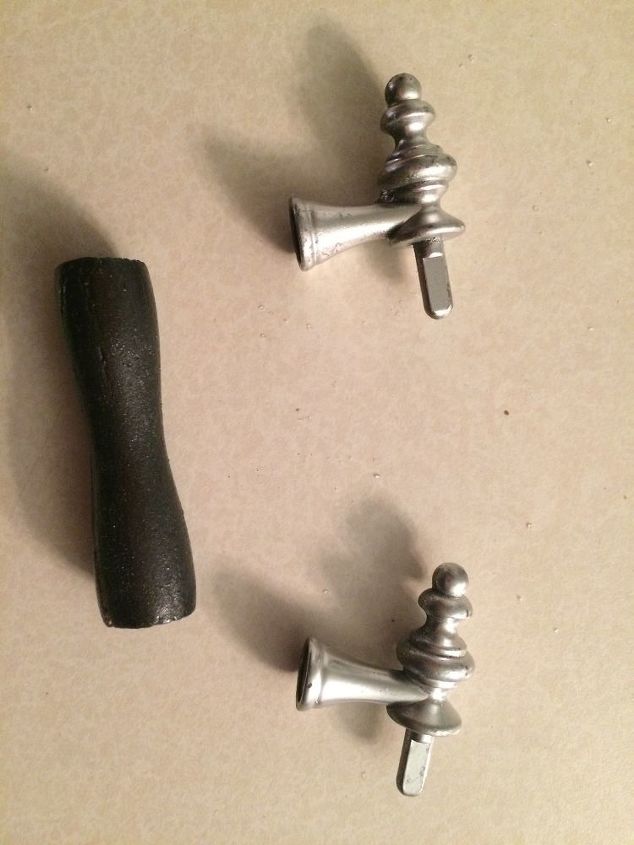
Wonderful job. I can see why you are Tickled Pink! I love the light blue walls and am particular keen on your corner cubbie. Yes, teal and orange go well together. I am in the process right now of updating my disgusting kitchen c. 1987. Usual faux wood pressed board in a mobile home. I am taking it very slowly as I am not physically well, but am doing better than I thought. Now on the home run and about to put up all the doors. I sprayed the old hinges black but bought new handles. I used General Finishes milk paint which required no sanding or priming and looks fantastic, even though I say it myself. What is your next DIY project? Oh, I see this is a very old post so you have probably done something else by now, just as remarkable or even better.


Frequently asked questions
Have a question about this project?
What did you use to clean the doors before painting? Beautiful transformation.
I want to try this project. I have original pine cabinets which look awful despite trying numerous things to clean them. What did you find to clean yours? Would the Krud stuff clean them up? Thank you.
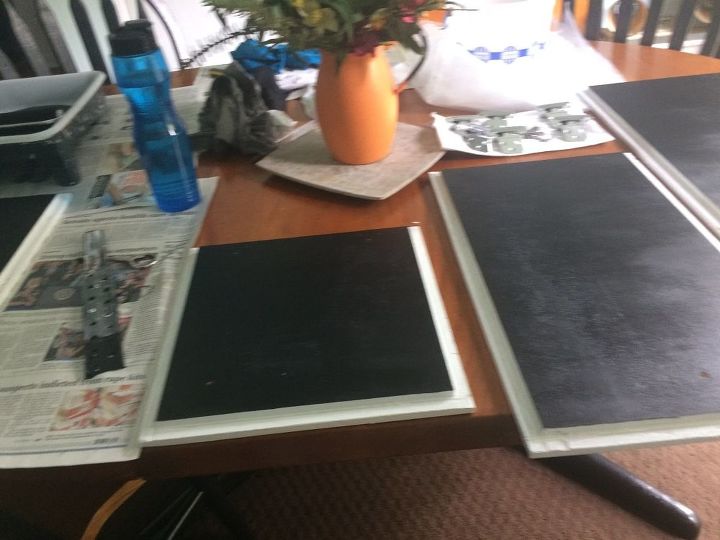
Did you use a brush, roller, or sprayer?