


Little Cabinet Gets Some Love!

7 Materials
$25
2 Days
Easy
We are always on the lookout for anything wood that we can do something with. I saw this little cabinet on a facebook page, and went to get it. I wasn't really sure what I was going to do with it, but I knew something would come to mind. Until then, it would hang out in the garage with the other "to be determined" projects. lol
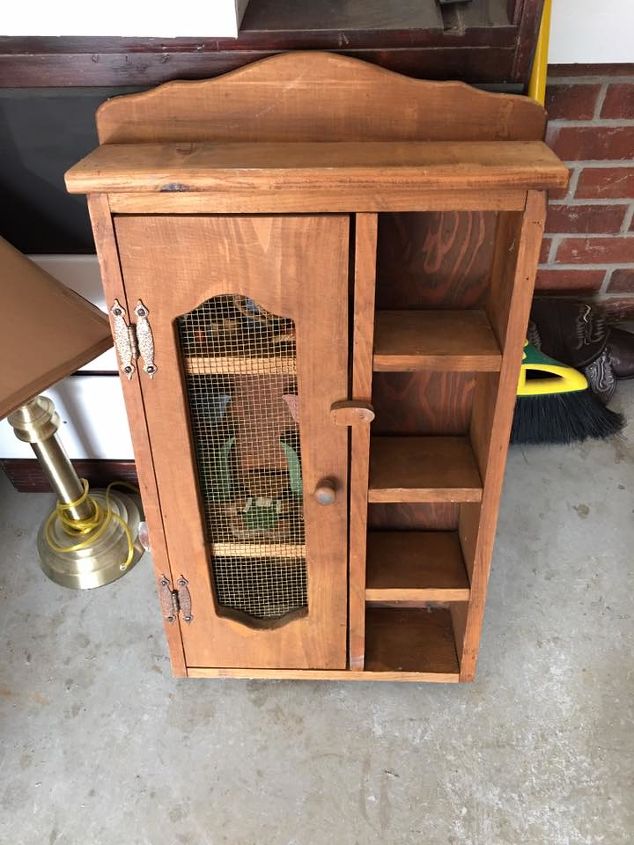
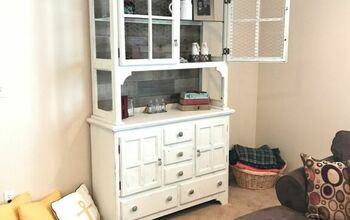
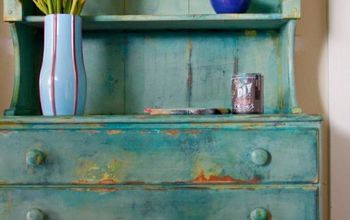
Here she is! Cute right? Not really "in" though, but I was certain that would be easy to fix. So, disassemble and sand was the first step. I went crazy and base coated in a moss green. Sometimes I just want to do something different!
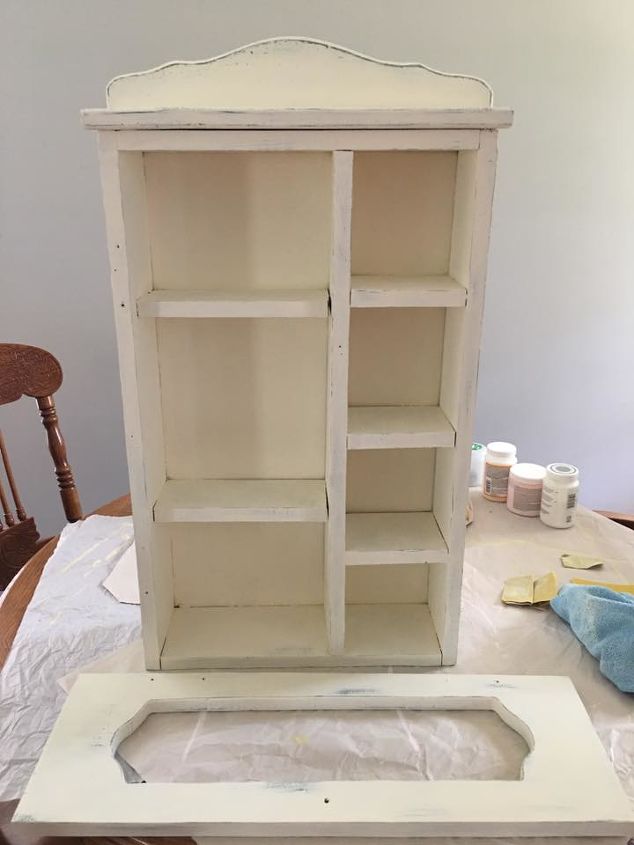
Next I chalk painted with Waverly Ivory chalk paint. Are you wondering why I base coated in green? Well, that was so I could distress with some sandpaper (normally I go with a 320 grit for distressing) and let some of that green show through! I also go over the entire piece with the sand paper (lightly) which gives the piece a nice soft feel.
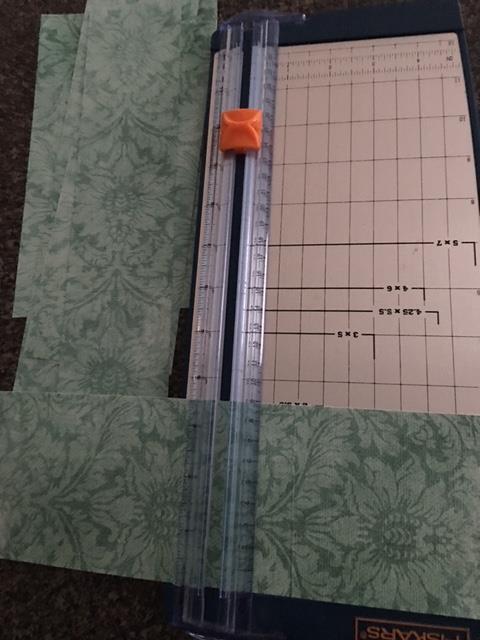
It seemed like something was missing...so, I bought some scrapbook paper that I thought would be a nice complimentary color. I used my Fiskar to cut the paper to the right dimensions, and modge podge did the rest! I purchased a new knob, and then decided the hinges should match...so, I painted them black, let them dry, smeared a bit of vasoline here and there, then spray painted white. Once the paint dried I wiped off the vasoline and there you have it!
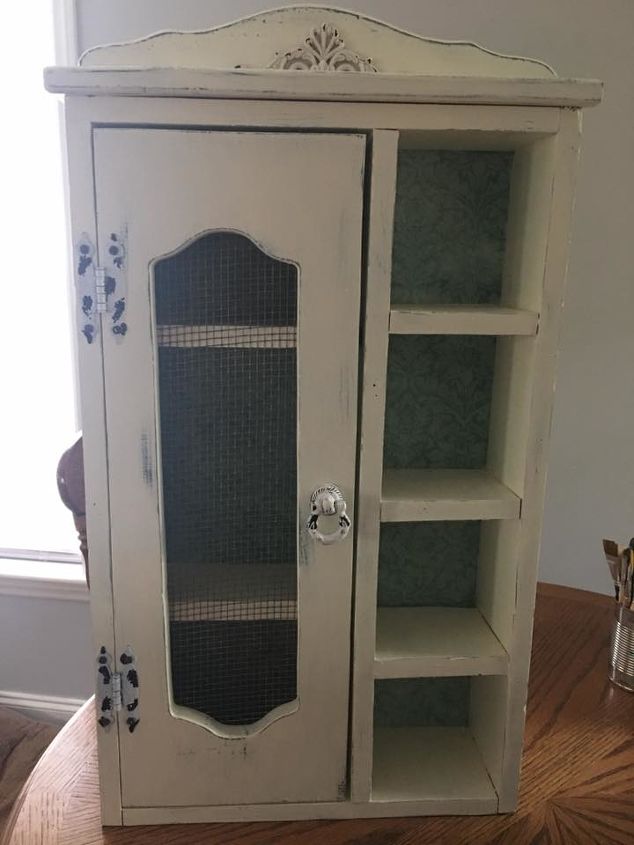
Here she is all complete. I did put the mesh back on the door. Plus added a small decorative piece to the top that I picked up at Michael's.  And of course sealed with some poly!
And of course sealed with some poly! Comments
Join the conversation
3 comments
-
Adorable!

-
Oh it looks so sweet now!


Frequently asked questions
Have a question about this project?