


Must Read Furniture Refinishing Tips
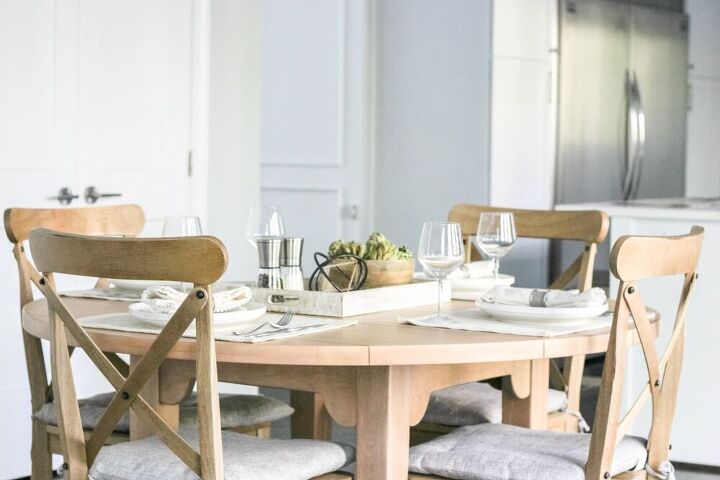
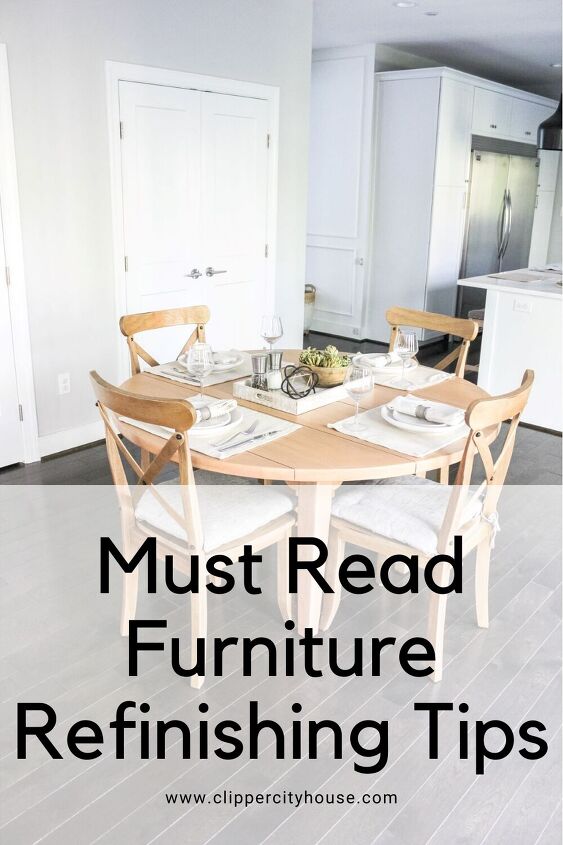
Today I am sharing the reveal of our kitchen table transformation! As with any DIY, there was joy, frustration and everything in between. If you are considering refinishing furniture, you must read my furniture refinishing tips so you don’t make the same mistakes we did! In this post, I’m sharing helpful furniture refinishing tips applicable to how to refinish a maple table but these tips are applicable to any furniture refinishing project.
Disclosure: This post contains affiliate links. If you click through a link and make a purchase, it will earn me a small commission, at no additional cost to you! See our disclaimer for details.
We moved into our home two years ago and this is actually our second furniture refinish project (along with 1000 other projects).
The first one was a China cabinet we bought off of Facebook marketplace. It was a gorgeous cabinet but it was a golden honey color stain and I was going for more of a gray/oak look. I still need to get a blog post up on this one so you can hear what ultimately happened with this cabinet but the short version is that I said I would never refinish another piece of furniture again…
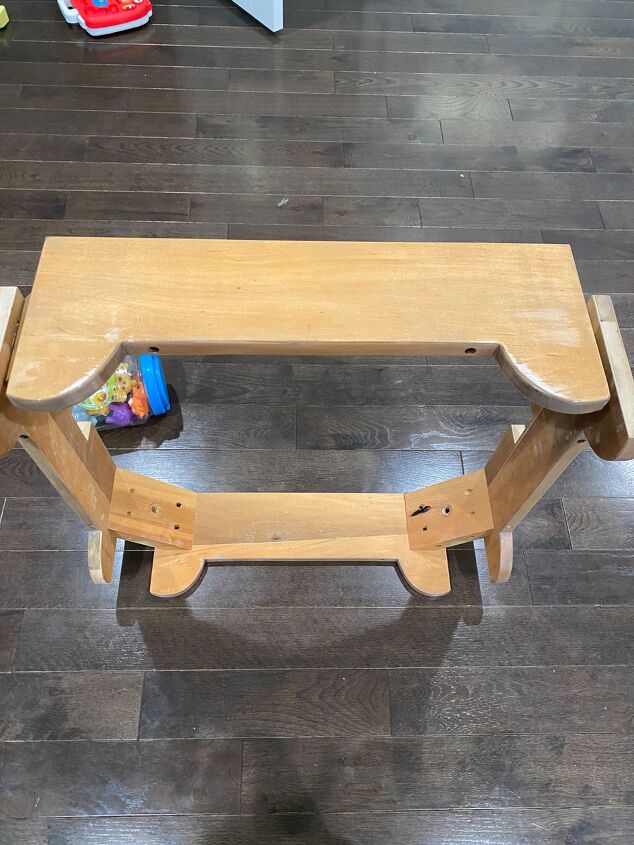
I have been wanting to refinish the kitchen table since the day we moved in. This table was a hand me down from my husbands family. It’s a solid maple wood table in a honey golden finish. I think it was originally from Pottery Barn and it has already been refinished once.
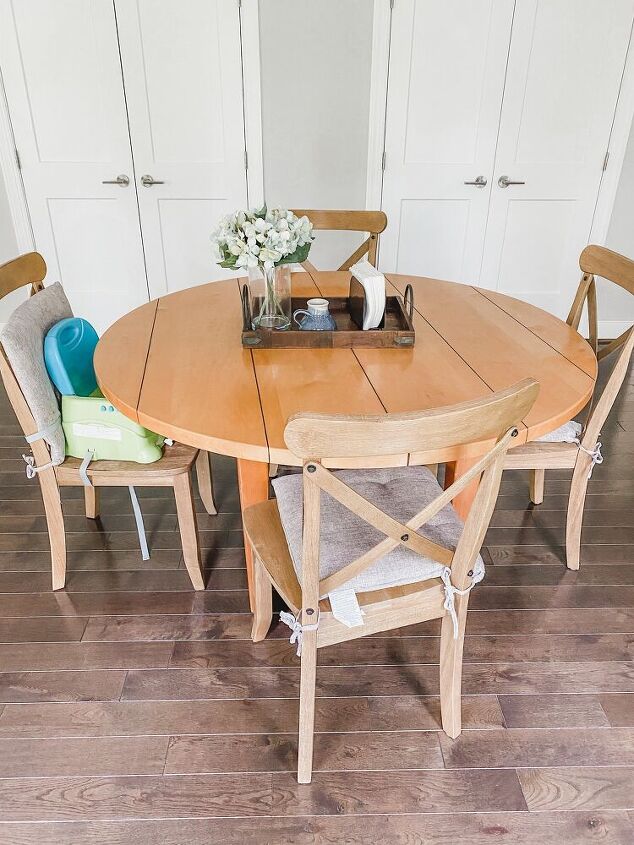
I am not totally sure what prompted us to start this in the middle of the Summertime but I think it was because we were refreshing some items in our kitchen. I really wanted the whole space to feel finished!
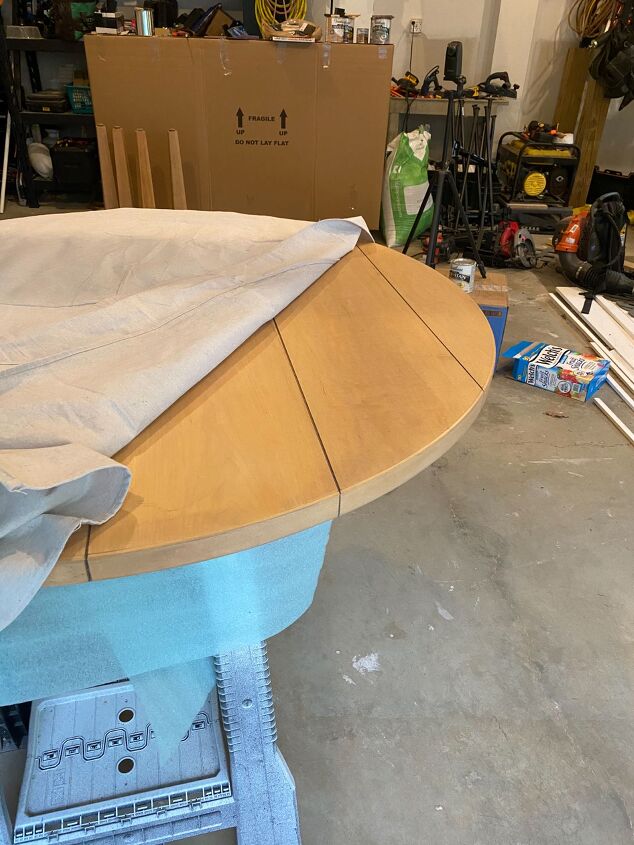
So the decision was made and on a Thursday evening, we took apart the table and moved it into the garage to get started.
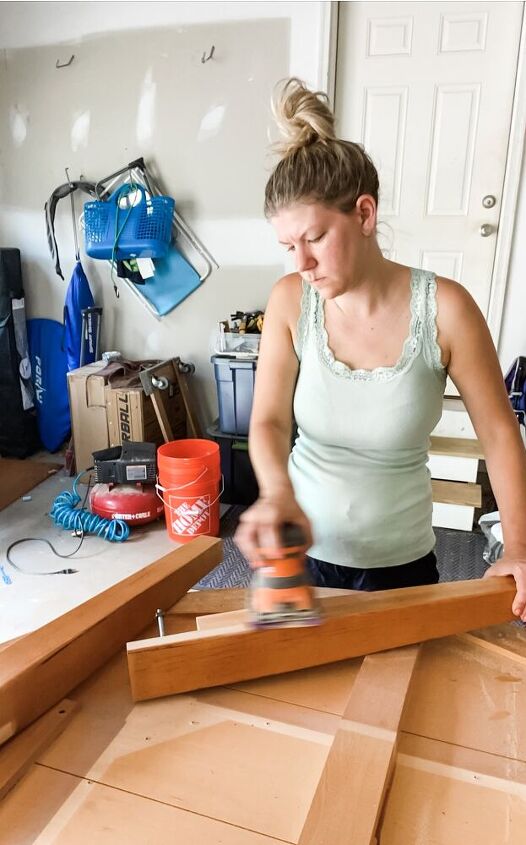
Friday mid-day we got started on sanding. I have actually never used a sander before but it really wasn’t too hard. I did about half and Kris did the other half. We started with a 150 sanding grit to remove the old stain and polyurethane and then went over everything with a finer 220/250 sanding grit. The original maple looked so pretty underneath and I was getting very excited!
You can see some cool timelapse videos of the sanding process over on my Instagram stories highlight called “table”.
I actually thought the sanding went very well. It was much easier then the China cabinet because all of the surfaces to be sanded are flat. It was much faster than I thought it would be too. About halfway through, I asked Kris which was harder, sanding or staining. He said staining without hesitation. I thought it would have been the opposite so I posted a poll with my Instagram followers – they also thought sanding was harder.
I think in many cases sanding is harder but not in this case so I must admit, my husband was right!

So this is a good time to mention lesson learned #1 – do your research. I guess because we had just completed our mudroom bench seat which was also stained, I thought that we knew what we were doing and that it would not be very difficult. Keep reading, here is where the fun begins!
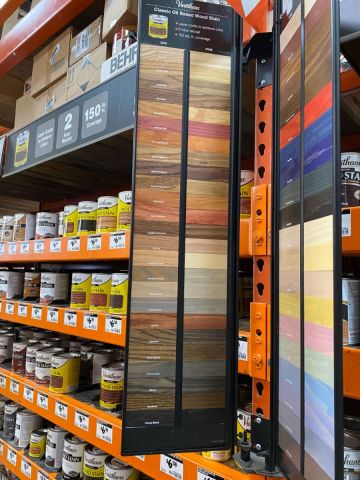
After the sanding was done, I was off to home depot to pick out some stain colors. I was going to that gray/oak type of color for the table. There were SO many to choose from!

I also asked two friends for advice. The first friend uses the same stain as I do but she mixed colors which truly would make the color options endless! The second friend used a custom color from Sherwin Williams. I don’t know why I automatically went to The Home Depot. I just went into autopilot and did the same thing that I did last time.
I typically do all my paint shopping at Sherwin Williams. They are paint experts and so they usually offer very helpful advice.
So I left Home Depot with 5 different color samples to try!
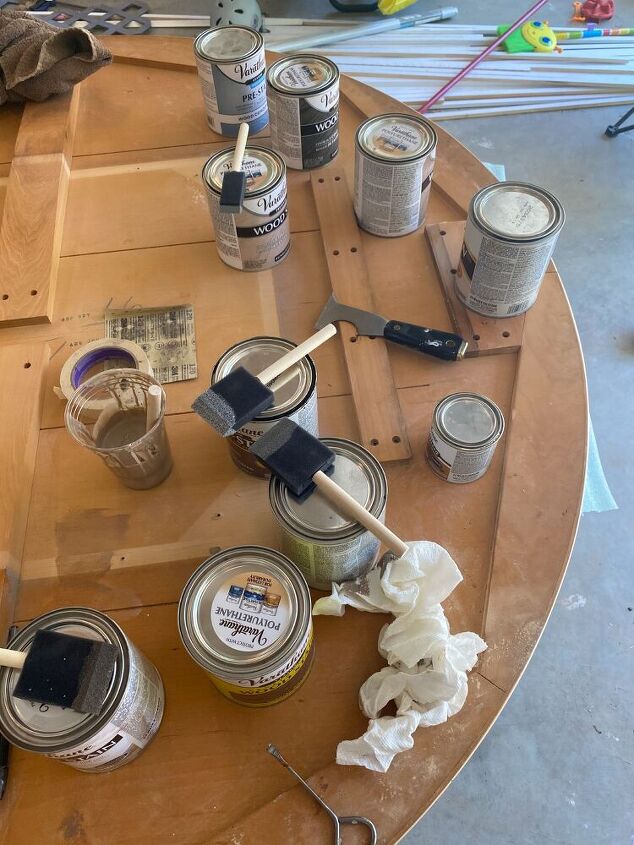
When my husband went to Home Depot Saturday morning, I actually had him pick up two more samples! We put all the samples on Saturday morning on the underside of the table. I was in between Flagstone and Weathered Gray.
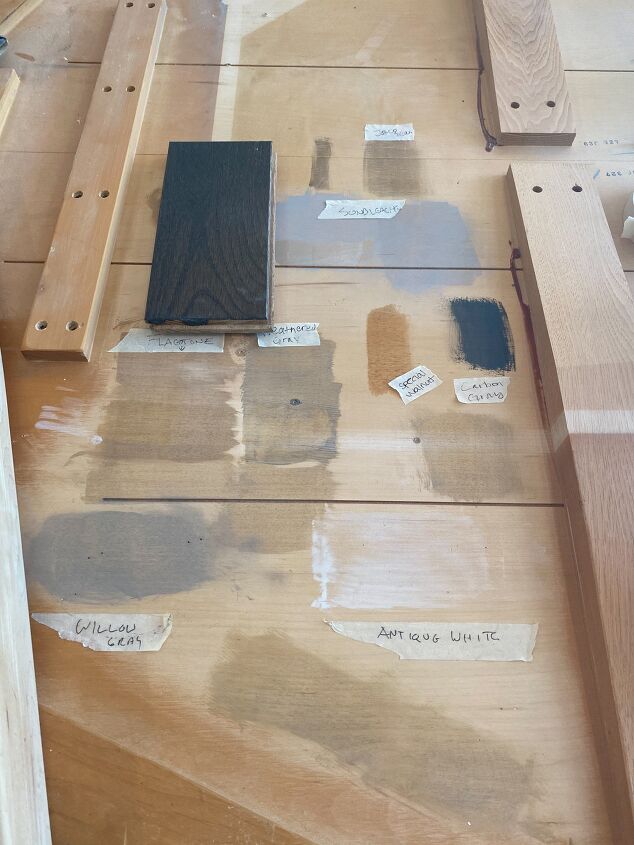
You should also pair all your other finishes with the test spots. It just helps to see everything together – just like a design board! I used a hardwood sample but I didn’t have a paint sample! Lesson learned # 2 – create a little design board – doesn’t need to be fancy! Eventually I did bring the testers inside to actually see it in the space. Our walls are gray so I didn’t want to use a gray stain which may blend in too much.
I got a little worried that the flagstone would be too dark so I decided to mix in some white… I tested the color a bunch of times underneath the table (albeit in bad lighting) and decided, let’s do this! So I went off to Home Depot to get a sealable can to mix the stain in and to store the stain in case we ever needed extra.
Lesson learned # 3 stain colors can look very different depending on the type of wood. I did not realize that maple was a hard wood to stain but many of the stains I tried where showing up as that golden/honey color that I was aiming to change.
Lesson Learned #4 view your stain samples in all different lighting environments. It will make a difference for sure.
Ok so once I said “let’s do this” – we did it. And we did then entire table. Looking back, we should have definitely done an entire leg but not the entire table!
Lesson learned #5 – can you tell that this is where we started to hit road blocks? Don’t stain the entire table with the color you have chosen.
Once everything was stained, we tested one part with the poly and we felt like the table was giving off that golden honey glow. Noooooo. It especially came through with the polyurethane.
Lesson learned #6 – some stains have a poly mix which seals the wood in coat #1. What this means is that since one of the stains I mixed had poly in it, it was really hard to add additional coats and see a noticeable impact….
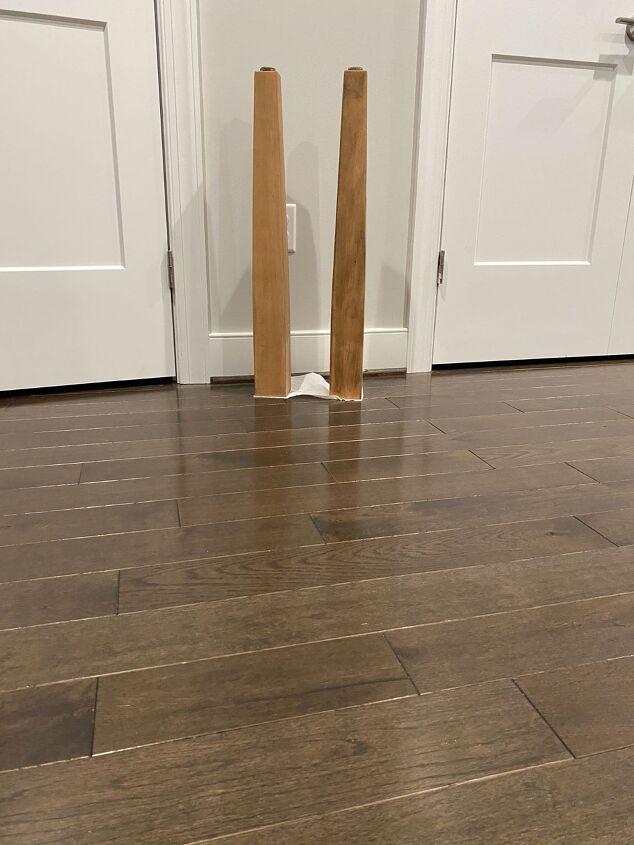
At this point, we thought we would have to start over! Luckily sanding didn’t take that long, right?? So we sanded a few of the legs and started to try the stains (without mixing) and the polyurethane samples again. We tried the 2 colors we were in between with one coat, two coat, etc. This time I looked at them in different lighting too. The problem with having the stain samples on the underside of the table was that I could not carry that inside!
Even with all those tests, I still was undecided what to do and decided to sleep on it.
Sunday morning rolls around and I start to research polyurethane and wouldn’t you know that there are multiples types. The most common are oil and water – lesson learned # 7 coincides with lesson learned #1 – do your research. So off to Home Depot I went to get the water based polyurethane – fingers crossed!
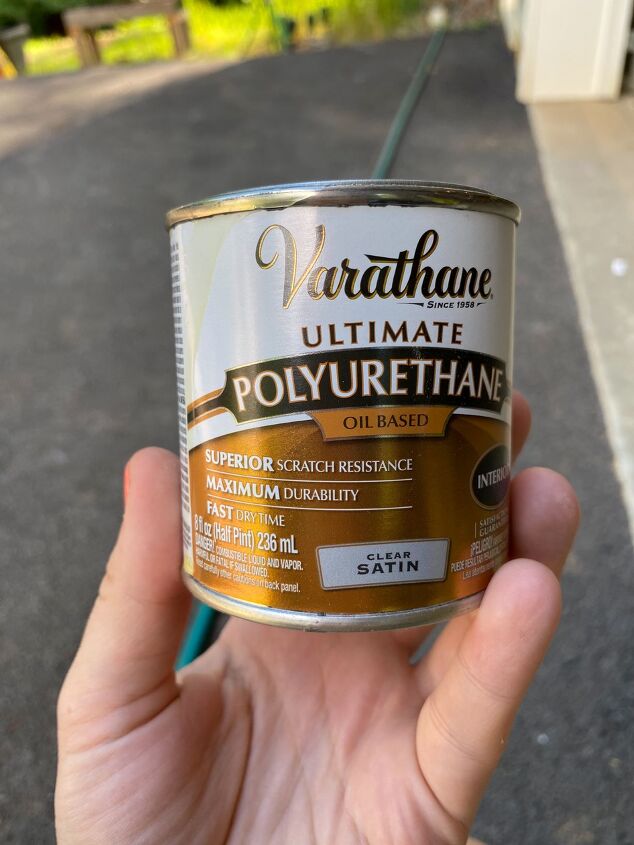
When I got to home depot, there was a fairly large sign right above the polyurethanes that explains the difference in oil vs water based polyurethanes. Oil based gives it a warm golden hue and the water based is crystal clear! Wahoo! Water based for the win!
There are also different polyurethane sheens just like in paints – glass, satin, matte, triple coat etc. I actually didn’t realize that there was a matte but that is the sheen we went with! In our mudroom, we went with the satin and we like the satin sheen too.

I decided to try a piece that had 1 coat of the mixed stain plus one coat of the flagstone. We added the water based polyurethane and while we were waiting for that to dry, we were cautiously optimistic! Then, we looked at the color in all kinds of lighting and decided that we thankfully did not have to start over and could continue by adding another layer of the flagstone stain and changing the type of polyurethane! Phew!!
Although we did have to re-sand our tester legs, that was redone in no time! So 7 lessons learned later… I figured I would share them for other non-furniture finishing experts that are thinking about taking on a project like this.
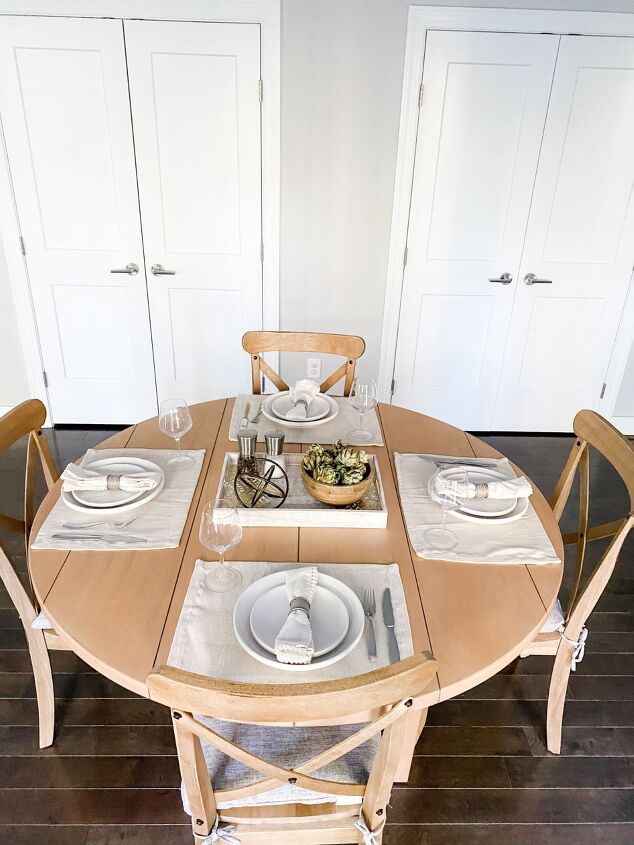
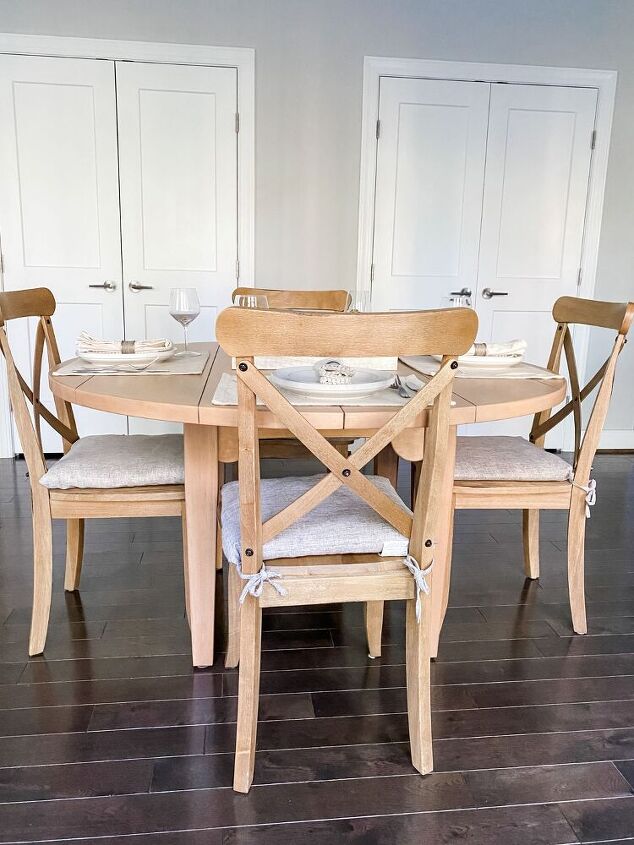
Overall, it was an easy project and we saved a lot of money by refinishing a perfectly good piece of hand me down furniture. The pictures here have our current kitchen table chairs but I have picked out new ones and am also thinking about adding a rug! Update – I have ordered a rug!! Can’t wait until it arrives!
I’m hoping that these furniture refinishing tips were helpful to you! Do you have a piece of furniture that you would like better if it was refinished? I would to hear if you have tried or are thinking about tackling a furniture DIY refinish project!
STAY CONNECTED & GET ALL THE LATEST!

Comments
Join the conversation
-
Lots of great tips. Table and chairs look amazing. Great share


Frequently asked questions
Have a question about this project?