


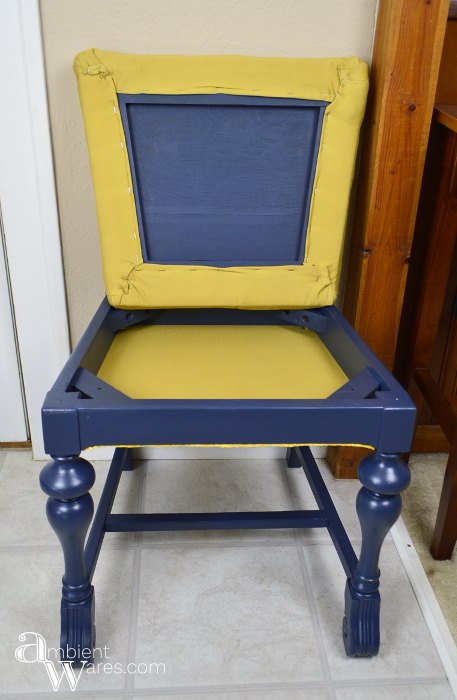
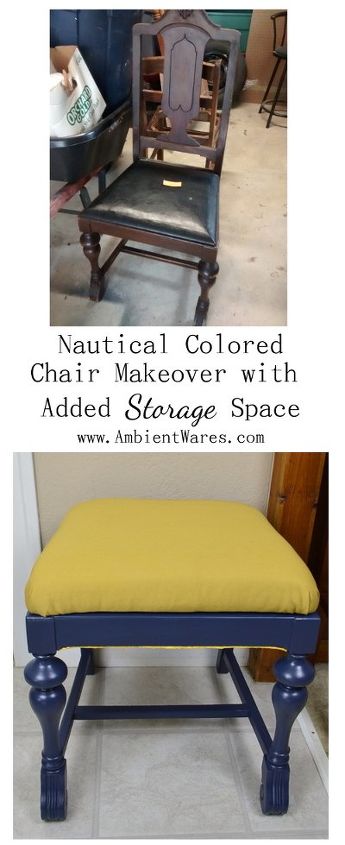
Nautical Color Chair Makeover With Added Storage
13 Materials
$7
3 Days
Medium
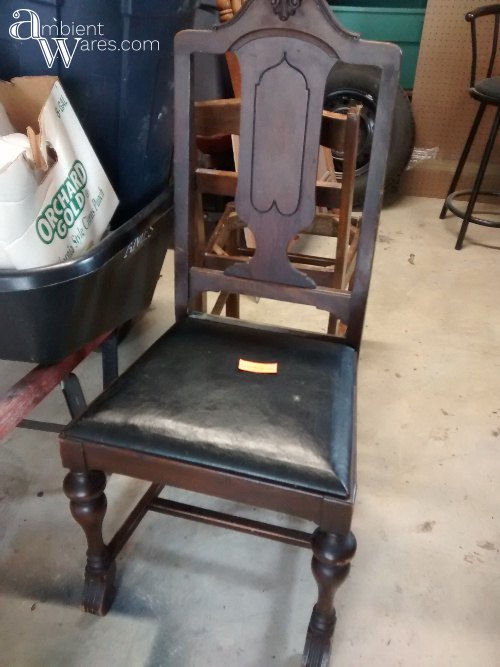
I spent $5 on this chair at the local thrift store and can you believe I'm so cheap I rarely spend that much ;)
Let's just say I thought I'd use it as a foot stool in front of the couch but, it was too tall and didn't even find out until it was done because I didn't measure first. Silly me.
I approached this chair in a similar way as this chair makeover I did but, I like the way I did the first one MUCH better.
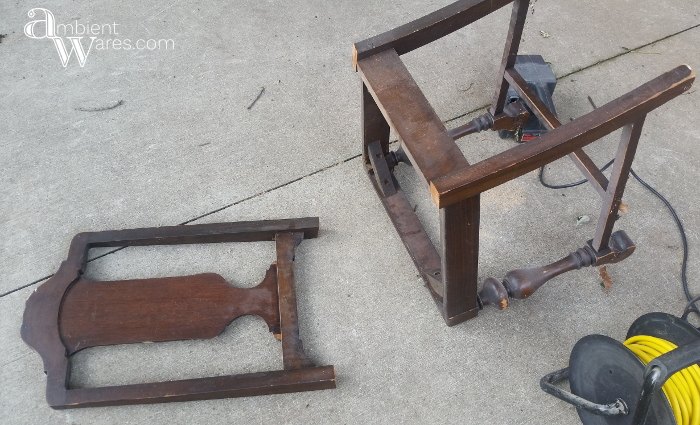
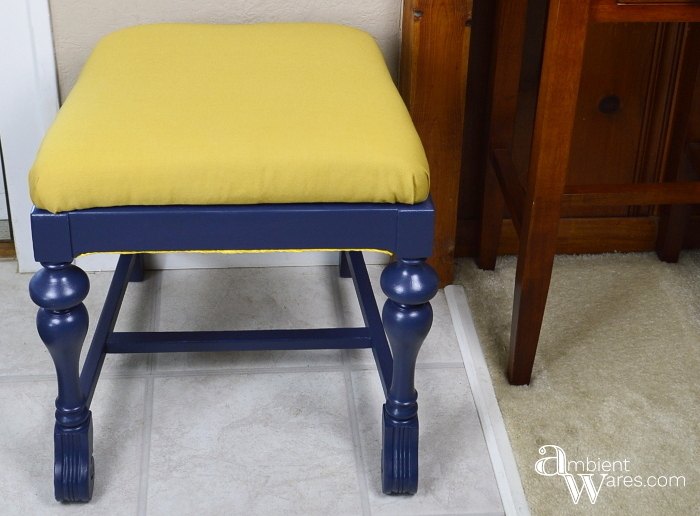
I first sawed off the back using the jigsaw.
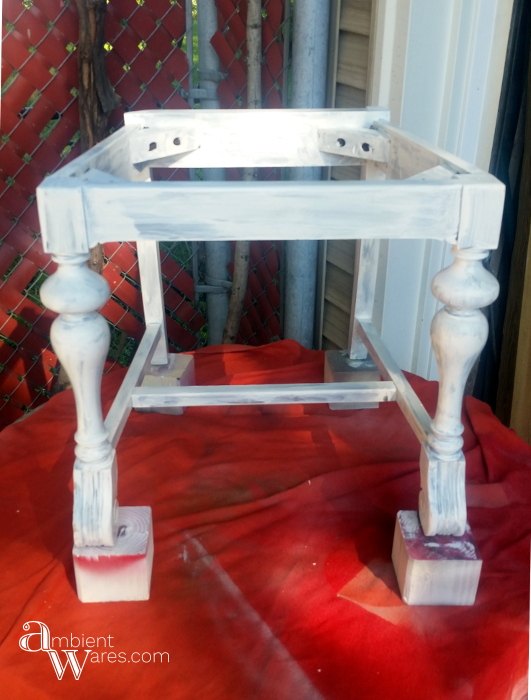
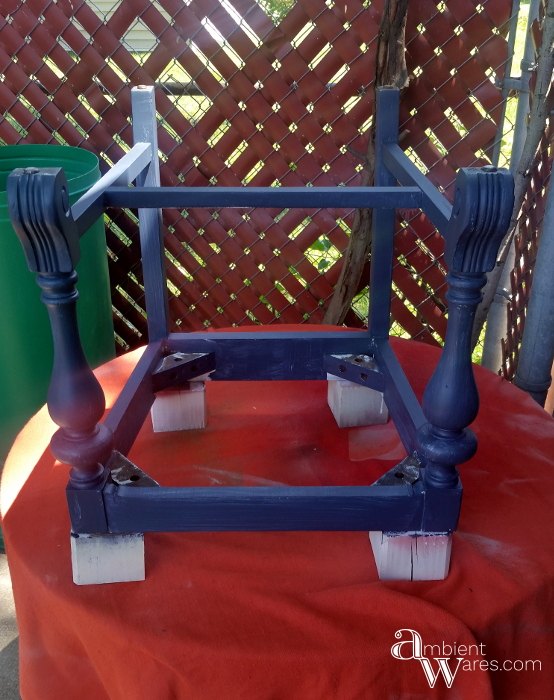
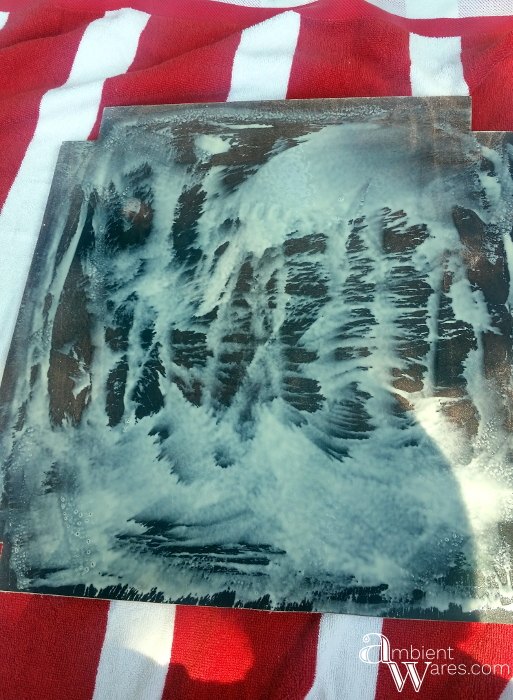
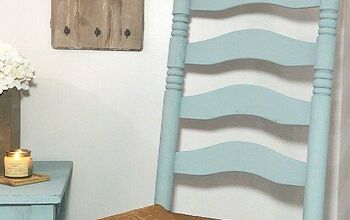
I then moved on to priming and painting with a gorgeous navy blue latex paint. I lightly sanded between coats.
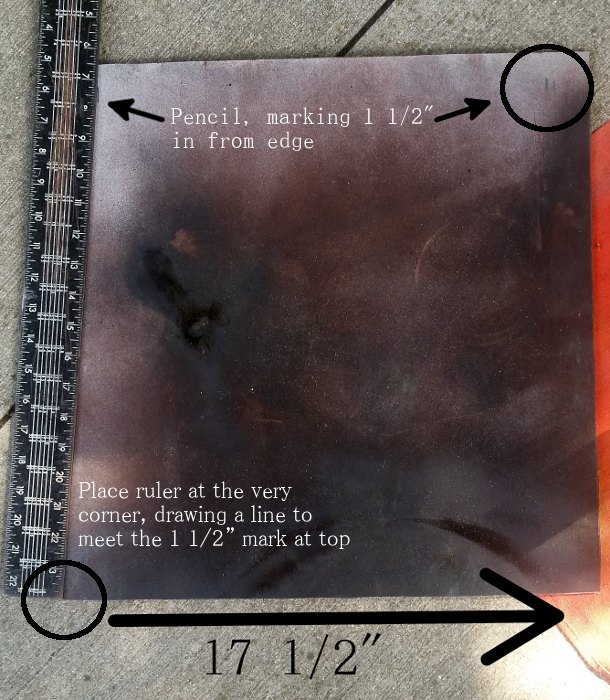
I used a junky piece of wood for what would become my hidden storage base. When measuring the underside of the chair, where the scrap piece would go, I found the longest edge would have to be 17 1/2" so I cut a 17 1/2" square.
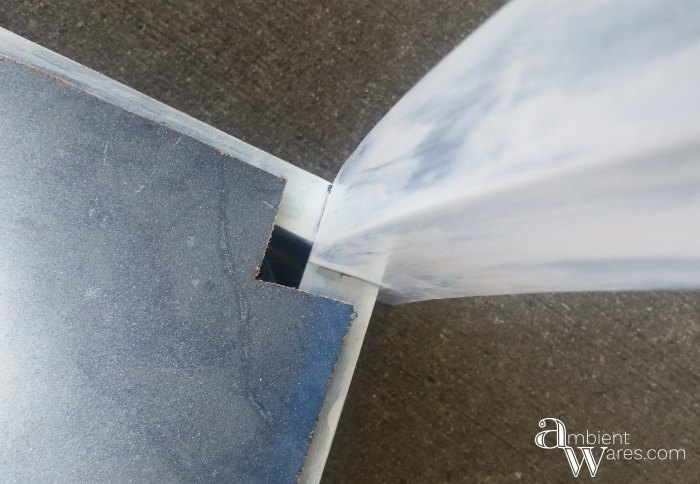
In figuring out the taper, back to the more narrow spot of 14 1/2", I had to subtract 14 1/2" from 17 1/2" which is 3". This means I'd measure in 1 1/2" on either side of the 14 1/2" part and draw a straight, angled line from the 17 1/2" sides all the way back. That would also then give me the 15 1/2" sides I'd need. I also had to cut out notches for the legs.
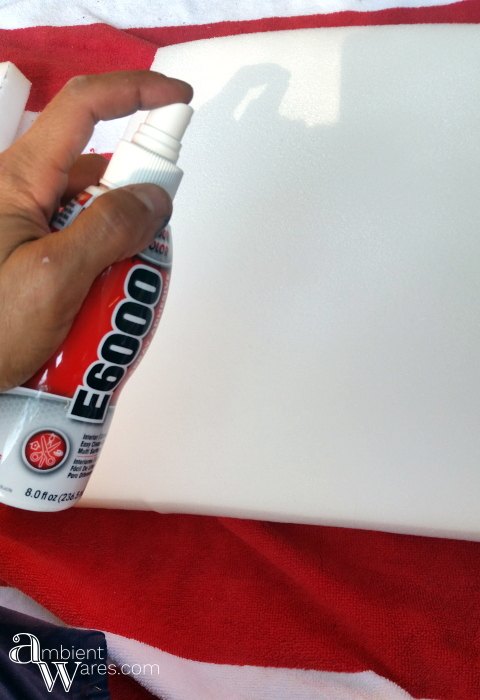
For the cushion, I used an old drapery panel I'd dyed a darker yellow some time ago. I also had a roll of 1" thick foam so I doubled it up making it 2" and glued them together with a spray adhesive.
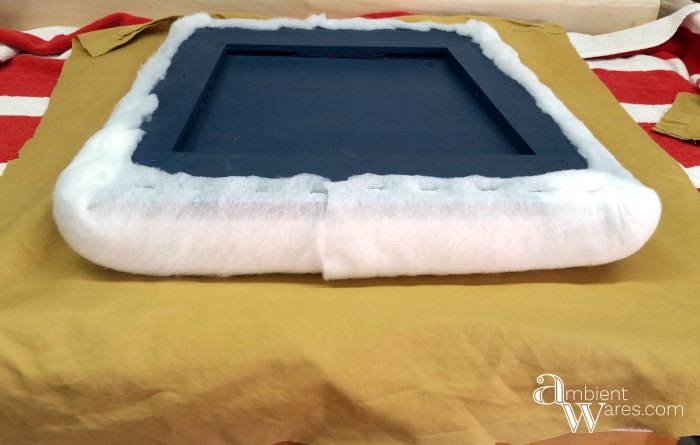
I laid the fabric down, followed by batting, then foam, and finally the seat and pulling tight, used the staple gun to secure.
For the "shelf", I glued down the same yellow fabric to one side of the scrap wood and trimmed it leaving enough fabric to fold over and glue again.
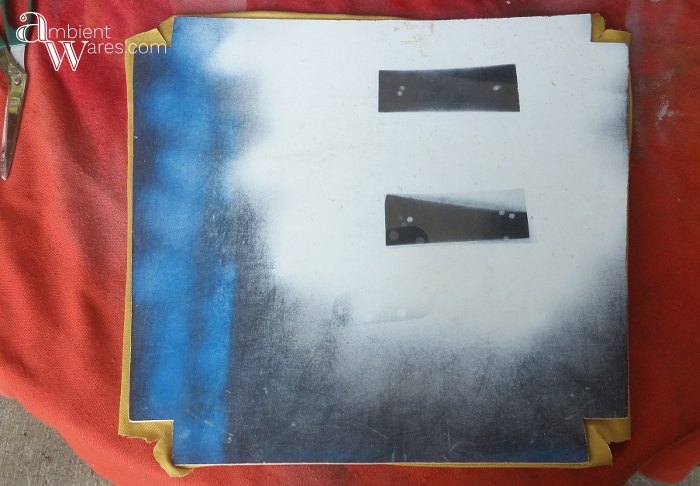
I did paint this side blue too
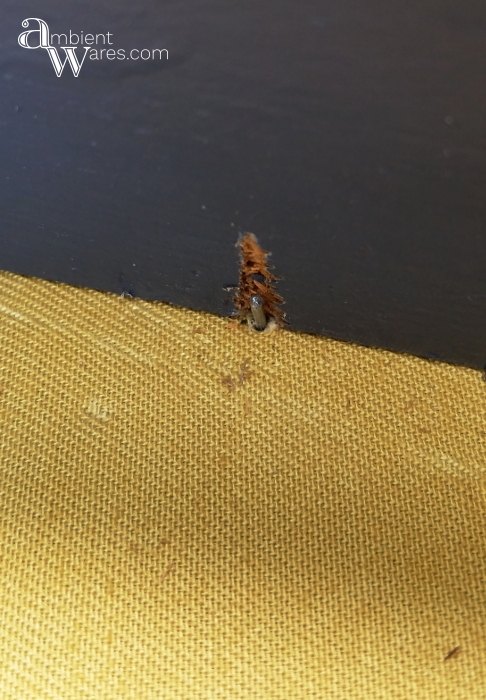
As I mentioned earlier, I like the way I attached the shelf on this chair much better than the route I took on this. The bottom frame of the chair is pretty thin and if you're not careful (like me) you'll poke a nail right through the wood (like I did). Ah well, I just removed the nail and painted over it.
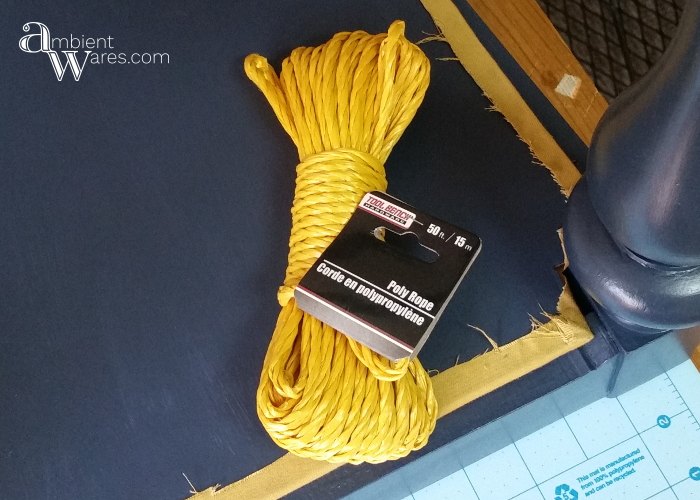
I did notice once the base was attached that you could kind of see the board sticking out from the bottom (again, why I don't like the route I went) so I took a thin piece of poly rope I found at the dollar store and hot glued it around the bottom edge. I will remove it one day as soon as I find a nicer, thicker rope to attach. Something more nautical since I think it has that look to it.
So, that's my take on this old chair makeover and even though it isn't in the spot I'd hoped it would be, it adds a little something to the spot just inside our front door. What do you think? If you end up making one, I'd love to see it!!

Want more details about this and other DIY projects? Check out my blog post!


Frequently asked questions
Have a question about this project?