


Painting a China Cabinet (and Tweaking the Design a Little)
Painting a china cabinet is my go-to DIY when I am in the mood for a quick but dramatic room makeover. Let me show you how easy it can be.
The Cabinet with Countless Coats of Paint
This china cabinet has been painted so many times I am starting to lose count!
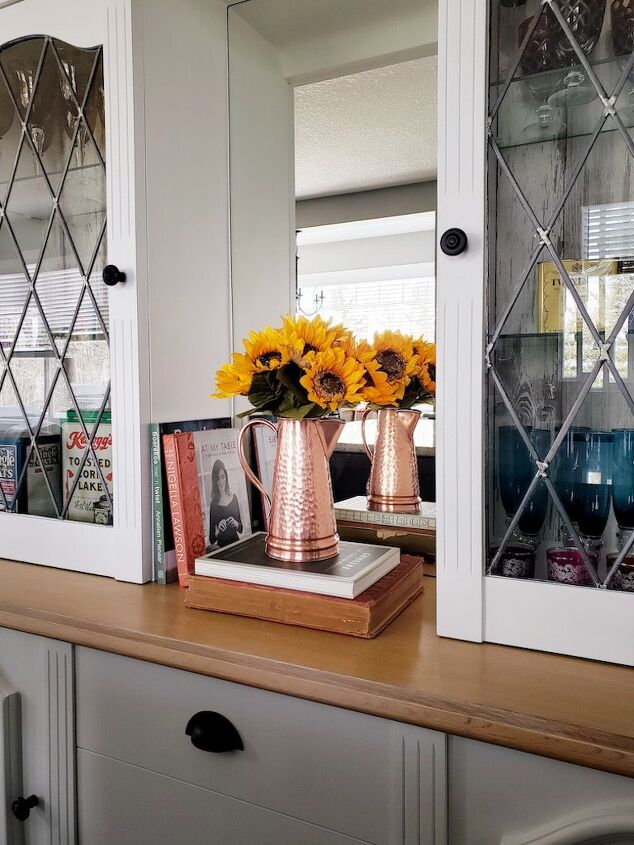
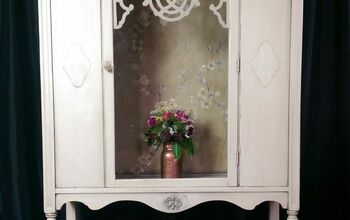
With the previous makeover (seen below), I painted it white and used peel and stick wallpaper inside the two areas with glass doors.
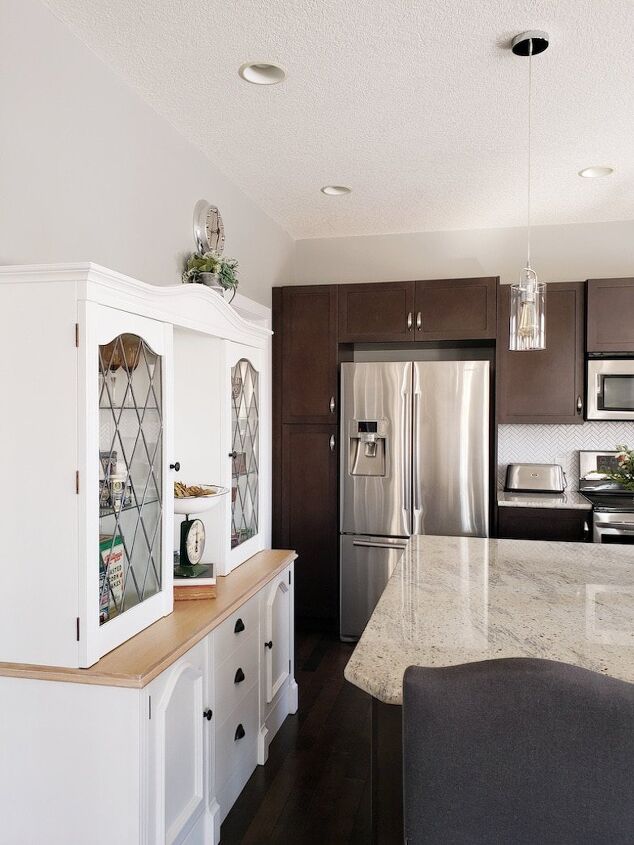
If you have been following my kitchen makeover, you already know I am a little “cottage crazy.” With the china cabinet in the kitchen, you know where I’m going with this!
(I suspect it’s a matter of time before someone tells me what a squeeze this cabinet is next to this massive island. I know! Unfortunately, there is no better place for it. It works for us, though. It’s not uncomfortable at all.)
Small Design Changes
The first time I gave this cabinet a makeover, I removed two shelves from the middle section and had a mirror cut to size for opening. It looked great at the time, but I needed to return to the original design.
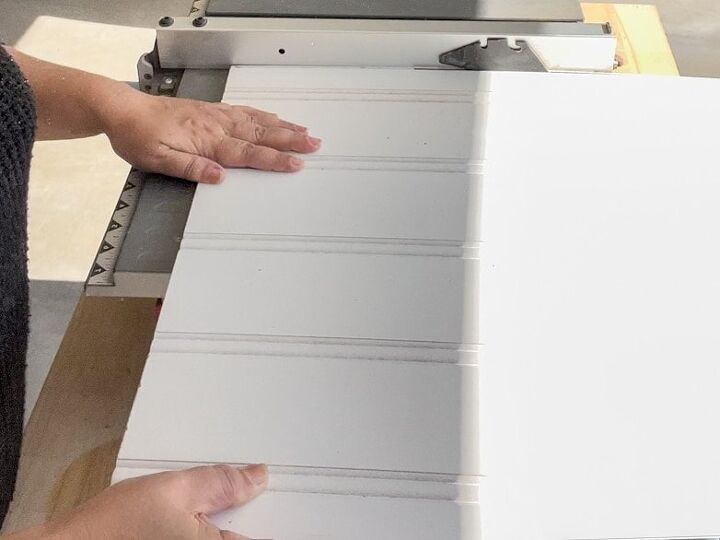
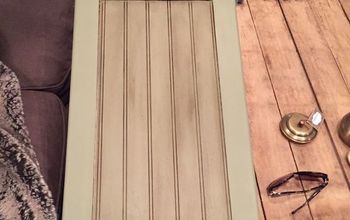
I cut a piece of beadboard to fit inside the opening, covering the mirror. I did the same for the two side cabinets covered in peel and stick vinyl.
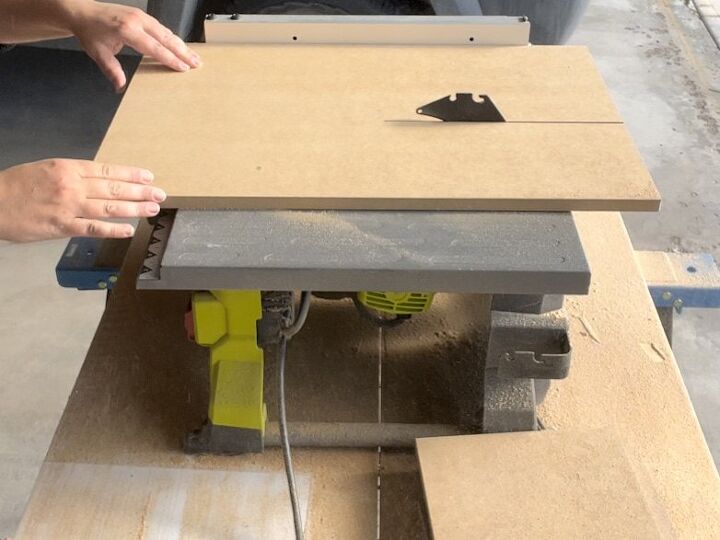
I cut six shelves from MDF, two for the middle section and two for each side cabinet. The glass shelves had to go!
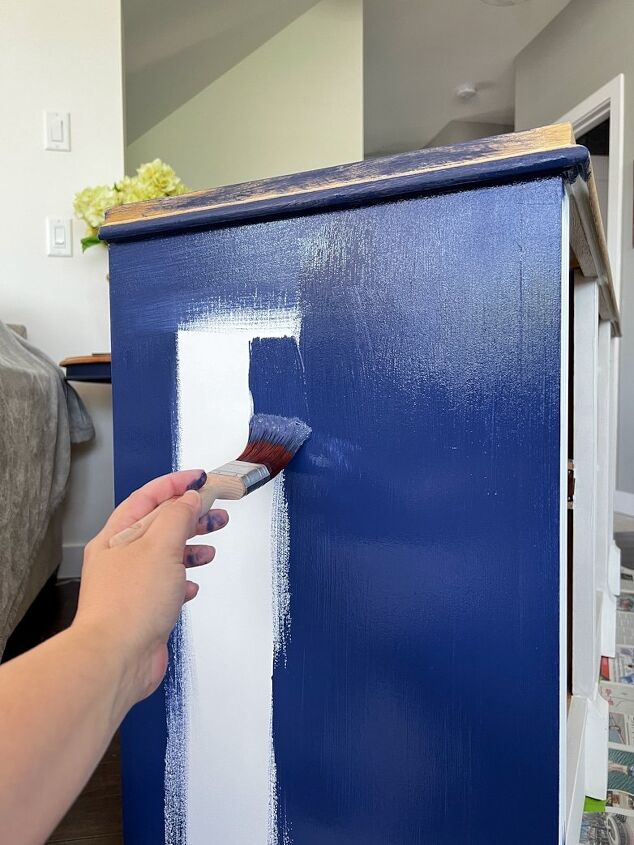
Painting the China Cabinet
The color(s) I chose? Blue and white! It is my new favorite! I wanted to repeat the gorgeous dark blue I used to paint our coffee table.
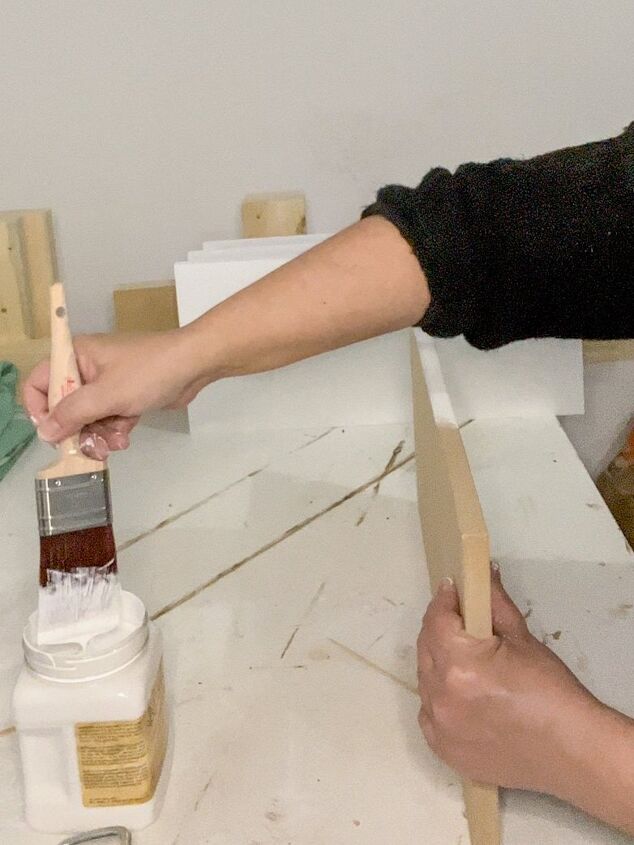
I painted all the new shelves, beadboard, and the openings they fit into, a crisp white. Dixie Belle Chalk Paint in the color Cotton is my favorite white.
I should add that I have never used white paint with the amazing coverage this one has! It is such a joy to paint with.
Chalk paint also works great as a primer. One quick sanding after the first coat and your wood is smooth as can be.
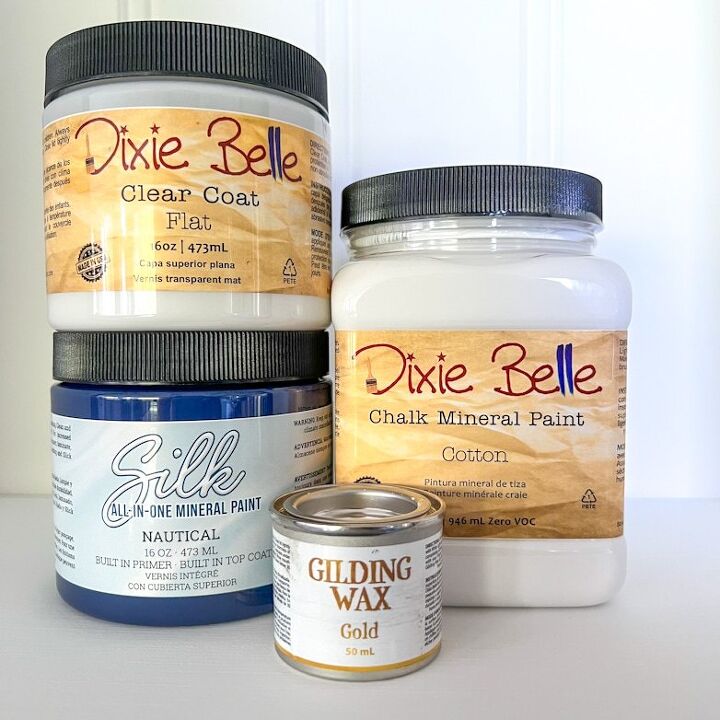
The blue I used, Silk Mineral Paint in Nautical, has a built-in primer and top coat, saving a lot of time! I painted directly onto the previous white chalk paint. I gave the bottom half of the china cabinet an extra layer of protection with a coat of Clear Coat Sealer.
Silk Mineral Paint – Nautical
Chalk Mineral Paint – Cotton
Clear Coat Sealer – Flat
Gilding Wax – Gold
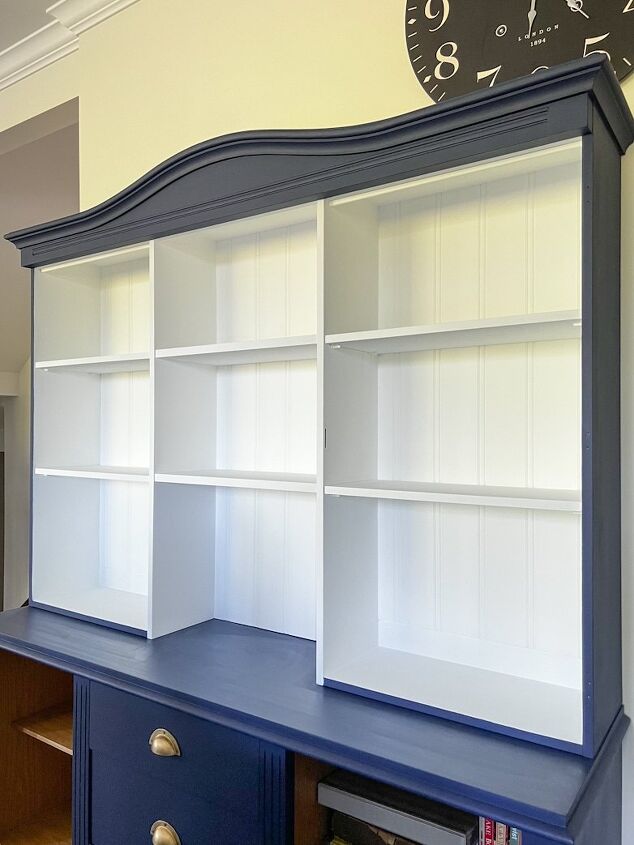
The new shelves and the beadboard changed the look of the china cabinet entirely, and I think they look fabulous in white.
Giving the Hardware a New Look
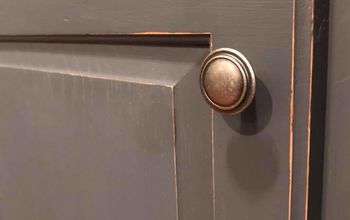
I previously painted the knobs and pulls black. A quick soak in paint stripper, and the paint washed off without any effort.
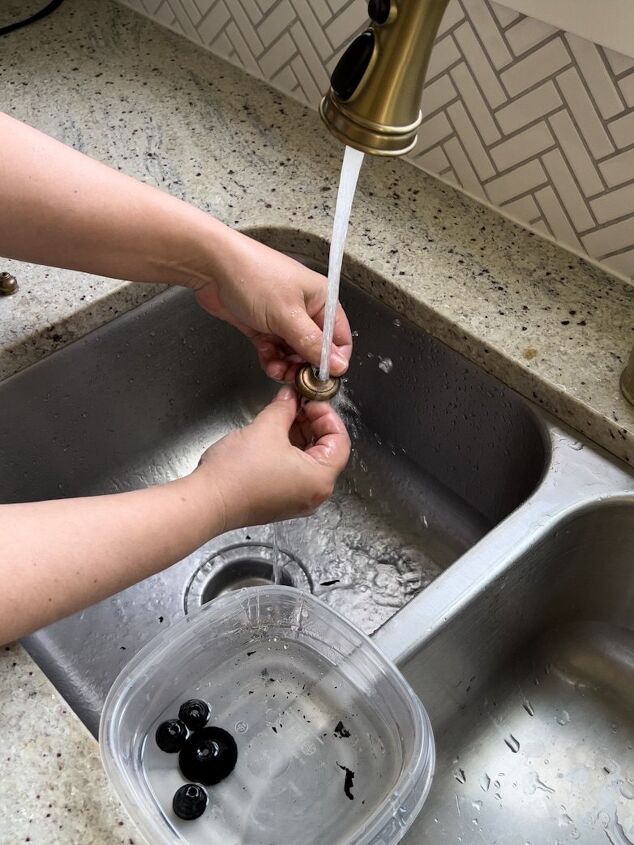
The hardware pieces are all solid brass, but I gave them an extra bit of shine with gold gilding wax.
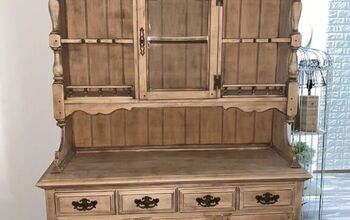
How It Looked Before…
And Now, Good as New with a Lick of Paint
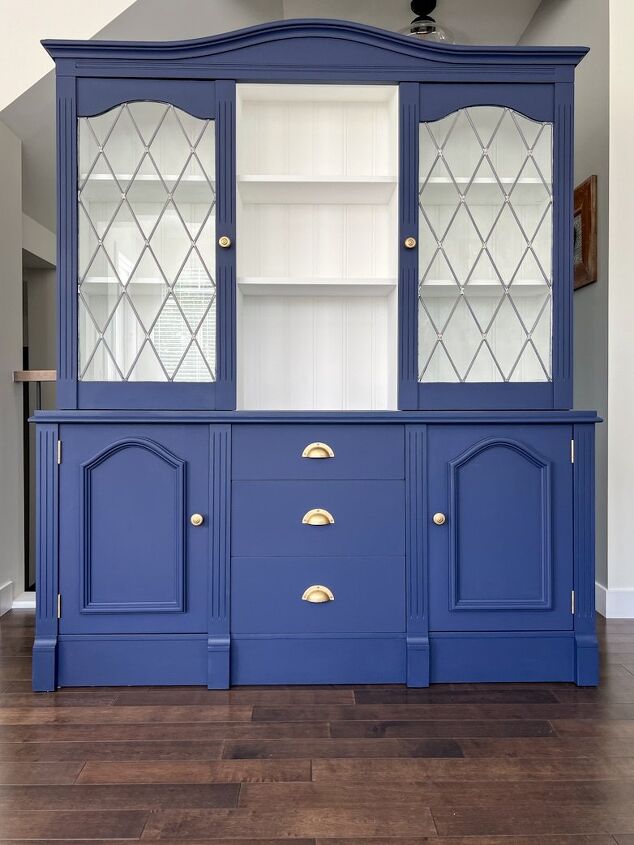
Ok, I know I am biased, but is this not the most beautiful painted china cabinet you have ever seen?!
This blue, white, and gold combination makes my heart beat faster!
Styling The New Painted China Cabinet
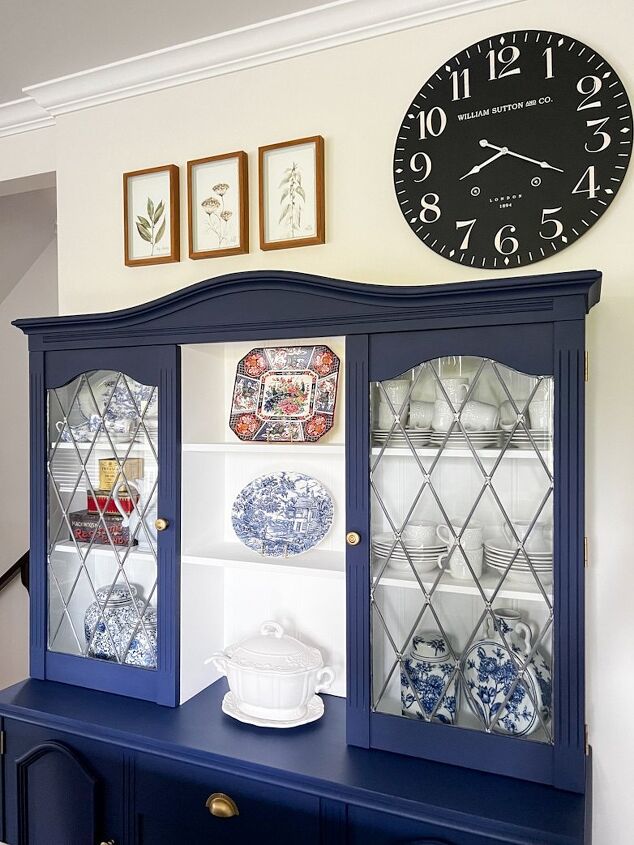
Styling this cabinet has always been a problem for me, and I couldn’t figure out the problem. This time it feels right.
Maybe the new shelves make the difference, or perhaps the cute plates I patiently thrifted and bargain-hunted over the last couple of months.

I had to open the glass doors to give you a better look at what’s inside because the reflections of all the windows make it extremely difficult to take photos.
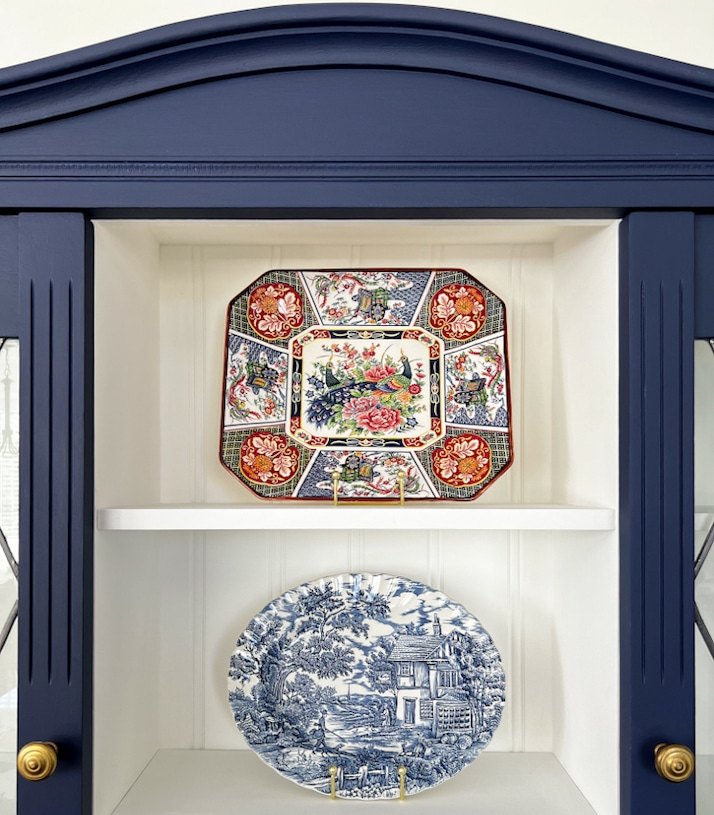
These gorgeous plates were tucked away in a drawer until I finished painting the china cabinet. May it never be said that I am not a patient person!
In fact, there are a few more waiting to be hung on the living room walls!
Anywho, aren’t they pretty? I have never collected plates before, but the bug has bitten! I can see how this could quickly become an addiction, but it’s not the worst thing to happen, right?
If you like this project head over to the blog, Home with Marieza, subscribe to my newsletter and be the first to hear about new exciting projects.
Resources for this project:
See all materials


Comments
Join the conversation
-
My first thought was "stunning". Now I don't think that is a good enough to describe your work. You must have the most steady hand possible when painting as your lines/edges are perfect. If you ever want to do this and sell the cabinet just post it here. We would all love to own it.
-
Beautiful job- this is one that I personally would love to have😻


Frequently asked questions
Have a question about this project?