


Painting Vinyl Furniture With Angelus Leather Paint
- By: Stacy Verdick Case
- On: March 23, 2021
- 0 Comment
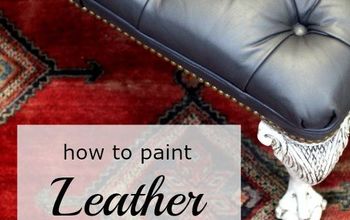
Many of you discovered this blog because of my Painted Leather boots post. They were painted using Angelus Leather paint and they turn out amazing. When I bought the paint I also picked up their “hard” additive that treats the paint so it can be used on plastics or vinyl.
Oh you know I’m going to use it on furniture! So many vinyl seats that are still in good condition but just need a quick update.
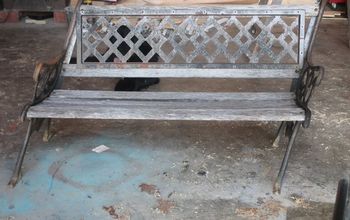
Sure some of them can be easily upholstered (like the chairs I’m painting today) but others are more in-depth upholstery jobs that I just can’t tackle. That’s why I have to know if this paint works!
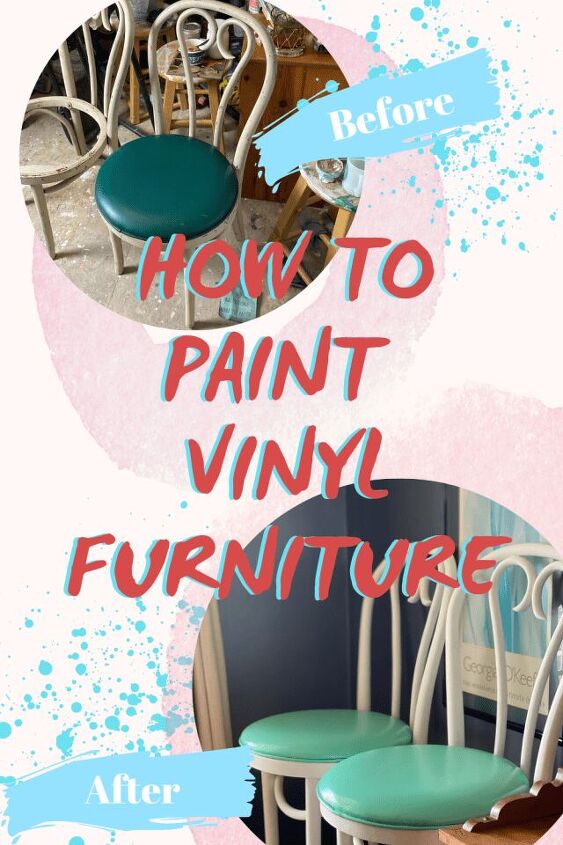
Painting Vinyl Furniture
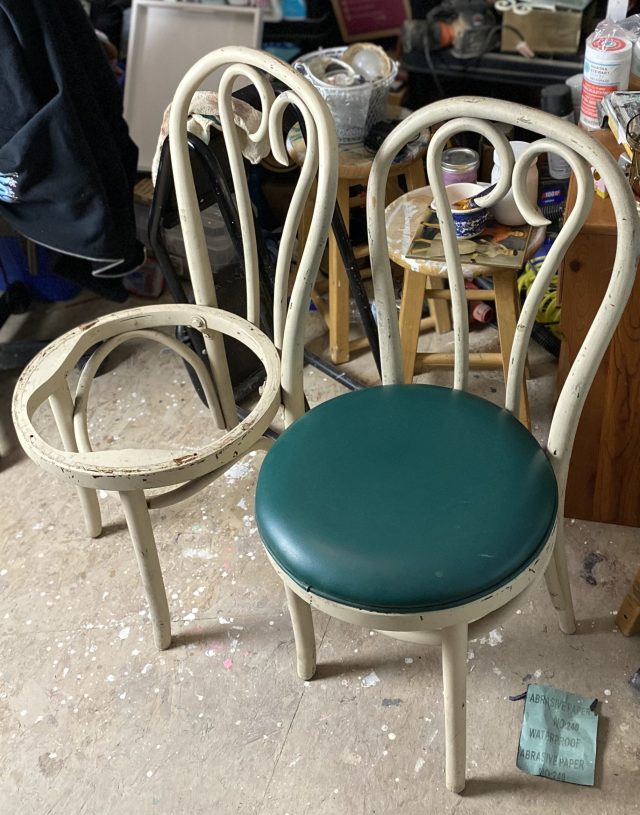
I decided to try painting vinyl chairs by tackling something small first. Enter these two cafe chairs I picked up at a thrift store for $9 each.

Yes, I could easily reupholster these two but since I don’t know if the Angelus Leather paint will work on vinyl I wanted to start with a manageable project. Just in case.
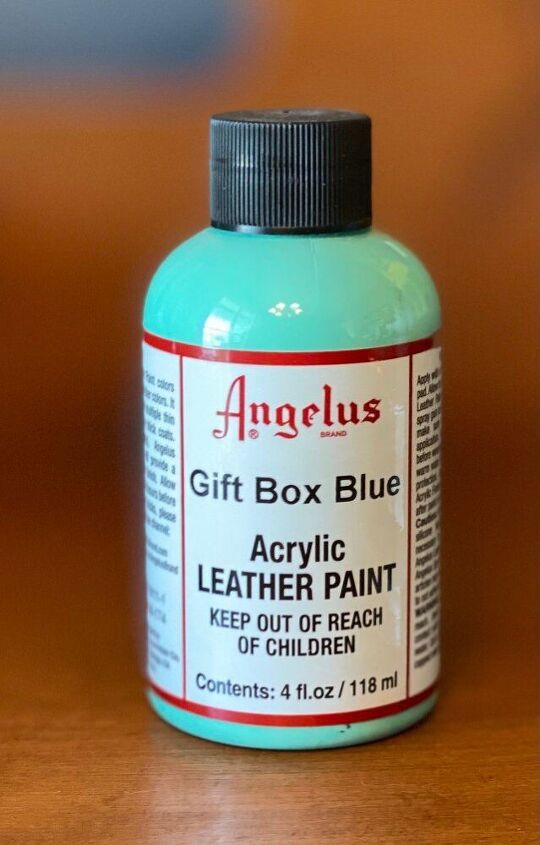
For this makeover I decided to give these chair a gift box blue makeover. You know the gift box we’re talking about. If not here’s a hint (because we can’t say it).
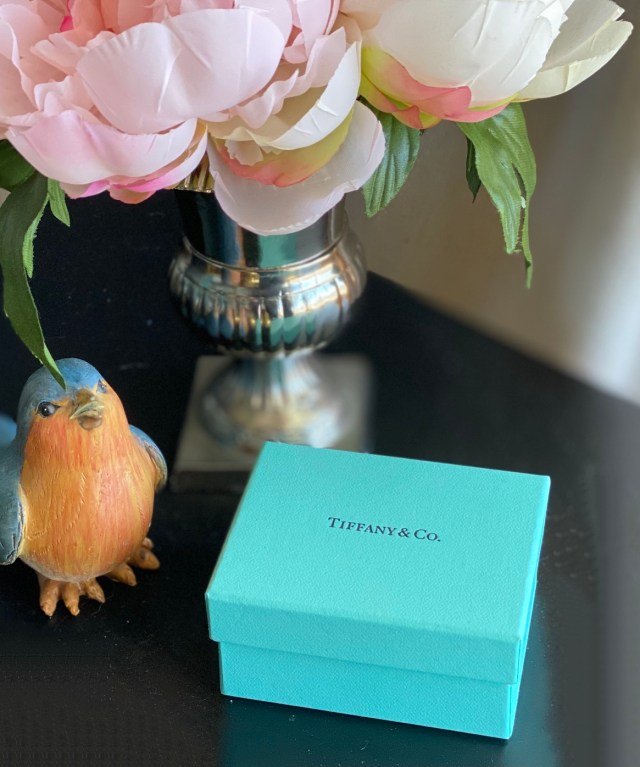
That’s the one! I have an affinity for that color and that box (hint, hint to the hubby!).
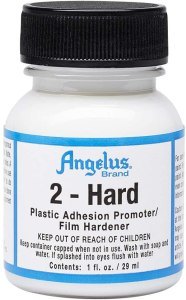
To make the leather paint stick to vinyl you need to add Angelus Hard plastic adhesion promoter.
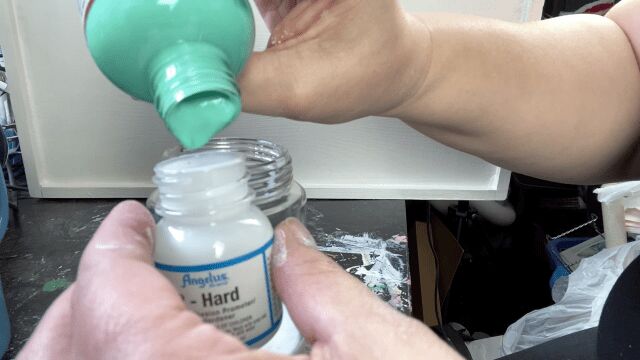
The directions state to mix 1 to 1 hardener and paint so after I poured the hardener into a baby food jar I poured my paint into the empty Hard bottle to make sure I was measuring the same amount.
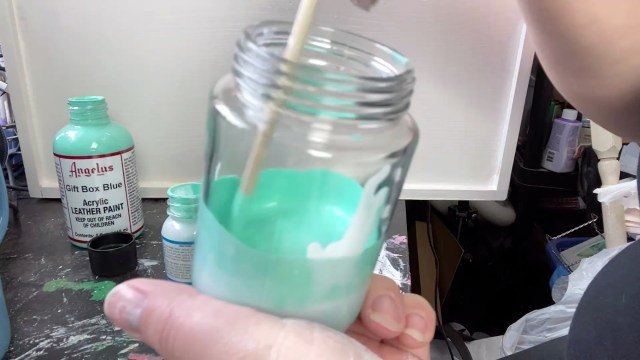
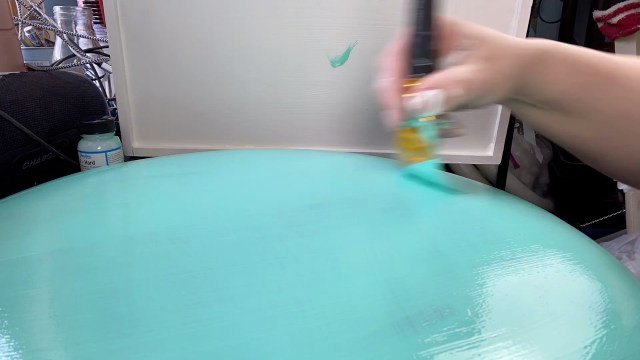
I used a dowel to mix the two as thoroughly as I possibly could to make sure they were combined. Once that it was done it was time to start painting vinyl furniture!
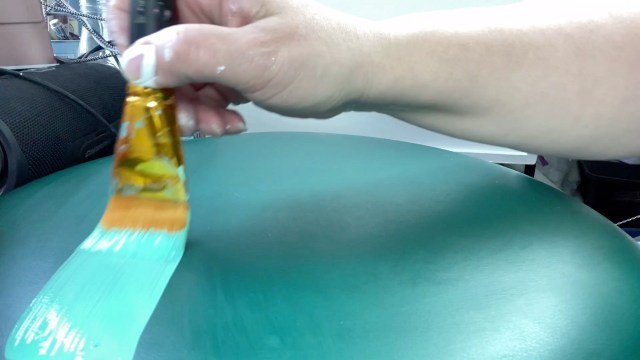
The first coat laid down smooth. Angelus leather paint seems to be very high pigmented but I didn’t expect it to cover on the first coat. Going over a dark color with a lighter color usually doesn’t work that way. And I was right.
On the second coat I changed my brush direction. So on the first coat I went left to right and the next coat went up and down. This is a great method of filling in brush strokes and ensuring better coverage.

In the end it took four coats of paint to cover the dark green, but it was so worth it! Look at them!
I’m in love.

Yes, I did try to crack the paint. I pressed on the seat cushions repeatedly and it didn’t crack. It doesn’t feel sticky AT ALL! I was surprised by that. The Angelus Leather Paint laid down so smooth you can’t tell it was painted at all. It’s 5 stars for me!
Share this Post Please!
If you found this post helpful please share it with your friends or better yet pin a copy to your Pinterest page. Just use the pinnable image below.
Many blessings to you!
~S

Recent Posts
- Painting Vinyl Furniture with Angelus Leather Paint
- How to Use Tintable Glaze on Furniture
- Trying Jacquard Fabric Paint to Upcycle a Purse
- 100 Projects 100 Days the Final Stretch
- Using Citristrip


Frequently asked questions
Have a question about this project?