


Quickly Update A Large Dining Table Into A Modern Farmhouse Beauty

Anyone can do this project, even if you have no prior painting experience, it's that easy!
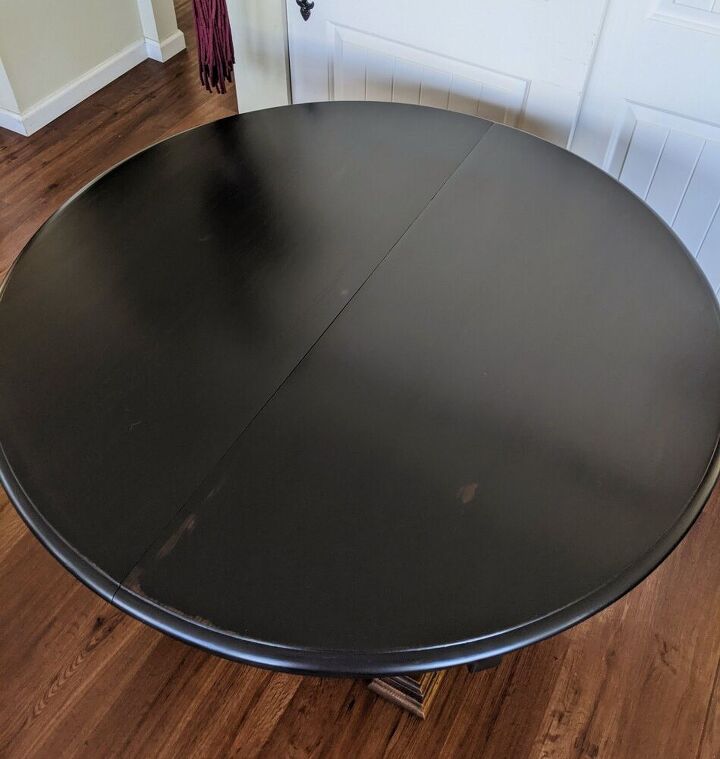
One of my customers came to me with an old 80's kitchen table. This thing was ugly! And comes with 2 leaves, so it opens up to quite the large table.
I've already done a couple pieces for this lovely woman, and we were doing the same style and colors to match, wood and black distressed paint. Most of her pieces, the base is painted and the top is wood, but this time, she wanted to do the opposite. And lucky for me, the base of this table is already in great condition and the color she wants! So I just have to clean it up a bit and move into the top 😁
And that's where this tutorial begins........
*Price is based off of the amount of product used
*Time does not include dry time
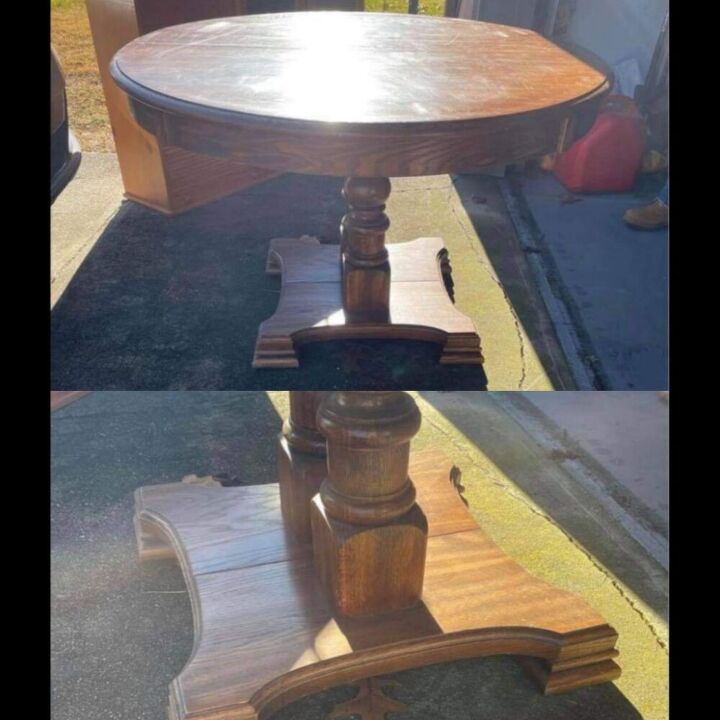
This is the before shot. As you can see, this table was extremely dated. It certainly needed an update 🥰
First step is always prep
It doesn't matter what kind of paint you use or what the brand claims, prep is the only way to ensure a long lasting finish.
First, clean the piece. I use Frenchic's Sugar Soap to clean my pieces with before painting. This is a non toxic cleaner that has virtually no odor, is safe to use around children and pets and also safe to dump down the drain, yet, it cleans just as well as a TSP based product.
Sugar Soap comes in a concentrate, so mix it up according to the directions and add it to a spray bottle (I use an old Windex bottle for this).
Spritz the piece (only where you're painting or sanding, this shouldn't be used for regular cleanings as it can damage the topcoat) and wipe it down with an old rag or paper towels. If your piece is super dirty, use a scrub brush and scrub the piece.
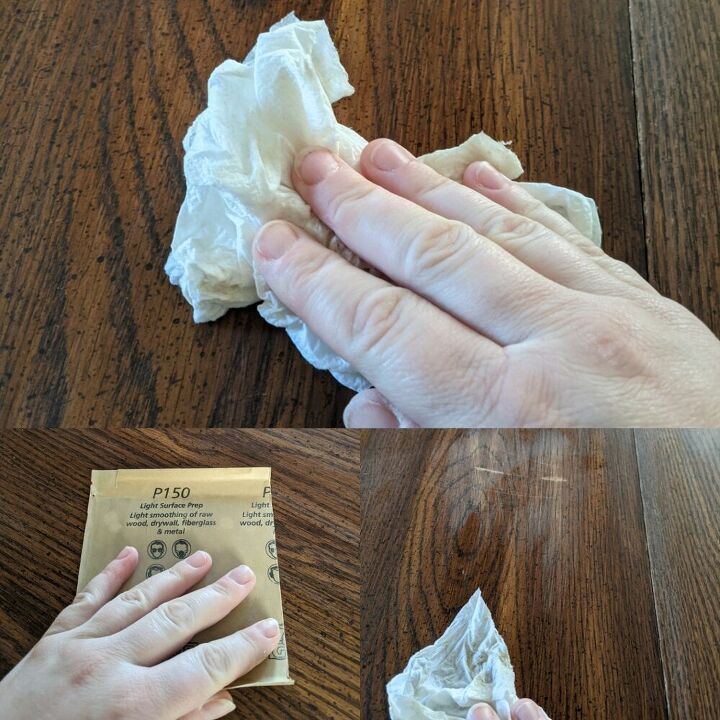
Once the piece is dry, take 150 grit sandpaper and do a quick scuff sand. This "keys" the surface and ensures great adhesion.
Then wipe down with plain water, making sure you remove any debris or residue.
I love Frenchic Furniture Paint. It's extremely durable, creamy and goes on oh so smooth. Lazy Range and Al Fresco Range both have a built in primer and topcoat! They are a true one step paint.
But, with high traffic pieces such as a dining table, I always add extra protection with a couple extra coats of a durable sealer.
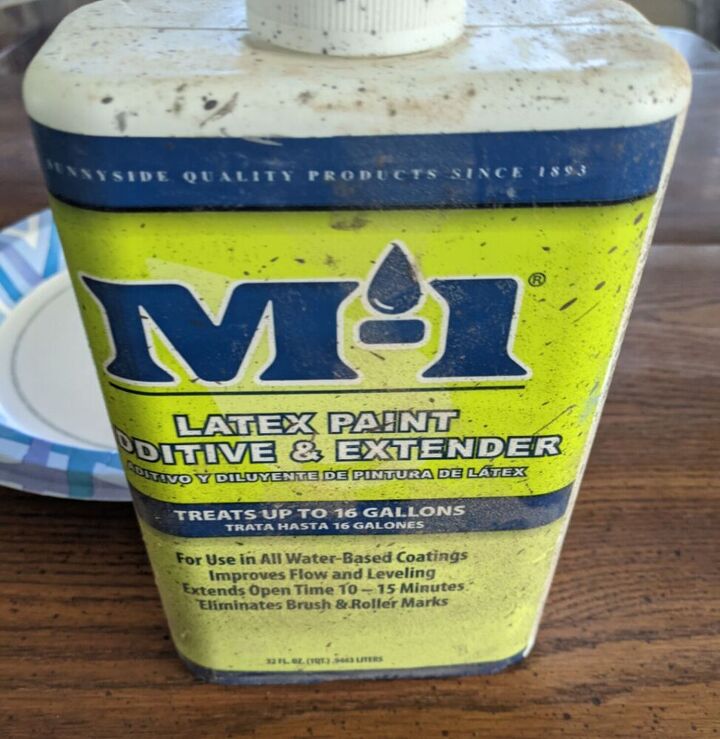
Frenchic paints are thick, especially after sitting for a bit when I forget to put the top all the way back on 🤦♀️
Which was the case here, so I added a little bit of paint extender. This stuff is awesome! And better for the paint and your finish than using water. Just follow the directions on the back, you don't have to add much.
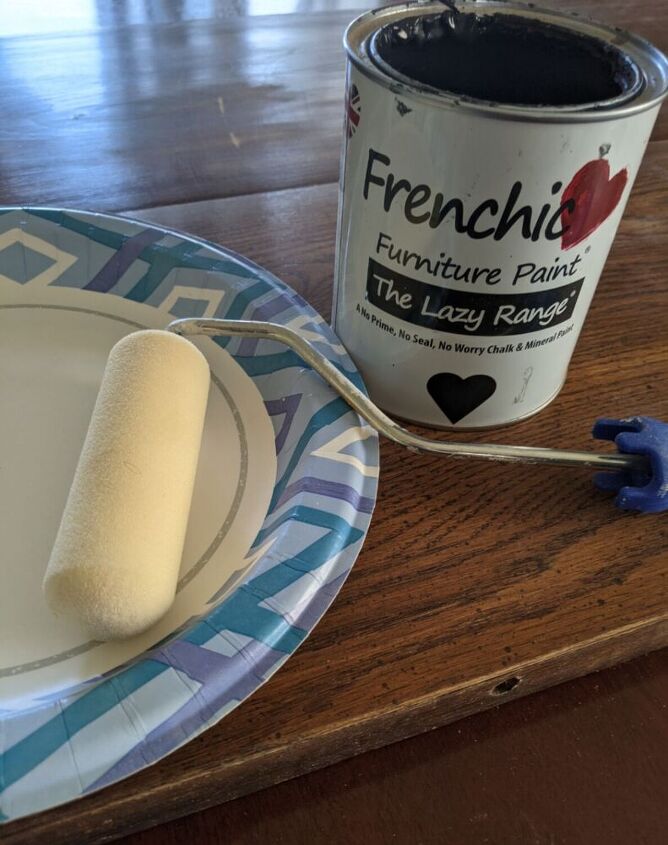
I'm painting the table top in Frenchic's "Loof", a matte black from the Lazy Range
Since I'm doing a large flat surface, I decided to use a paint roller. I use foam rollers because they leave very little texture.
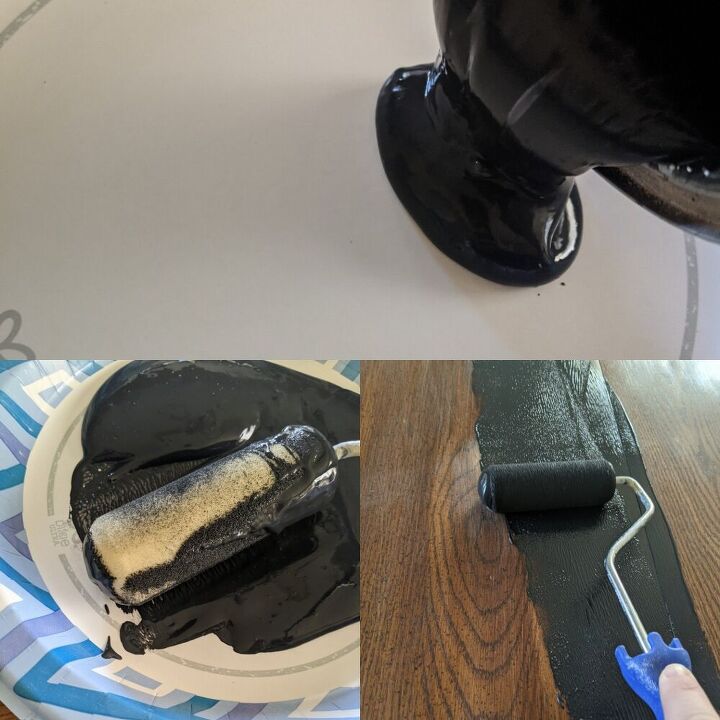
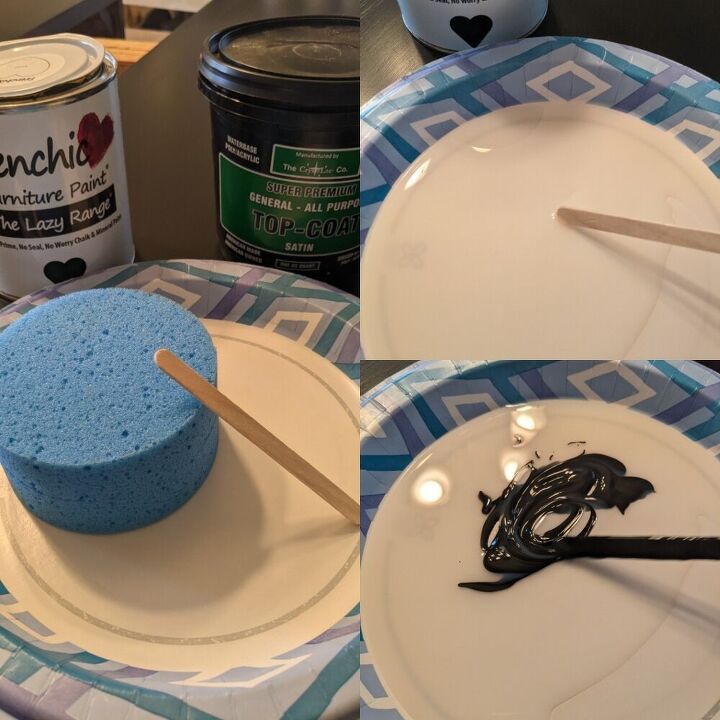
Pour some paint out onto a paper plate, get a good amount of paint into the roller, and then apply the paint in the same direction as the wood grain, overlapping each pass.
Make sure the paint doesn't pool up at the edge by the handle, this will leave lines if it does. To stop this from happening, just squeeze it into a paper towel to get rid of the excess paint.
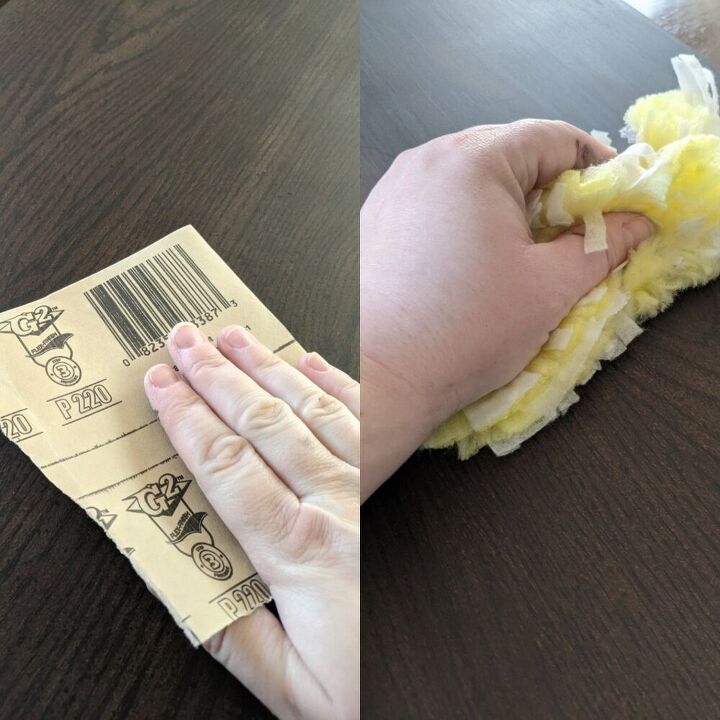
Allow 30-45 minutes for the first coat to dry completely, and then take 220 grit sandpaper and sand out any texture.
Here's a trick to getting all of that sanding dust off...use a Swiffer duster 😆 I swear it works better than tack cloths! Or, just use a paper towel to wipe off the dust
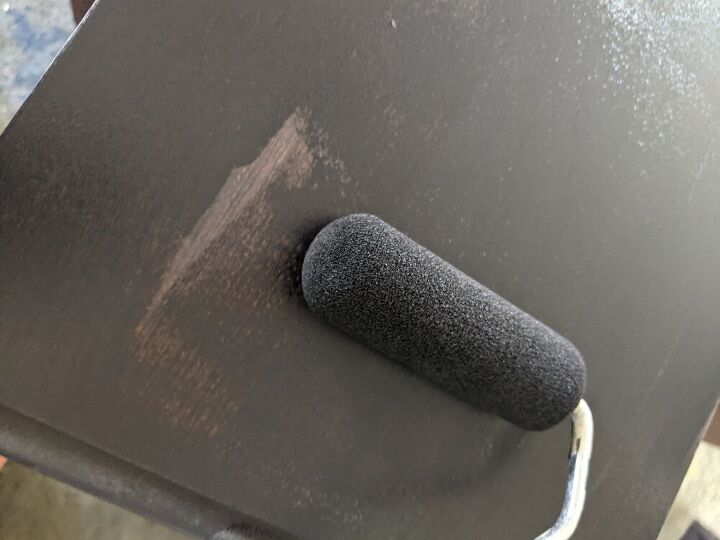
Apply your second coat just as you did the first.
Frenchic paints offer amazing coverage, 2 coats is all that I needed..but if your piece needs additional coats, do that now.
Frenchic paint is also waterbased, non toxic, and safe to use indoors around pets and childrens. Just clean up with soap and water. It's safe to wash down the drain
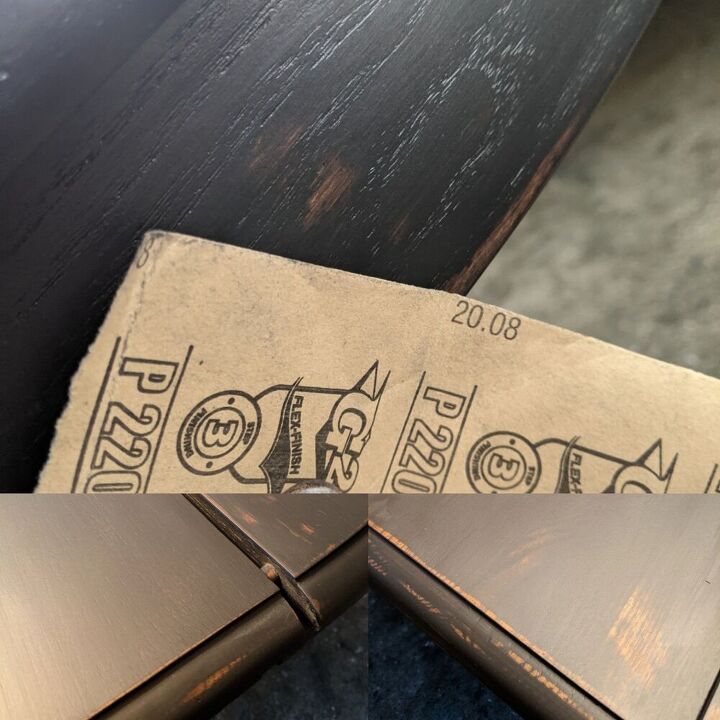
Once you've allowed that coat to dry completely, you can distress.
My customer loves distressed furniture! The more distressing, the better. And this is where your personal preference comes into play. Start by sanding the edges, places where it would naturally distress over time. Then, you can use a power sander on the flat areas to distress the table top, or continue sanding by hand, or keep it to just the edges. Totally up to you and what you're comfortable with.
I did take my power sander to the top and allowed the wood to peak through in areas. And I heavily distressed the edges
As I stated earlier, even tho the Frenchic paint that I used has a built-in topcoat, I like to add extra protection on high traffic pieces and apply another topcoat on top of that.
CrystaLac Super Premium General all Purpose topcoat is one of my favorites. It's easy to use and cures (full 28 day dry time) crystal clear and durable.
When doing black or other dark colored pieces, I like to add in a few drops of my paint color into the topcoat. Grab another paper plate, pour out a bit of the topcoat (about 1/4 cup), then add in about a tablespoon of paint and mix well.
Mix-up more colored topcoat as needed
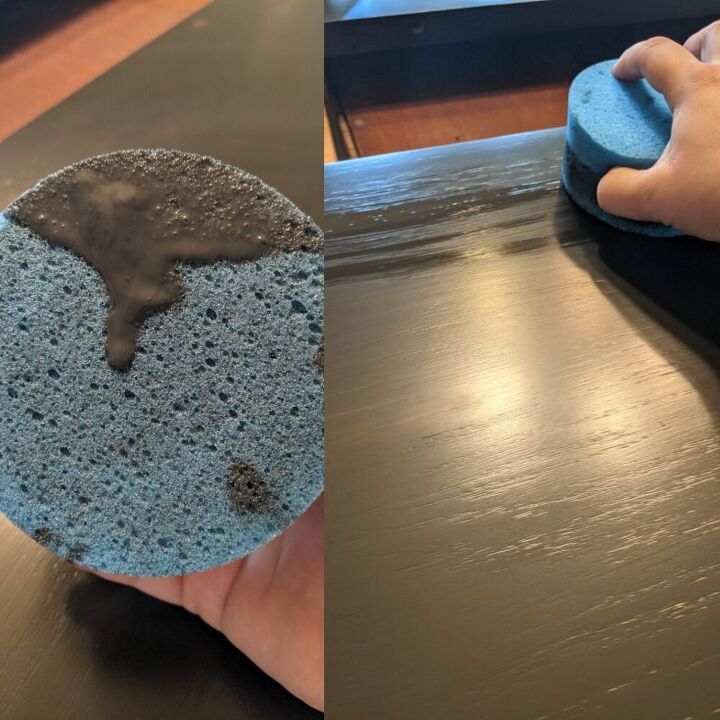
Amazon sells these great detail sponges, I use them for applying topcoats and it always comes out perfectly. They can even be washed and reused.
Apply a generous amount of your tinted topcoat to the sponge, and going with the wood grain again, run the sponge along the tabletop from side to side, applying the topcoat. Reload the sponge as needed. No worries going back over and trying to get this coat perfect. You'll be applying more coats and it'll all blend in.
For high traffic pieces, 3-4 coats over Frenchic paint is good. For pieces that won't be used as often, 2-3 coats is good. If using a paint without a built-in topcoat, apply 4-5 coats to high traffic pieces and 3-4 to others.
Allow 2-4 hours in between coats.
No sanding in-between coats is necessary.
Hint* Wrap your sponge in a wet paper towel to keep it moist until it's time to do the next coat. This only works for a few hours, so don't leave it for too long and don't allow the paper towel to dry.
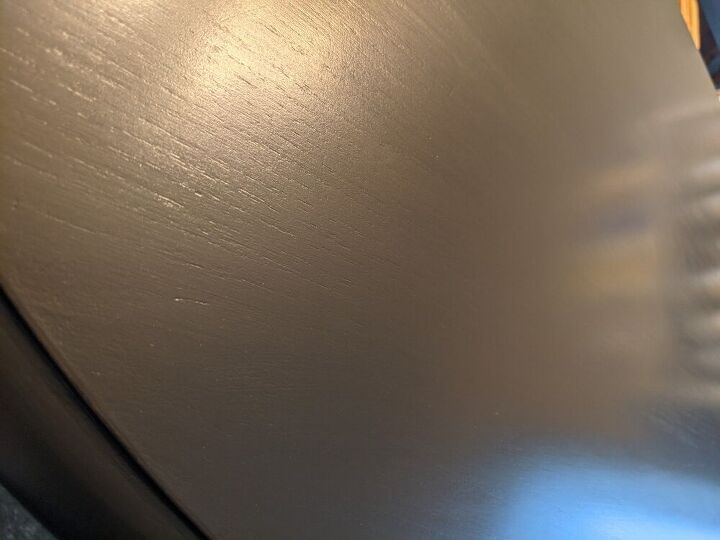
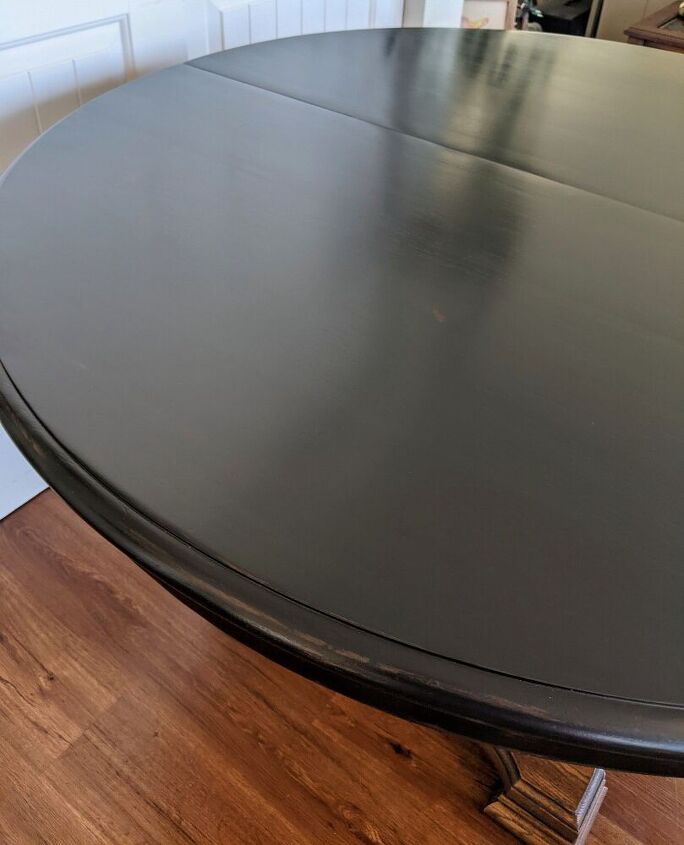
You can see how perfect this process and topcoat work 😍
Allow the last coat to dry completely overnight and then reassemble the table 😁
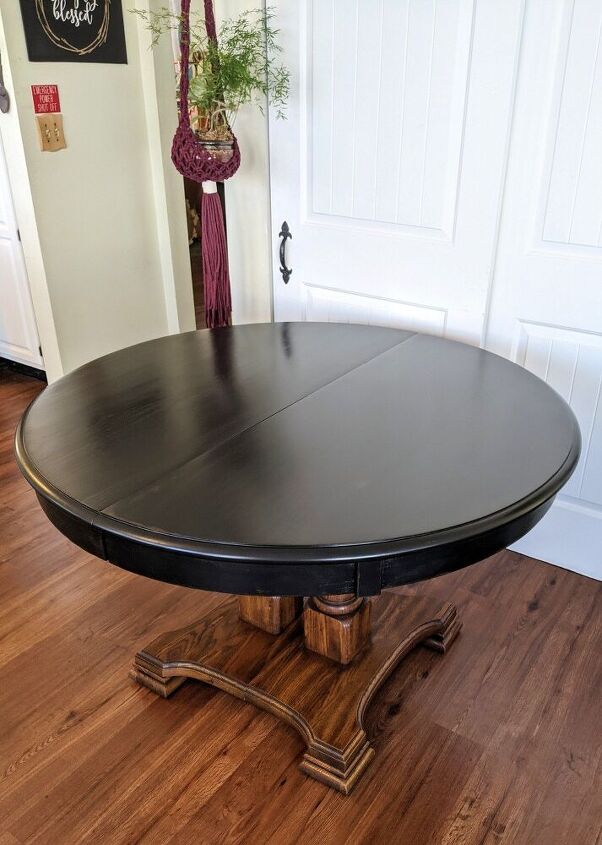
My customer is so thrilled with how it turned out, and so am I 😉
Remember to allow the full cure time (28 days) before using the table
If you want the base painted as well, just follow the same steps (using a brush since I'm sure it's not a flat surface) and it'll come out beautiful 😉

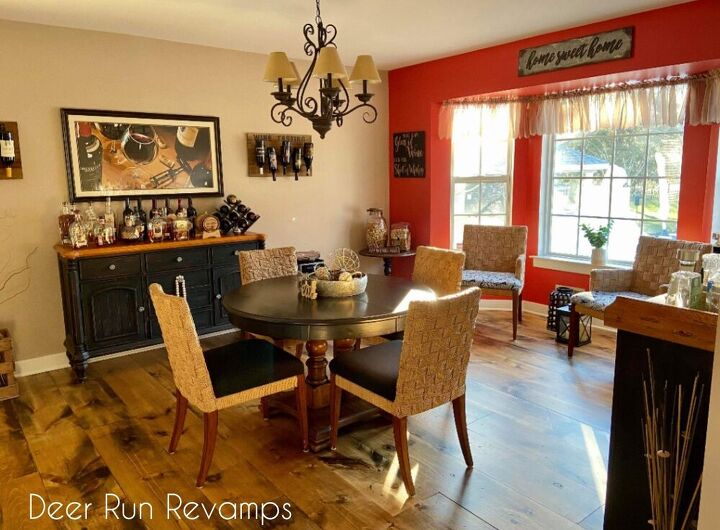
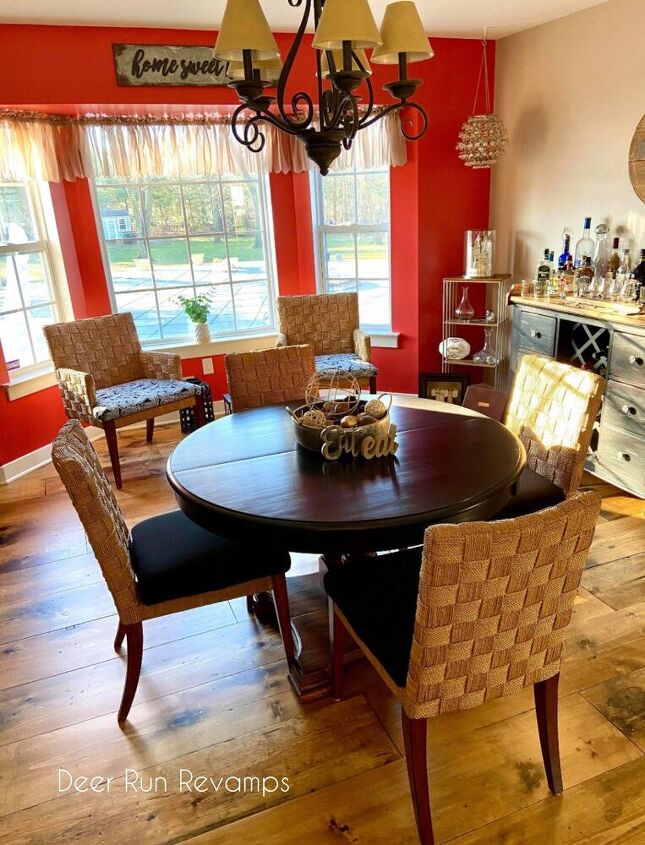
Look at this table in her dining room! It's perfect! And her style is gorgeous 😍
Thank you so much for reading! I hope this tutorial has inspired you to quickly update your dining table ♥️
You can follow us on Facebook and see all of the projects that we create and even more tutorials 😉😁
We would love to hear from you! Feel free to reach out 😘
Resources for this project:
See all materials


Comments
Join the conversation
-
Great job!! Beautiful!!
-
Beautiful result !


Frequently asked questions
Have a question about this project?
I have a similar table, however the top has a cover made of what I think is counter top material to keep it from getting scratched. Can I use this same method on that?
What did you do to the bottom besides clean it? It’s gorgeous!
Love the red walls & chairs you are using with the table