


Rustic Chair
We’ve all heard that one man’s trash is another man’s treasure. This chair was exactly that. One man’s trash and my husband thought I was crazy for bringing it home. It was in extremely poor condition. But as soon as we stripped it down- I could see the potential and immediately got so excited to bring this tired worn out, antique piece of furniture back to life.
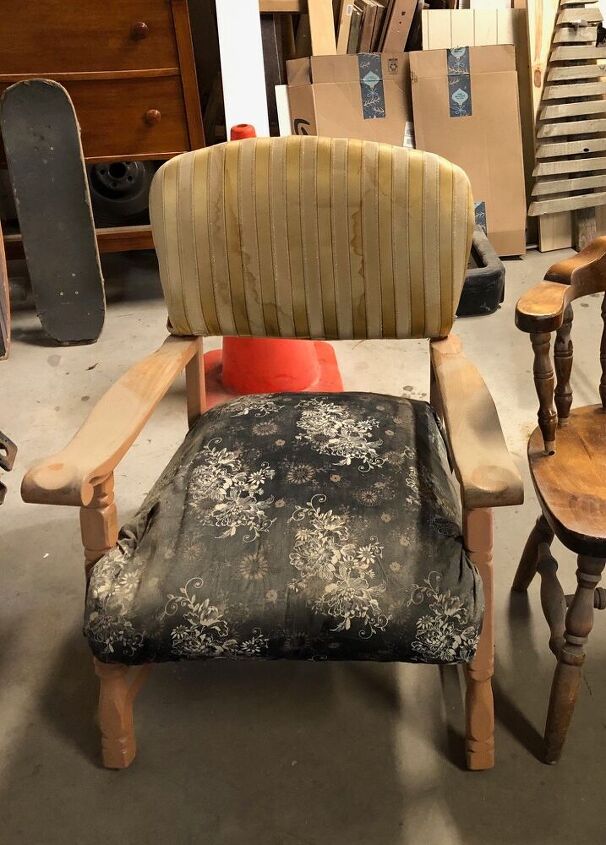
This is the condition in which we received the chair. Stained, smelly, full of years of pet hair and dirt. We stripped off the fabric, threw it and the padding away and got to work scrubbing and prepping the chair for a new look. There were many times my husband was going to throw it away. He even tried to give it away twice. Keep reading to see how it turned out.
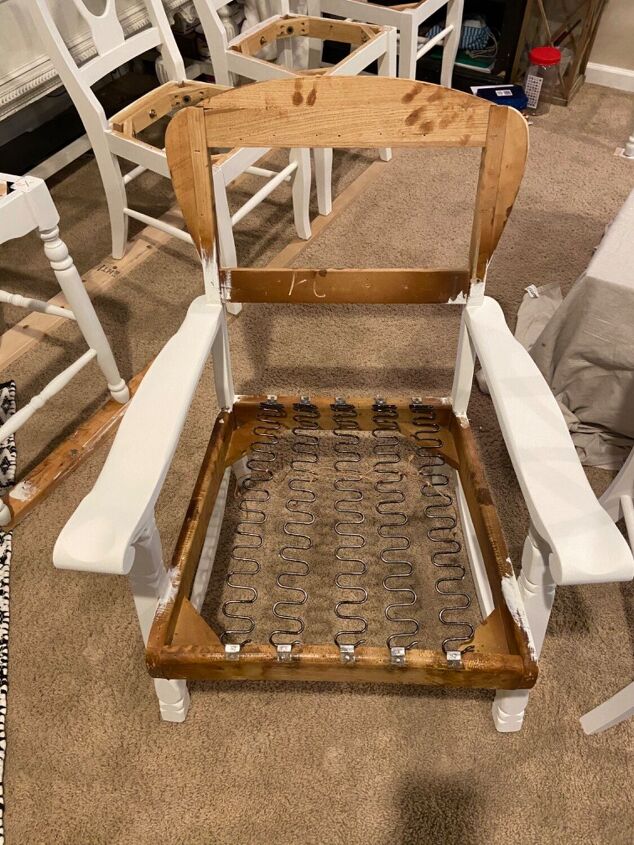
Once we brought it down to the bare bones, we found the springs still in great condition so there was no need to replace them. Here’s a list of materials:
*upholstery fabric
*burlap fabric
*foam padding
*upholstery staples
*heavy duty stapler
*chalkpaint
*chalkpaint wax sealer
After scrubbing down the chair, it was ready 2 coats of chalky paint. We used a farmhouse white. Once the paint was dry we sealed it with clear wax sealer.
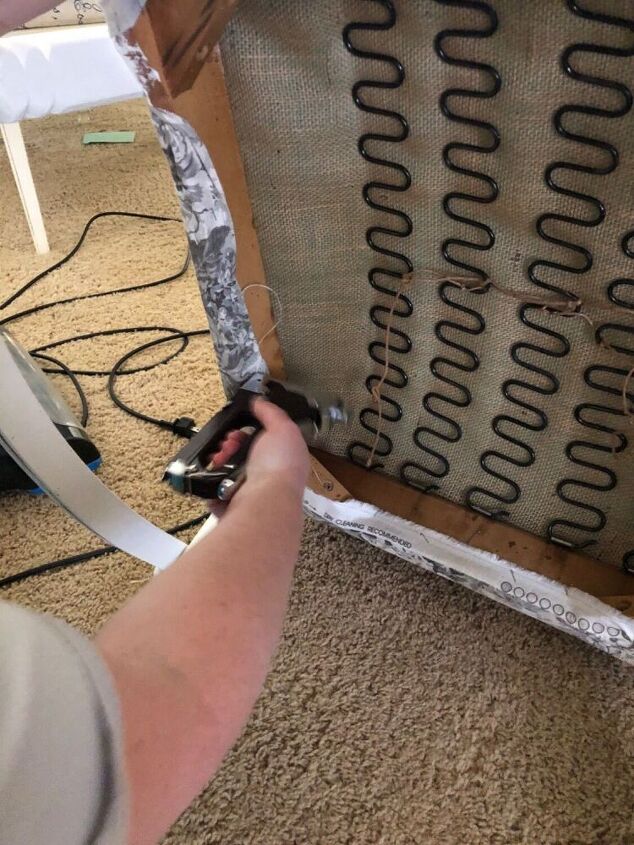
The next step was covering the springs with burlap to protect the foam for getting ripped up by the springs.
Then we cut the foam to fit the seat and the back of the chair.
Once the foam was trimmed to size we cut the fabric and started to staple it in place.

We made sure to keep even tension on the fabric so as not to get any puckers or loose slots. Using the heavy duty stapler, we stapled the fabric in place. Carefully folding over the corners to create even tension in the fabric.
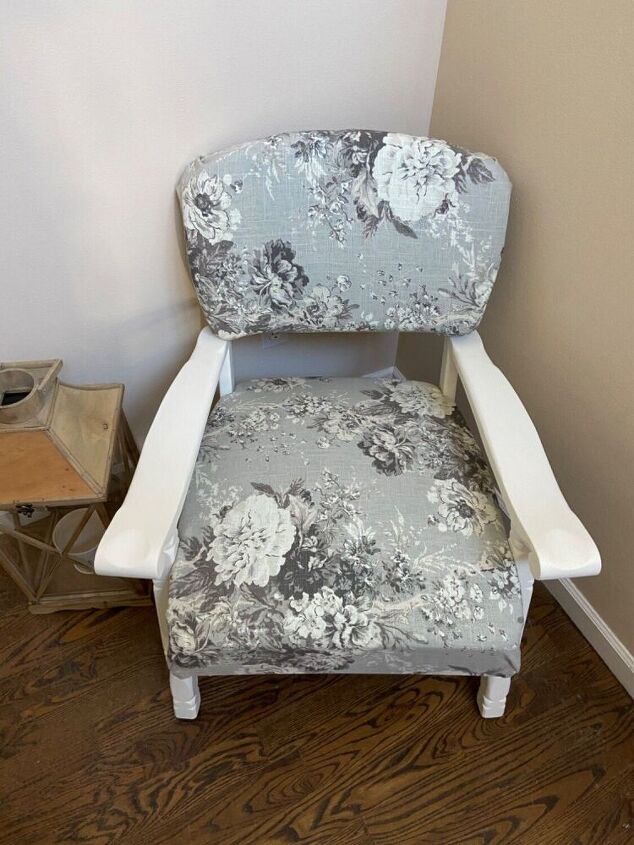
And when it was all finished- I think I actually giggled. It turned out much better than I imagined it would. And I left my husband speechless in how gorgeous it is.
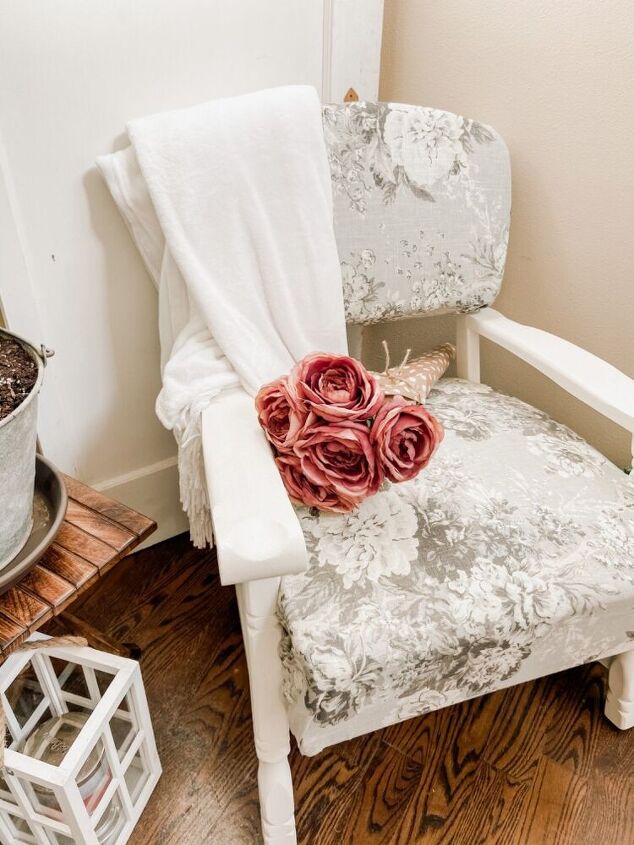
We found the perfect spot for it in our entryway!!
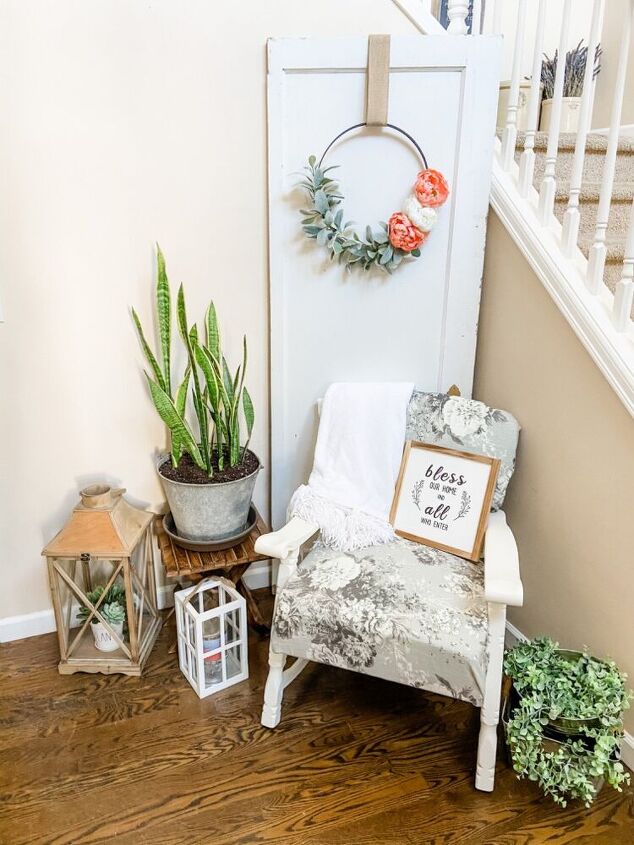
It now sits in our front entry way and is my little reading nook. I love the fabric and how it gives the perfect cottage/ farmhouse look.
We had all the materials on hand, except for the fabrics and foam.
To see more of our styling, decorating and refinished furniture head to our IG feed @therefininghome
Resources for this project:
See all materials


Comments
Join the conversation
-
Beautiful!!!
-
called a webbing stretcher and webbing material (2” wide comes in roll). I bought from Joann. I look on Amazon. Guessing better prices. Easy peasy to do. Trick is get drum tight which tool assists greatly. Then staple in place. I did not use you tube as I had seen demo on tv but I’m sure if you look up rewebbing upholstered chair seat video will be there. Tool makes sense when you see in use. Don’t forget to weave saggy springs in webbing (over under) for really firm seat


Frequently asked questions
Have a question about this project?
How did you cover the back to not have raw edges and staples showing on the back of the chair?