


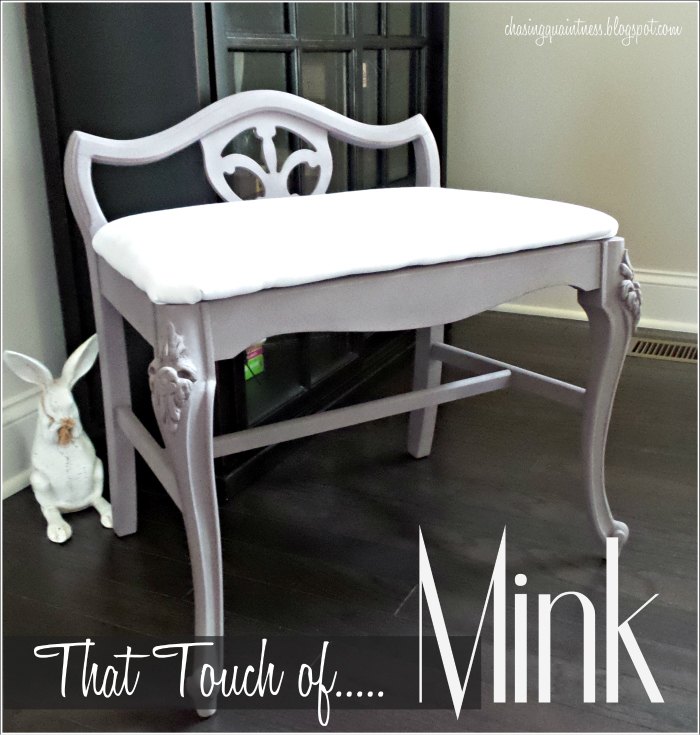
That Touch of Mink
...is really French!
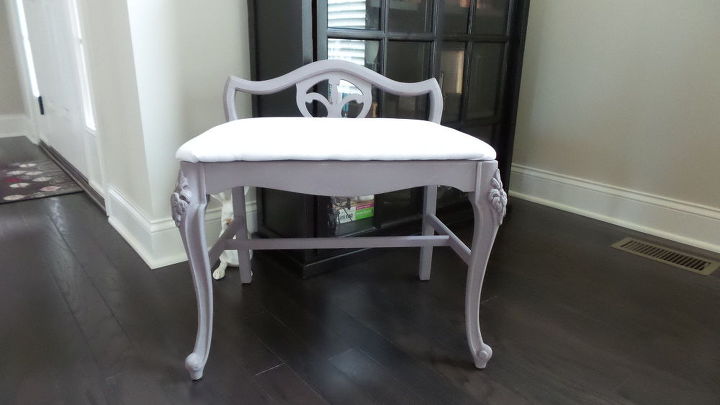
I found this little stool over the summer during the Longest Yard Sale. It called my name, so we pulled over and picked it up. This is what it looked like...
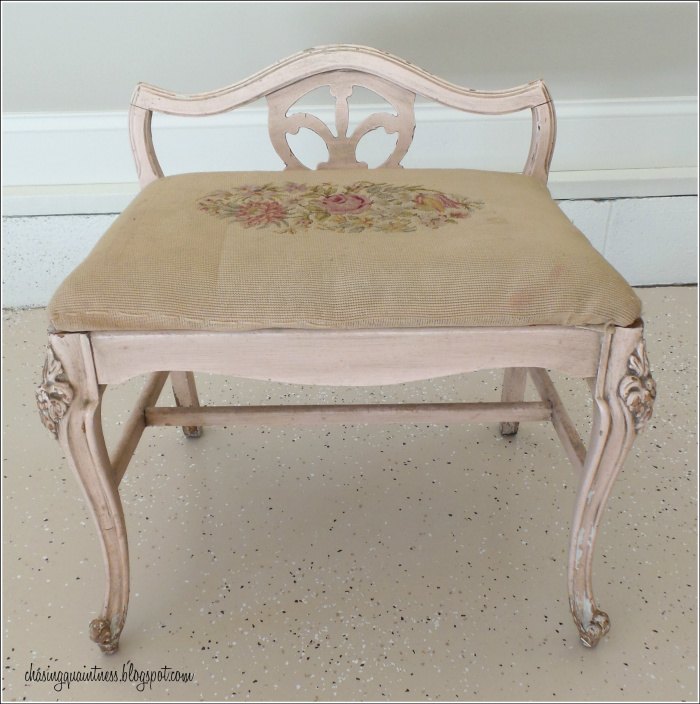
...good bones, but in need of a cosmetic makeover.
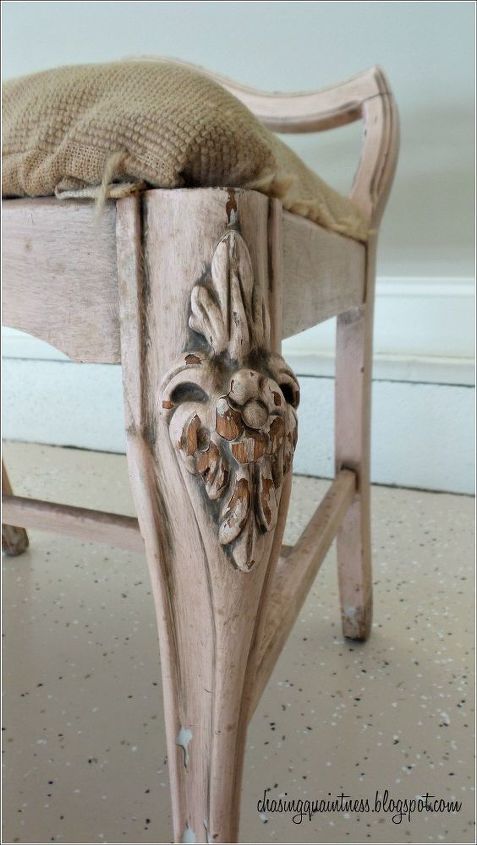
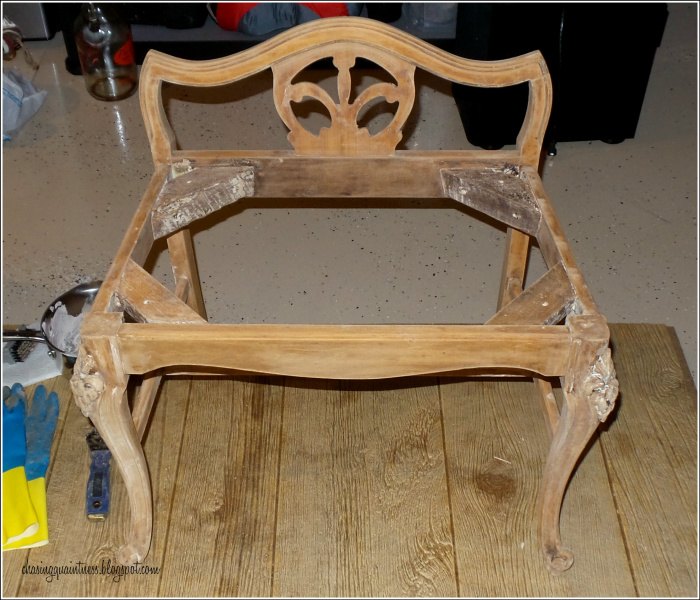
Finally, I couldn't stand knowing it was there, unloved, and decided to take it down and begin the process of reformation.
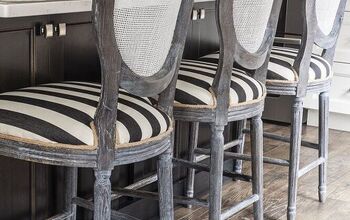
Since I didn't want to leave it in its current state, I decided to paint it. I found a wonderful color in Krylon chalk paint....Mink. I suppose if it were wall paint, it would be named "Greige", as it is a pretty grey/beige color.
I purchased new cushioning for the wooden base and covered it in a fabric similar to the fabric on my sofas....which I suppose really didn't matter since this little stool will be hiding in my bedroom closet. BUT, if it ever chooses to come out of hiding, it will not need any changes.
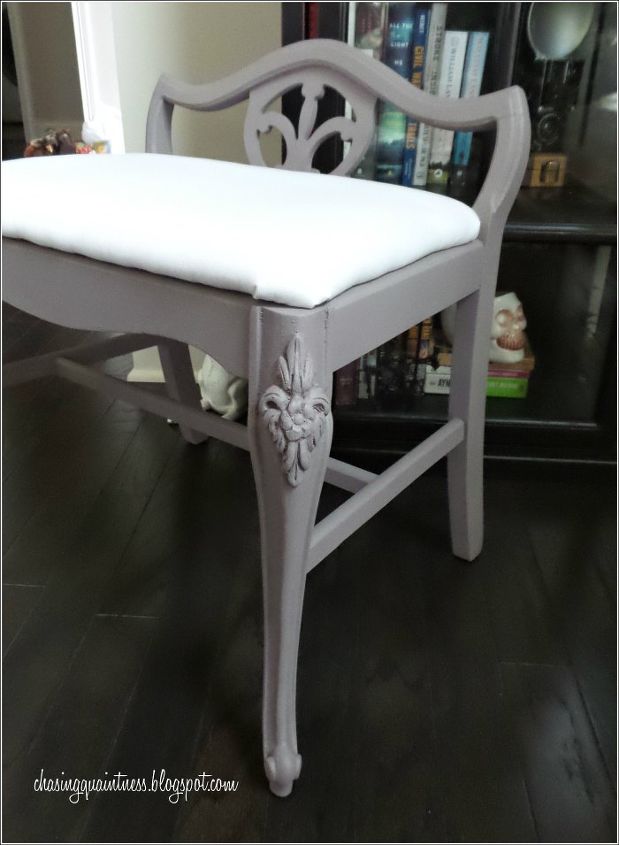
Even though it took about a week to complete this project, I'm glad I decided to strip the paint and get to the bare wood before painting it. While I would have been fine with the "chippy" look, I think it looks better with a smooth finish.

Want more details about this and other DIY projects? Check out my blog post!
Comments
Join the conversation
4 of 8 comments
-
That looks amazing!
-
Very pretty! I'm always looking for a seat just like that for my bedroom.


Frequently asked questions
Have a question about this project?