


The Farmhouse Cabinet Makeover

by
Natalie
9 Materials
$80
2 Days
Medium
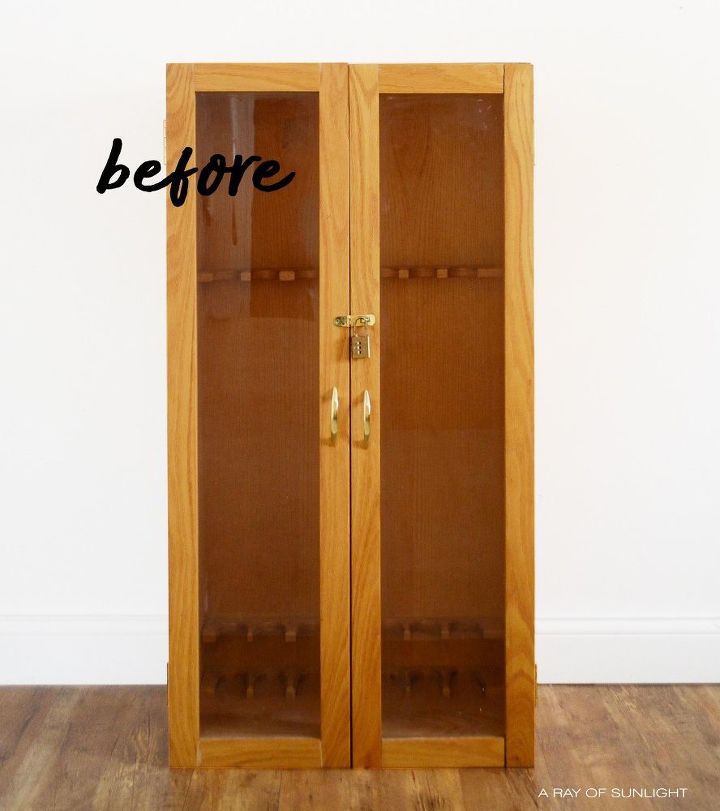
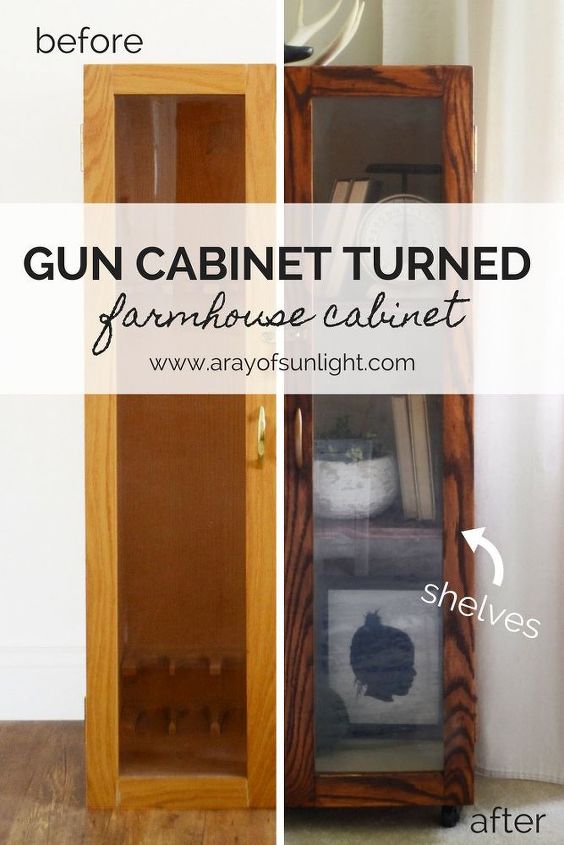
Do you remember when woodshop was a typical class in every high school? Back in the day, my husband LOVED going to his woodshop class. He built this gun cabinet there, and now I've turned it into a farmhouse cabinet.
So here is what it used to look like. My husband built it out of oak, and then lacquered it. Definitely not the style I want in my home right now, so I had to switch it up a bit.
The Demo
First I busted out the hammer and a few straight edged tools ( putty knife, flat head screw driver and another type of flat tool that I'm not sure what it's called ha!) to pry off the racks that held the guns up. Ohhh man that was a pain! He sure knew what glue was when he put it all together! The top two parts of the racks were just nailed in, but the bottom was glued to the base like no one's business. There was a lot of busting, splitting wood, and major scratches made just trying to get that bottom rack out. The best trick was using my hair dryer to heat up the metal putty knife, and then hammering the putty knife between the pieces of wood. We finally got it though!
The Prep
Once it was warm outside, I took it out to bondo all of the destruction that I had caused. I have a great video and written tutorial on how to use bondo to fix furniture on the blog. Basically I sanded the rough wood a bit, then applied the bondo. Once it was all dry, I sanded the bondo and wood smooth with 220 grit sandpaper.
Once all the bondo and repair work was complete, and the doors and hardware were taken off, I sanded everything, inside and out with 220 grit sandpaper. Since this is a super simple design with no detail, I used my power sander.
The Paint
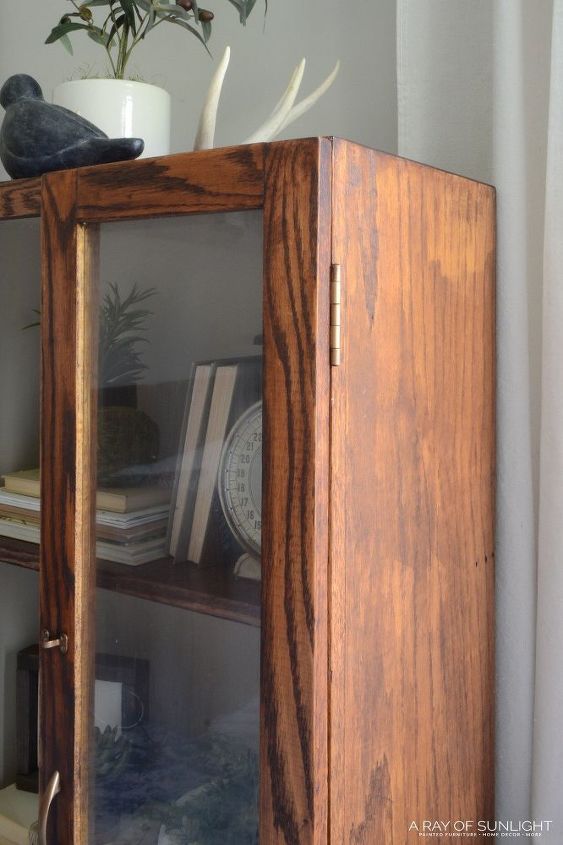
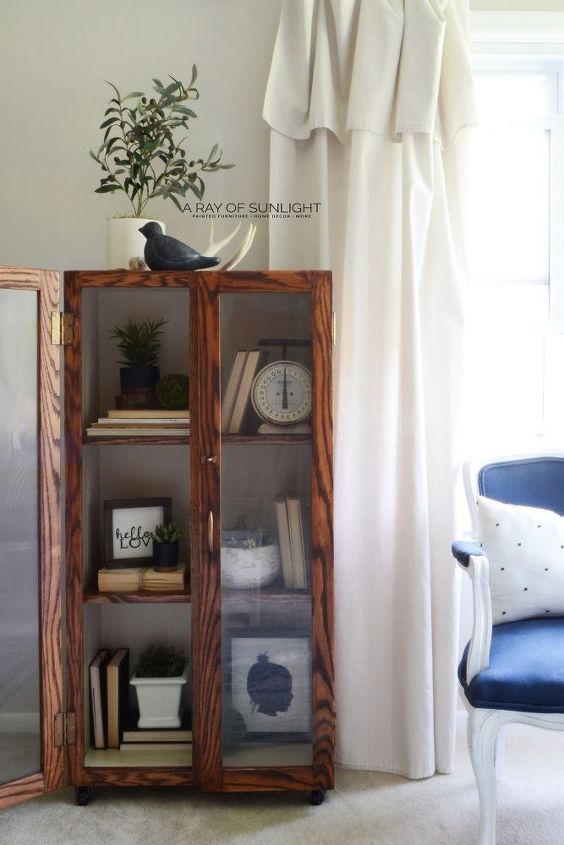
Then I vacuumed and wiped all of the dust off. The inside got 3 coats of General Finishes Milk Paint in Linen. I taped all of the edges off so I didn't get paint anywhere it wasn't supposed to be. Once the paint was dry, I removed the tape and proceeded to stain the outside with General Finishes Gel Stain in Java.
I gave the whole cabinet two coats of stain, and then sealed the new finish with poly.
I really wanted this cabinet to look worn and to show the character of how it was built, and how it was transformed. So there are a few nail holes on each side that are still showing, and the finish on one side is decently splotchy. I love the extra character these elements give this farmhouse cabinet!
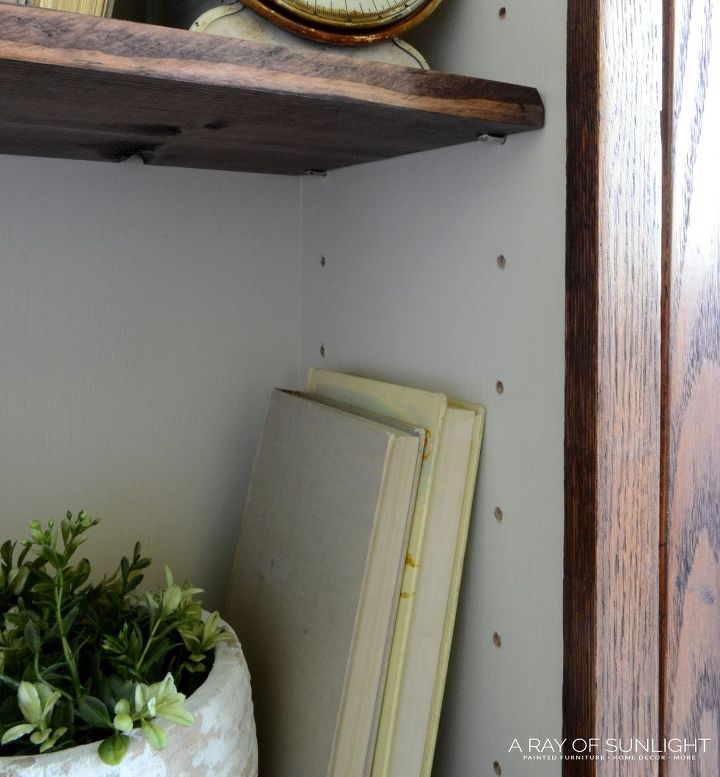
The Shelving
Then I cut down a pine board into two shelves After sanding and wiping off any dust, I applied two coats of the Java gel stain, and then sealed the finish with more poly.
At first I thought about creating shelves that were nailed down into place, but the more that I thought about it, I knew I wanted to have the pin and hole type shelving. That way I could move the shelves, and even make more shelves in the future if I wanted to.
I soooo dreaded this part. Ohh it was going to be a beast to drill all of the holes in the perfect spot and have them all lined up so the shelves don't wobble. That was until I found out about this Kreg Shelf Pin Jig. I have the pocket hole Kreg Jig, actually have two of them. So I know that they have good products that make tasks like this sooo much more simple.
So I bought myself a Kreg Shelf Pin Jig from Amazon. I waited a whole two days for shipping, and then got to work. All by myself! And I created all of these perfectly spaced holes in less than 30 min. Seriously. So easy!
I have a video and more details about creating the shelving on the blog!
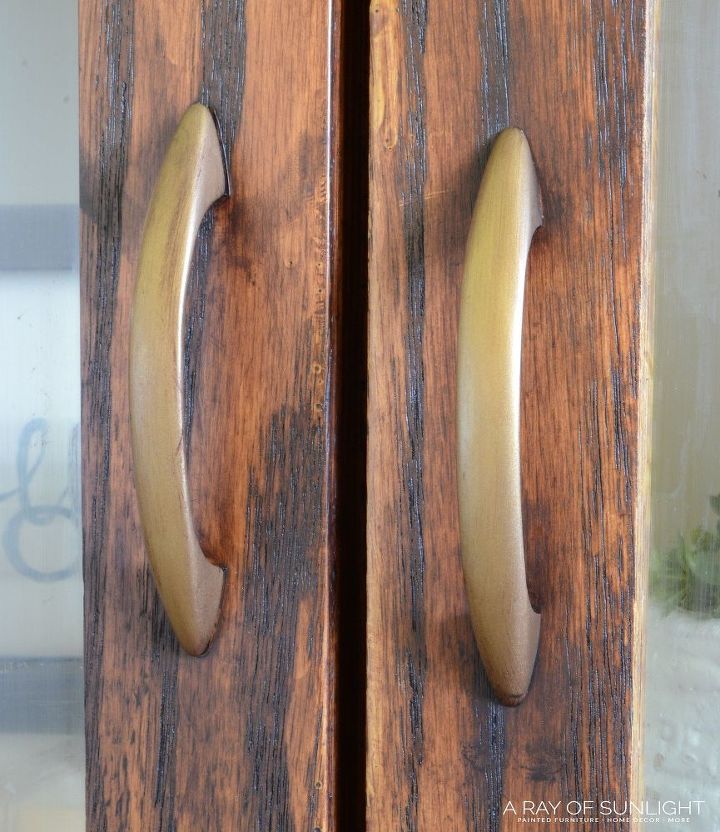
The Hardware
The hardware got a little makeover too!! The originally were polished brass. I picked up some Rust-Oleum spray paint, and sprayed the hardware. I didn't love the look and wanted it to be a little more antiqued, so I went over the brass with more java gel stain. It created the perfect look and it was super simple!
So what do you think? Leave me a comment below! I love to hear from you!
Please visit our blog for more details and photos! Including links to products for easy purchase!
Want more details about this and other DIY projects? Check out my blog post!


Frequently asked questions
Have a question about this project?