


Transforming a Dresser Into a Built-in Closet Hutch
After about 11 years of living in my house, I decided it was time for a closet makeover. We don't have a proper linen closet anywhere in the house so I decided to add some storage to our master walk-in closet and turn an existing dresser into a built-in hutch!
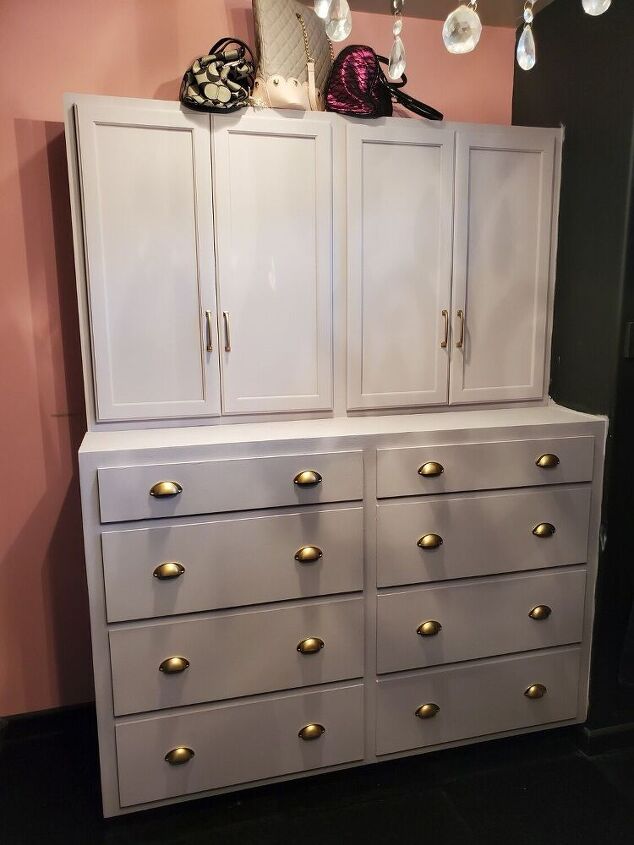
Here is where I ended with phase 1 of the closet makeover. I got super lucky with this DIY project which doesn't always happen. If you're a DIYer you know what I mean! 😂😂 More on that later...
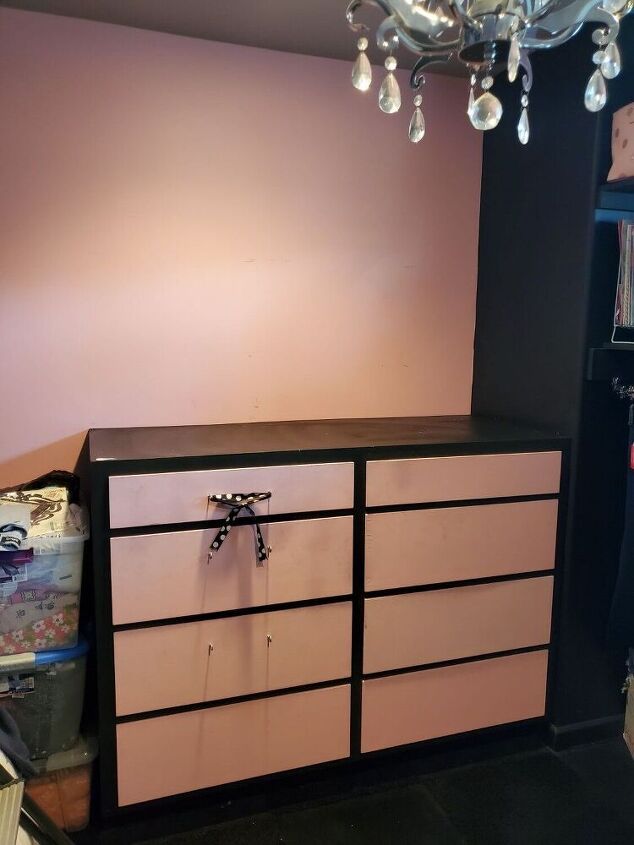
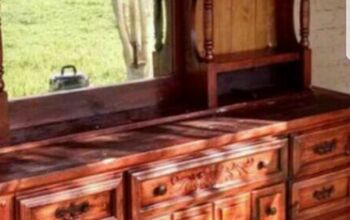
This is what this area of the closet looked like before. (After I put away the pile of clothes and other random stuff that was piled on the dresser. 🤦♀️) When I built this house I was single and went for a totally girly glam look and painted everything pink, black, and grey. I'm married now and I think my husband has lived with the pink for long enough, even though he said he didn't mind it. I was ready for a change too. I kept changing my mind over the years with what to do with that back wall. Finally, the idea of adding cabinets came to me.

Since my dad is a cabinet maker and has a full wood shop, most of the cabinetry in my home has been custom built. This time I decided to go with prefab cabinets from Home Depot to save some time. This is where I got really lucky. When we built this dresser we made it exactly 60 inches wide. It just so happens that 30 inch cabinets are fairly standard and easy to find so 2 of them would fit perfectly! We purchased unfinished cabinets and I started off by spraying them a pretty purplish grey.

I gave them 3 good coats of paint and allowed them to dry. Then I placed them on top of the dresser to make sure they fit well. (I got a little lazy and decided not to take them off to paint underneath but that should have been done first.)
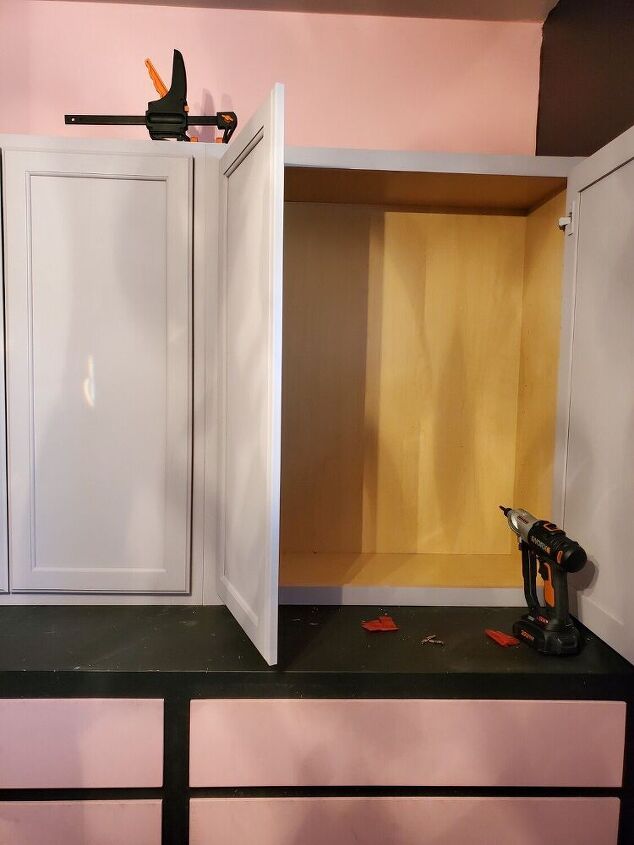
Next, I clamped them together and secured them together with screws per the directions. I also secured them through the back and into studs with screws.
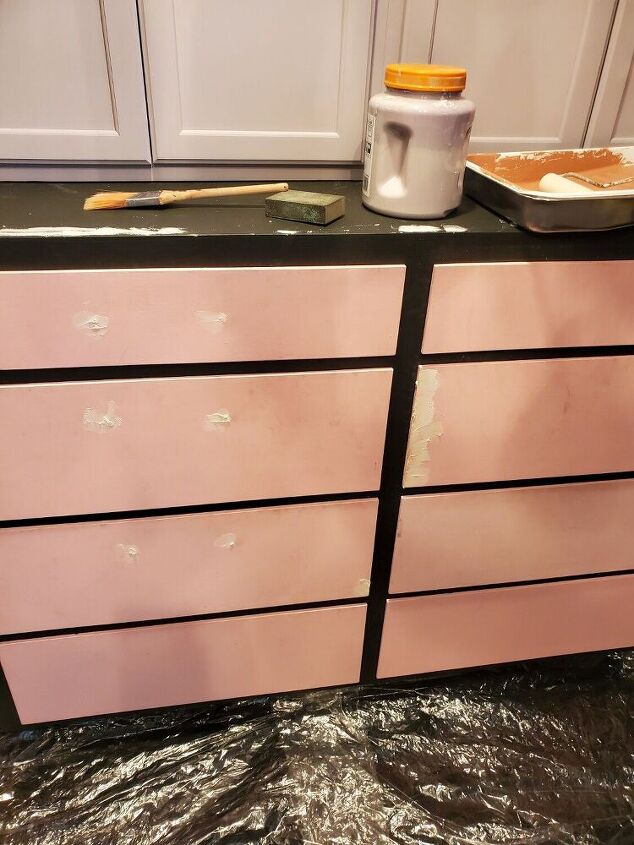
Before painting the dresser, I filled and sanded any holes, gouges or imperfections.
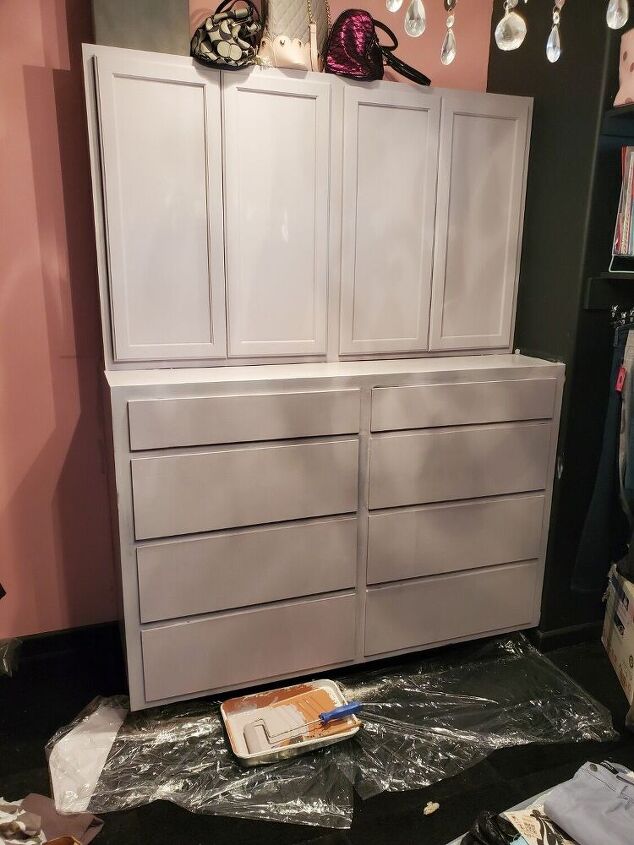
All done with the paint!
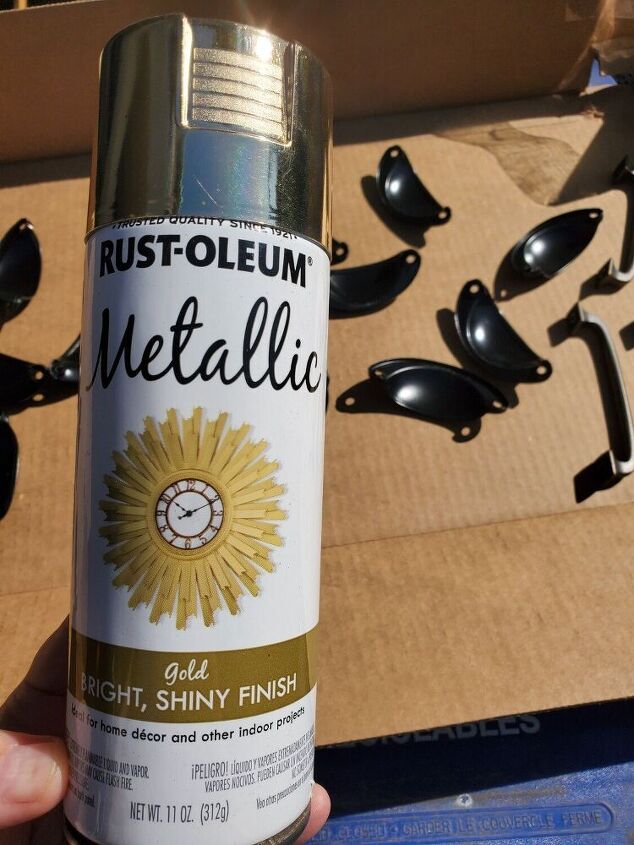
I found some really inexpensive cup pulls on Amazon but they only came in black so I spray painted them gold. I also had some handles from a previous project that got painted as well.
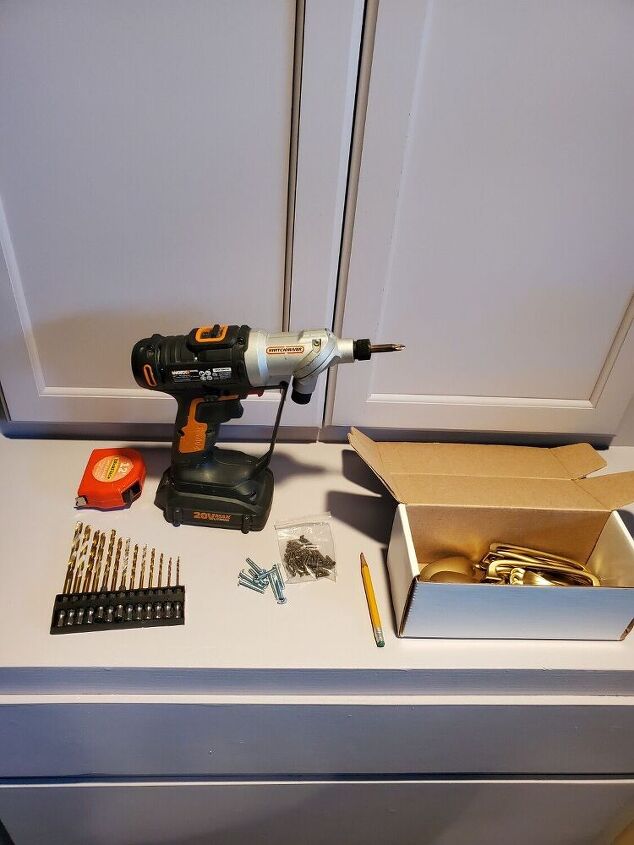
Installing hardware is NOT my favorite thing to do but it's amazing how much it transforms your projects! I highly recommend the Workx Switchdriver as it comes in so handy when installing a bunch of hardware and other tasks that require drilling and screwing as well.
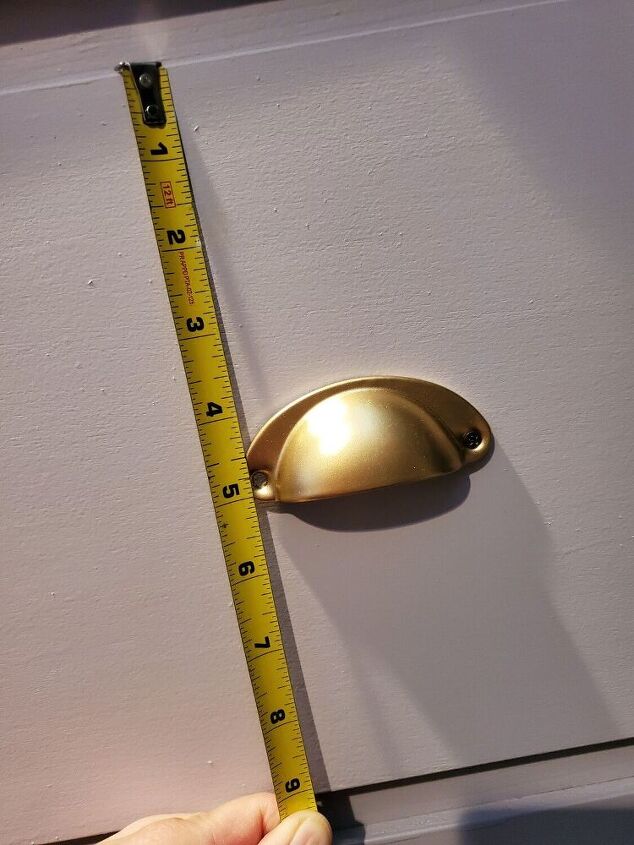
The cup pulls are front mount so I decided how far in and down I wanted them to be and marked only my spots for the outer holes of the pulls. I drilled a really small pilot hole and went in only far enough to be able to start the tiny screw easily. Once I got the outer screw in, I measured down and adjusted the pull as needed and then drilled and added the second screw. This method was much easier than trying to perfectly measure and mark BOTH holes.
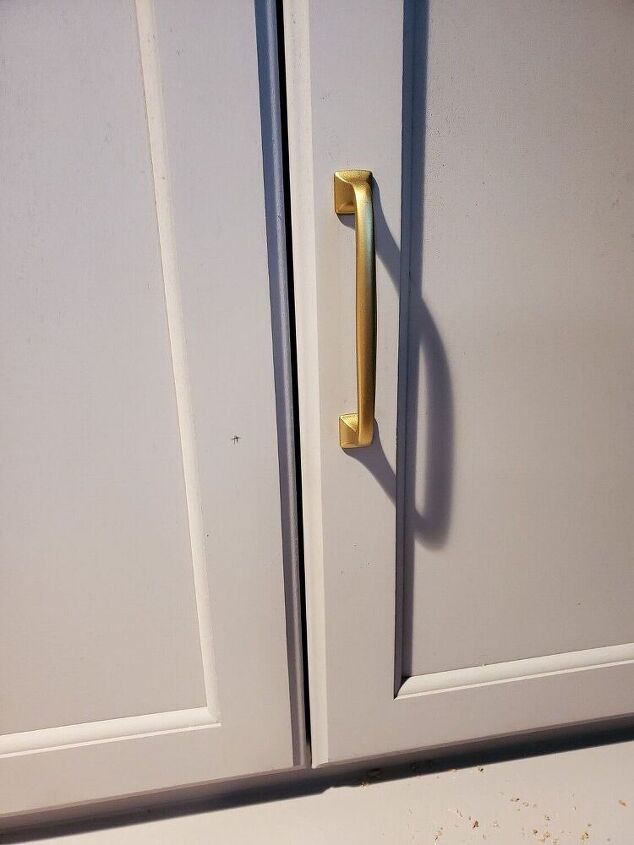
Next I installed the handles on the cabinet doors. For these I measured and drilled a clearance hole for both screws since they mount from the back.
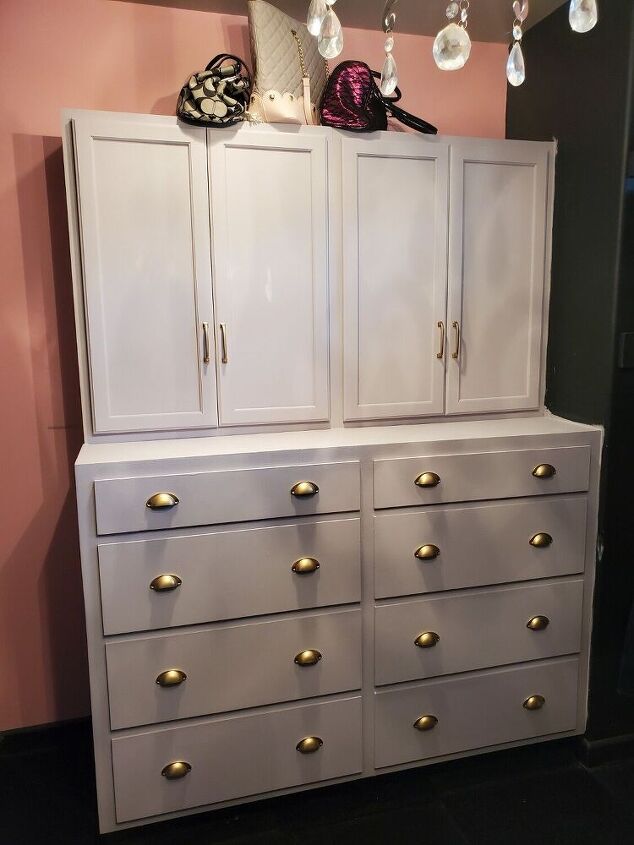
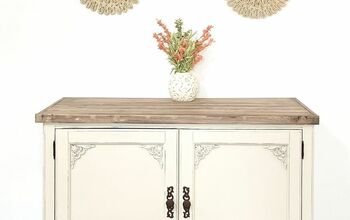
Phase 1 is DONE! Doesn't this piece look like it was always like this? I'm so happy with how it turned out and am eager to finish the rest of the closet. Goodbye pink!
Thanks for following along and I hope you enjoyed this DIY! Also, what color do you think would go well with this light purple toned grey and black carpet?? I still haven't decided what color to replace the pink walls with. Let me know in the comments!
Comments
Join the conversation
-
Wow! love the transformation. I think I would get some paint samples and check them out against the cabinet and black.
-
Well done!


Frequently asked questions
Have a question about this project?