


Trash to Treasure Hutch Bottom Gets a Farmhouse Makeover
4 Materials
$20
4 Hours
Medium
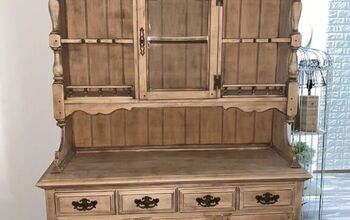
My daughter texted me super excited about her find! She was taking her trash off (Yes they still do not have trash pick up) and low and behold, she could not believe her eyes! Sitting next to the trash can was this beauty! Well, she had no top, but you all know I love a challenge and she would definitely take some work. Look at all those gorgeous details 
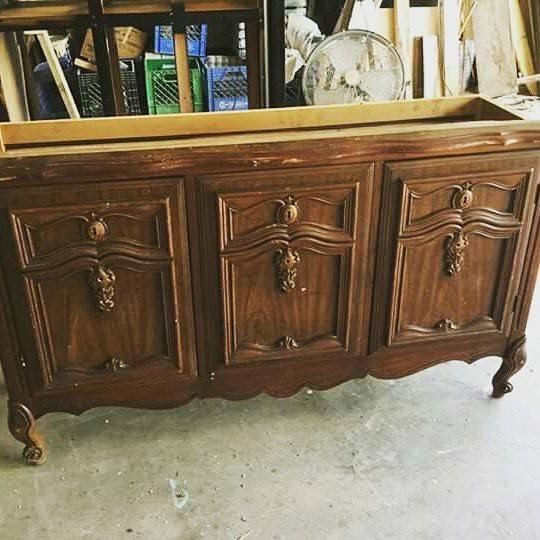
Can you believe someone threw this away?
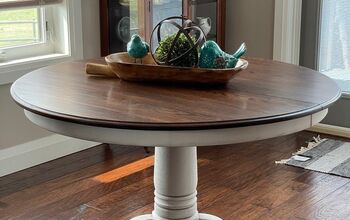
Immediately my mind was drawn to the pile of barn wood we had. We had just finished tearing down an old barn for a friend, so I was super excited to put some of this reclaimed wood to good use! (Note: We scrubbed the barn wood down with TSP using a large garage scrub brush with the handle). We did NOT sand any of the wood, because sanding took away all of the weathered wood on top. My husband cut the boards to fit long ways on the top, wood glued and nailed them into place. We even used some rusty nails we had laying around!
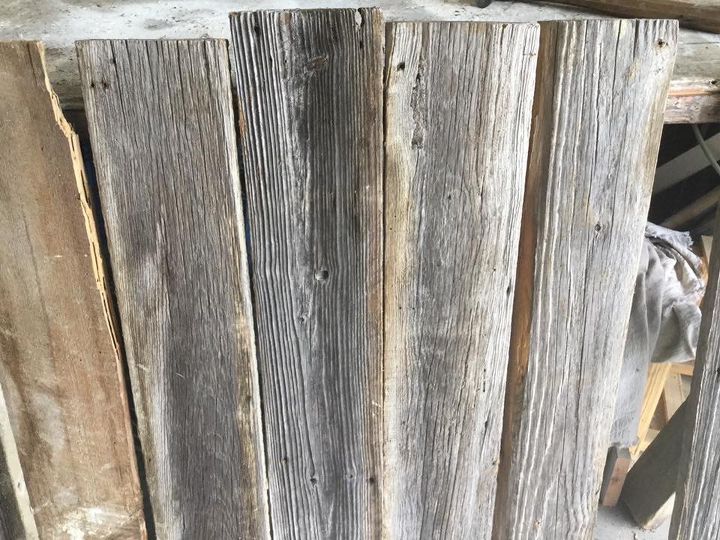
Look at all the weathered goodness!
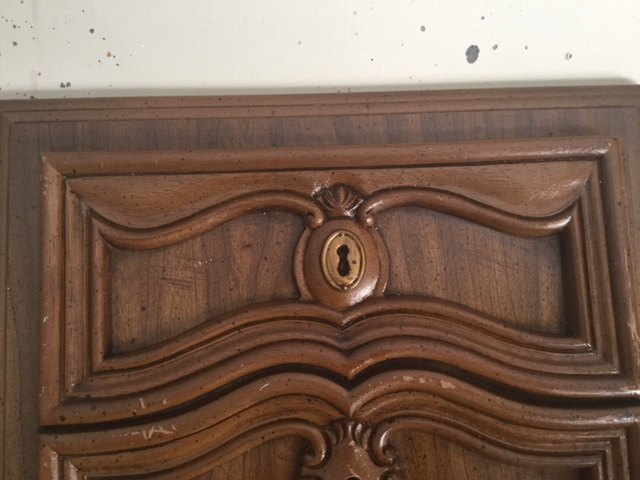
I gave the entire piece a good cleaning with TSP and I removed the doors. The doors had such great detail as well. Even a key hole 
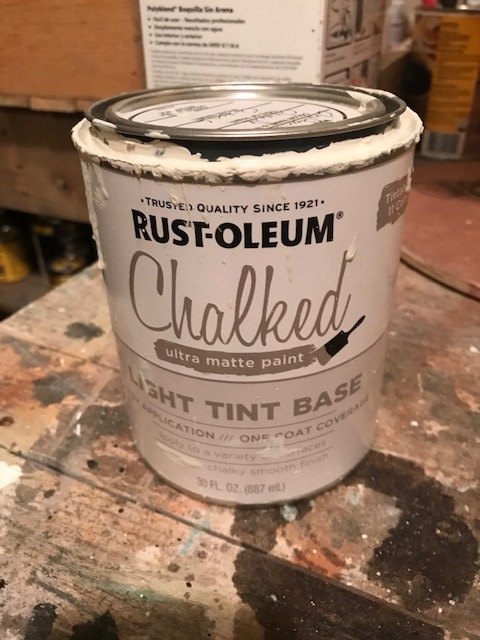
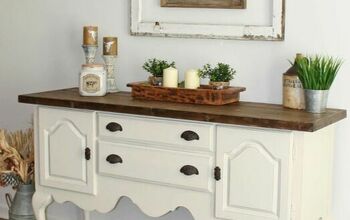
I painted the entire piece and the doors with Rust-Oleum Linen White. I gave her two coats.
I let her dry 2-3 hours in between coats. After the second coat was applied, I let her dry for 24 hours. I then gave her a good sanding with 220 grit sandpaper, distressing on the edges, etc. I wanted to give her the old feel so I decided to use an antique glaze. Before I used the glaze, I used a piece of tacky paper to clean all dust off the piece. I applied a coat of PolyAcrylic all over the piece and the doors. I gave it 24 hours to dry. I use the poly before the glaze because it allows me to control the amount of glaze I want. Also, the poly keeps the glaze from seeping into the color and totally saturating it. Make sure you have a semi damp cloth in order to wipe away any excessive glaze.
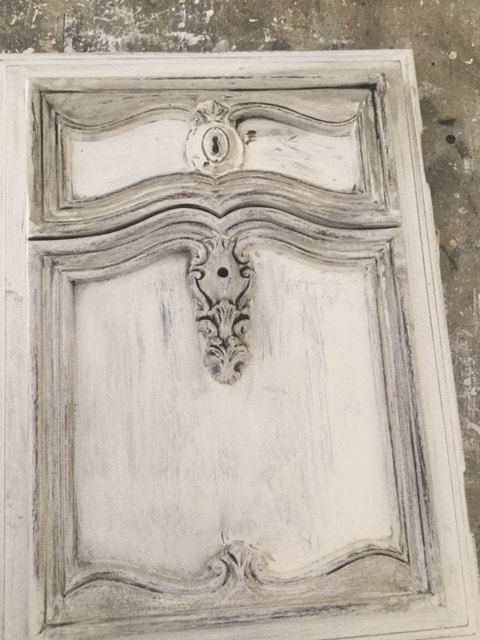
Antique Glaze on Door
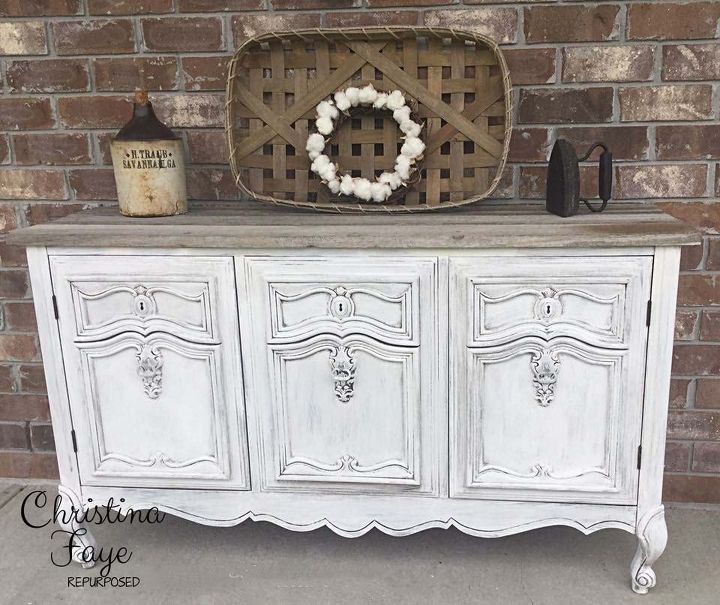
After glazing the entire piece, I allowed the glaze to set for 24 hours. And tadahhh! Isn't she just beautiful. And to think someone tossed her at a trash dump. Now she is a gorgeous, stunning piece again :) Follow us on Facebook and Instagram to see more of our transformations.
www.facebook.com/christinafayerepurposed
Resources for this project:
See all materials


Any price and availability information displayed on [relevant Amazon Site(s), as applicable] at the time of purchase will apply to the purchase of this product.
Hometalk may collect a small share of sales from the links on this page.More info

Want more details about this and other DIY projects? Check out my blog post!
Comments
Join the conversation
2 of 7 comments
-
Wow. Wow. Wow!!!
-
What an incredible find! This turned out beautifully!


Frequently asked questions
Have a question about this project?