


Tuxedo Kitchen + Spray Painted Cabinet Makeover

by
Jenni Ingram
3 Materials
$200
4 Hours
Medium
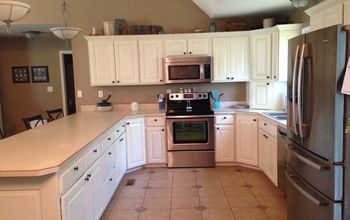
I've been eyeing the tuxedo kitchen look for a while - dark on the bottom and bright white on the top. So I decided to go for it in my kitchen too. Here's how I spray painted my cabinets a snow white and gray instead of the traditional black.
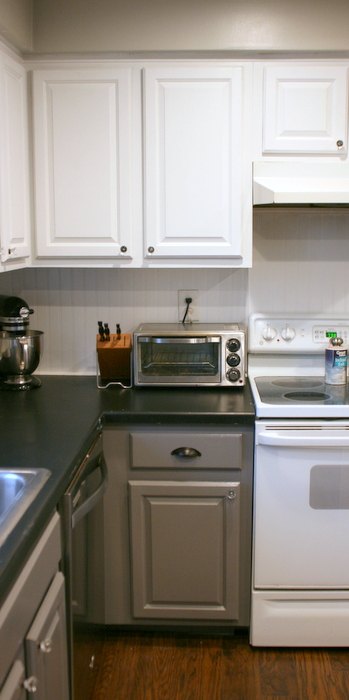
I was starting with already painted cabinets. I painted them from cream to white when we moved in 4 years ago. I used glossy latex paint, and while it held up fairly well, it was time for a fresh coat of paint!
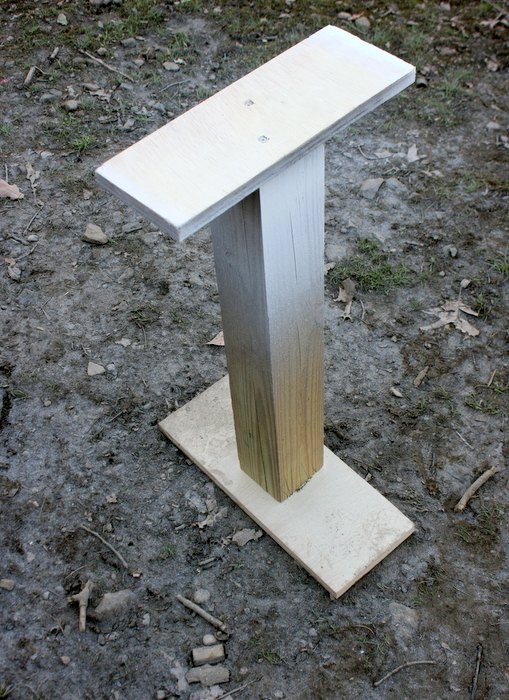
First, I set up my spraying station outside. I made a spray stand from a few pieces of scrap wood and set it up outside.
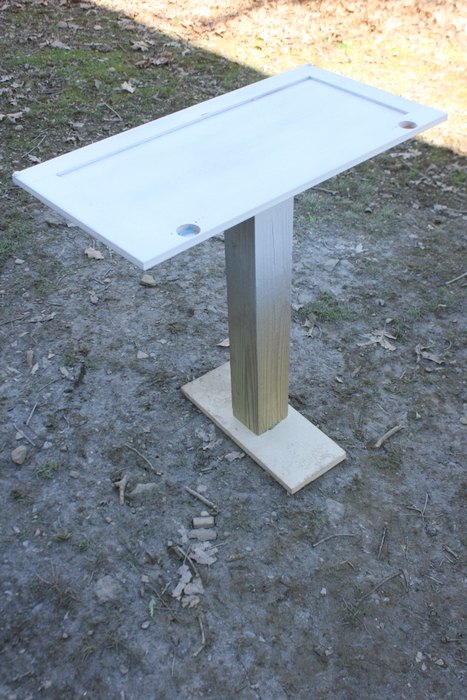
I removed all the doors and sanded them down with my palm sander and 220 grit sand paper. I was careful not to sand through the paint but just to rough up the surface enough for the paint to stick. Then I cleaned them with a solution of 50/50 denatured alcohol and water. Wiped them all down really good and let them dry. Now they are ready for paint...
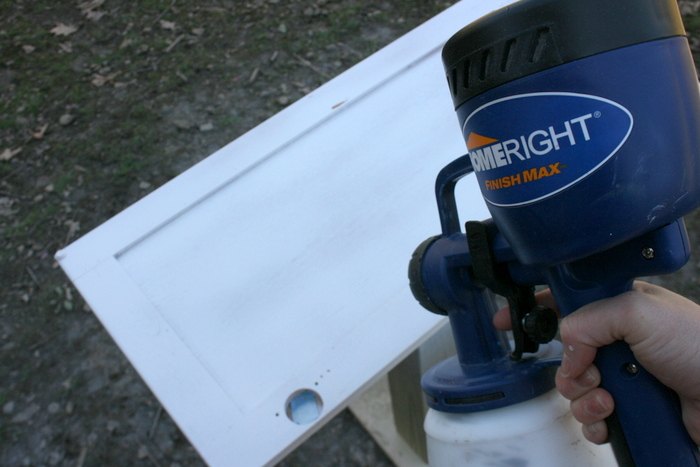
Using my HomeRight Finish Max I sprayed the backs of the doors first, let them dry, then sprayed the fronts. I followed the directions and did thin my paint just a bit with water.
You just keep the sprayer at an even distance away from the cabinets, rock back and forth on your feet as you move the sprayer from side to side for an even spray. It was not hard at all, and I didn't notice any drips!
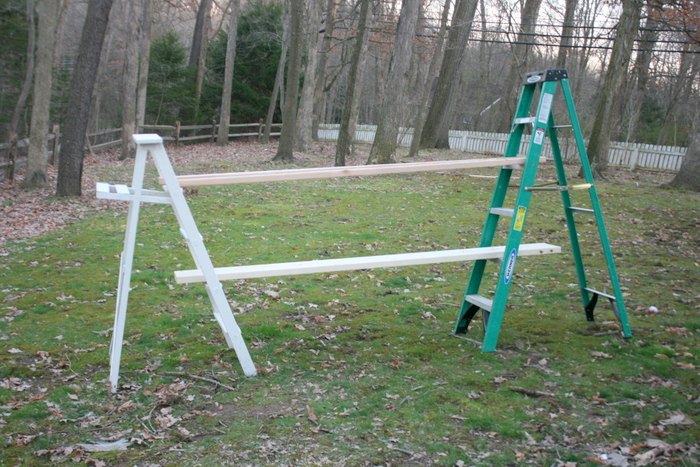
Here's how I set up my drying racks... not fancy - but it worked! Two ladders with a few boards between for the cabinets to lay on as they dry. It was a warm enough day that the cabinets dried pretty quickly which allowed me to do coat after coat.
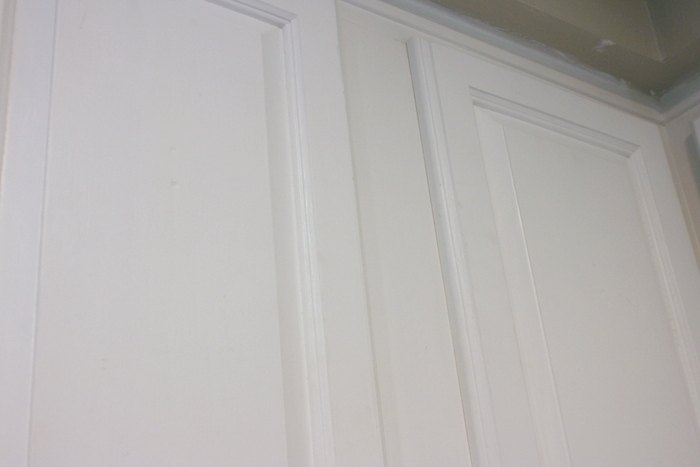
Here is good example of the sheen of the finish - this photo shows the milk paint before any top coat.

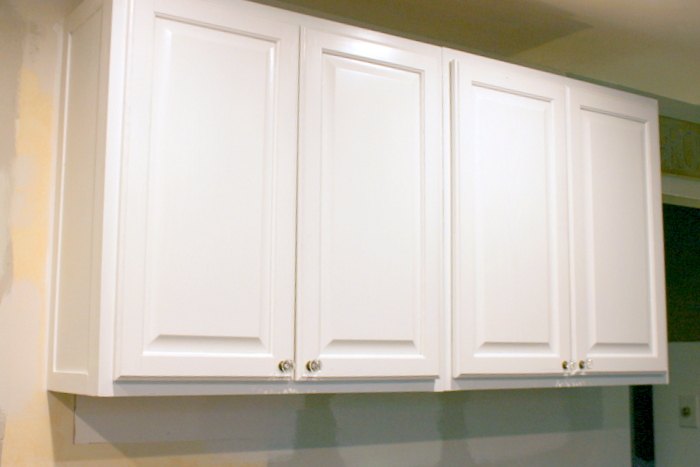
This photo shows the coat of High Performance Top Coat in Flat. It's a more casual look than a high shine (if you want a shinier finish go for the Satin), but it's still wipe-able.
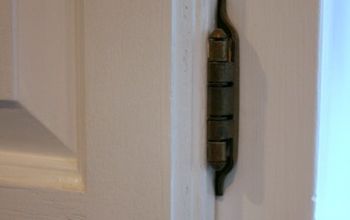
After my cabinets were all dry, I installed new hinges and re-hung the doors. I left my touch-up coat and top coat for after they were hung because I knew a few scratches were inevitable when installing new hinges.
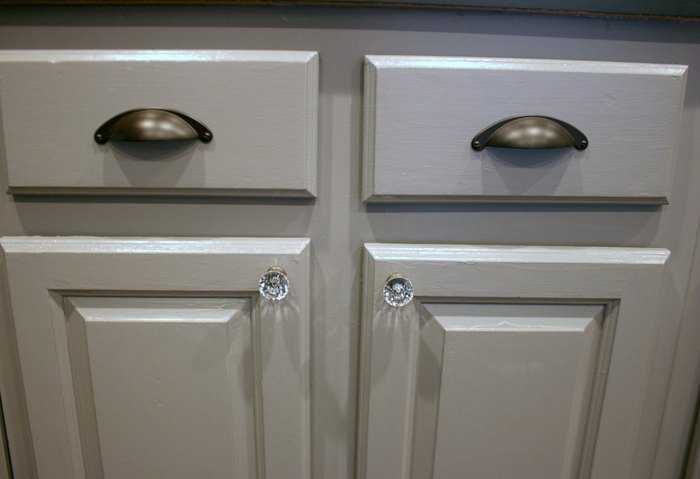
For the hardware, I chose oil rubbed bronze cup pulls for the drawers and a little sparkle with some acrylic knobs for the doors. I love the combo - classic with a bit of glam. Get my custom gray paint mix and where I got the hardware over at my full blog post here.
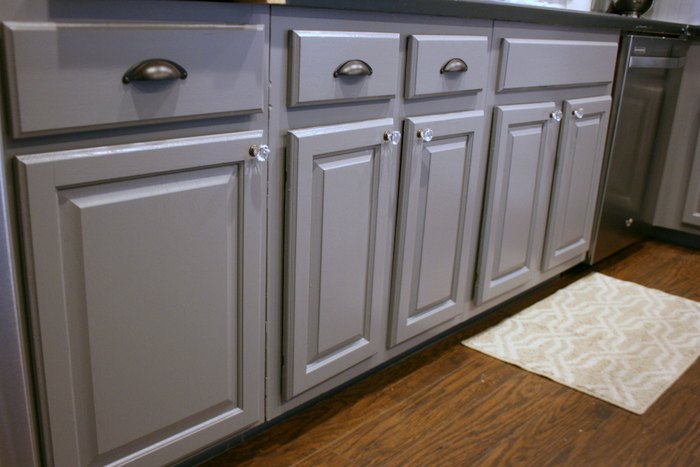
Gorgeous isn't it!?! Painting your existing kitchen cabinets is a great way to give you a new look on a budget. I'd say in total I probably used 3 quarts of paint and a pint of topcoat. It's a lot of work to paint your cabinets but the results are worth it.
I've been making lots of changes in my kitchen and plan on adding new countertops, an up-cycled island and a new paint color for the walls (and ceiling).. ..You can follow these kitchen transformations by subscribing to my blog here.
Want more details about this and other DIY projects? Check out my blog post!
Comments
Join the conversation
4 of 11 comments
-
Looks great and I'm very happy to finally see someone spray cabinets instead of brushing them. The results looks much more professional.
However, you didn't mention how you painted the cabinet boxes.
-
So lovely!!!


Frequently asked questions
Have a question about this project?
what kind of wood is your cabinets? If they are oak does the grain show through the white or grey?