


Up-cycling Half a Desk Into a Printer Stand

by
Kaye
4 Materials
$25
10 Days
Medium
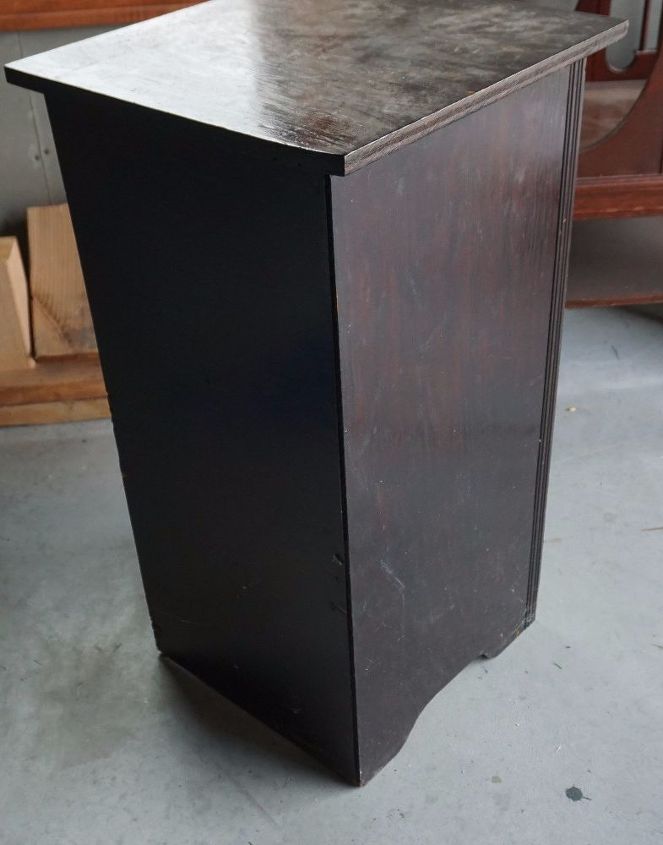
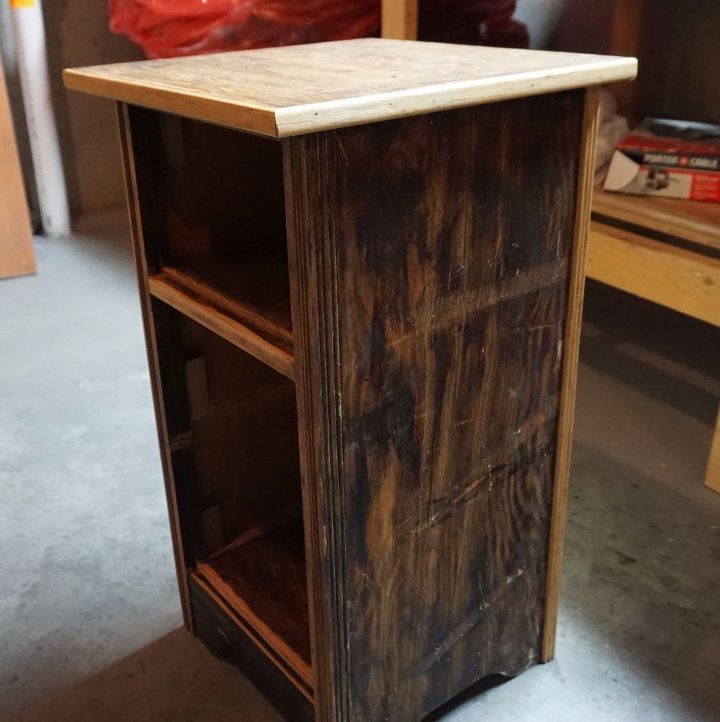
When we found this piece buried in an old shed I was thrilled to bits; until I discovered, again, that dark brown stain hides a multitude of sins!
After taking a good look at it in daylight, we discovered it was a part of a desk, cut off with a crooked piece of scrap wood nailed to the top.
The project quickly turned into a exercise in thinking outside the "box".
We determine this would be a paint only project during stripping and scraping. The back was actually two pieces wood nailed together. straight.
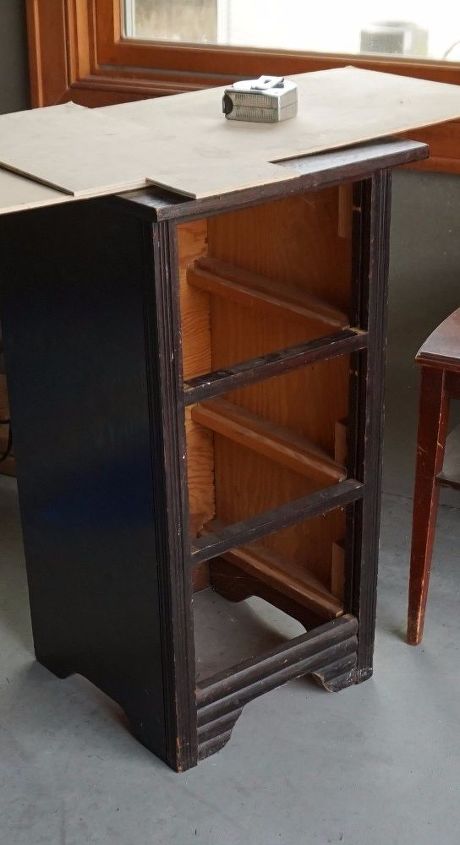
We had just enough scrap wood in our garage to replace the back. We set aside the pieces we removed, just in case.
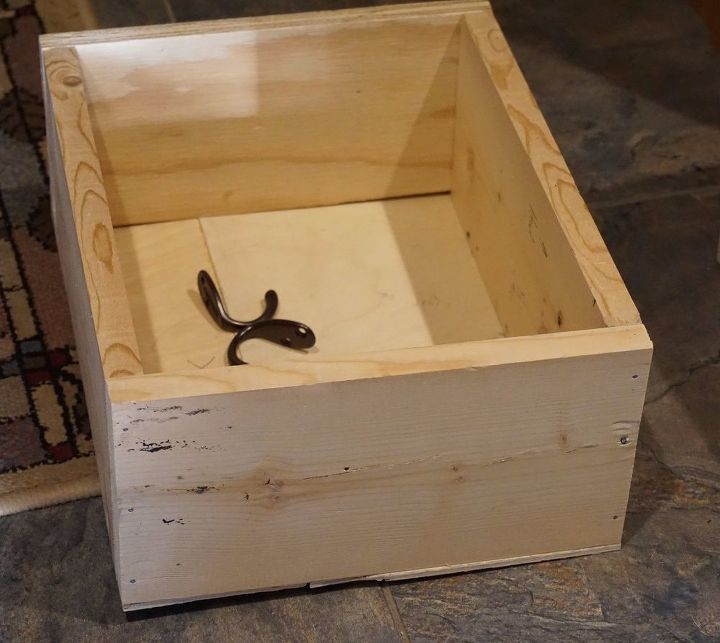
We hoped we would be able to use three baskets in place of the missing drawers.
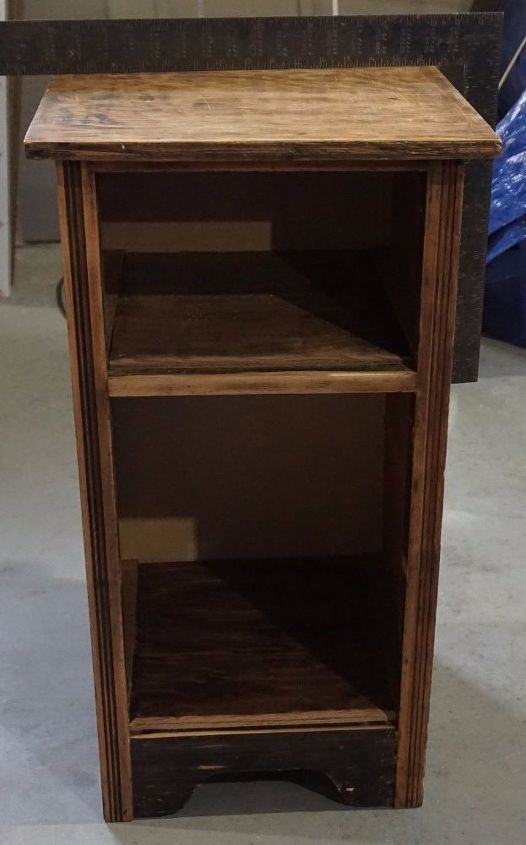
After much discussion, we cut out the middle drawer rail in favor of one large basket and one small basket. This also saved us buying an entire half sheet of 1/4" plywood to put in a three baskets. We were able to use the pieces from replacing the back to put in two complete basket supports.
Additionally, we thought that one larger basket would be good for storing awkward sized computer peripherals.
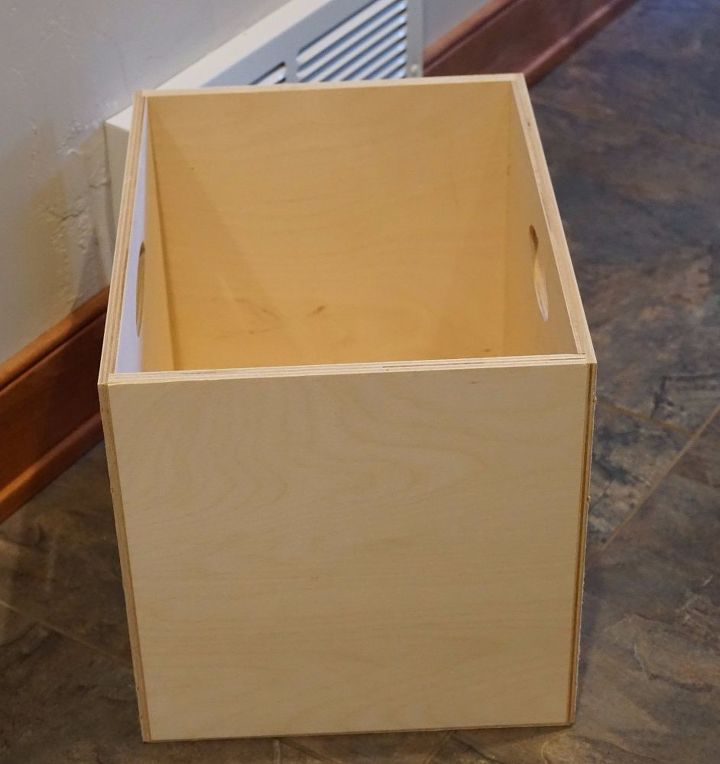
While shopping, I found a wood bin that would fit in the bottom section discounted at our local craft store. We changed our designs to wood bins instead of baskets. It would have been necessary to order expensive baskets to fit the openings.
Joe pieced the top drawer together from the last of the scraps. When I looked at it, I realized that lots of wood putty and sanding was going to be required to get this drawer into paintable shape.
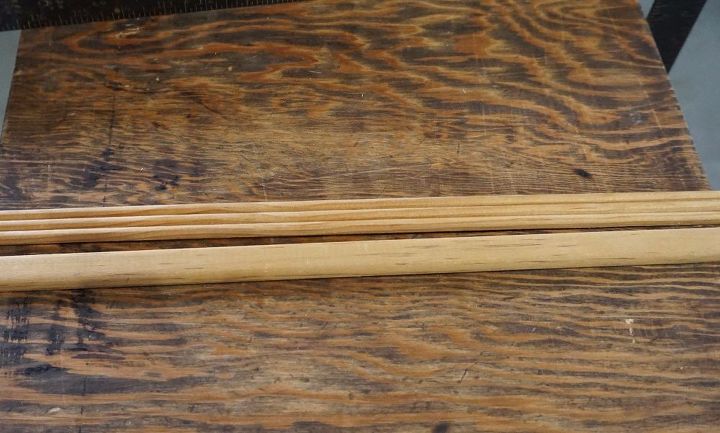
At the ReStore, we scored two pieces of trim for $.50 each to finish off the top, sides and small drawer front. This gave us an excellent chance to work with our inexpensive miter box we also found on closeout.
Next time, we will practice on scrap sticks as we barely had enough left to finish after a few oops cuts.
The ribbed trim we found didn't exactly match the original trim on the front but we decided to use it anyway as it would not be directly next to the original trim.
We squared off the back of the top piece and used the piece of smooth trim to surround the plywood.
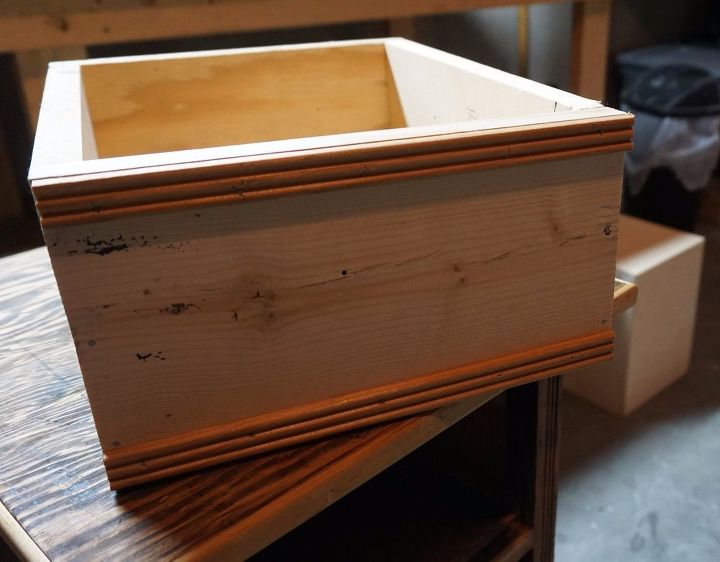
The last of the ribbed trim just had to be used on the top drawer. Finally we were ready for priming and painting.
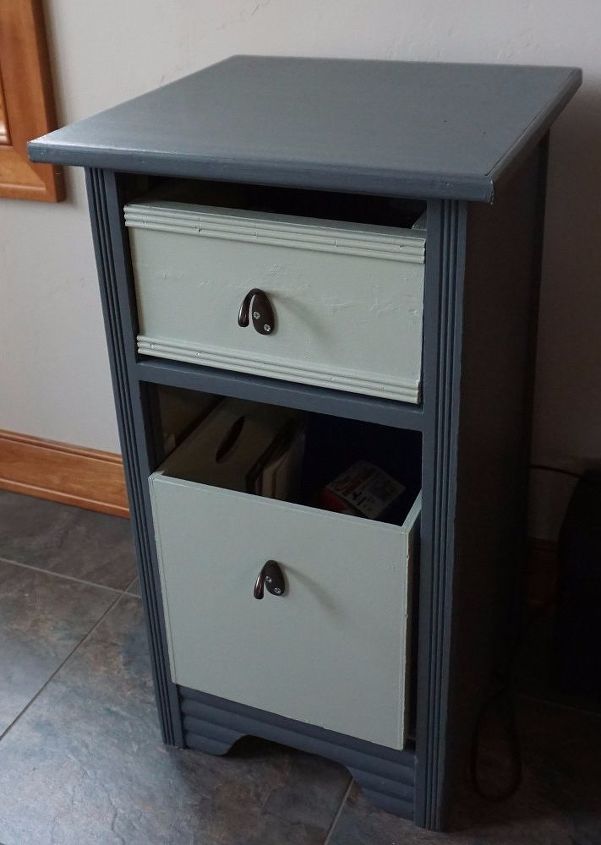
Our computer desk is in our kitchen as part of our cabinets and next to the dining table. The curtains and a couple of picture frames have a green in them so we decided on light green for the drawers and gray for the frame. I just couldn't paint it brown again.
My genius husband found two coat hooks left from another project and suggested we use them for pulls. I loved the idea as these would provide a little extra support for our "baskets".
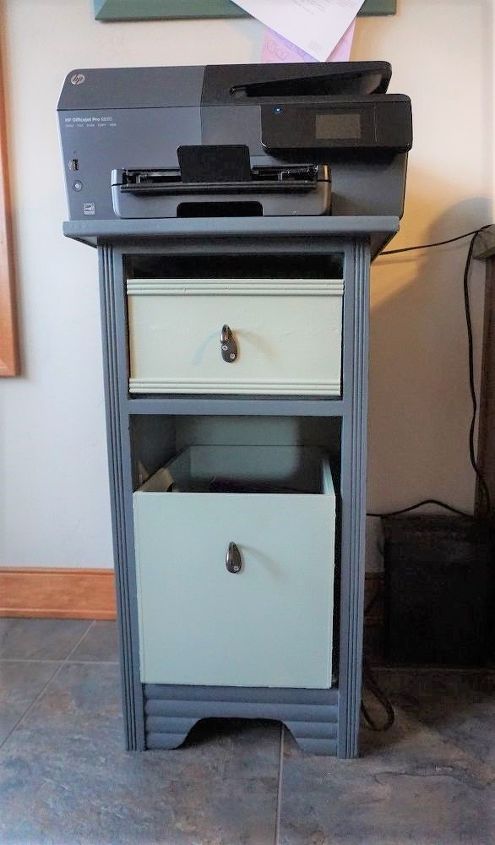
We are happy with the results and love the extra room on our desk now that the printer has a new home.
Resources for this project:
See all materials


Any price and availability information displayed on [relevant Amazon Site(s), as applicable] at the time of purchase will apply to the purchase of this product.
Hometalk may collect a small share of sales from the links on this page.More info
Comments
Join the conversation
4 of 20 comments
-
It looks so much more modern than the old piece. and I am impressed that you MADE the baskets instead of bought them.
Betsy Coss
-
ripper well done


Frequently asked questions
Have a question about this project?
did you spray the inside of the jar or the outside?