


Updating an Old Chair - From Drab to Fab
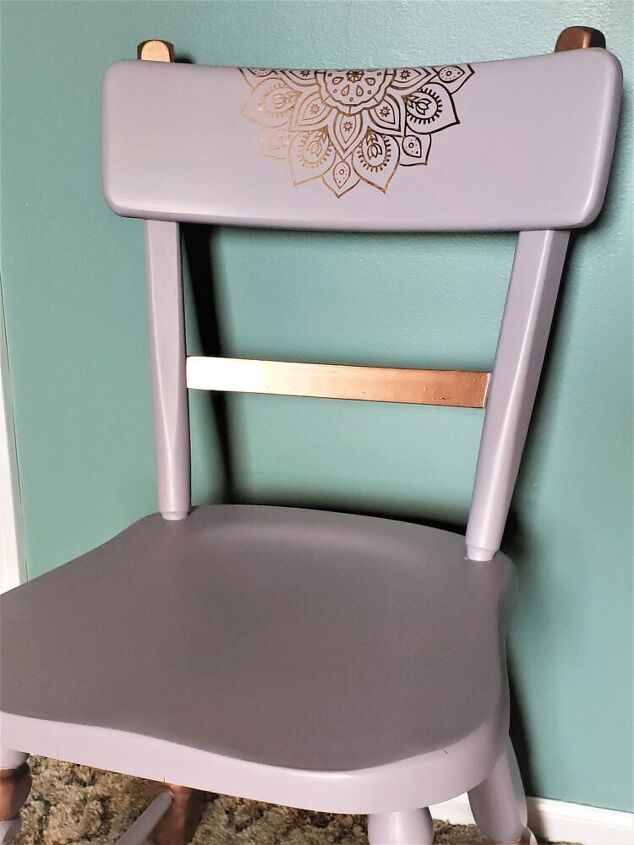
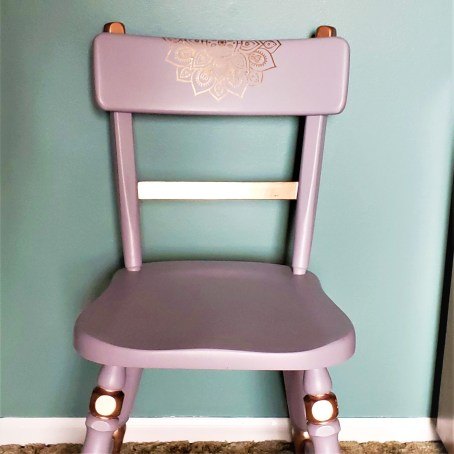
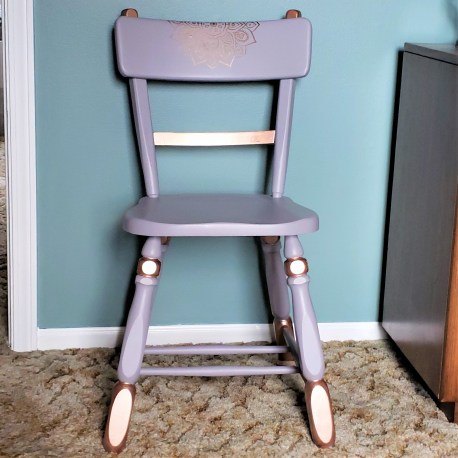
I gave this old chair a facelift and now it looks simply stunning in our new bedroom.
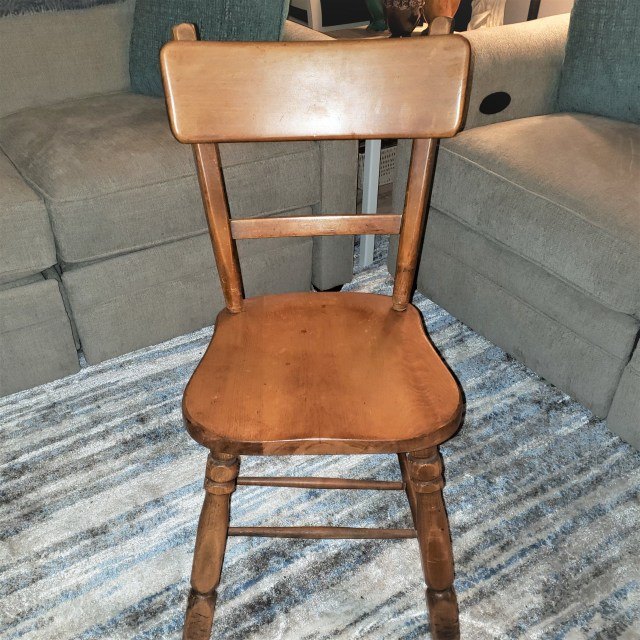
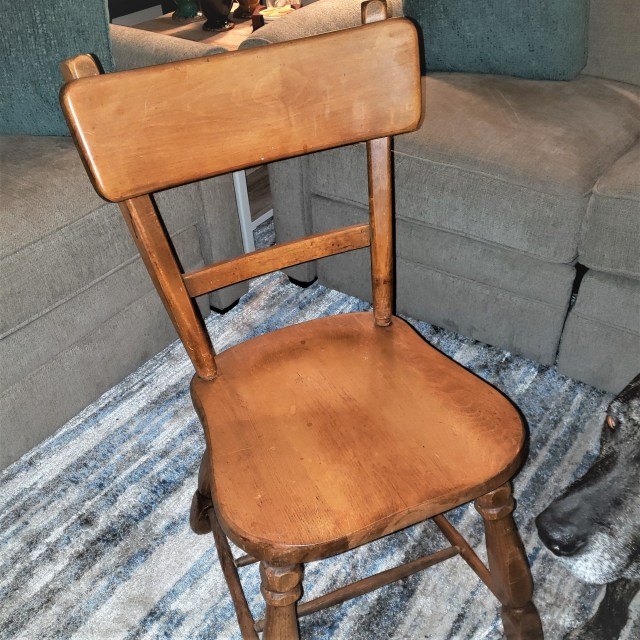
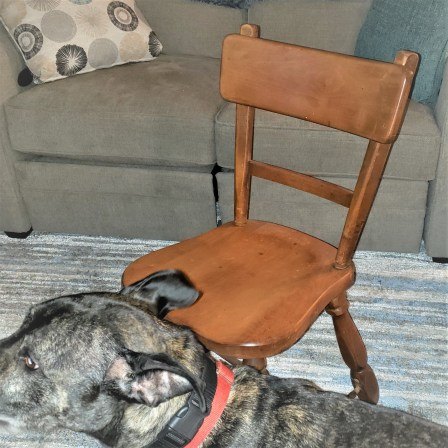
We have had this old chair floating around our house for a couple of years. We like the simplicity of this solid little chair but had no place it really fit into our space. We don’t have much in the way of oak furniture and it just looked out of place wherever we put it. The one thing we were sure of was that it needed a bit of updating.
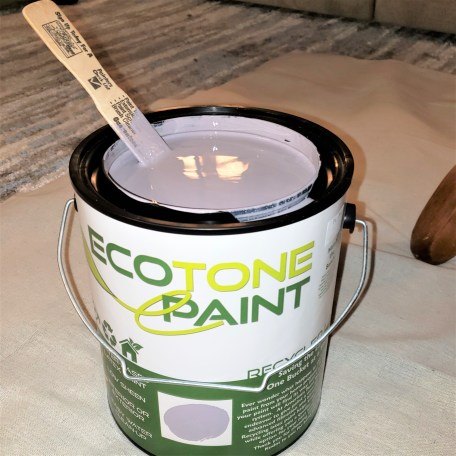
We were working on redecorating our bedroom so I decided to repaint the chair to go in the room. The room itself was painted with Behr paint in greyish-green tones so I chose a purple with a grey tint to it as well. It took three coats of paint before it was completely and evenly covered to my liking. I love this color, it is not the expected color for a chair but it looks great with the wall color.
*Fast Fact ~ Green, purple, and orange are triadic on the color wheel, so they naturally go well together. Just be sure you keep the tints and tones of the colors similar as well.
Supplies
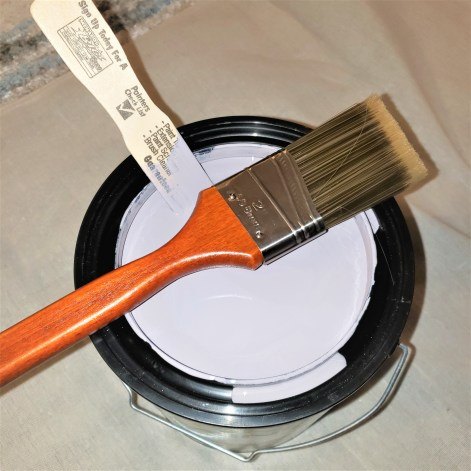
- Paint
- TSP or TSP substitute (this is what I use)
- Liquid Sandpaper or sandpaper
- Polycrylic
- Metallic Paint
- Silhouette Cameo 4
- Adhesive Metallic Vinyl
- Weeding tools
- Transfer Tape
Prepping the Chair for Paint
The first thing you want to do is use the TSP according to package directions to be sure you have the chair thoroughly cleaned. Once that is done you want to use the liquid sandpaper to prep the surface for the paint. Both of these are very easy to use and you will not regret taking the time for these steps.
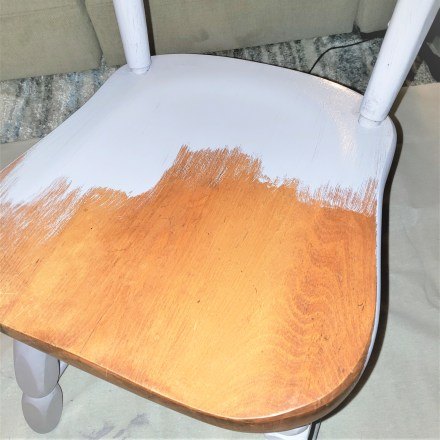
Now it is time for the paint. Like I said it took me three coats of paint to get the coverage I liked, but you could probably get away with two, depending on the brand of paint you use. I used paint I had on hand here at home. If I had bought paint for this project it would have been a chalk paint, but it you can use almost any paint and with the correct prep and finish coats it will come out great.
Adding the Mandala
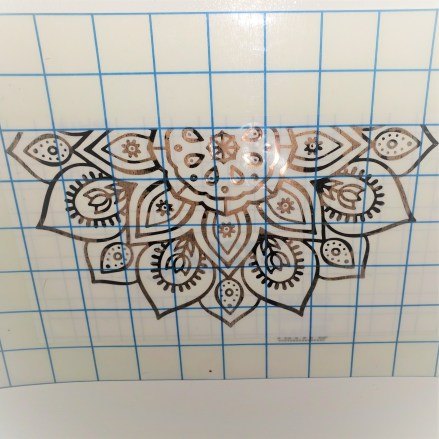
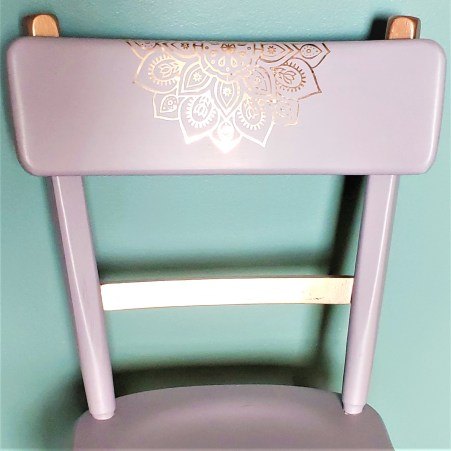
While the chair was drying I took the opportunity to lay out a design on my Silhouette Cameo 4. I came up with a mandala design that was simple enough that would work on the back of the chair. I then cut it out on Rose Gold metallic vinyl. Once it was weeded I applied the transfer tape to the design.
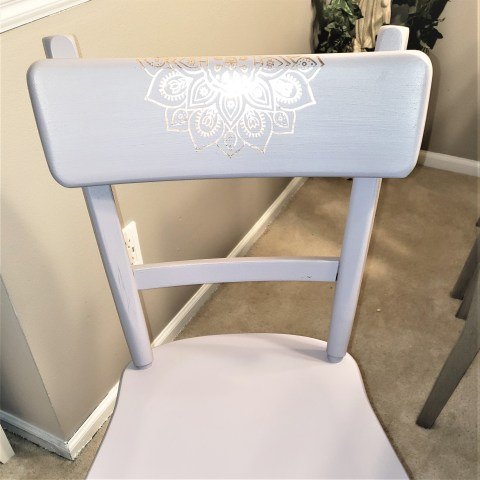
Once the paint is completely dry on the chair I added the mandala design to the back of the chair. I was careful to be sure I had it centered before I pressed it down as once you stick this stuff down it is very hard to adjust it. Once it was down I used my scraper tool to make sure it completely adhered to the chair back. Then I carefully removed the transfer tape from the design. You want to be sure the paint is completely dry before you do this or you could pull up some of the paint with the transfer tape.
This was the point I thought I would be done with the chair, but it looked unfinished to me. This was the point I grabbed my Rose Gold Metallic Paint and added a few pops of color to the back and legs of the chair. That was just what it needed. It pulled the chair together perfectly.
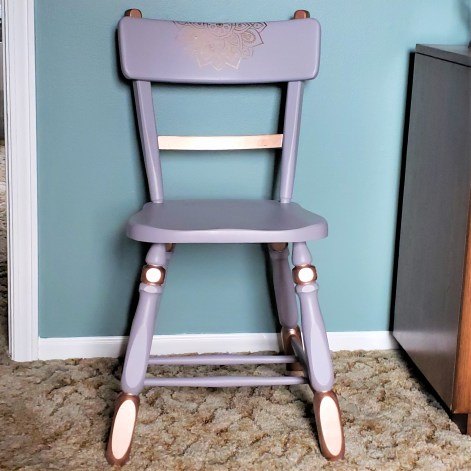
The last step in the process is to give the chair a coat of Polycrylic. If the chair is going to receive heavy use you may want to add two coats, allowing it to dry in between coats. I only used one coats since the chair will not be receiving daily use as it will be sitting in the corner of our bedroom.
I love the way this came out, don’t you? Let me know what furniture projects you have completed and if you used your Silhouette Cameo 4 to complete your project. I look forward to hearing about what you have done.

Comments
Join the conversation
-
What us the name of the Rose Gold Metallic Paint I need it for my vanity?
-
It is DecoArt Dazzling Metallics Rose Gold


Frequently asked questions
Have a question about this project?