


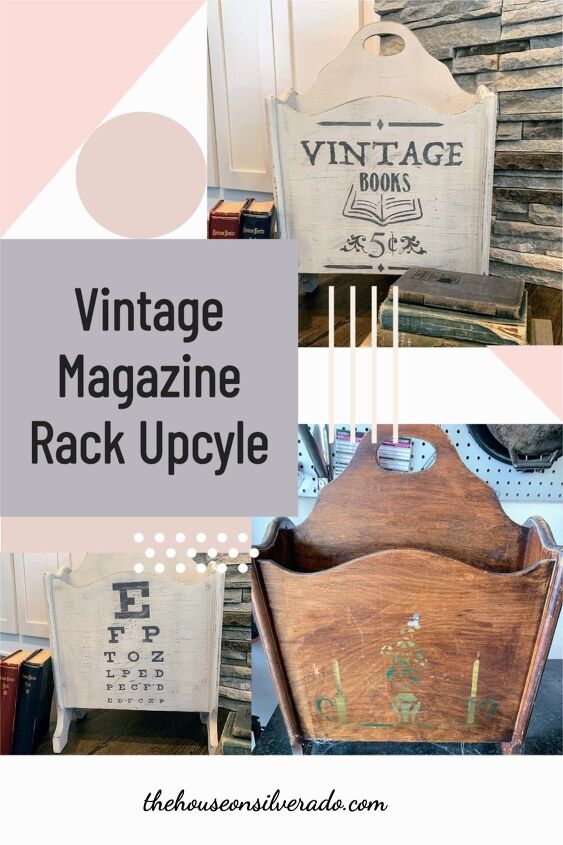
Vintage Magazine Rack
This vintage magazine rack is a fun and easy upcycle using Dixie Belle paint and a stencil to give it a whole new look.
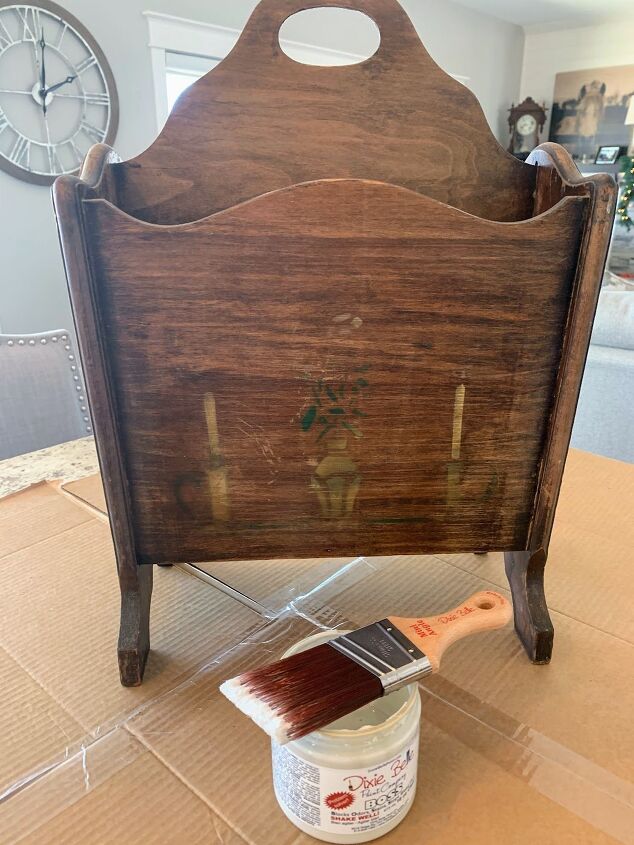
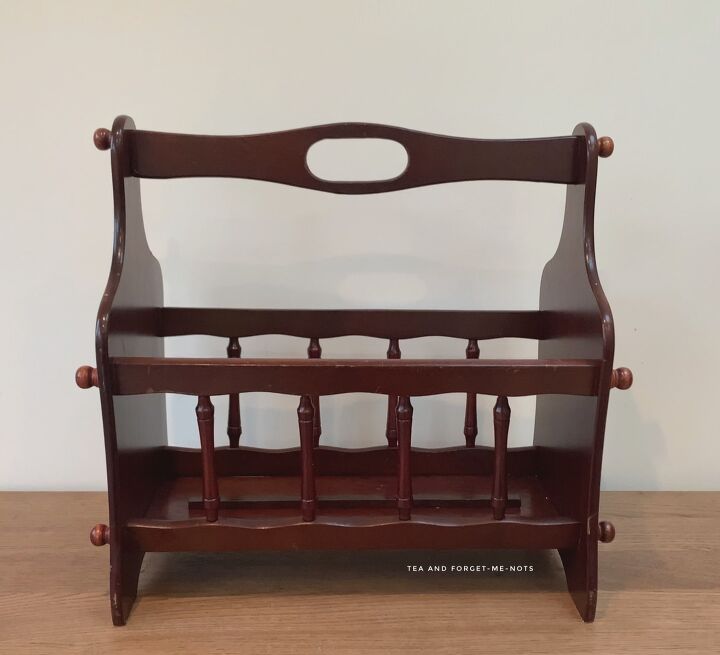
Last summer, I picked up this vintage magazine rack from a thrift store.
It was in pretty sad shape but was priced at less than $4, and I really liked the curvy lines and vintage appeal.
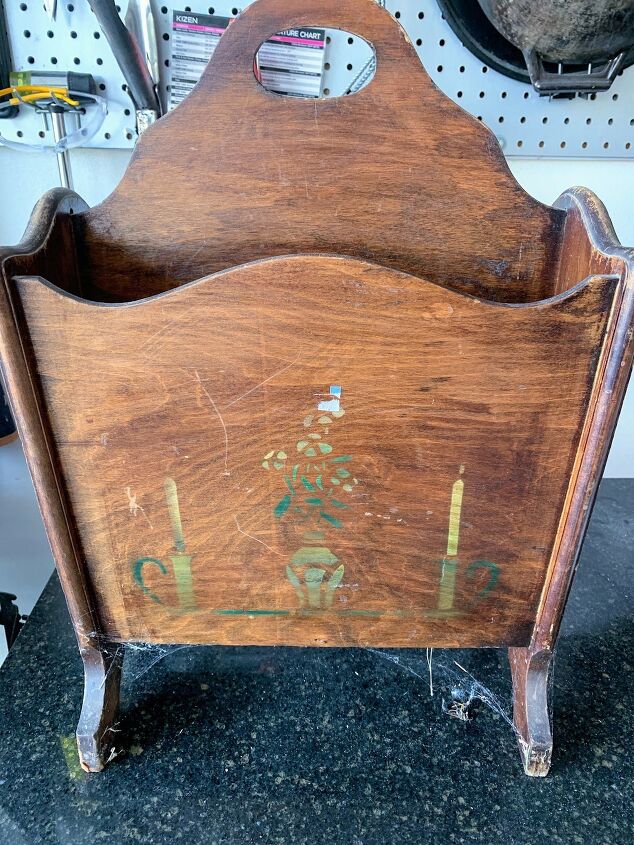
It appeared someone had tried to give it a previous makeover at some point in time with this weird candle and vase stencil? Yikes.
No worries though. I knew I could fix her up.
I am partnering with the Dixie Belle Paint Company for this post. Paint and supplies were generously provided to me by Dixie Belle, but all ideas and creations are my own.
How to Makeover a Vintage Magazine Rack
Clean
Before I began, I made sure to give the who thing a good cleaning using Dixie Belle’s White Lightening cleaner to remove the years of dirt and grime from the wood.
This scrubbing even took off some of the ugly stencil, and things were already looking better!
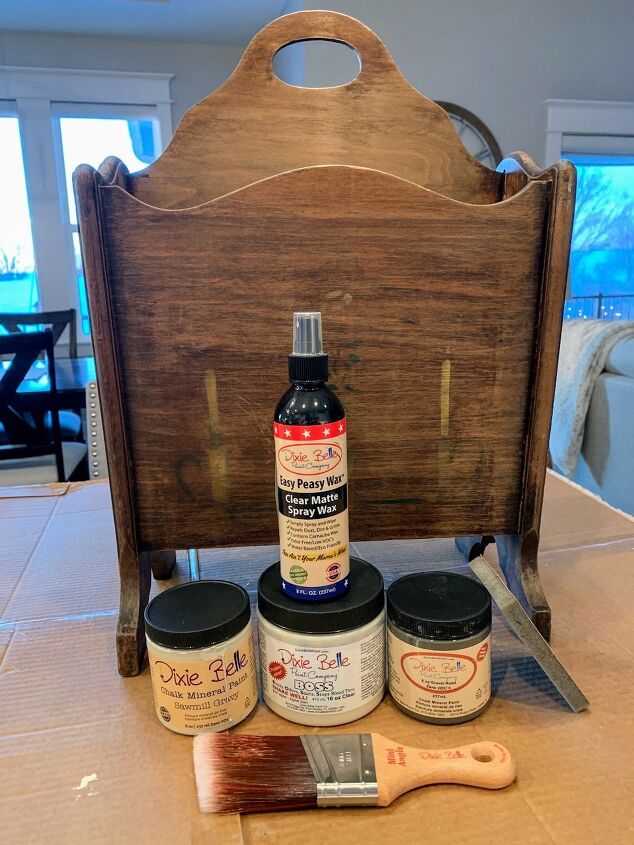
Prime
Next, I did one coat of Dixie Belle’s Boss in clear, to make sure none of the tannins from the old stain bled through my light-colored paint. I let this dry overnight before moving on to painting.
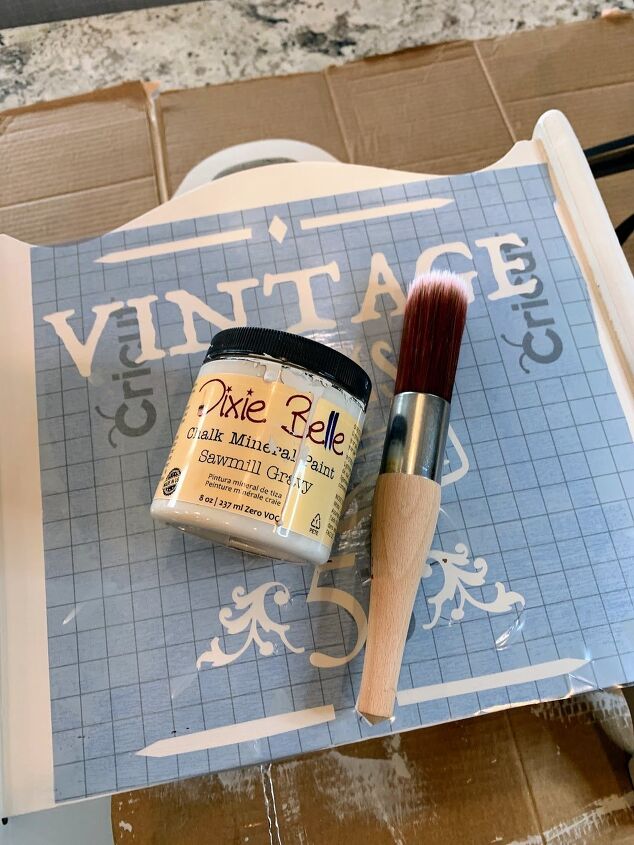
Paint

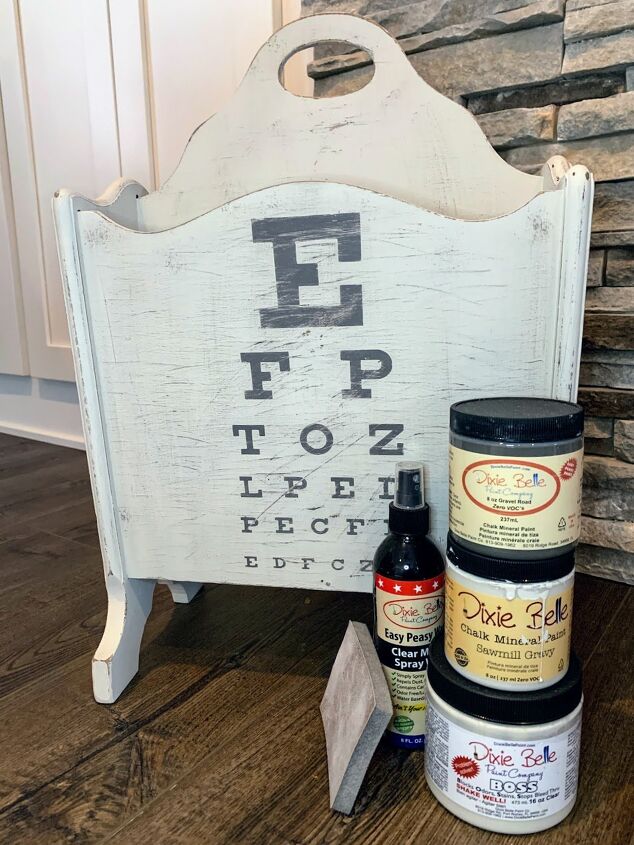
I chose Dixie Belle’s Sawmill Gravy Chalk Mineral paint as my base coat.
It’s a very light “greige” color–not too white, with just a hint of grayish beige.
This was perfect for the look I was going for. I wanted to give my vintage magazine rack a makeover, but I wanted it to still look vintage, and not brand-spankin’ new.
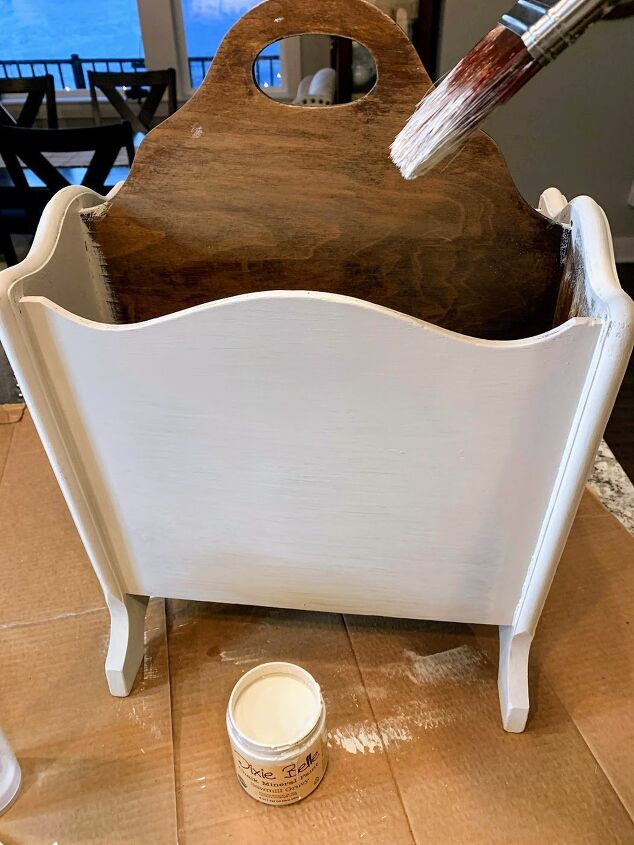
I let the first coat dry for 30 minutes or so, before coming back to add a second coat.
Things were already looking much better!
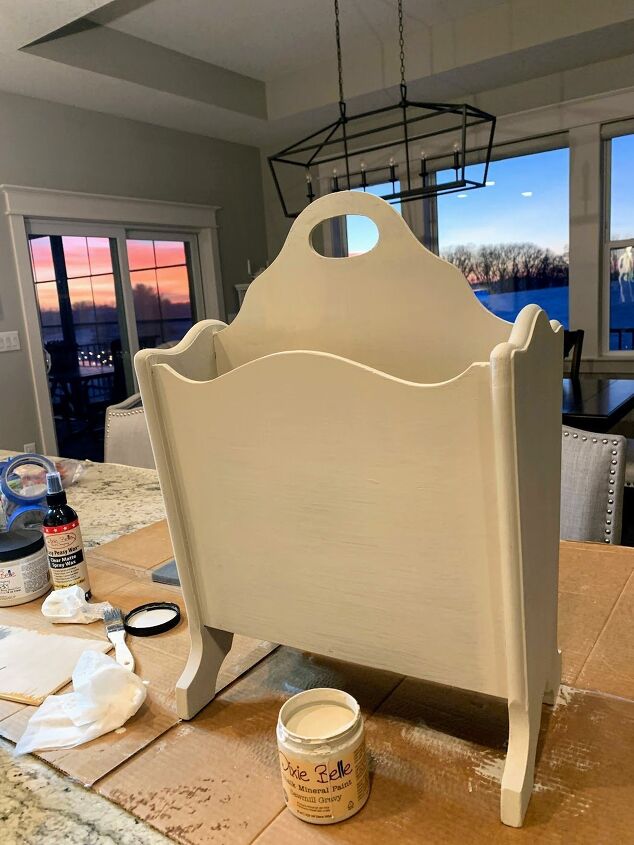
By this time it was getting late, and dinner still had to be made, so I let it dry overnight.
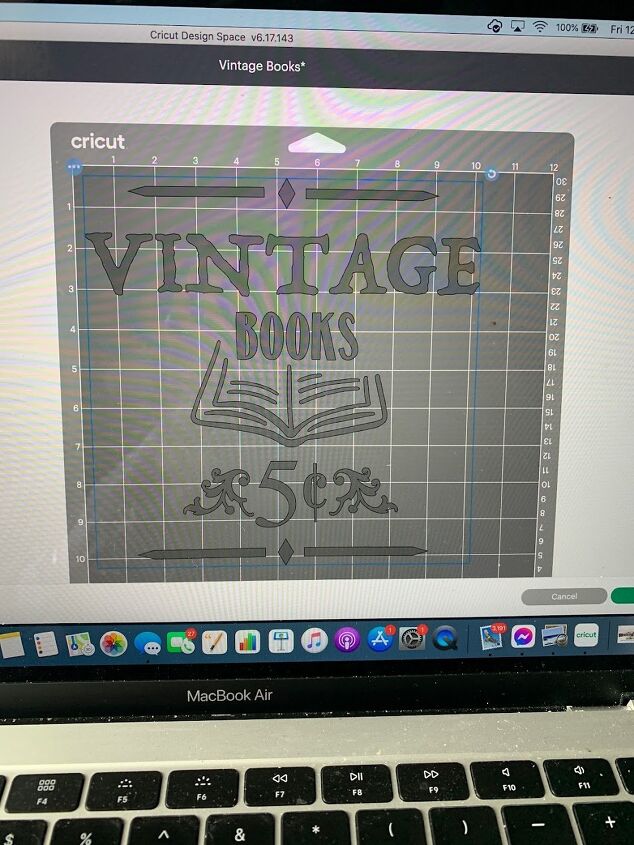
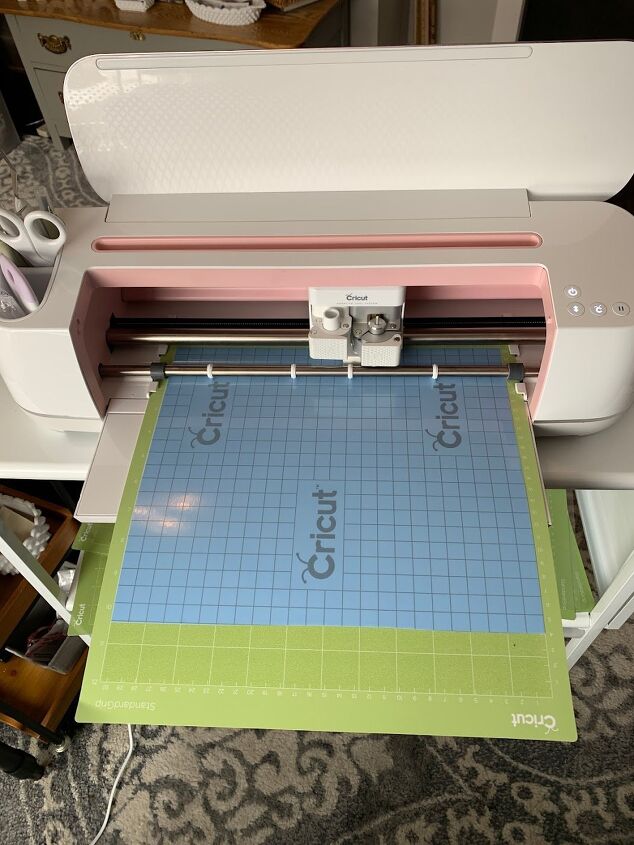
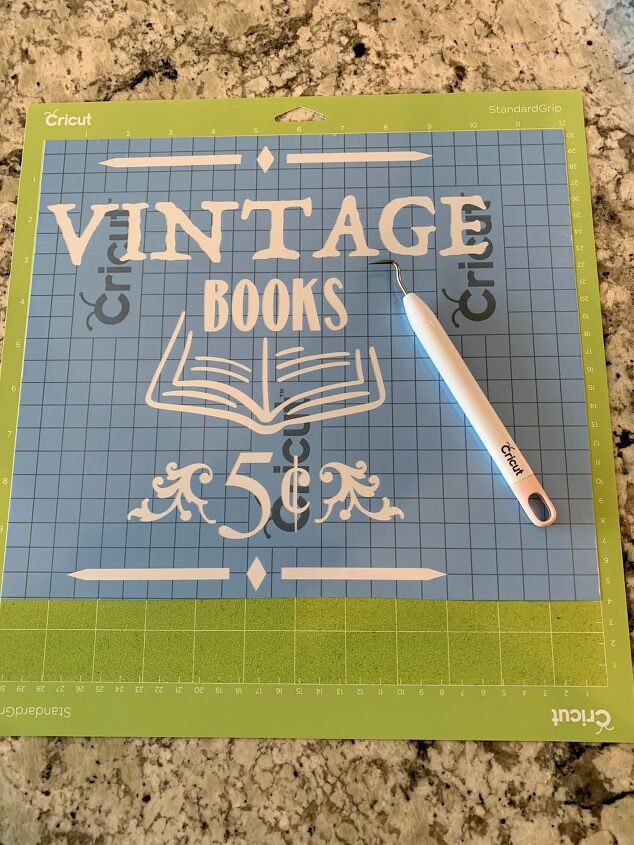
Making the Stencil
I used my Cricut to design and cut my own custom stencil, because I had a very specific look in mind.
Dixie Belle has a whole line of beautiful stencils and transfers though, so check them out if you want to skip this step!
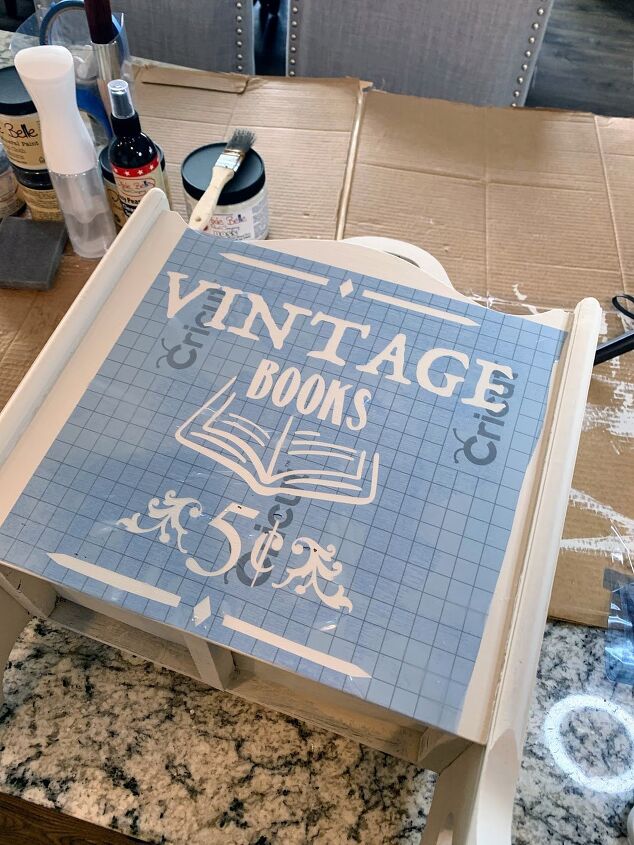
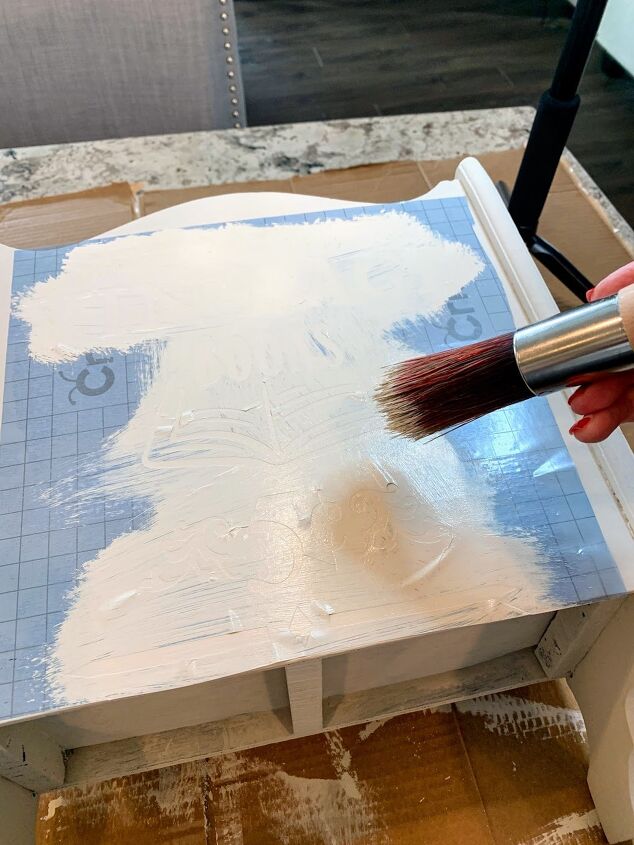
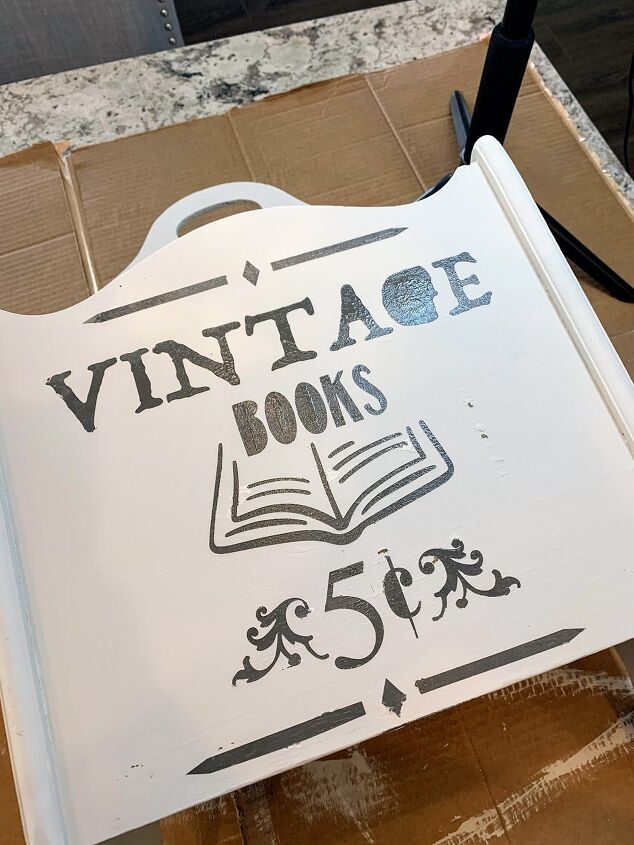
Filling in the Stencil
The trick to preventing paint seepage under your stencil is to first fill in the stencil with the same color as your base coat. This will help “seal” the edges before adding the darker color for the lettering.
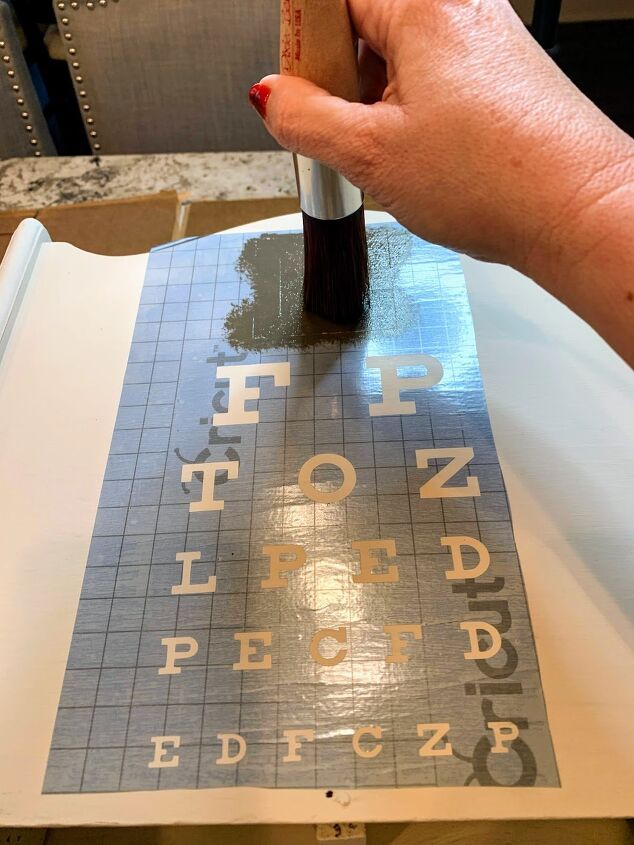
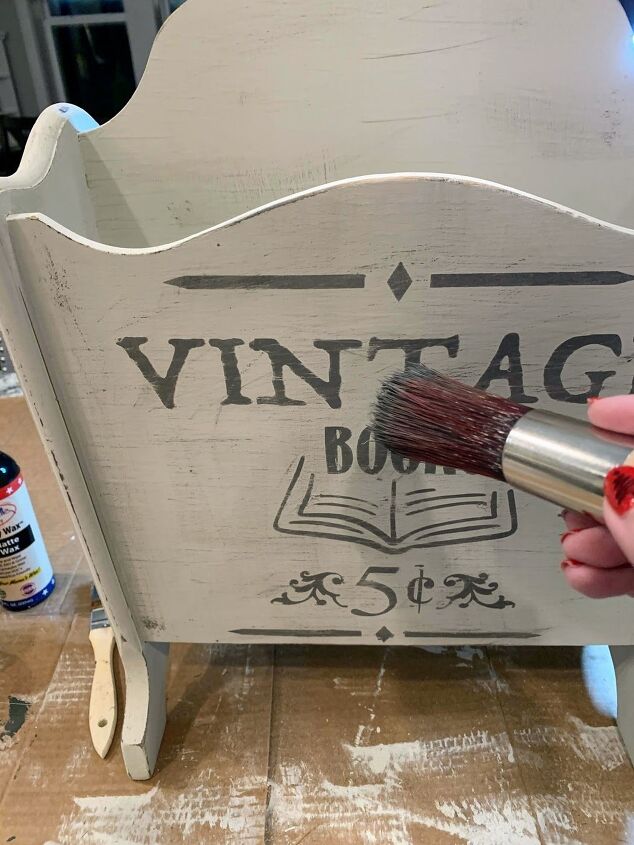
Next, I used Dixie Belle’s Gravel Road Chalk Paint for my lettering. Dixie Belle’s large round brush was perfect for dabbing the gray paint on in an “up and down motion” rather than painting side to side. This helps keep the paint from leaking under the edges also.
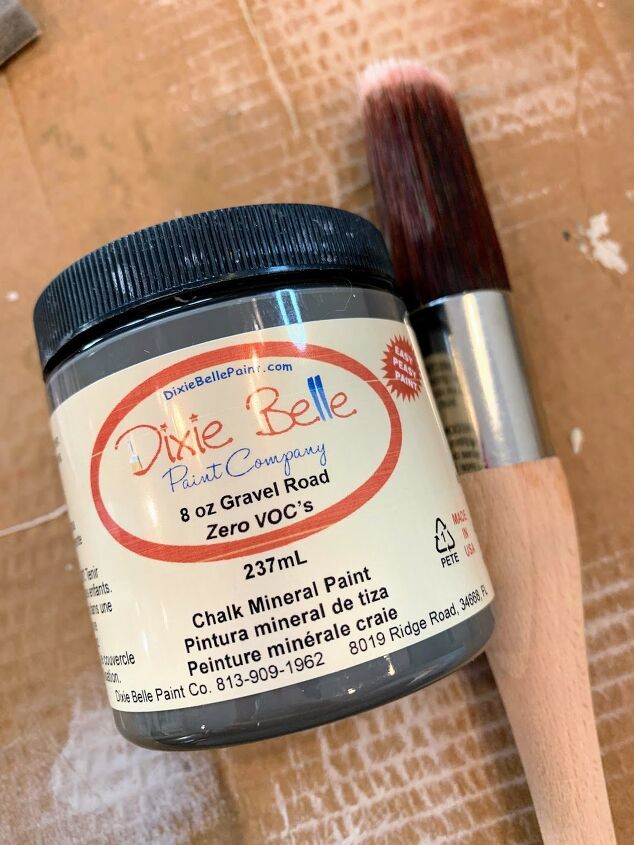
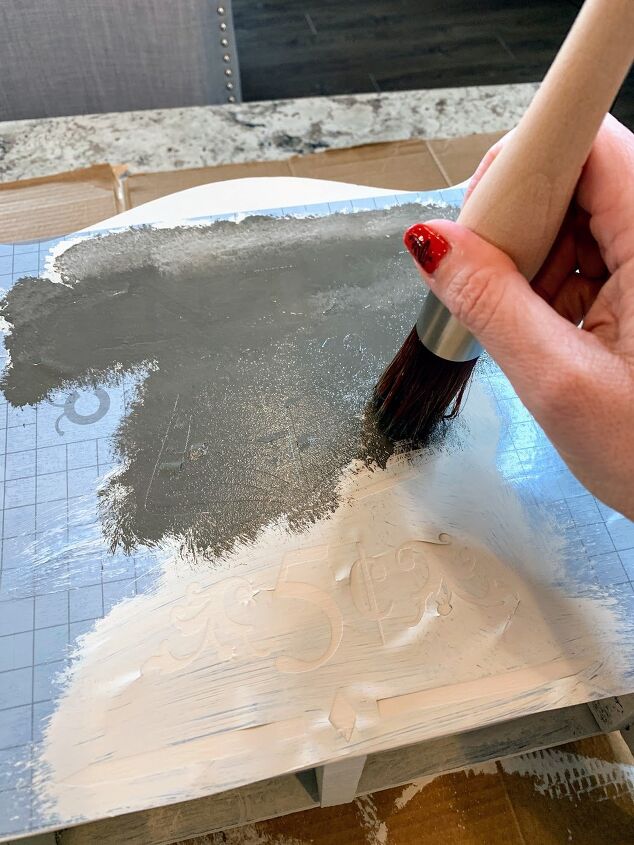
A little paint goes a long way. Don’t load your brush too heavily for this step.
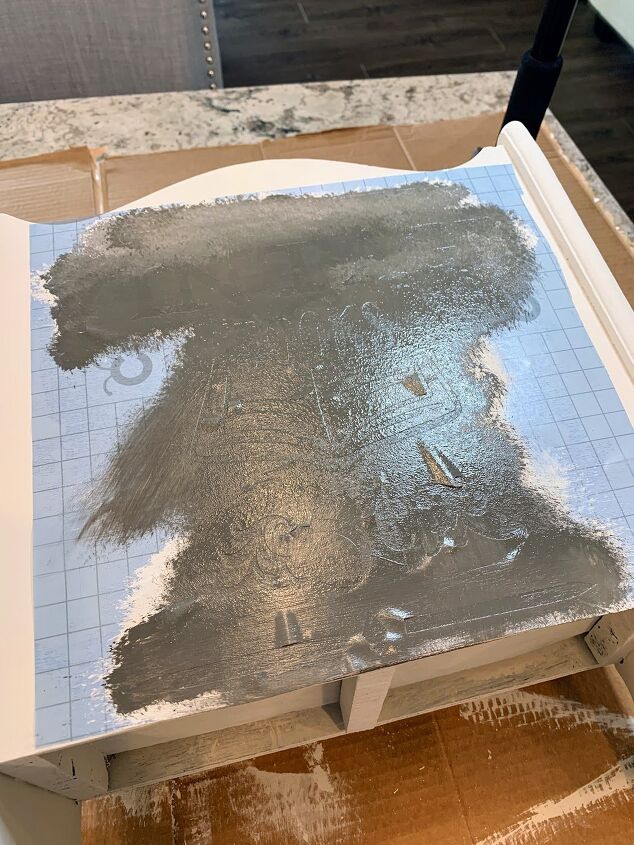
I allowed the paint to dry for just a minute or two before carefully lifting the stencil.
You don’t want it to dry completely and “glue” the stencil down onto your project or peel paint up with it!
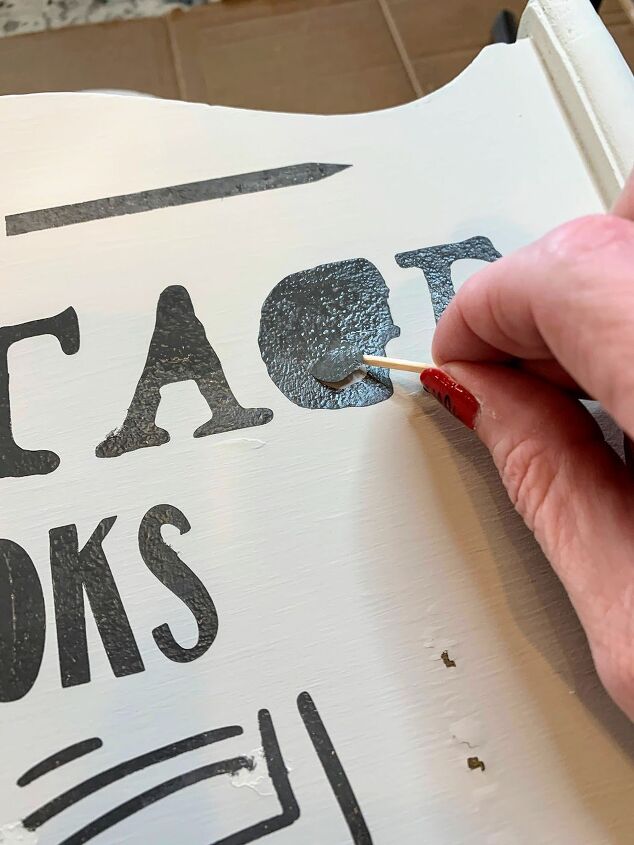
In the picture above, you can see that a little bit of my paint pulled off when I lifted my sticky stencil.
For my project, that was no big deal, because I was going for a distressed, vintage look anyway. But if you don’t want this to happen, you might be better off with a mylar stencil, or stencil vinyl with low tack.
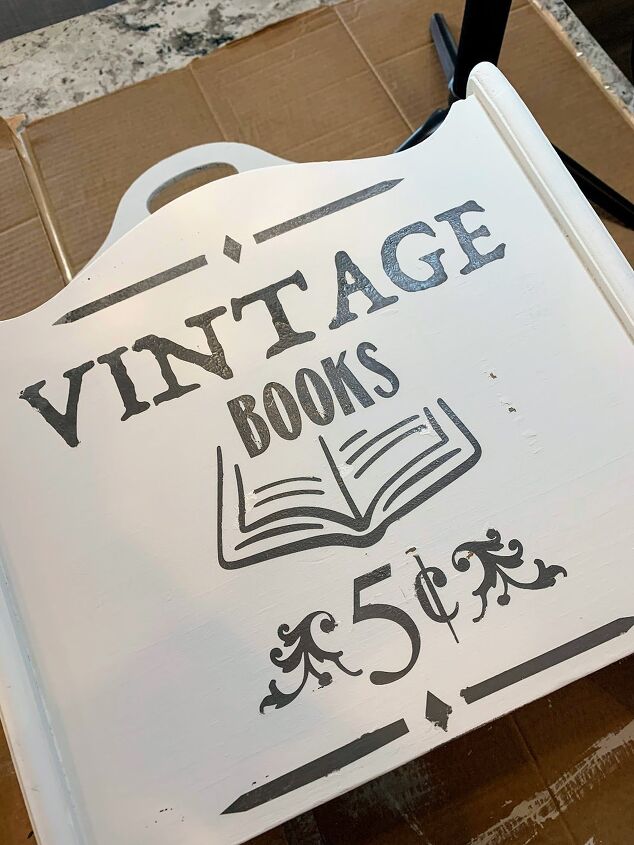
At this point, my magazine rack was looking good, but I still had a whole other side to do!
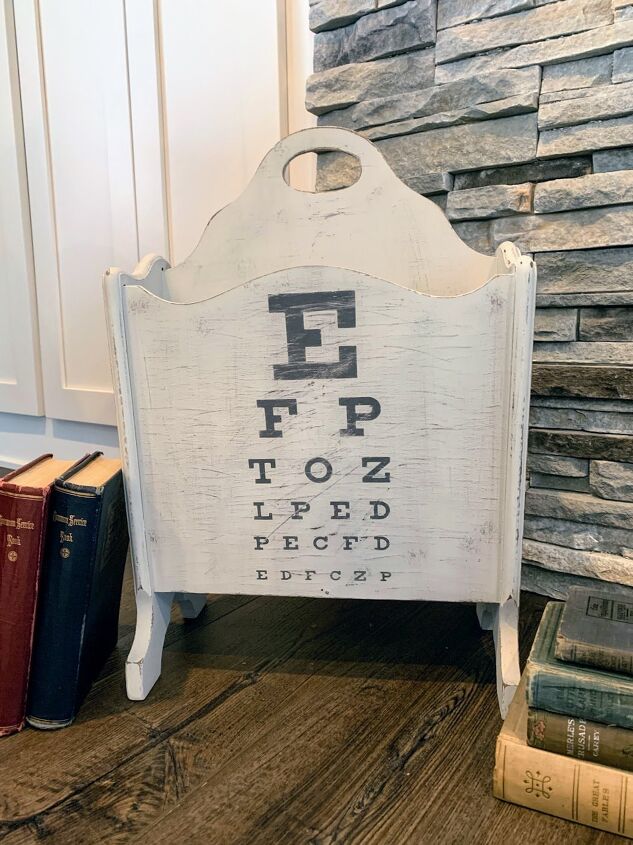
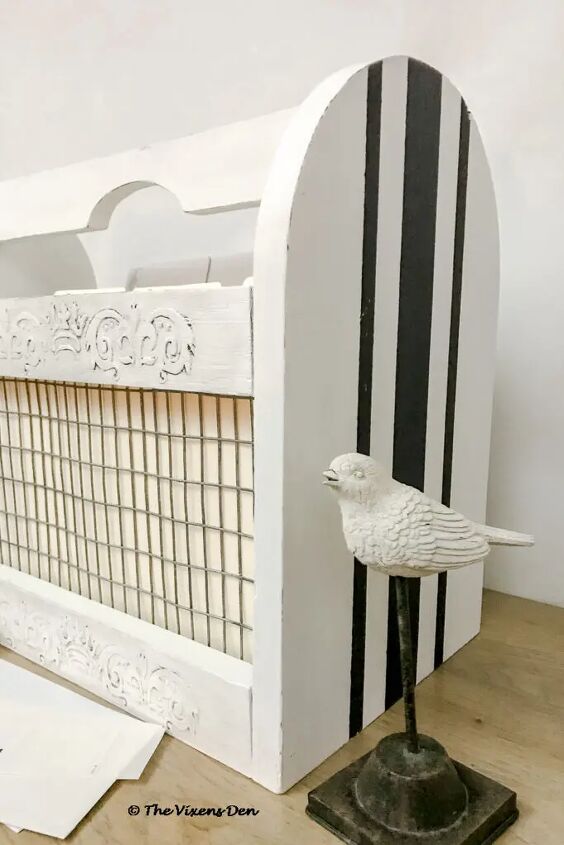
I decided not to make both sides the same, so I could have two different looks.
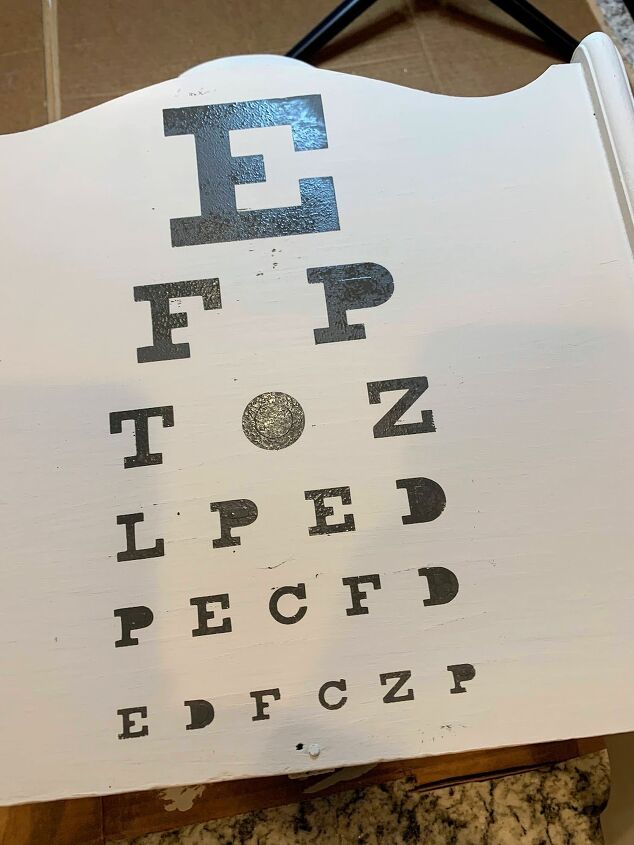
For side two, I used my Cricut to cut a simple eye chart stencil and used the same method to apply it.
Distress
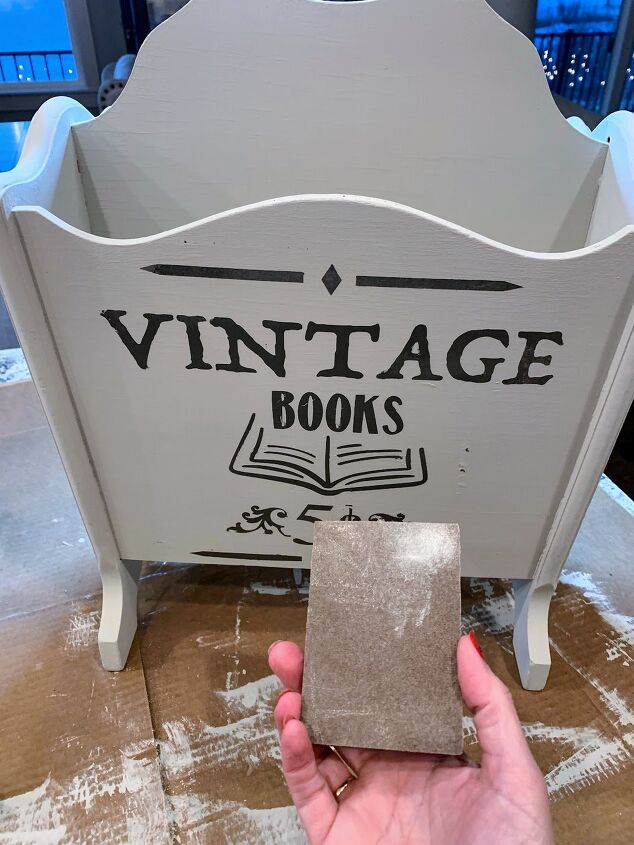
After the stenciled lettering was dry, I used a Dixie Belle sanding sponge to give the whole magazine holder a rough scuff sand.
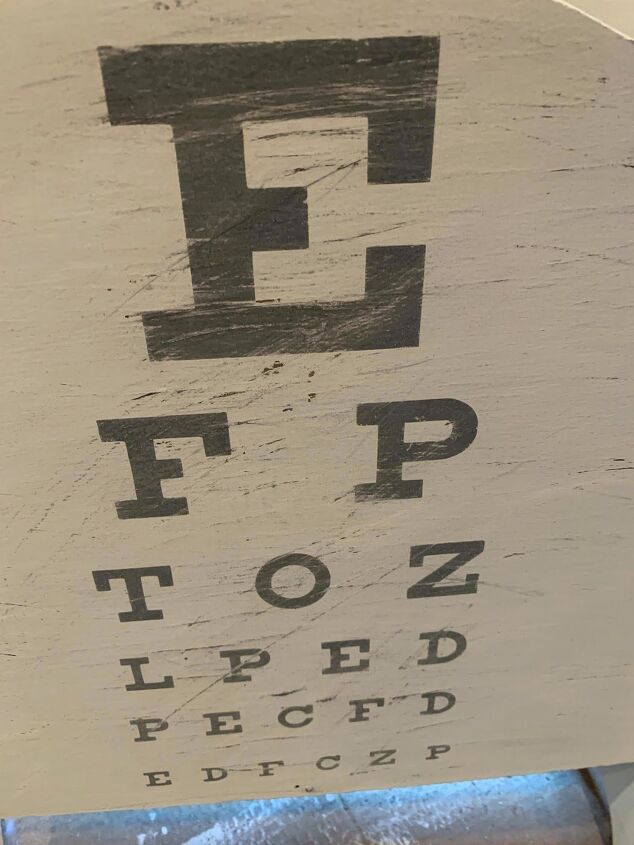
I wanted my magazine rack to still look vintage so I distressed not only the crisp lettering but also the sides, focusing especially on the edges and handle where natural wear would occur.
And then, just to add a little more “age” back to the piece, I dry-brushed just the tiniest bit of Gravel Road paint here and there to “dirty” it up. 😜
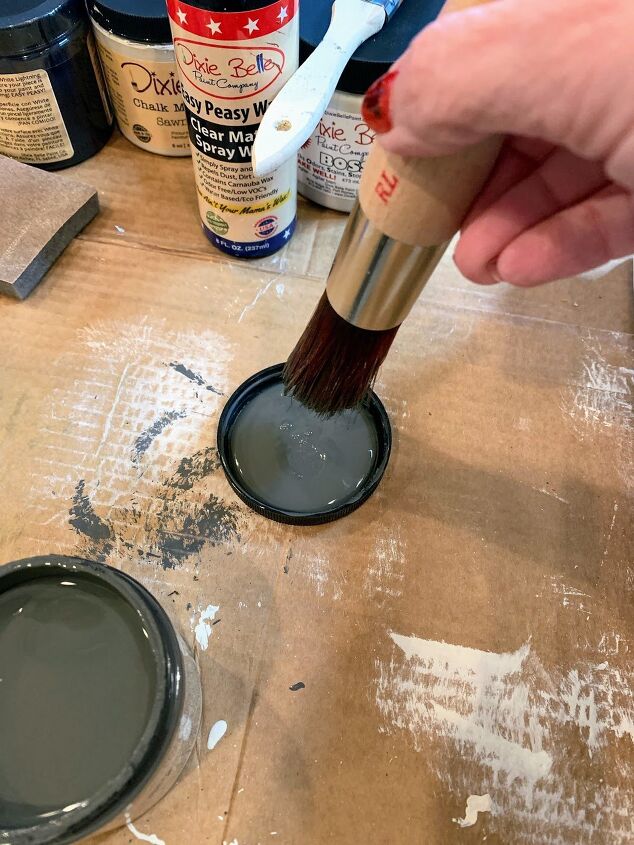
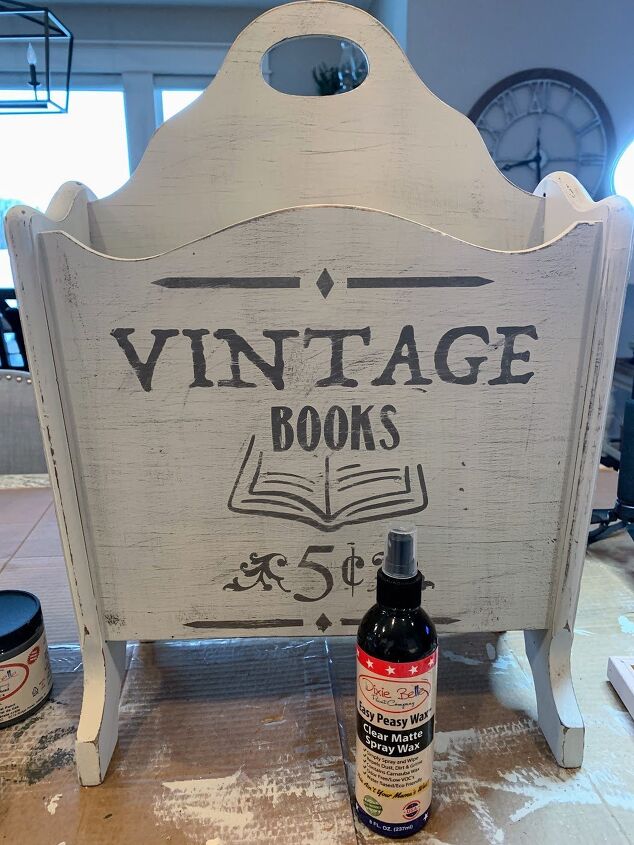
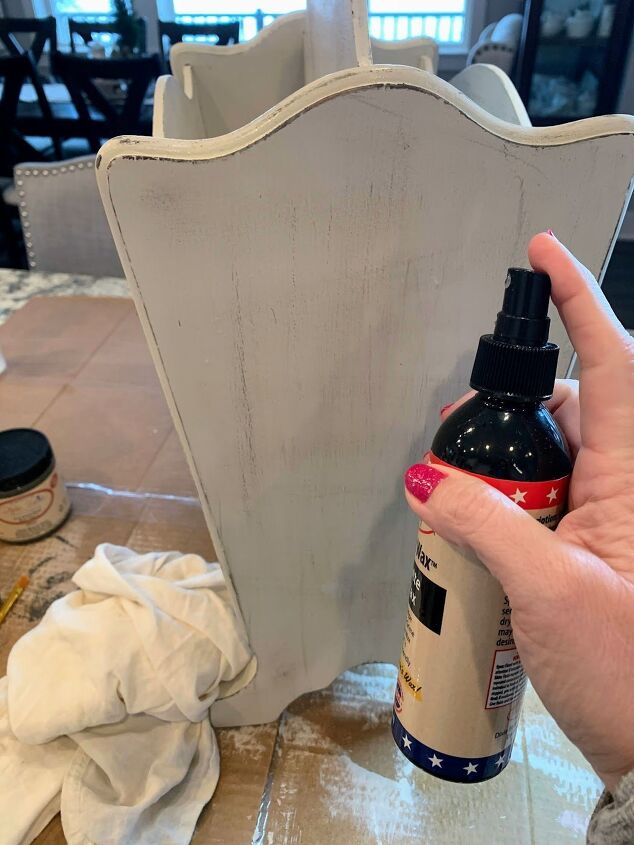
Wax
Finally, when all the paint was dry, I gave the whole magazine rack a spray with Dixie Belle’s Easy-Peasy spray wax, and buffed it with a lint-free cloth for a nice smooth finish.
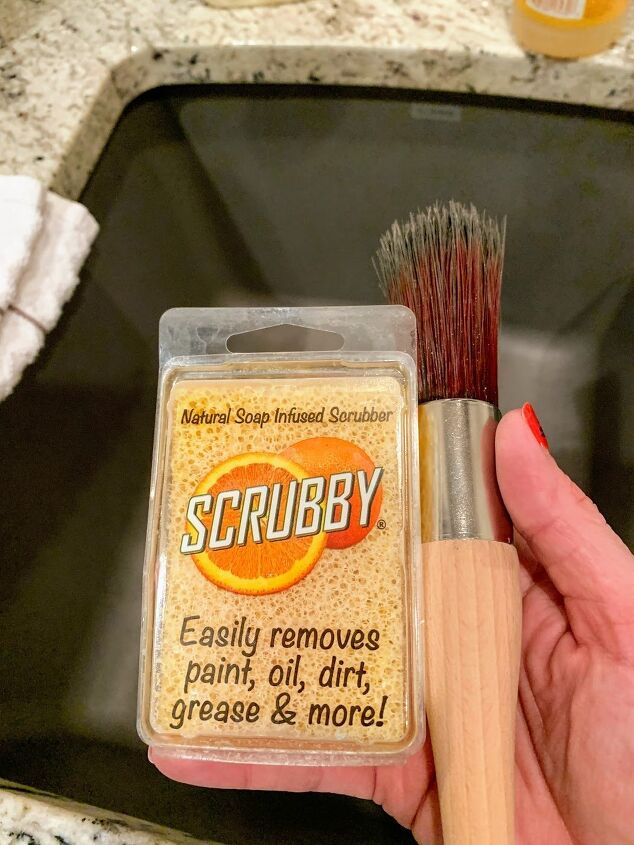
Clean-Up
My favorite way to easily clean my Dixie Belle brushes is with Scrubby soap. I love the orange scent, but there are other options too!
This post contains affiliate links for your convenience. Thank you for reading and supporting my blog.
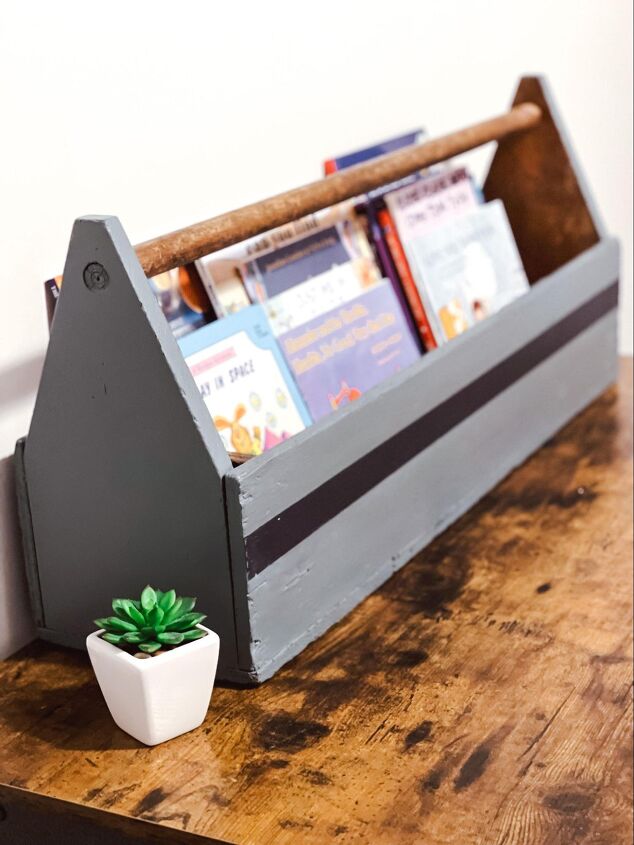
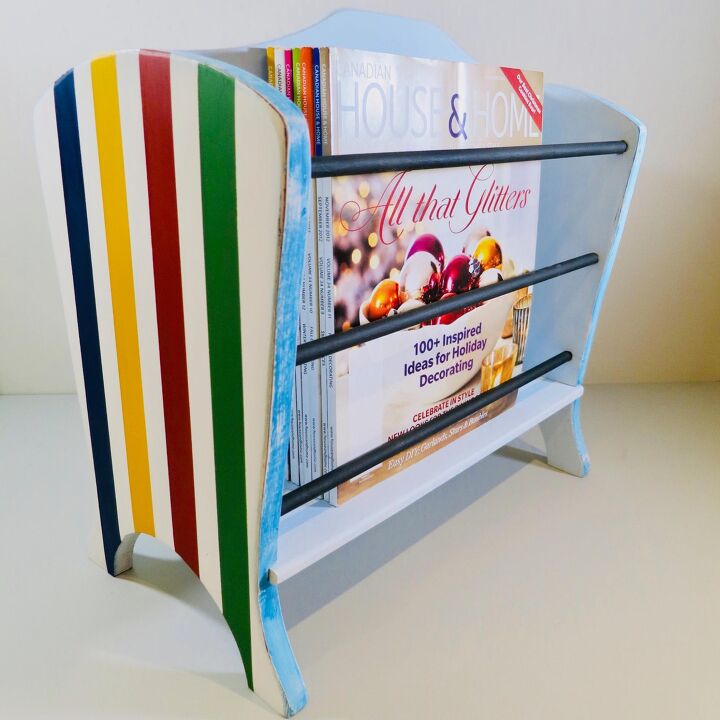
The Finished “Vintage” Magazine Rack
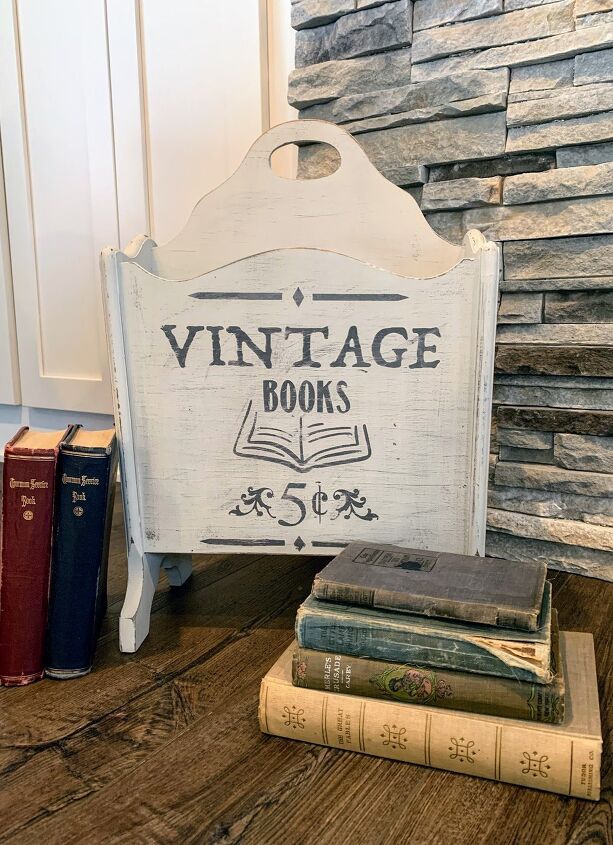
The new look is such a better fit for my home now.
I plan to keep vintage children’s books in mine that I’ve begun collecting for my new granddaughter, but this is such a stylish way of corralling anything you have in your home such as magazines, paperwork, mail, etc, for a more clutter-free look.

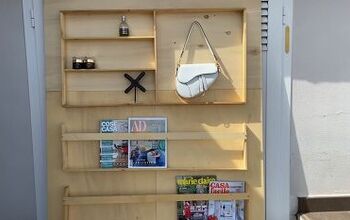
Want to see some more amazing magazine rack makeovers? Scroll down to see more ideas from some of my friends!

Let’s stay in touch! You can follow The House on Silverado via email, and on social media, so you won’t miss a thing!
Facebook —– Instagram —– Pinterest


Frequently asked questions
Have a question about this project?