


Vintage Stereo Cabinet Gets a Modern Look With Faux Ceiling Tiles
4 Materials
$50
2 Hours
Medium
We found this vintage stereo console at a local Thrift Store, already gutted! The employee said it had been sitting in the store for over 3 months. She told me to make her an offer, so I did! And ten bucks later, she is all mine SCORE!
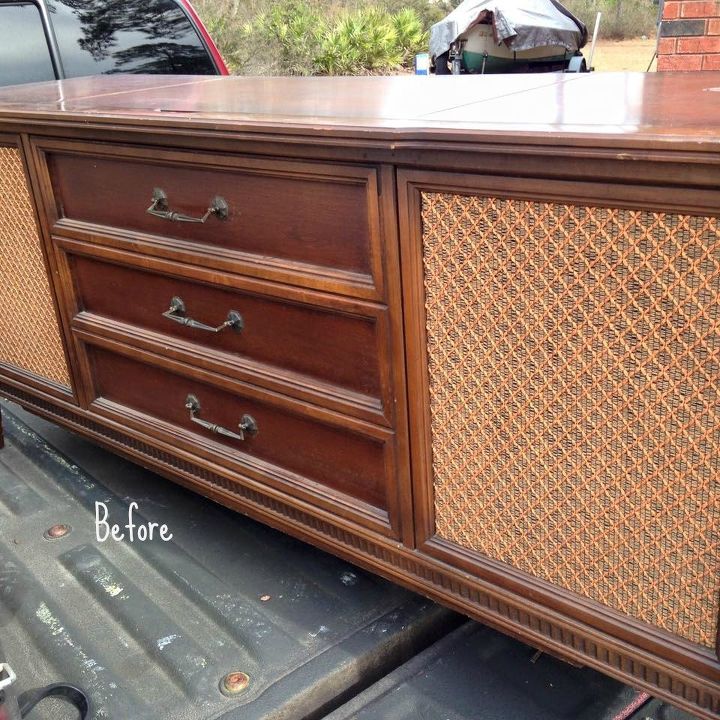
Before
I had a client who was looking for a special piece she could use as a bar in her dining room. So after contacting them to discuss color, etc. the flip begins! I cleaned the entire piece with TSP (yes I preach about this, because it is my favorite cleaner!) After a good cleaning, the Hubs removed the speaker covers (those ugly gold looking things on the front).
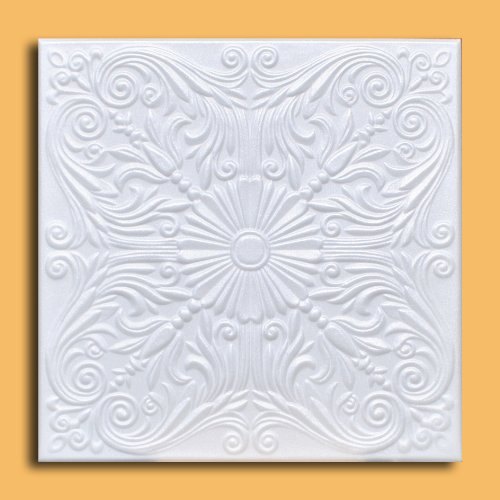
Faux Styrofoam Ceiling Tiles
I purchased two of the faux styrofoam ceiling tiles off of Amazon. (You can do a search for "styrofoam ceiling tiles" and these will pop up). They are very sturdy. They can be painted and even stained. The hubs placed them in the area where the ugly gold speaker material was on the front of the cabinet.
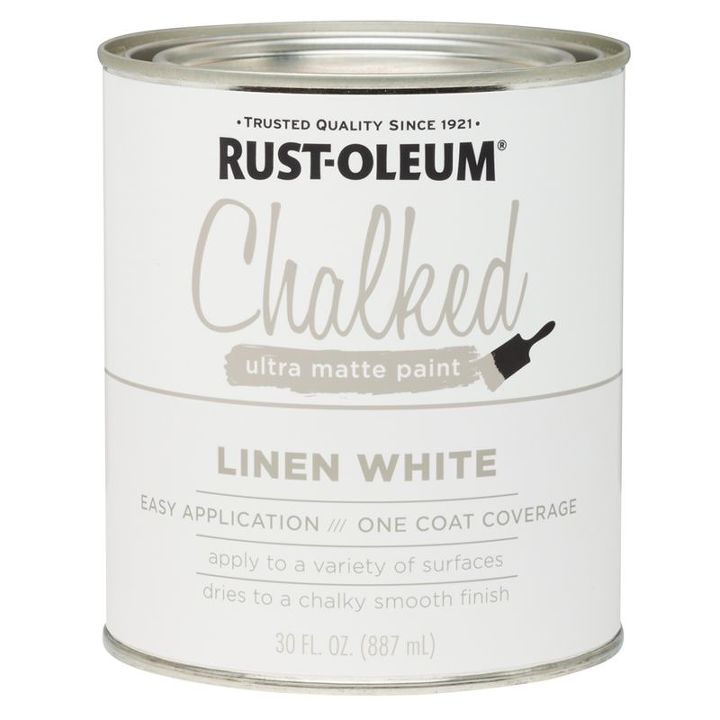
I used Rust-oleum Linen White for this project. I gave her two coats, and also painted the inside where the lid came up and the faux tiles. After a 24 hour drying period, I used 220 grit sandpaper and distressed heavily.
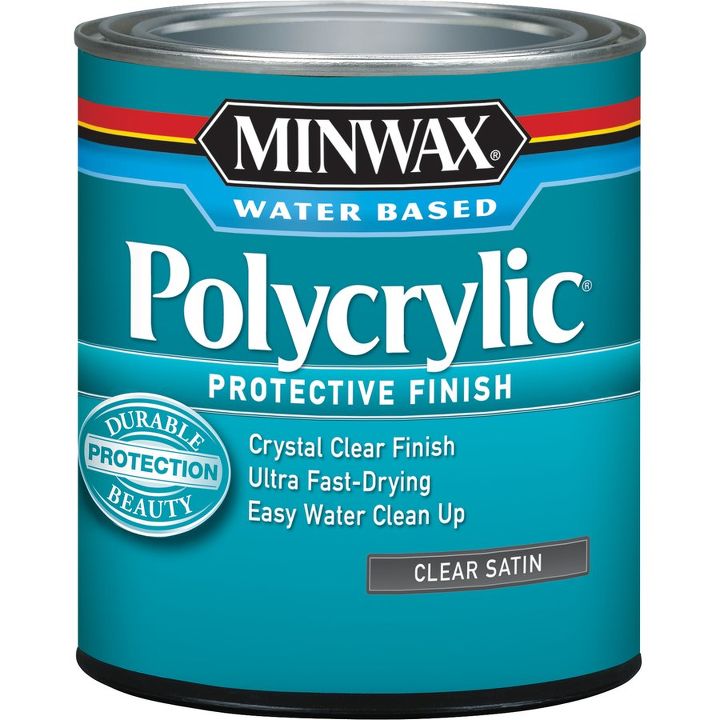
I then gave her a coat of polycrylic, and allowed that to dry for 24 hours.
I know I must get better at taking photos as I go along ughhhh, I get so excited and forget :-(
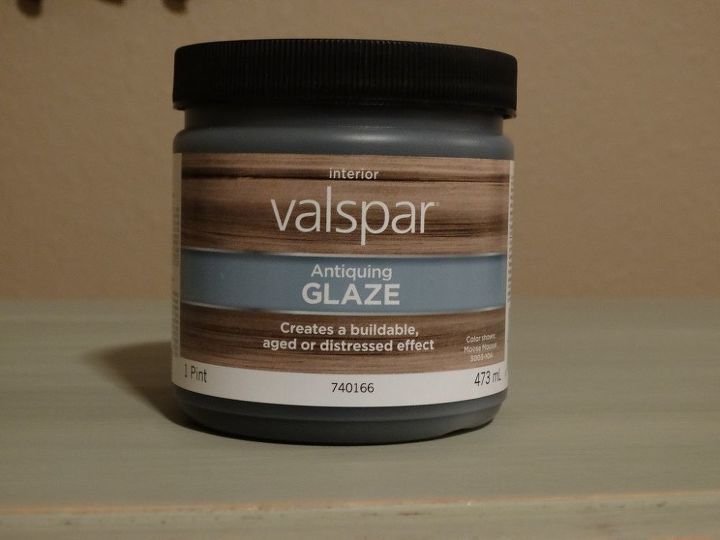
Now for the fun part! Or at least for me :-) The glaze! I apply my poly first because it serves as a barrier. If you apply the glaze without the poly, your base color will absorb the glaze, and well, quite frankly, make a huge mess! The poly base allows you to have more control over the amount of glaze and the color you are trying to achieve. I work in small areas at a time. I wipe the glaze on with my dry cloth, and them use my semi wet cloth to remove. It's sort of like the "wax on, wax off" method. What you remove is totally up to you. I wanted a lot of glaze.
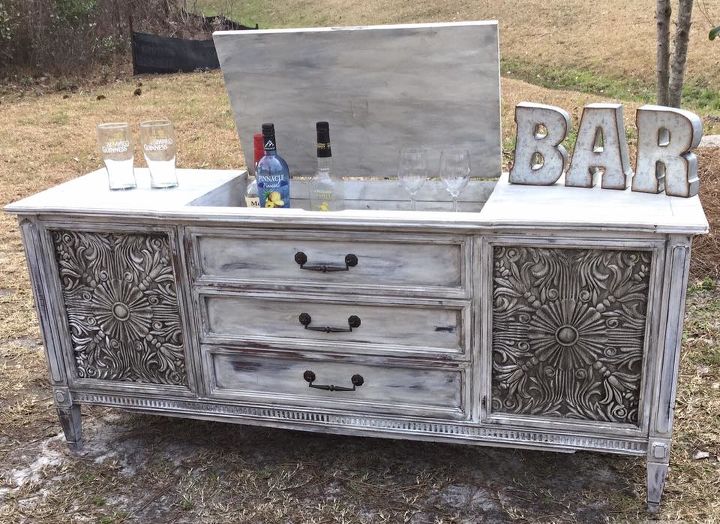
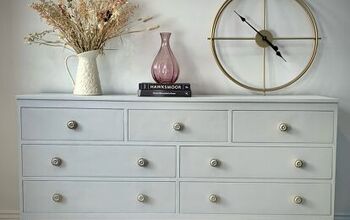
I used the original handles, just soaked them in some vinegar and water to get all the goo off ;-) The glaze really made the faux ceiling tiles pop! Needless to say the client was very happy, and so was I.
I used the original handles, just soaked them in some vinegar and water to get all the goo off ;-) The glaze really made the faux ceiling tiles pop! Needless to say the client was very happy, and so was I.
Resources for this project:
See all materials


Any price and availability information displayed on [relevant Amazon Site(s), as applicable] at the time of purchase will apply to the purchase of this product.
Hometalk may collect a small share of sales from the links on this page.More info

Want more details about this and other DIY projects? Check out my blog post!
Comments
Join the conversation
4 comments
-
What a dramatic and beautiful transformation!
-
hi from Australia Christina, i love your ethos although i was criticised once for complimenting one DIYer for preserving the look of real timber. i hope this never happens to you.
i do have a question for you though, what did you put into the speaker area of this piece and if anything how was it accessed. stay safe


Frequently asked questions
Have a question about this project?
Do you put poly over the glaze?
Is the top the only thing that opens for storage on this piece or is there other ways to store things for the bar?