


Pantry Makeover - Before and After With My New Favorite Product!
2 Materials
$1
1 Minute
Easy
My pantry BEFORE was S-C-A-R-Y!! There were general areas for the various items, but in a hurry, I would just cram stuff wherever. It's also usually my kids who go in the pantry and with everything in boxes, I would sometimes go in and discovered several empty boxes without ever having realized that we had run out of an item! With just a bit of organizing - and a little decorating - I transformed the space and now that there's a system in place, we are better at keeping it tidier! All of the steps, supplies, and details can be found at the link below.
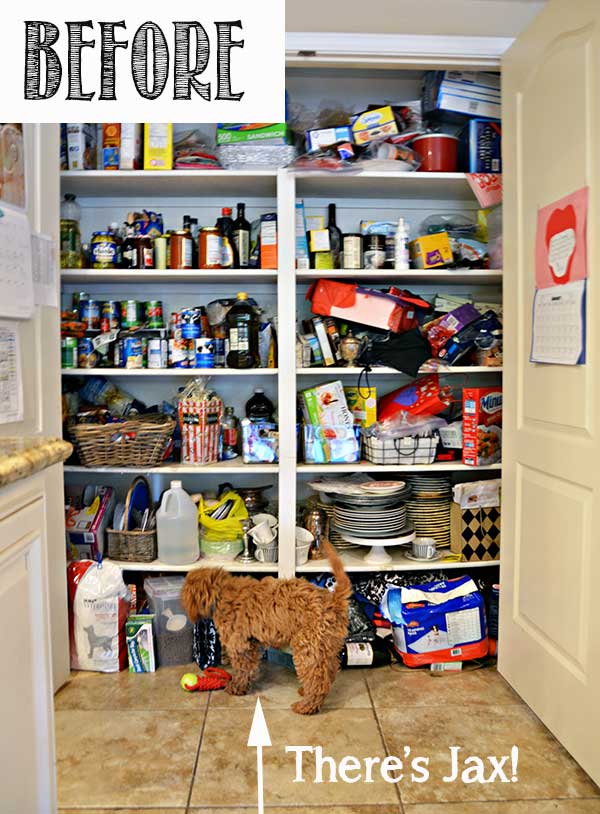
BEFORE
The frightening BEFORE. What IS all of this?!?!!
The AFTER. Believe it or not, I threw away a few things but then actually put more back in, so I have more in here now than I did before. It's just organized!
What pantry doesn't need a little wallpaper wow?! This is one of the EASIEST products I've used. Love it!! I also replaced the center divider with a piece of pretty moulding.
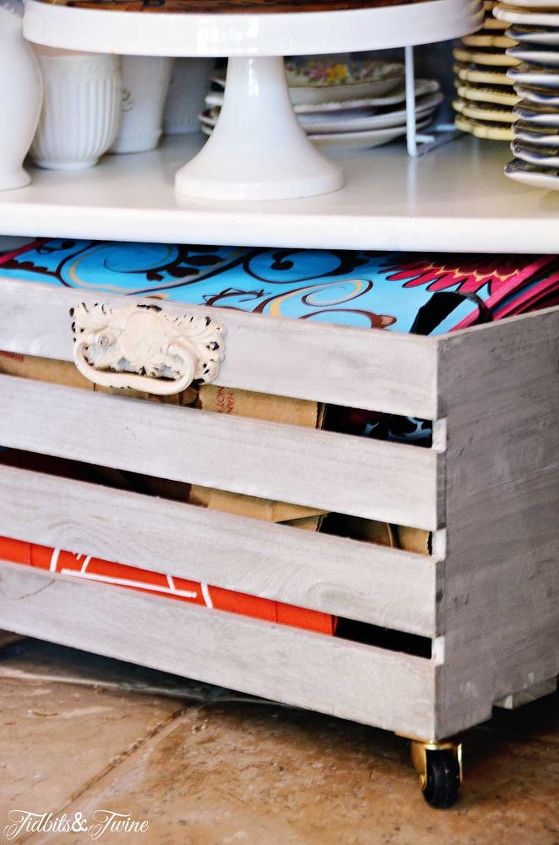
Clear containers and labels are key! Take advantage of doors for extra storage!
Baskets are easy grab-and-go storage for the kids.
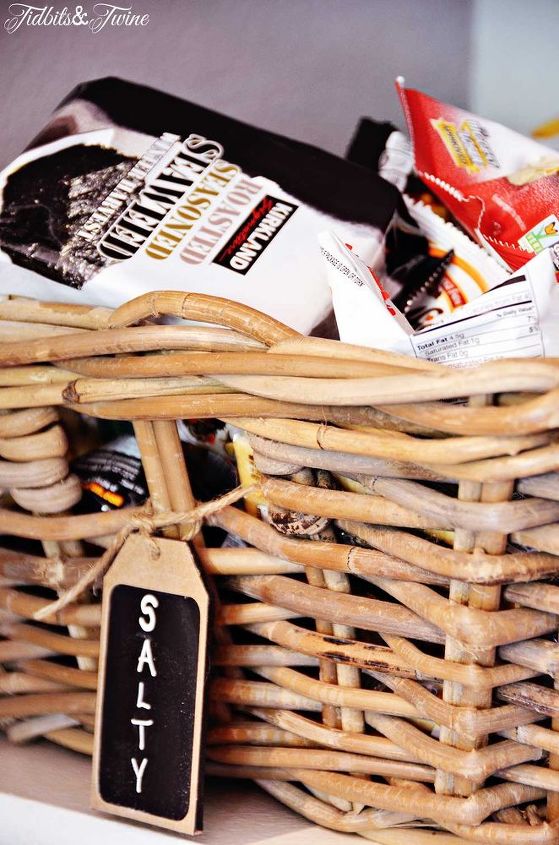
Baskets are easy grab-and-go storage for the kids.

Want more details about this and other DIY projects? Check out my blog post!
Comments
Join the conversation
2 of 86 comments
-
dollar store thin cutting boards worked for me. Also have wired shelving. And I hung wooden shelving for can goods
-
lovely and inspiring idea if you buy non perishables in bulk, not so for those who are buy mainly fresh produce!


Frequently asked questions
Have a question about this project?