


Airing My Dirty Laundry--Laundry Room Makeover Reveal
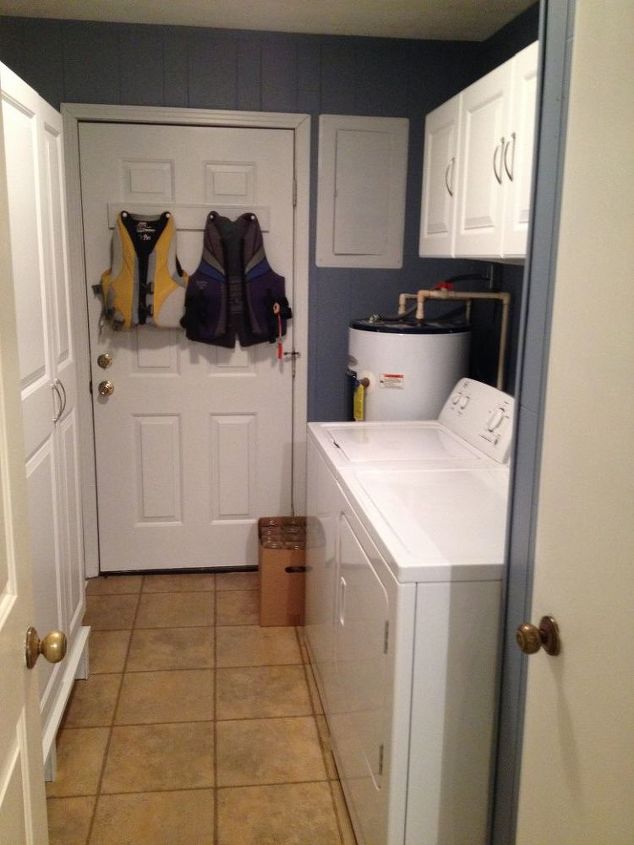
I've always wanted a nice laundry room. My past homes have only had small laundry closets. When we moved into our current house, it had a good sized laundry room and I was excited to finally have a real laundry ROOM. This is what our old laundry room looked like. It had utility cabinets that were nice, but took up ALOT of space. It was dark and cramped and I just needed something bright and happy.
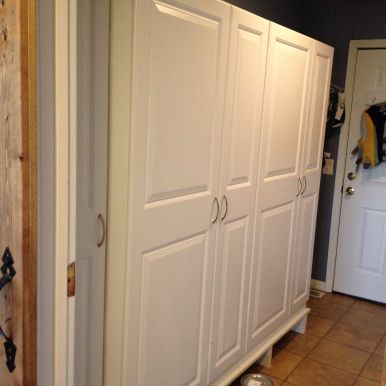
Some of you may remember my sliding barn doors from a few months ago. This is what was hidden behind them. Now that the entrance to the room was pretty, I wanted the inside to be pretty too!
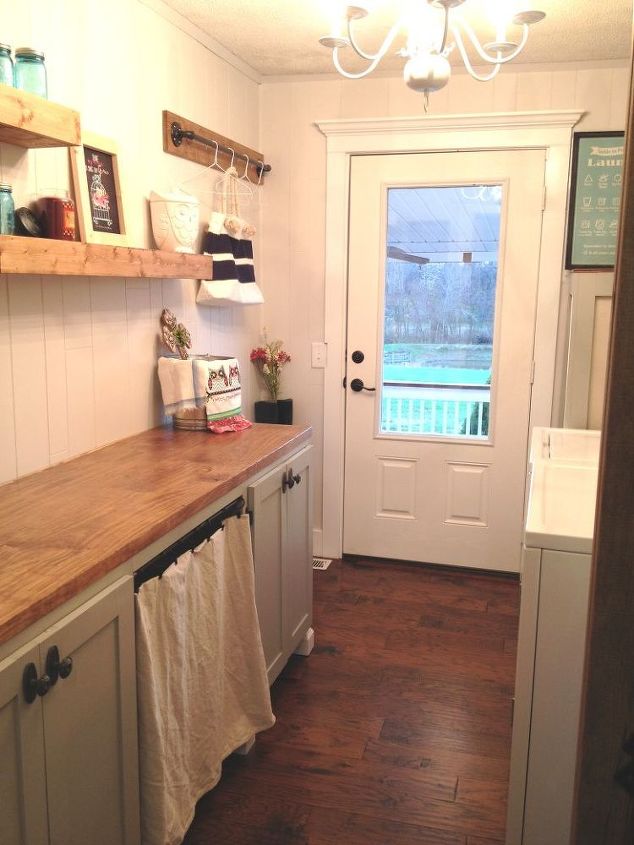
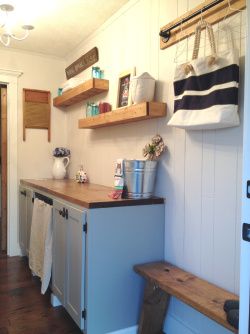
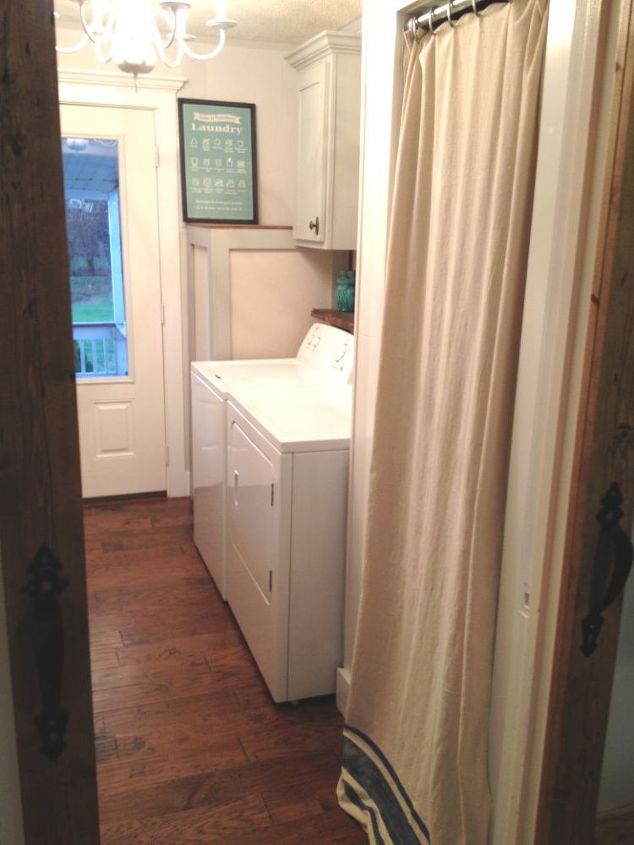
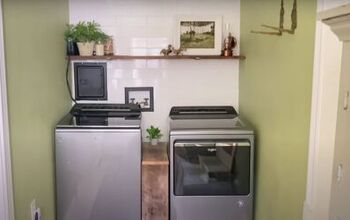
Below is my favorite picture of the new room, but it was still missing the trim when I took it, and it was missing a door knob on one of the cabinets, and I had a dirty coat laying on the dryer. This is real life, people. HAHA.
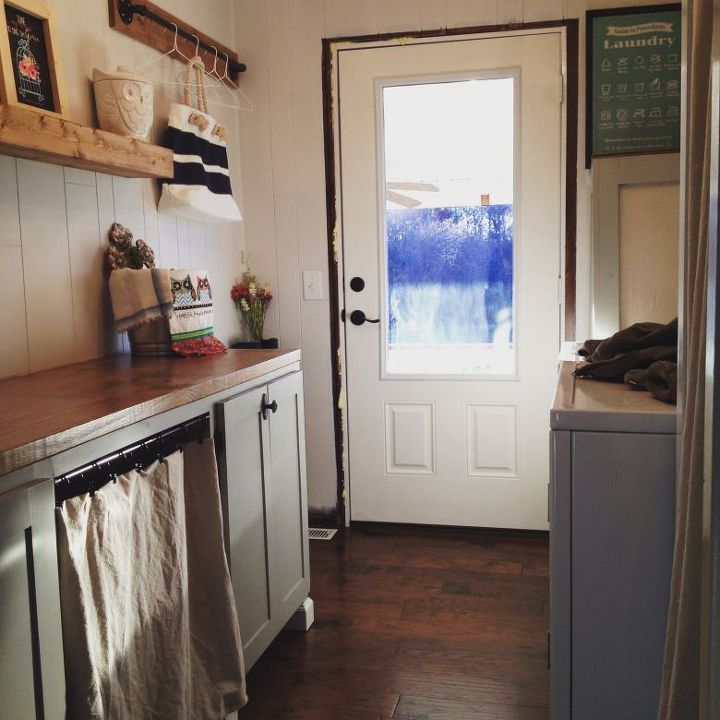
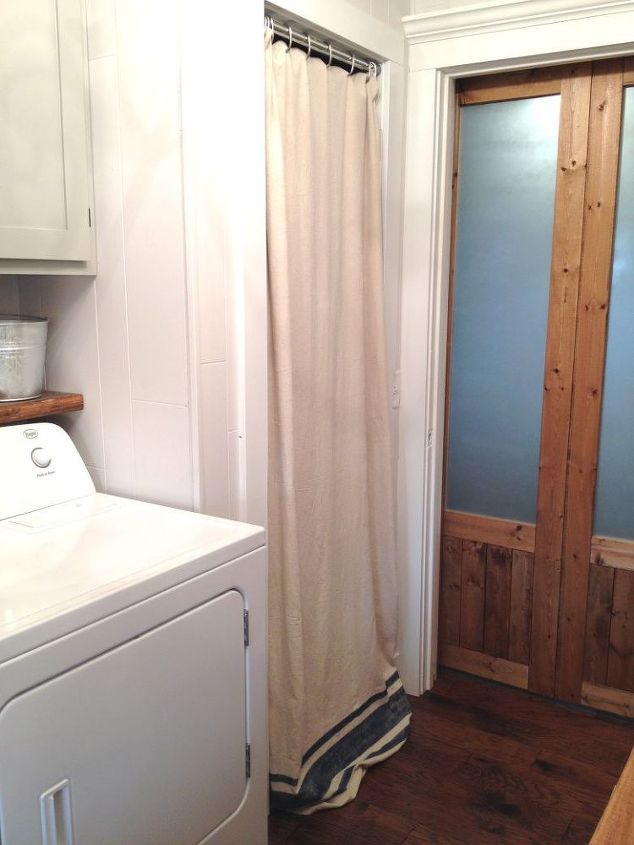
I built the cabinets, countertop, shelves, drying rack, bench, and water heater cover. I replaced the closet door with a cute curtain, we painted the walls, replaced the back door and redid the trim. Although we got rid of the cabinets, we were still able to store and hide all the stuff we had in it in the cabinets I built and the existing closet.
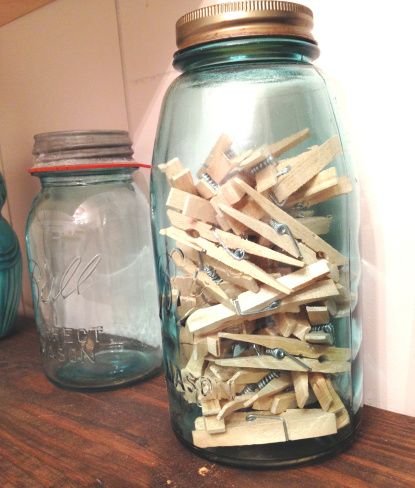
I decorated with some of my grandma's old mason jars, and her old washboard and tea towel.
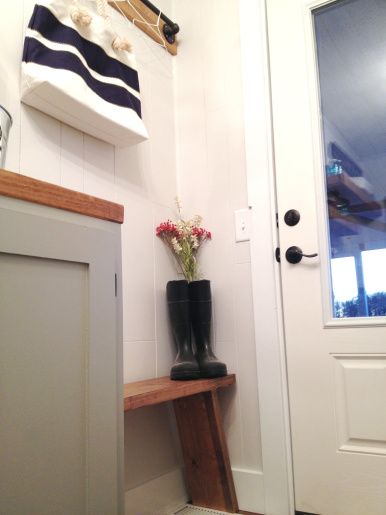
I used my rubber work boots to do double duty as decoration. This new bench is great for coming in and taking off boots.
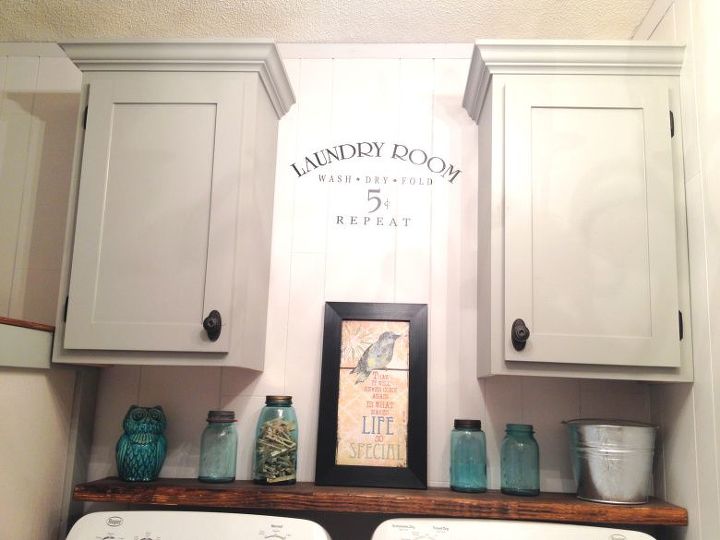
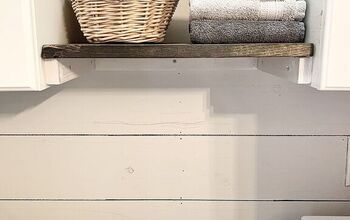
The new cabinets and countertop are so convenient and make the room feel so much more open than before. And with all the shelves, I have room to display some of my favorite things!
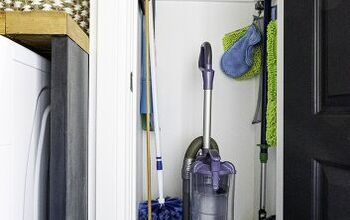
We store our brooms, mops, cleaning supplies, and vacuums in the closet and the curtain takes up less space and makes it easier to access than the old door.
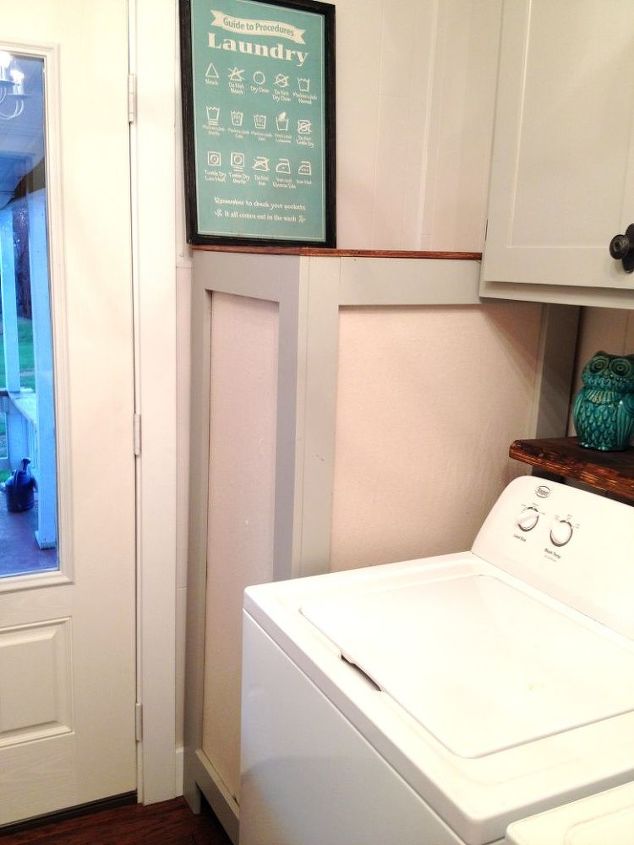
I built a wood frame and stapled drop cloth material onto it to hide the water heater. It is easy to move out of the way if we ever need to access it. I also used the big laundry sign to cover the electrical panel. We just move it out of the way when we need to get to it.
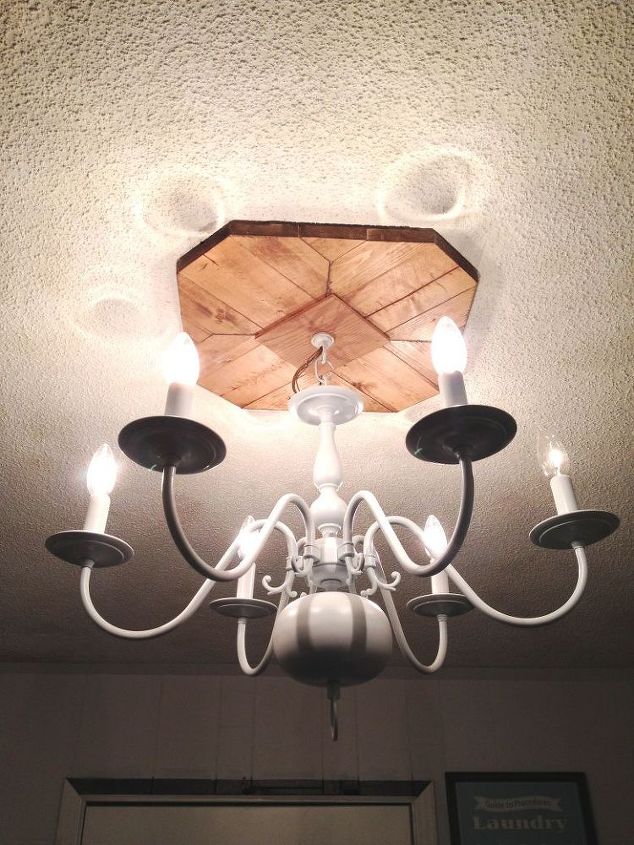
We replaced the dark recessed light straight out of the 80s and hung a pretty white chandelier and a wooden medallion that I made myself from scraps. It was a pain to hang, but I really love this new chandelier and the medallion is beautiful.
It is so much brighter in here now and I can honestly say that I don’t dread folding laundry in here nearly as much as I used to. It’s actually kind of fun to hang out in here and have a cup of coffee.
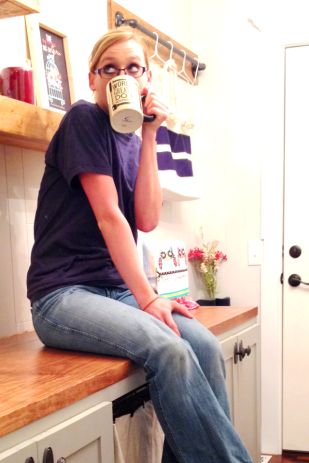
Or you know….TOTALLY STAGE drinking a cup of coffee in here to get a good picture. Folks, you are looking at THE world’s greatest do it yourselfer (wannabe). No autographs, please.

Want more details about this and other DIY projects? Check out my blog post!
Comments
Join the conversation
2 of 13 comments
-
Nice makeover! Is that a real wood floor? Love the color
-
Perfect !


Frequently asked questions
Have a question about this project?
Where did u get the lettering on the wall?
Love your finished room! 👍️
Can you tell me the overall dimensions of the room?