


DIY Custom Clothes Drying Rack
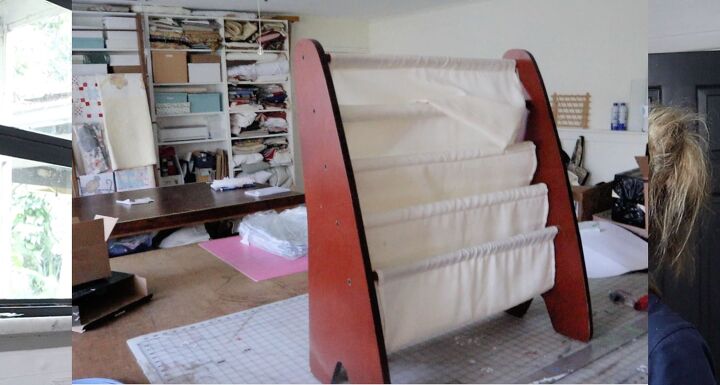
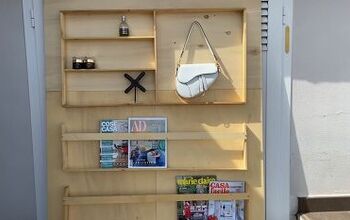
I procrastinated the project hoping that just the right thing would turn up. Well, low and behold, I spotted this book/magazine rack at Habitat and decided to retrofit it into a clothes drying rack. At just $6 I figured if it didn’t work it would be much of a loss.
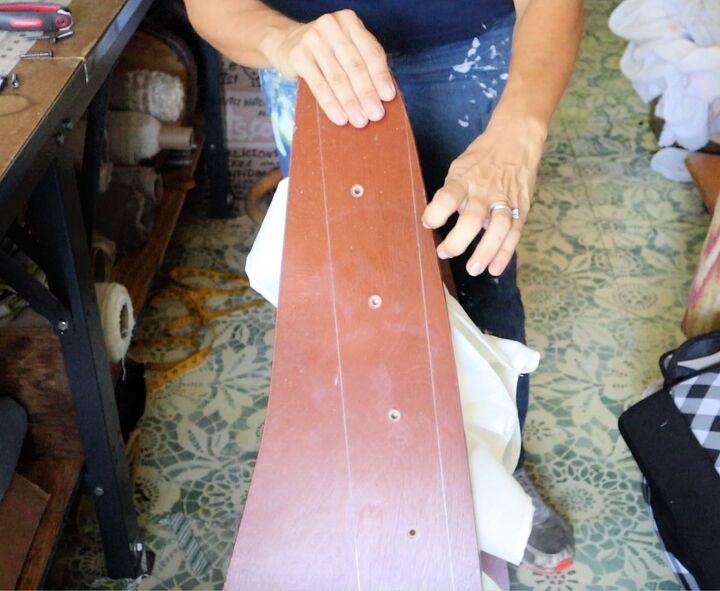
So I used my metal yardstick to draw the shape I wanted.
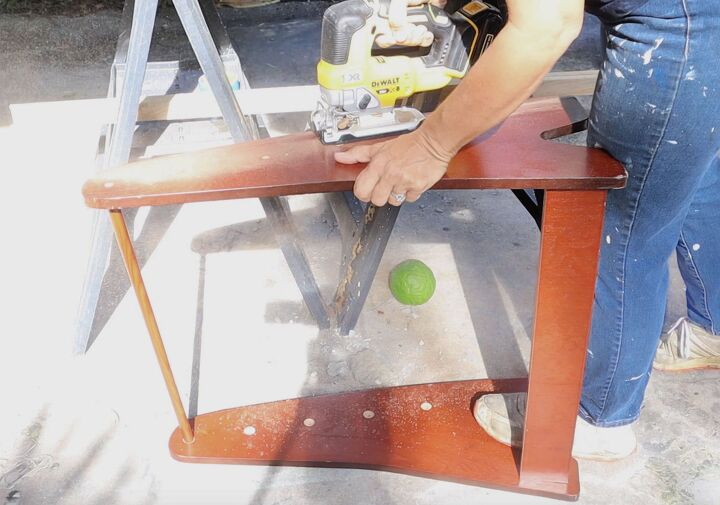
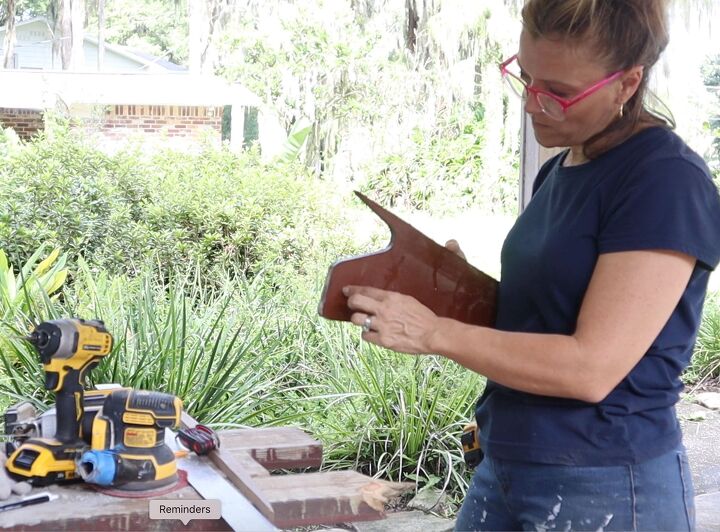
I used my jigsaw to cut out the shape. I probably should’ve used my circular saw to get a better, straighter cut, but I didn’t want to pull out a table and clamps etc. etc. so I just used the jig saw. Then I sanded the edges really well to straighten out the cuts.
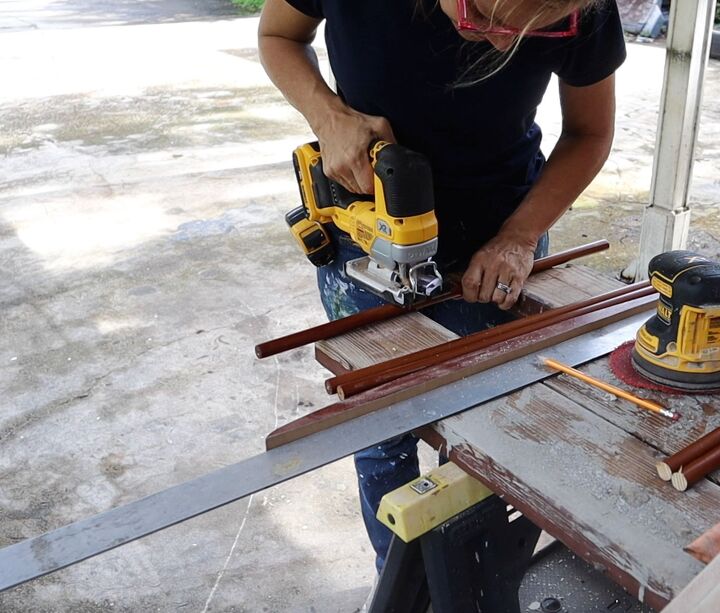
Next, I cut the dowels to the proper length. My cabinet is only 18″ deep so I cut my dowels 16″ to allow space for the side pieces. I then drilled new pilot holes into the dowels.
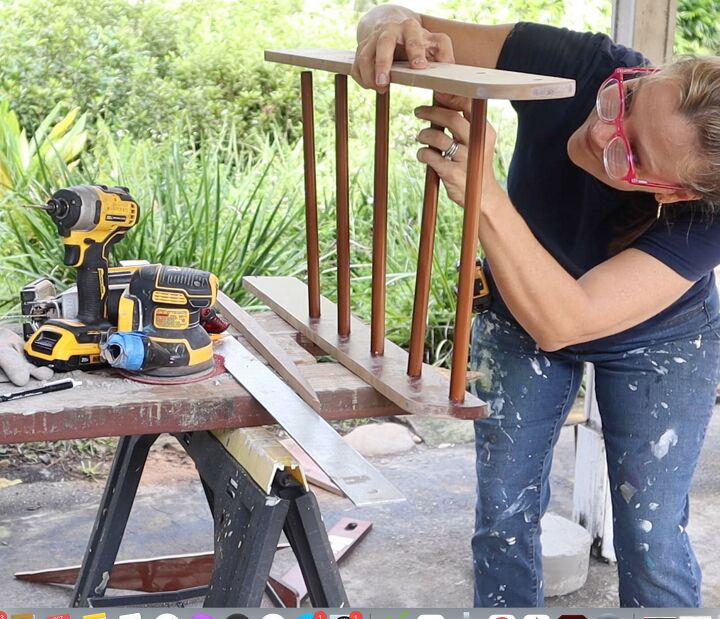
I reinstalled the dowels into the side pieces of wood with the original screws.
Then I had to figure out a way to attach the rack to the cabinet so it could open for use and close for out-of-the-way storage.
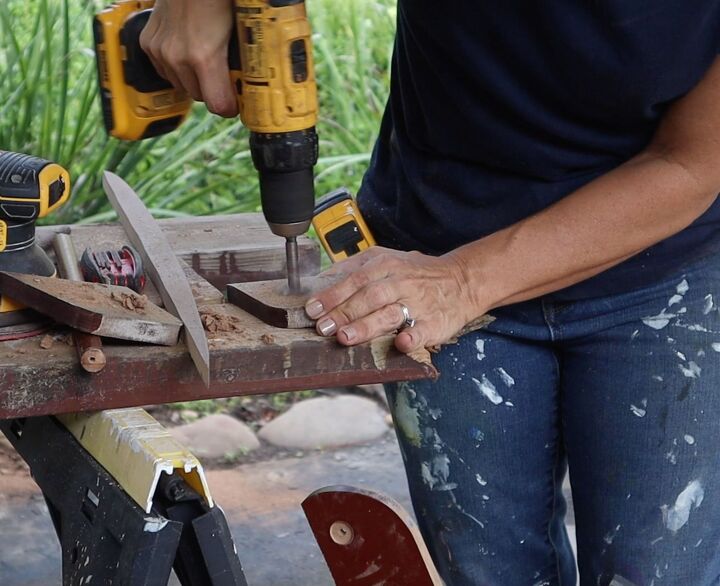
I decided to use the off-cuts from the side pieces of wood. I cut down and drilled holes in the two side pieces to hold the bottom of the drying rack to the cabinet. This part is difficult to explain, but the video below clarifies everything.
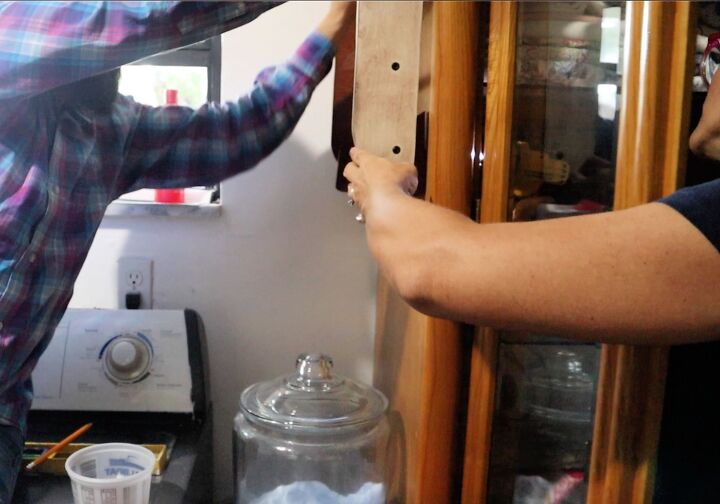
After I installed the bottom dowel into the two side pieces I brought it all into my laundry room and with the help of Beast, I screwed the rack into the side of my cabinet. I drilled from the inside of the cabinet through the cabinet into the two small bracket pieces I cut.
Once the brackets were attached, the drying rack freely opened and closed. Then I attached a flat metal mending bar to the inside of the rack and screwed a large magnet to the cabinet to attract the mending bar and hold the drying rack in the “up” or “closed” position when not in use.
Then I installed some tiny eye hooks from a picture hanging kit, on both the cabinet and the rack.
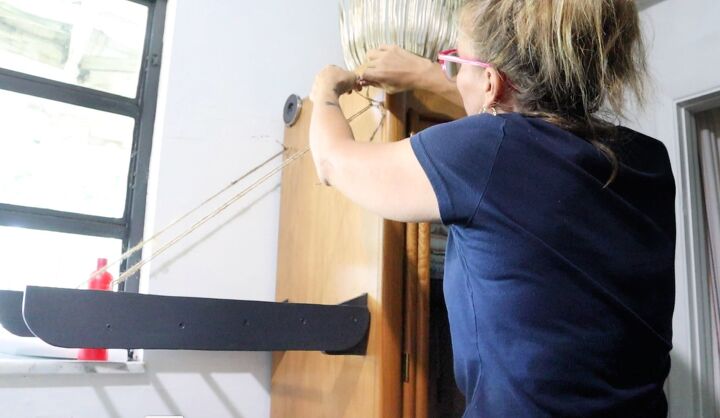
I then strung some twine between the two sets of eye hooks to suspend the drying rack parallel to the floor for the open position.
A little black paint to match the doors and this drying rack is ready for service. I decided to leave the dowels their original finish so I would have to deal with peeling paint later.
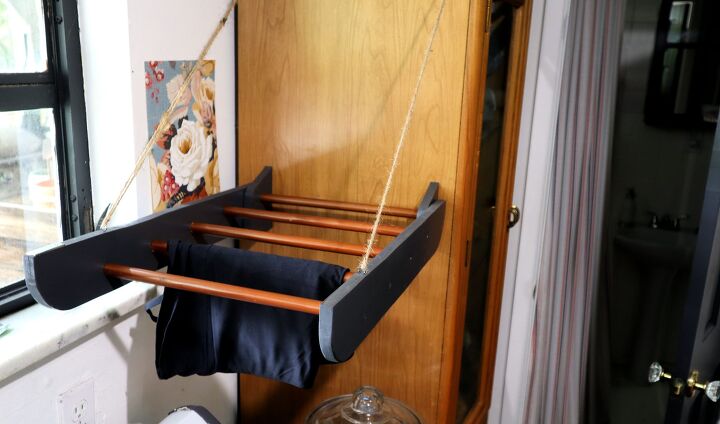
And that’s that. I know this project seems a little janky, and a lot of work for something seemingly inconsequential, but it really serves a purpose, and I couldn’t find something just the right size anywhere else. Check out the video below for all the minutia.
Resources for this project:
See all materials


Comments
Join the conversation
-
I love your video and your really cool clothing rack! Nice way to repurpose!
-
Aren't you the clever one! Love your idea.


Frequently asked questions
Have a question about this project?