


How to Add Casters to a Hamper

I'm working on making over my laundry room and that means making it more functional for me.
I've already shared some room improvements in past projects posted on my profile page with more to come!
Upgrading latches on Mechanical doors
Since my hubby and I are empty nesters now we don't have as much laundry. That means we also don't need the large hamper we had when our boys were home. But, I did love having it on casters. So, when I found my new hamper I knew right away I wanted to add casters to it. Here is how I transformed my new hamper to fit my needs.
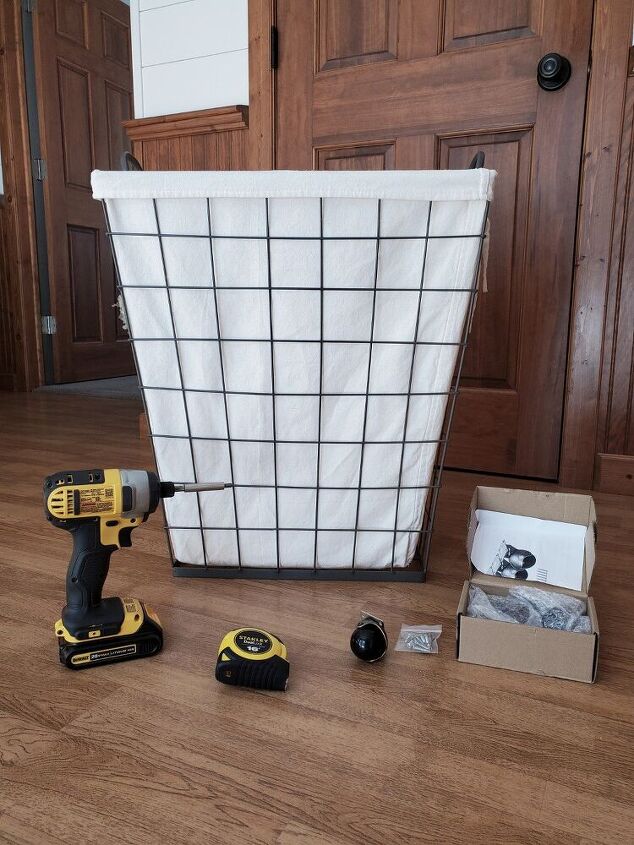
Materials List
- Hamper (Mine is from the Better Homes and Garden line at Walmart)
- Impact drill/driver
- Tape measure
- Casters (Mine are vintage inspired from Amazon)
- Wood
- Screws
- Metal brackets
- Minwax Polycrylic protective finish
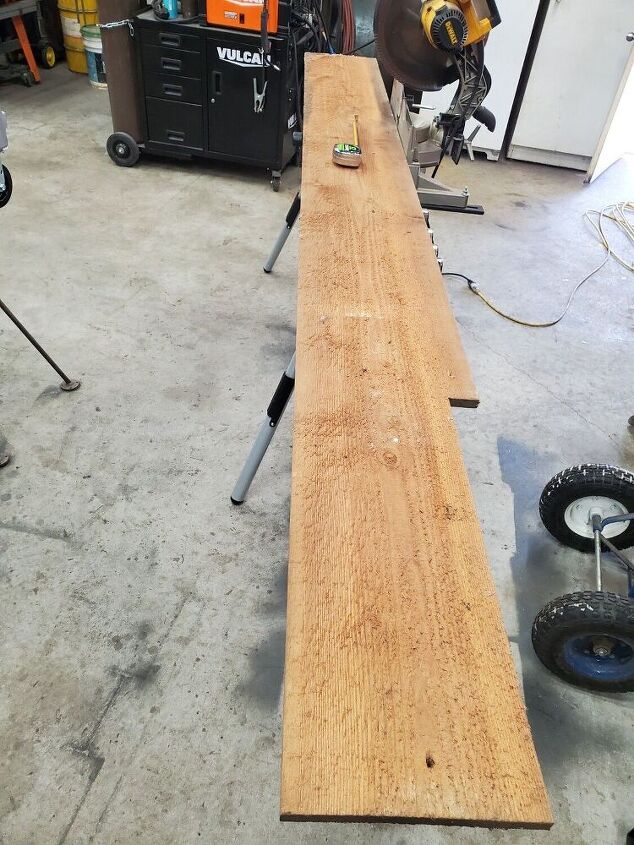
I found an old board out in our wood stash and was intrigued by this piece. It's old, smooth on one side and rough sawn on the other. I love the texture the rough sawn side had and knew that was the side I wanted to see on my project.
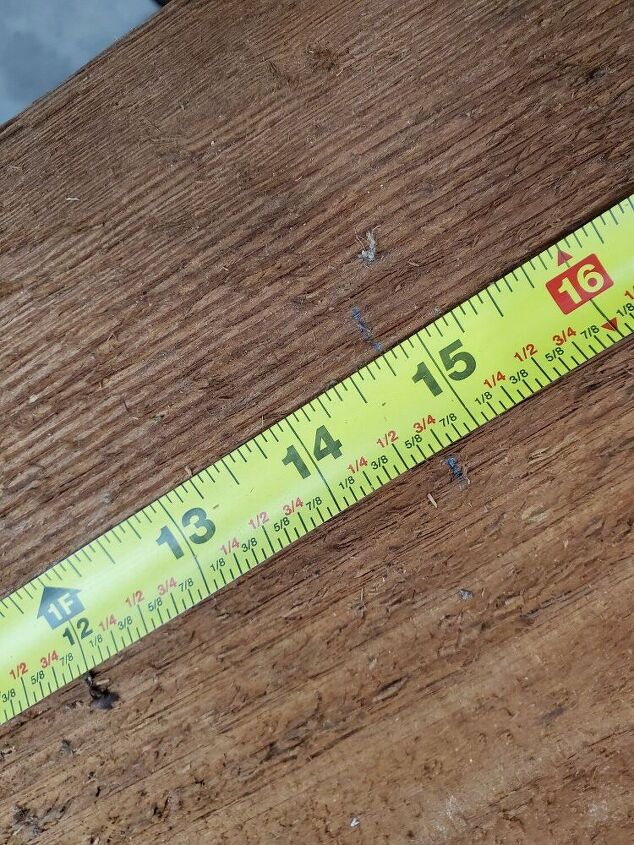
I measured the bottom of my hamper and transferred the measurements to the board.
For the BHG hamper the measurements I used were, 9 5/8"W x 14 3/4"L
I used the miter saw to cut my wood bottom, but you can also use a table saw if you're comfortable.
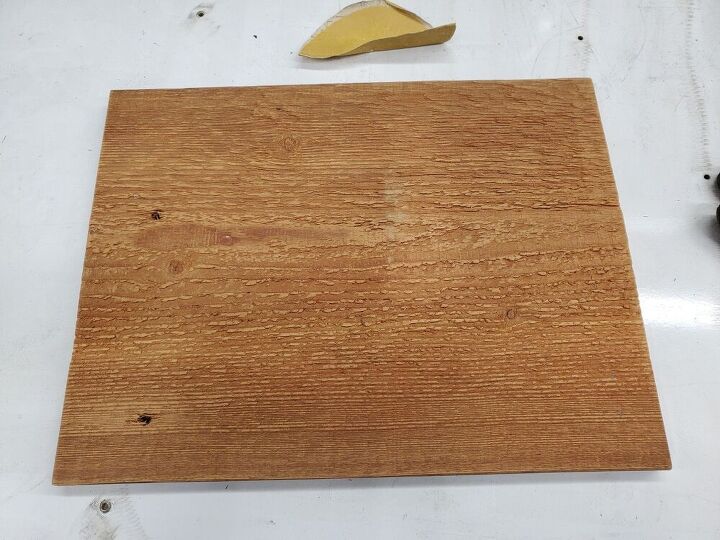
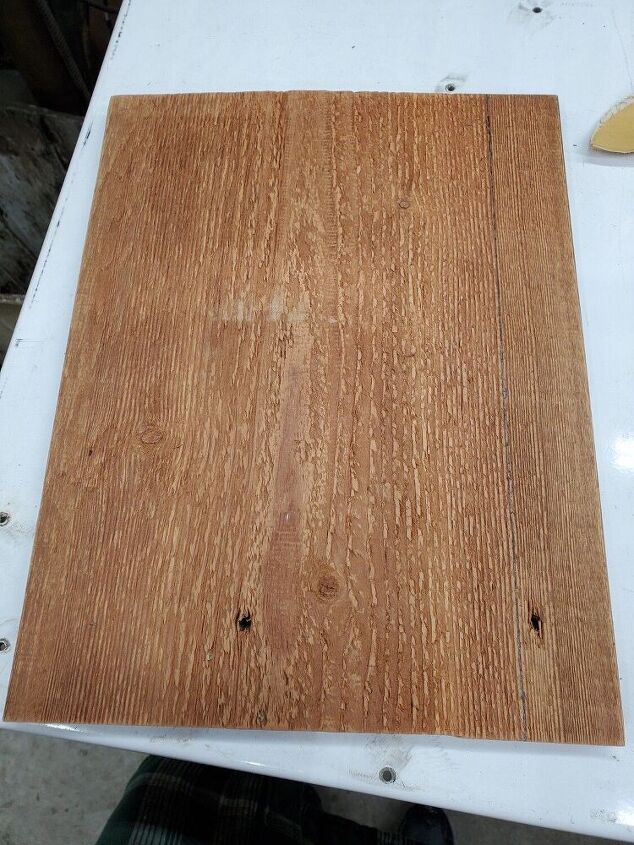
Once my piece was cut to size, I sanded the whole board with 180 grit sandpaper. I even sanded the rough sawn side. It's still rough and textured, but now you don't get slivers everytime you touch it.
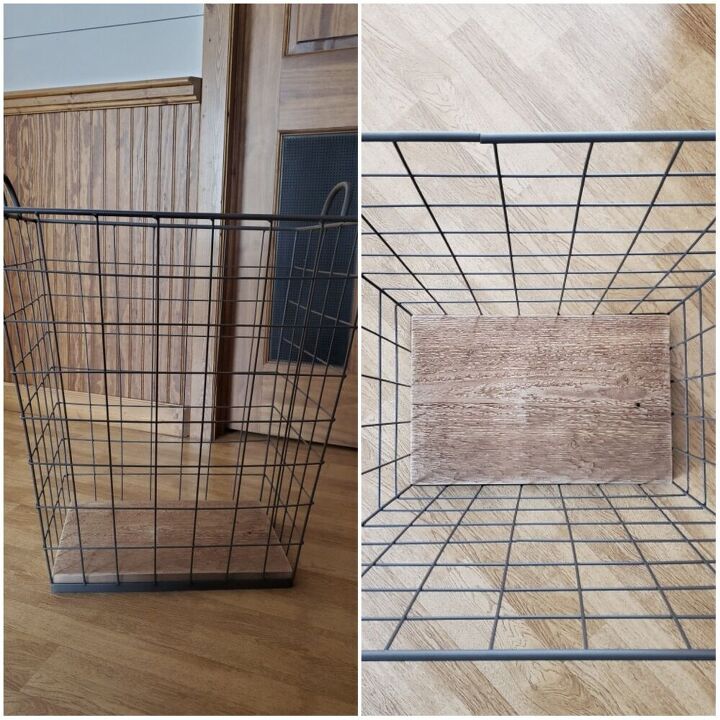
After sanding I made sure the piece fit inside my hamper.
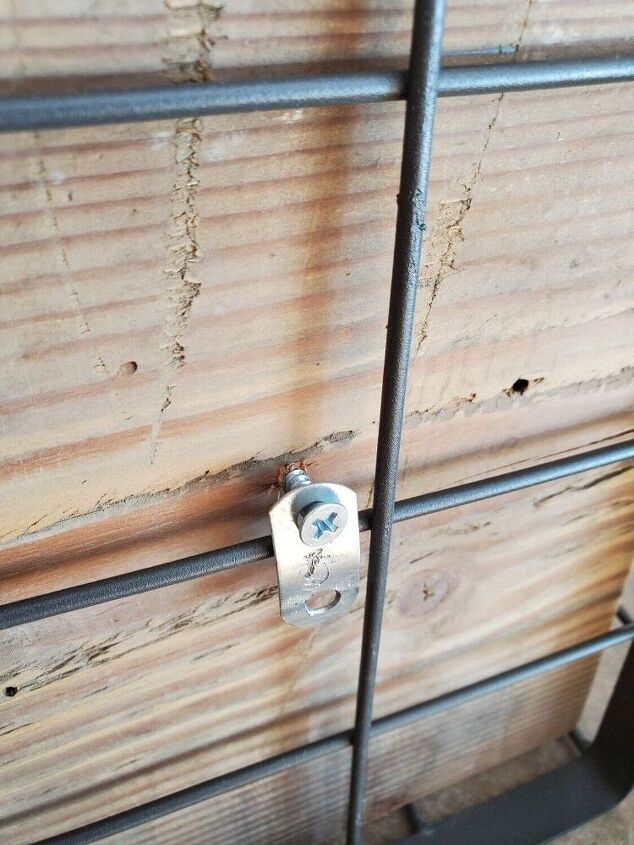
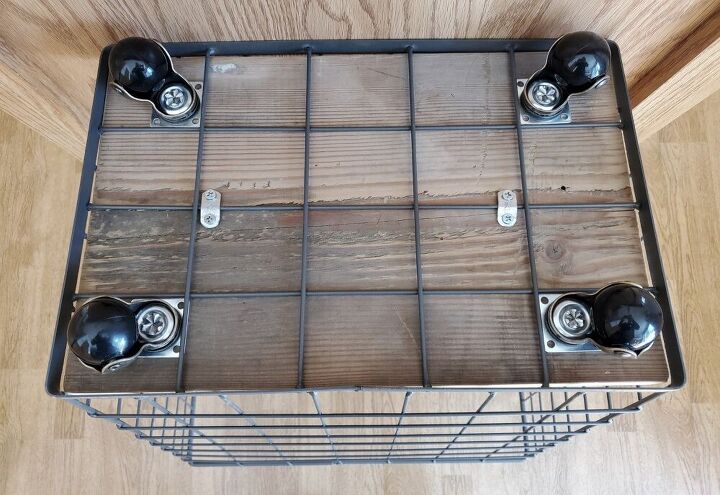
Since the hamper is made from metal I needed to find a way to secure the wood to the bottom of the hamper so the casters have something to attach to.
I screwed my metal brackets over a piece of the wire.
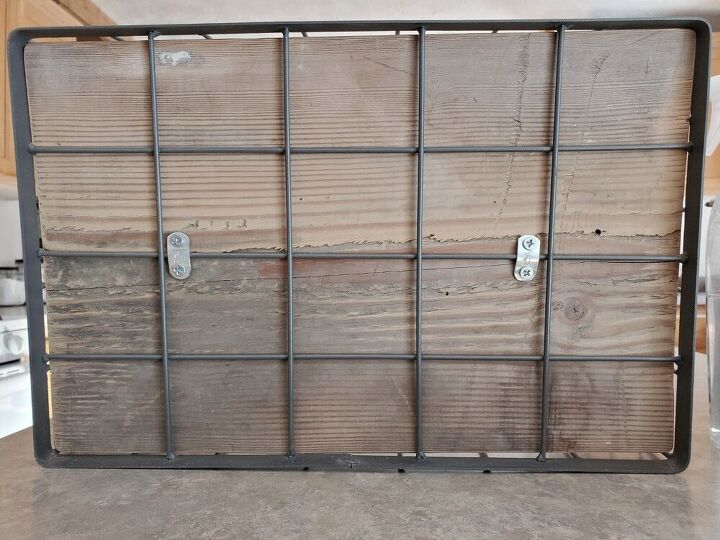
Since my board was a scrap piece it also had a slight bow in it. I used 2 metal brackets to take the bow out and secure the board to the bottom of the hamper.
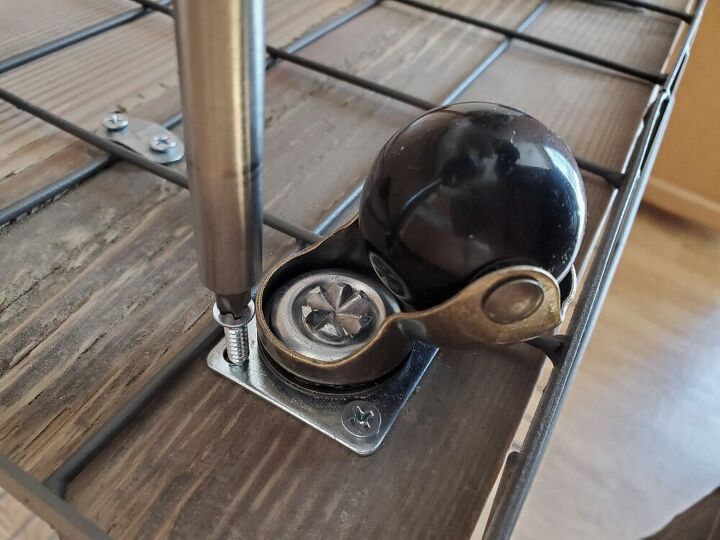
Next, I placed my casters where I thought I wanted them.
Initially I wanted them closer to the outside edge, but when the casters swiveled they hit the bottom edge of the hamper.
Always test where you want your casters and make sure it works before you attach them.
I moved my casters to the inside of the grid and attached them with 2 screws at first.
Once I flipped the hamper over and tested their position and how they rolled, I finished putting in all 4 screws.
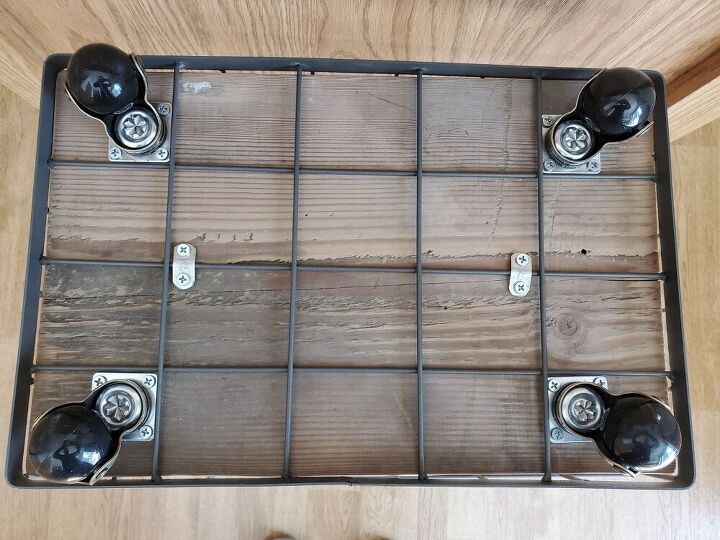
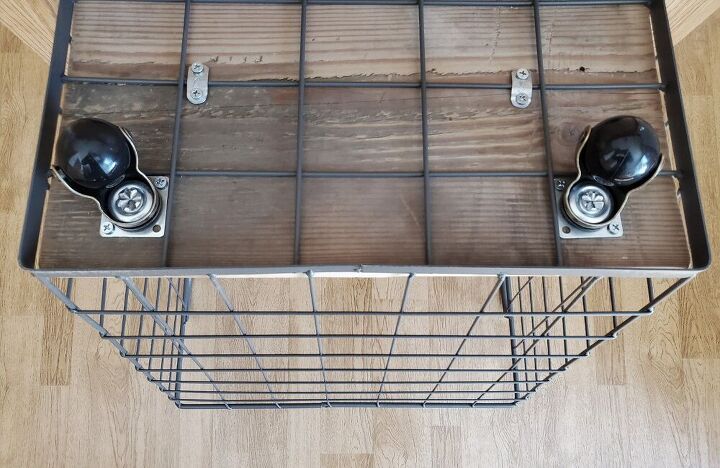
This is what the finished bottom looked like. It's not the cutest but it is functional.
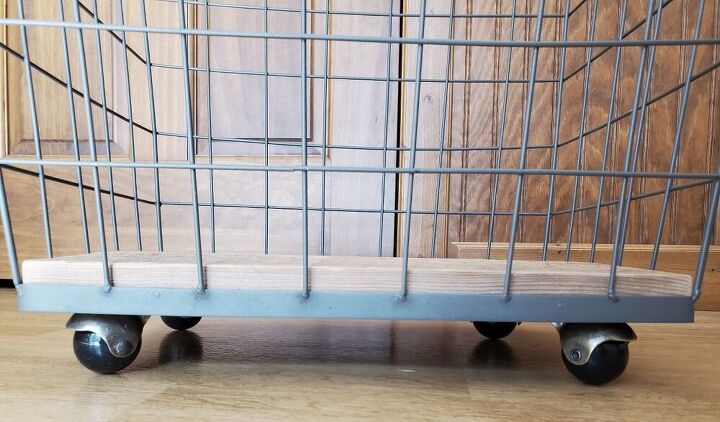
This is how the casters looked once attached and upright.
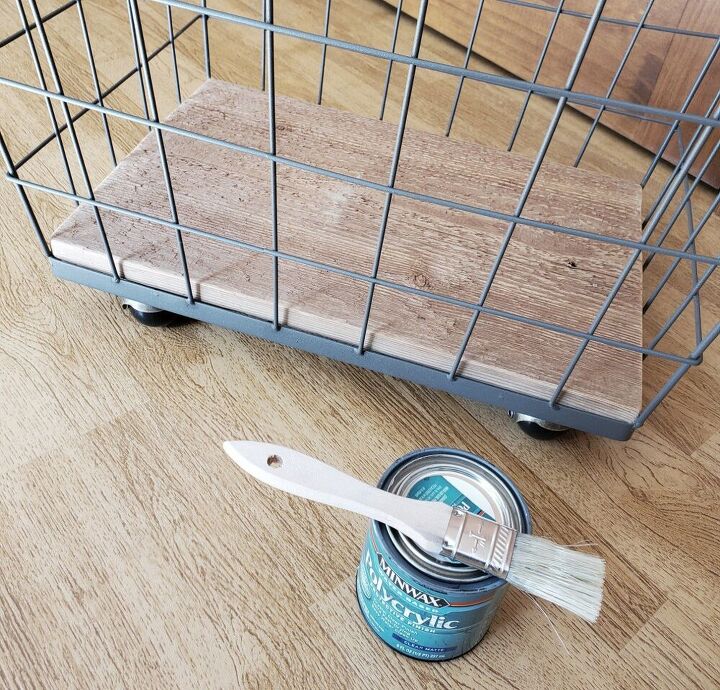
Since the top of my board is rough sawn I wanted to protect it and seal it.
I used a water based polycrylic in a matte finish.
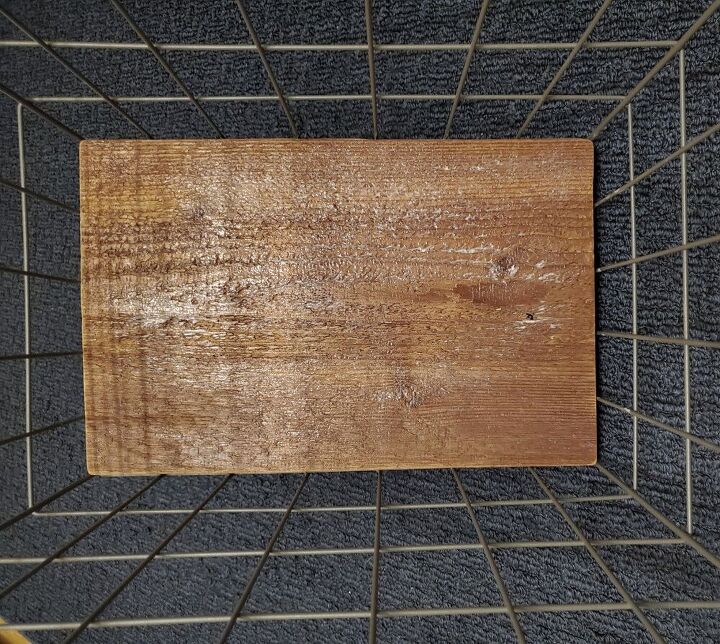
I sealed the top and sides.
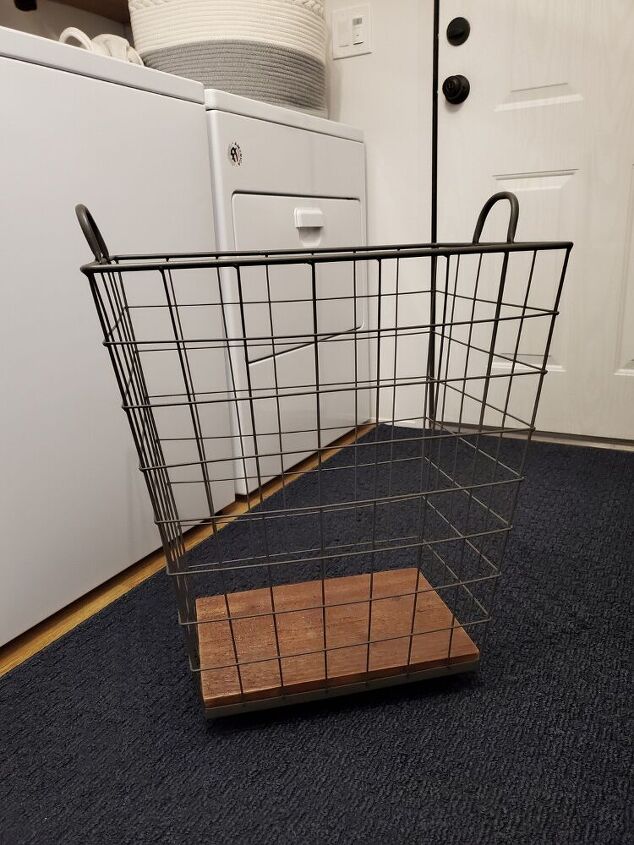
The finished hamper is cute and functional and the perfect addition to my laundry room.
FYI- These vintage inspired casters work amazingly! Don't hesitate to purchase from Amazon!


Frequently asked questions
Have a question about this project?