


7 Simple Steps to a FABULOUS Wall Treatment!

by
Joy
2 Materials
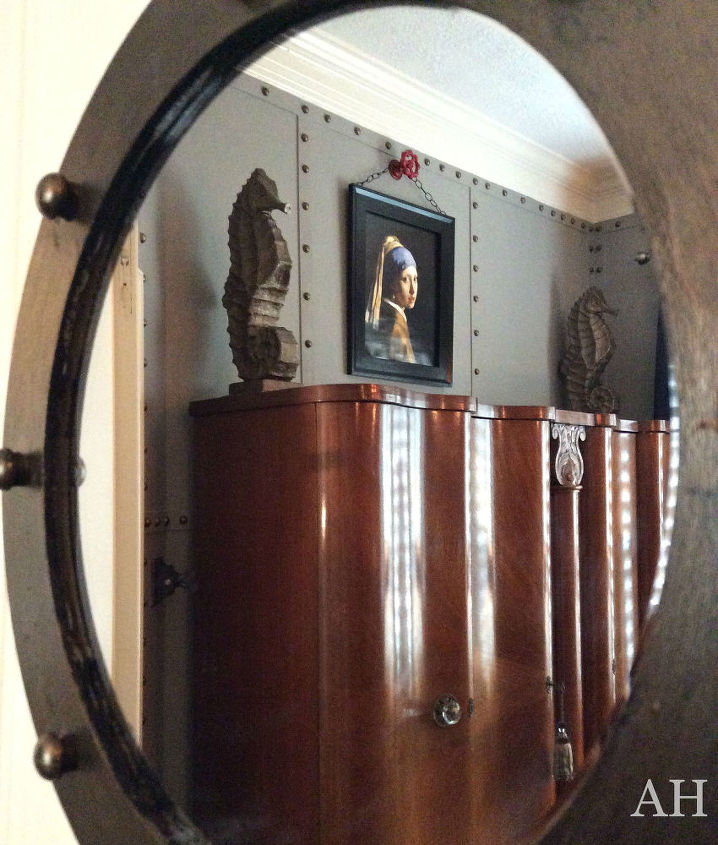
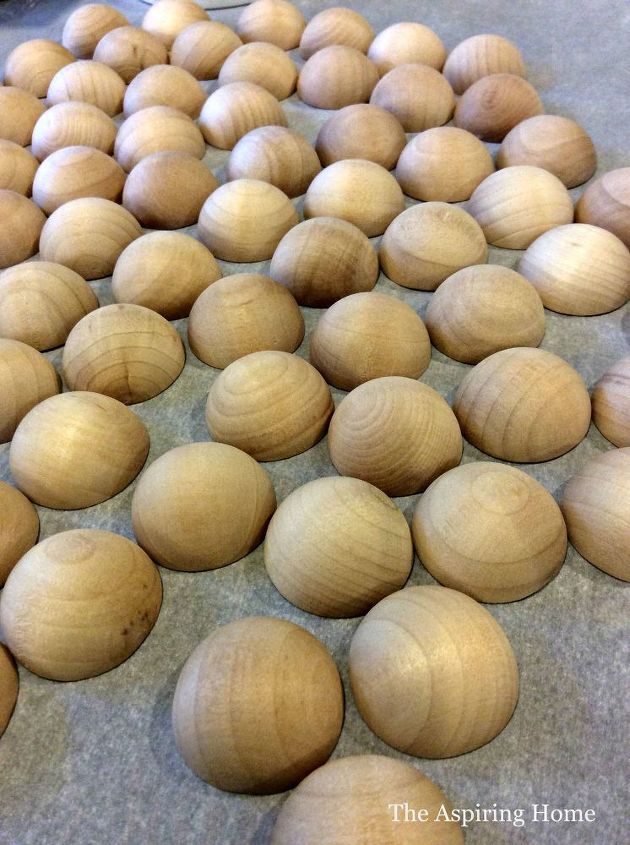
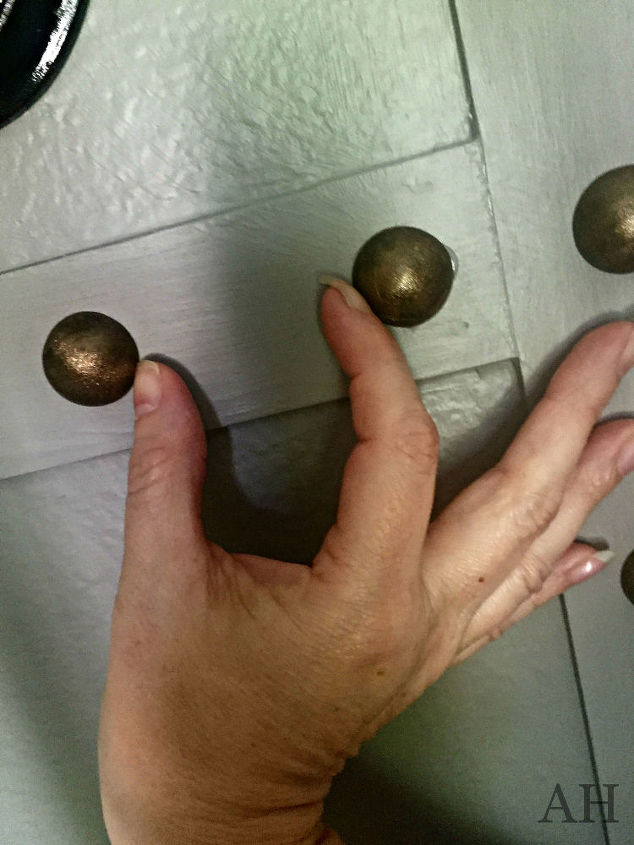
Let's talk about the riveted wall treatment from my One Room Challenge! It is super easy and super impactful! The ideas are endless with this treatment. I chose to paint the strips the wall color so that my "rivets" were the highlighted, but you could paint the wall strips a coordinating color and the "rivets" metallic or whatever your little ol' heart desires. Have fun with it!
Let's get started!
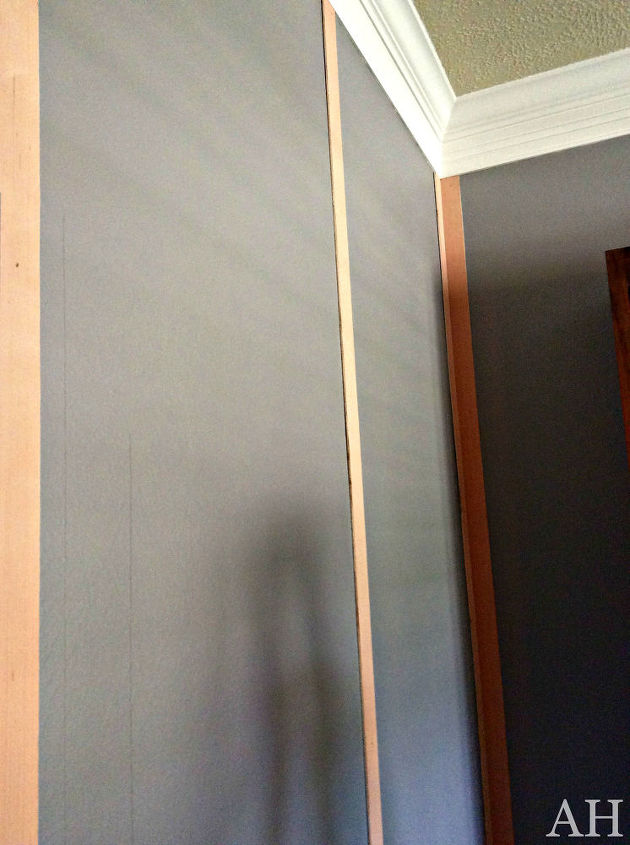
Step 3:
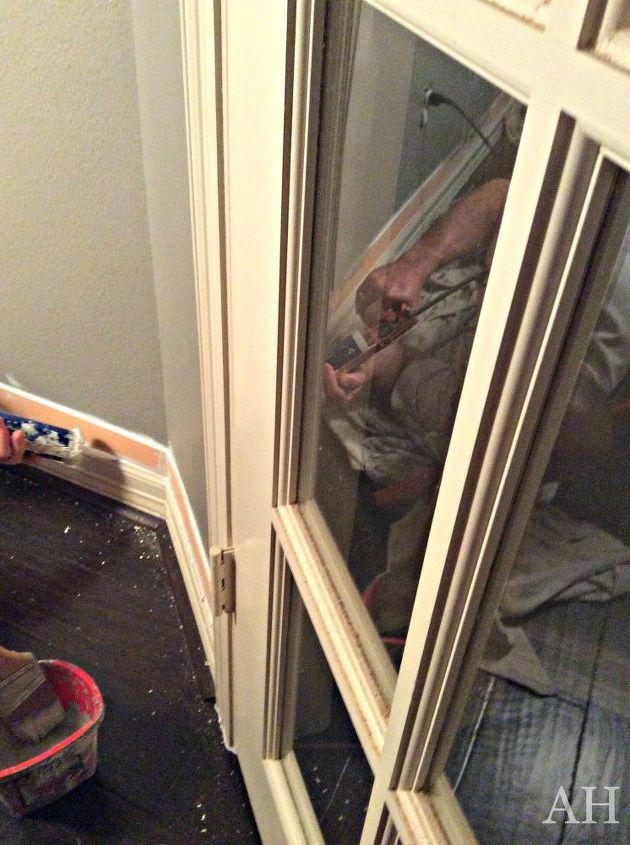
Step 5:
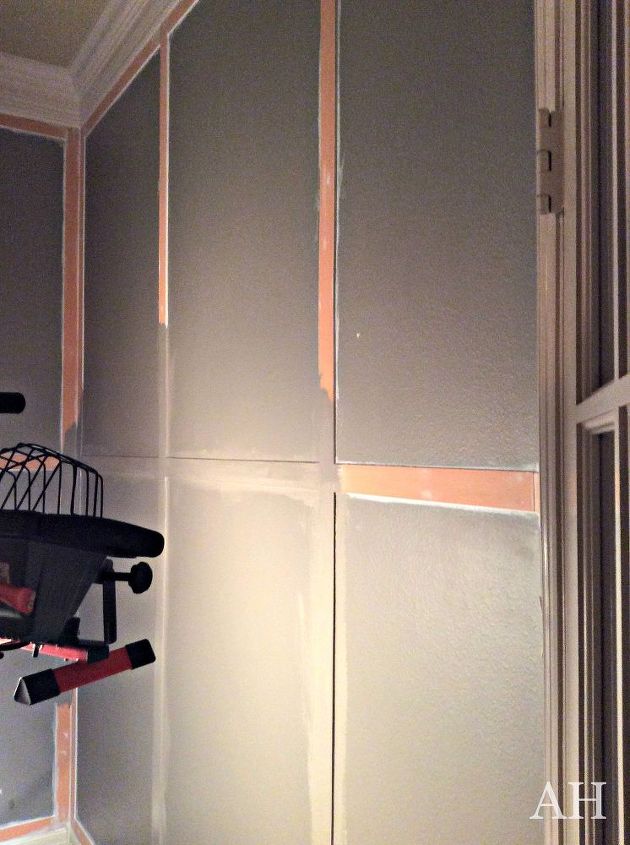
Step 6:
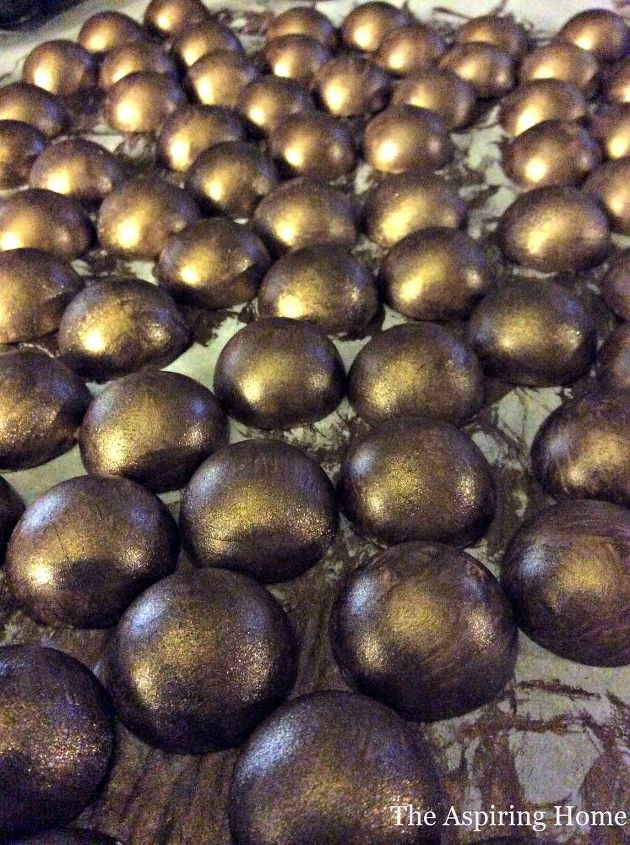
Step 7:
That's about it my friends! The process is simple - just a bit time-consuming but oh so WORTH it! If you try this treatment- let me know! I would LOVE to see your interpretation.
Want more details about this and other DIY projects? Check out my blog post!
Comments
Join the conversation
3 of 58 comments
-
Joy, just in case you need a clock in the room, Walmart has a big one for $30 that would look really cool, I think. It's got big gears, and 3 clock faces--and they all run! It looks like bronze. I've been dying to buy it myself, but I really have no place for it! Ha!
-
So creative!! You must have the patience of a saint (or did have) to glue all this half balls. 500!!!!! Mind boggling😱 Love how this came out! Great job!!!


Frequently asked questions
Have a question about this project?