Dyeing Sofa Cover in a Front Loading Washing Machine

I used to think the days of being able to dye large pieces of fabric in a washer were over now that most people have front loaders. Then I found a way to replicate the process with great results and dyed my old PB sofa cover back to its original saturation, saving $1800 on replacement costs!
My sofa cover had begun to fade in the bright light coming through the window. A replacement cover for my PB Square Grande sofa was over $1800! But I was able to dye it back, using my machine machine and a few extra products and saved that cash!
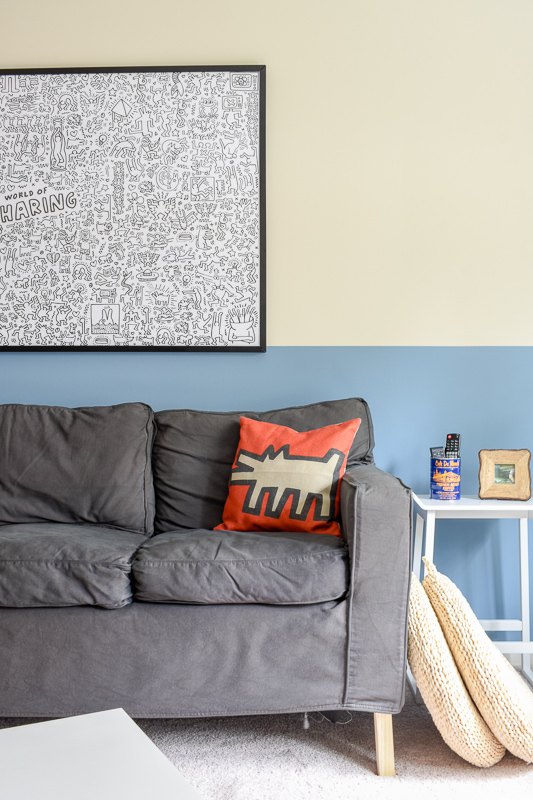
SOFA COVER BEFORE: My sofa sits near a large window and the light that comes in has slowly faded the cover from dark grey to a muted grey. There are sunspots that appear kind of pink where the color has been completely removed.
FABRIC DYEING METHOD:
Step One - Prepare your slipcover (fabric) to accept the dye.
Since the sofa slipcover is pretty large and bulky, I decided to create two dye baths so the fabric has room to circulate through the dye. I recommend you do this too.
Start by washing the body of the slipcover on a cold water cycle. Don’t use detergent on this round. The point of this preparation is to remove all leftover chemicals from the fabric so that the dye can penetrate. Instead, use just 2 cups baking soda, poured directly into the drum of the machine, prior to load sensing. Then add 1 cup white vinegar to your detergent cup.
It may be tempting to skip this step but don’t. If you want a consistent fabric color, this step is necessary. This will release all leftover detergents and caked-in dirt so your dye will be able to fully move into each thread.
Once the load is complete, don’t dry your slipcover. Pull it out of the washing machine to release any water puddles. You want the slipcover to be fully wet when you move on to your dye bath. Water is attracted to water. With a wet fabric, your dye will be more likely to penetrate every nook and crevice of your slipcover.
Step Two - Prepare your dye mixture.
Unlike the pour and go dyeing methods of the past (with top loading machines), this method will require a little more preparation of the dye. But don’t worry. It’s super easy.
Bring a tea kettle of water to a near boil. Pour your dye into a glass measuring cup. Use a separate glass measuring cup to measure out two cups of your very hot water. Then add them to the dye and stir with a metal whisk until the dye has fully dissolved. Measure two more cups of very hot water and add that to the dye mixture and stir again.
Step Three - Prepare your salt mixture.
In a separate glass pouring vessel (I used this glass juice pitcher), pour two cups salt and two cups very hot water. Then stir until the salt has fully dissolved. Repeat by adding an additional 2 cups salt and 2 cups very hot water.
Then add 1 tsp dish detergent to your salt mixture and stir thoroughly.
Step Four - Start your wash cycle.
Before adding any of your salt or dye mixture to the washing machine, you want to begin your cycle. Don’t worry that you won’t be able to open your tub door once the cycle begins. You won’t need to. (but do make sure you've left your fabric in the machine)
Choose the hottest and longest possible cycle. For my washing machine, I used the Sanitary cycle and chose heavy soil level.
Step Five - Add your dye and salt mixtures to the washing machine.
Rather than adding the mixture directly to your tub, you’re going to add it into the soap dispenser.
You can do this by opening the drawer for your dispenser, after the wash cycle has begun, and removing the plastic cup. Set the cup aside and pour the dye mixture directly into the dispenser area where it says "Main Wash”.
Immediately after adding the dye, follow up by adding the salt mixture. This will help flush the dye from your components and will assist the dye in thoroughly penetrating the fabric.
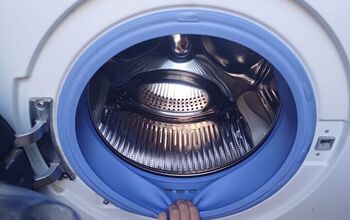
Close the door and wipe down any areas that may have been splashed with dye using a wet paper towel immediately.
Once your cycle has ended, you can remove your slipcover and allow to dry. Then repeat this entire process on the cushion covers. You don’t need to dye them all individually. You can just add them all to one dye bath.
FABRIC DYEING SUPPLIES: fabric dye very hot water 4 cups salt (for cotton, 4 cups vinegar for synthetics)1 tsp dish detergentdye gloves2 glass measuring cups (one 4 cup and one 2 cup will work) metal whisk (don’t use silicone as it will stain) tea kettlebaking soda and white vinegar (for fabric prep)
Here’s the recipe I used to achieve the dark grey dye for my sofa slipcover. I wanted a color with some depth, so I used two different types of fabric dye and colors.
While I still need to steam the sofa cover to remove the wrinkles, I’m really impressed by how well the dye took to the cotton twill fabric!
My sofa cover looks much more modern and new than it did before and I spent less than $50 to get this look. Considering a sofa cover replacement would’ve cost around $2000, I consider this a major victory.
Enjoyed the project?
Resources for this project:
See all materials








Frequently asked questions
Have a question about this project?
Did the rubber in your washer get dyed too?
How do you get all the dye out of the washer when you're done?
Can you tell me where you got the poster behind the sofa please ?