


Cover Your Window in Style With This DIY No-Sew Kitchen Curtain

I was looking for curtains for my kitchen window, but I hadn’t been able to find one that I felt was the perfect fit. In the end, I decided to make my own! These DIY kitchen curtains are easy to make and require absolutely zero sewing! Using cotton fabric and stamps, I even managed to add a faux valance. Use different stamps or colors to customize your own curtain. Follow my step-by-step tutorial below to start today!
Tools and Materials:
- Cotton fabric
- Tension rod
- Clip rings
- Stamps
- Sandpaper
- Ink
- Ink pad
- Iron
- Parchment paper
- Butcher paper
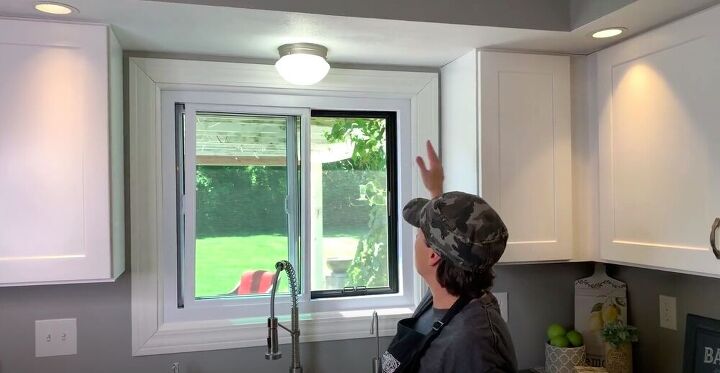
Before I could get started making my no-sew kitchen curtain, I had to take some measurements. Because there is very little space around my window, I decided to use a tension rod to hang the curtain, which would be connected to the cabinets on either side of my window.
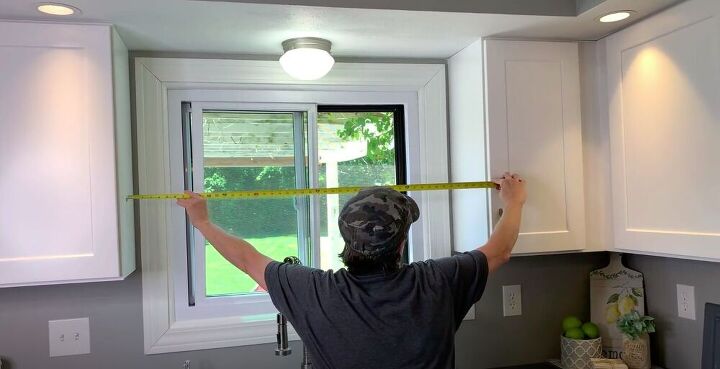
Then I measured space between my cabinets to determine how large my tension rod needed to be.
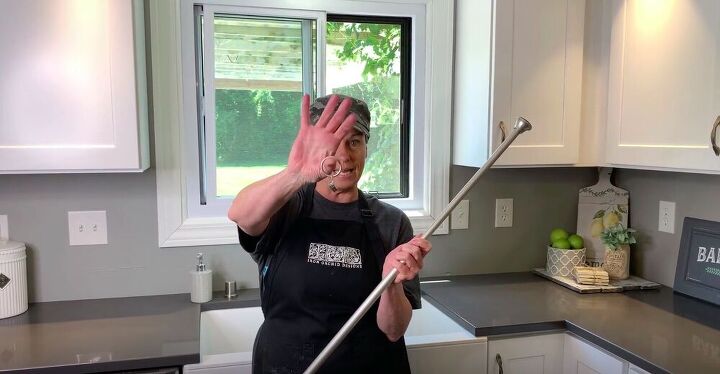
When I got my tension rod I also picked up a few clips rings to hang my curtains. These rings are great because they are one reason that this project is quick and easy.
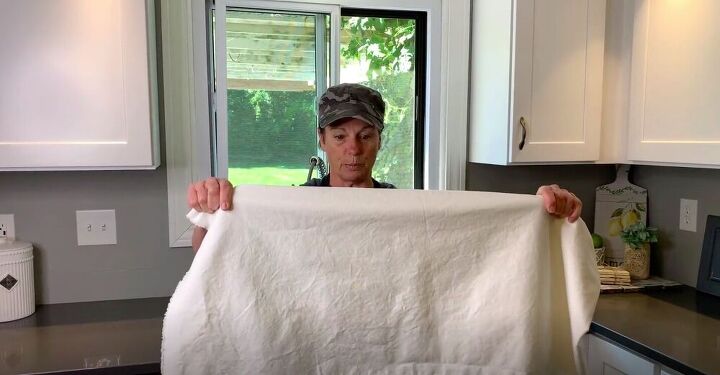
I also picked up some fabric to make my curtains from. I purchased two yards of 100% cotton fabric. When buying your fabric, you should at least purchase double the width of your window depending on how full you want the curtains to be at the end.
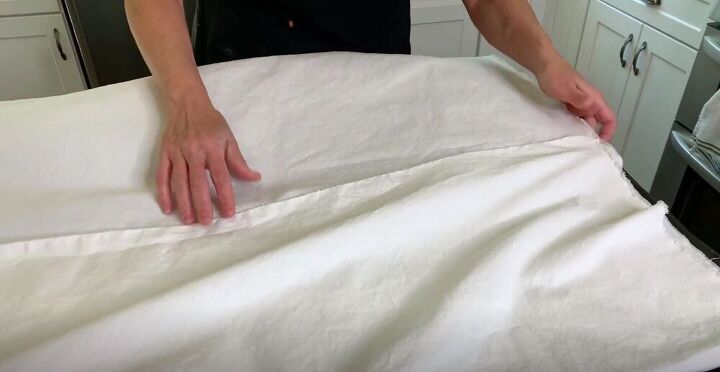
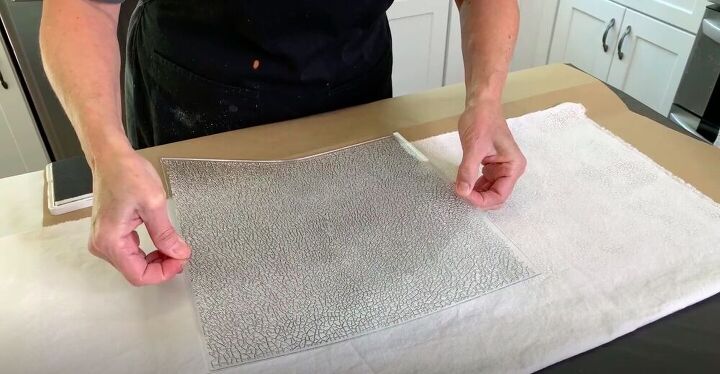
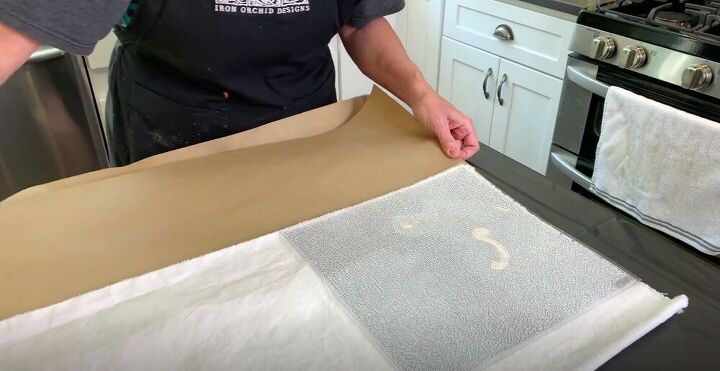
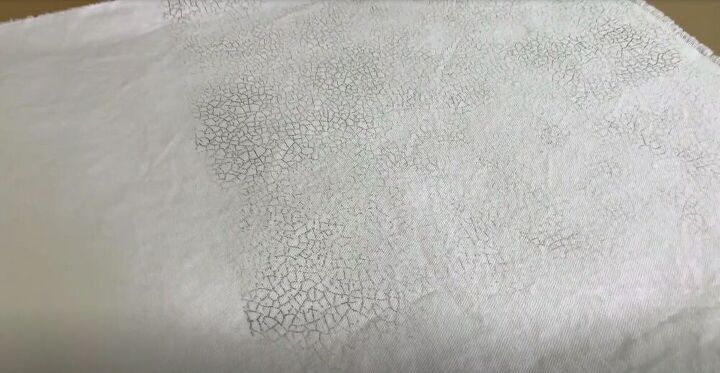
I also washed the fabric before I cut or worked with it. This is important because the fabric may shrink when washed, and you don’t want your perfectly measured curtains coming out too small. I lay my fabric out and folded the top over to create a faux valance. This is the part I’ll be decorating, so I folded down the fabric according to the size of my stamps.
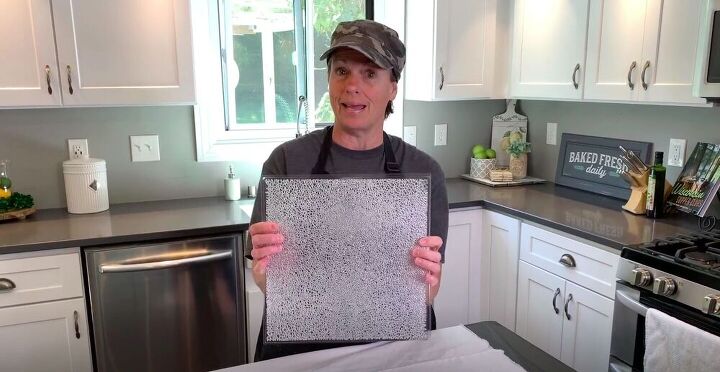
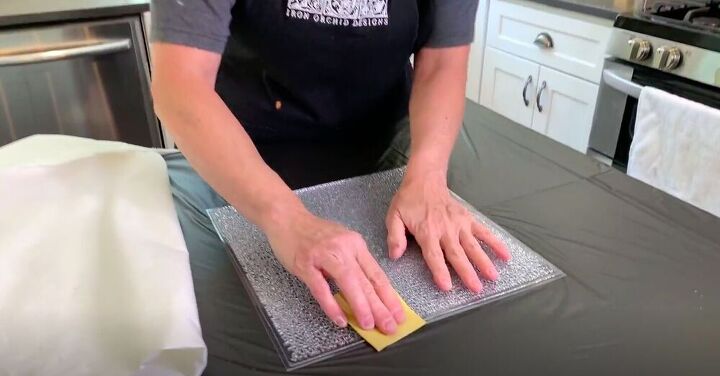
For this project I’ll be working with a large stamp to give a crackled effect to my curtains. I was using a new stamp, so first I had to condition it.
Tip:
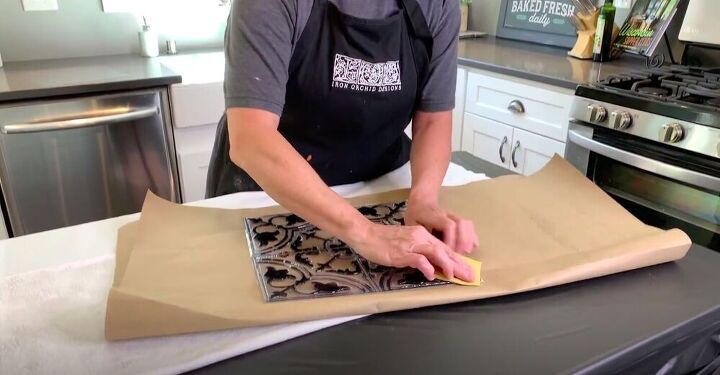
When working with a new stamp, give it a light sanding before you use it for the first time. This gets rid of anything that may have stuck to it from the factory and will give you a clearer, crisper image when you stamp with it.
I lay some butcher paper underneath the fabric to protect my surface and got ready to stamp.
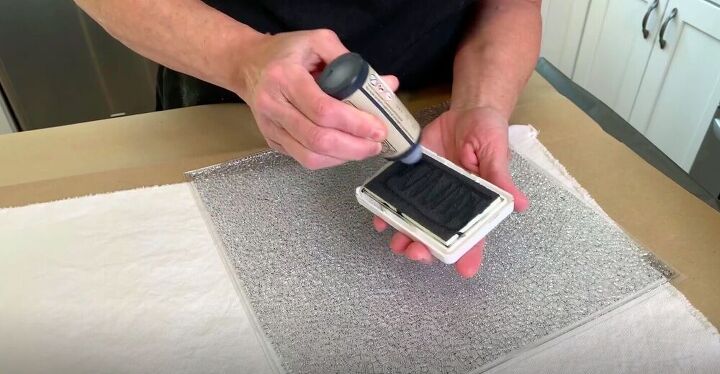
I added a good amount of ink to my inkpad and then pressed it onto the stamp.
Make sure to get good coverage on the stamp, as you won’t be able to go back and add more once it’s been stamped.
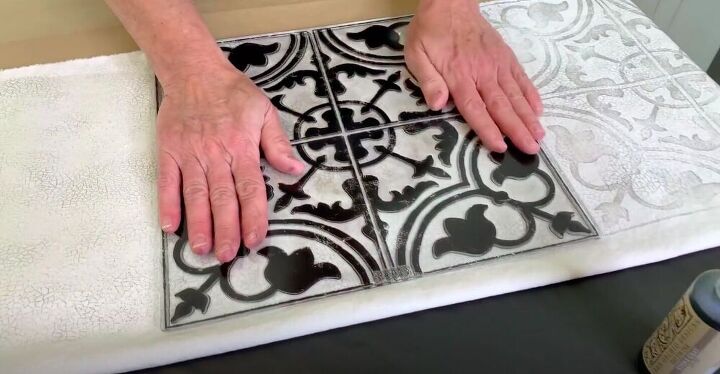
Then I flipped the stamp over and carefully pressed it into my fabric.
I gently removed the stamp and continued the process along the entire edge of my fabric.
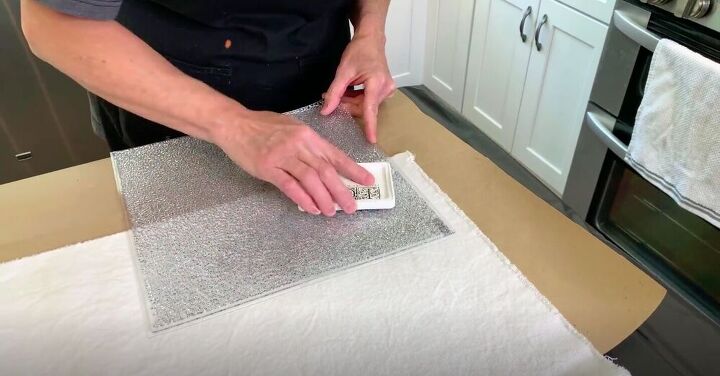
I repeated the process with another stamp, giving it a gentle sanding to condition it and get it ready to be used.
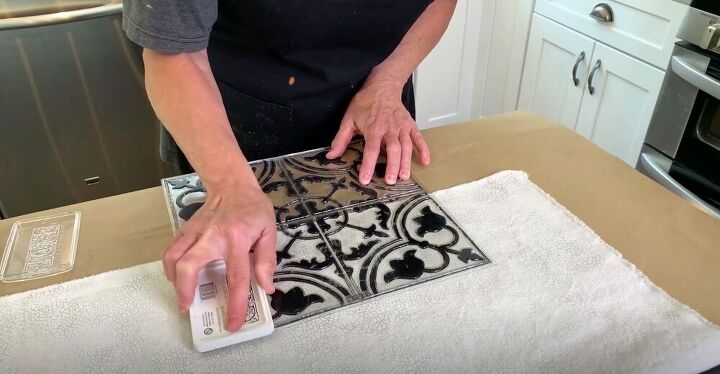
I loaded up my inkpad with ink and pressed it firmly along the stamp. These stamps can also be used with paint for other projects.

Then I stamped right over where I had stamped previously with the crackled effect. These two stamps look great together and I just love how they look.
I repeated the process along the edge of the fabric. I made sure to leave a space between the stamps that was about equal to the spacing within the stamp itself.
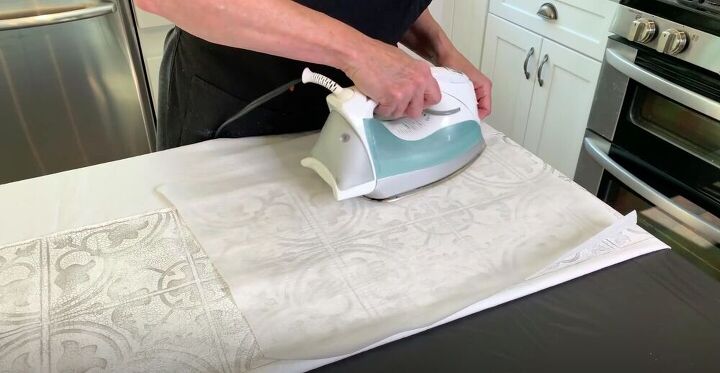
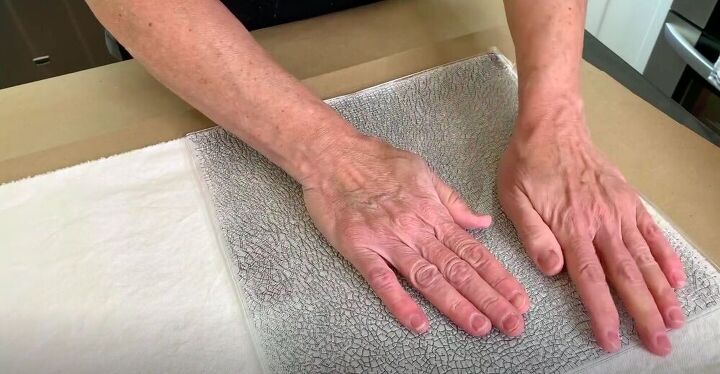
Once I had finished stamping, I was ready to set the ink. I lay a piece of parchment paper over the design, and went over it with an iron set on medium heat with no steam. I spent about four minutes on each section before moving on to the next. This will make the ink permanent and enable you to wash them without having to worry about losing the design you worked so hard on.
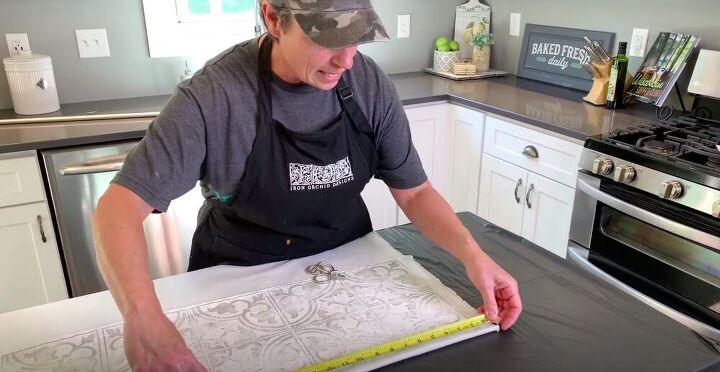
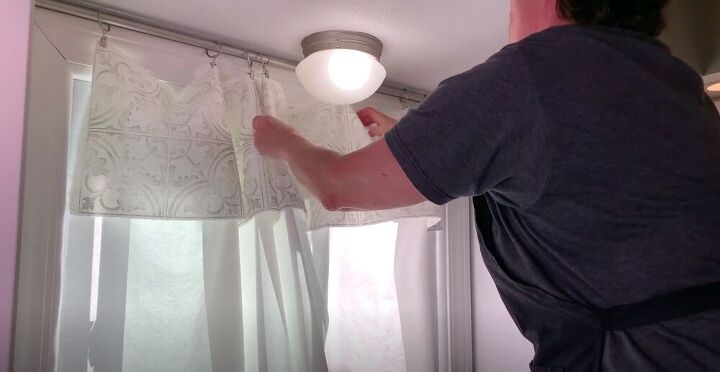
With my fabric heat set and ironed, it was time to attach the clip rings! I measured my piece and determined how to evenly space my rings. This will be different for you according to the size of your window and how many rings you’ll be using.
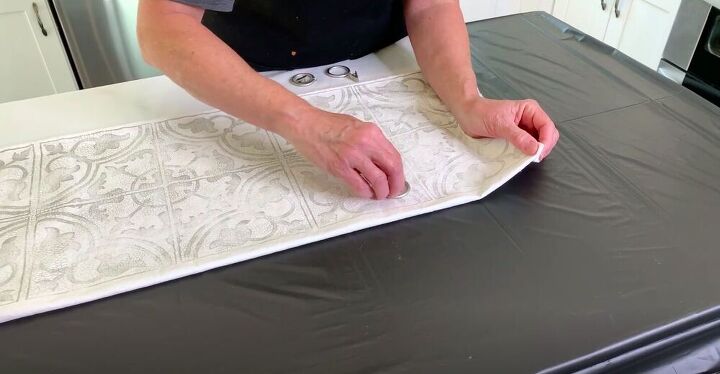
I folded over the edge and clipped it in place. Then I added a clip just about every foot down the edge of the fabric.
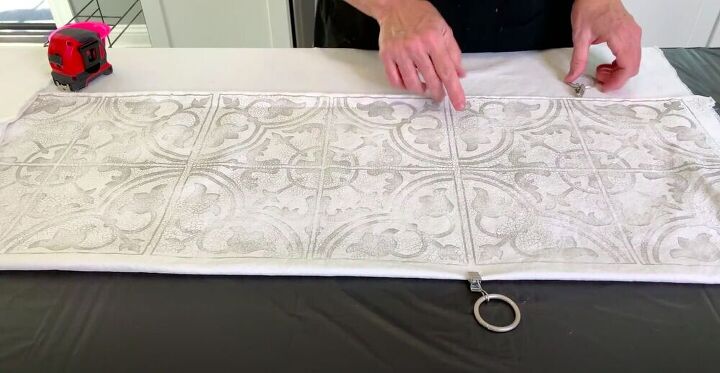
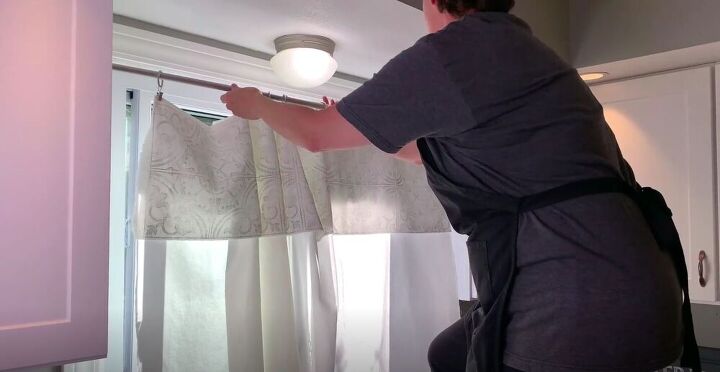
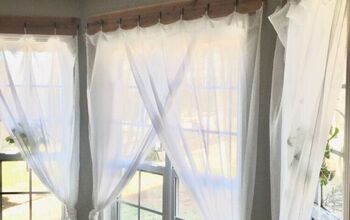
I slid the rings onto the tension rod and hung it in place. Make sure the pleats at the top are to your liking and you’re done!

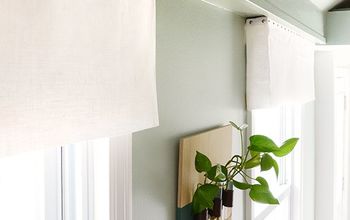
This project is a quick and easy way to add a custom window treatment to your kitchen window. How would you personalize your kitchen window curtains? Let me know in the comments below!
Resources for this project:
See all materials


Comments
Join the conversation
-
I personally think all windows should have some kind of covering. Just to keep the peepers out at night. My granddaughter brought this to my attention when I made her kitchen curtains.
-
Love it! well done!


Frequently asked questions
Have a question about this project?
Are there two curtains (which you can push back to have an window view?
I love DIY no-sew curtains - tension rods and ring clips are wonderful - and they even come in large ring sizes, ie that can thread onto a shower rod, for wider spaces!
But, for the kitchen and bathroom windows, which are only about 30" wide? I bought the prettiest fabric napkins I could find, clipped 'em up, and strung 'em about 3/4 way up, like cafe curtains - all hemming pre-done! Yes, I definitely sew, but I was in a hurry, the fabric was lovely, and I had curtains up in 5 minutes!! lol
So you don’t mention finishing the fabric edges? Did you leave them “raw”?