


DIY RV Curtains

Hi all! My husband and I bought an old camper to spruce up and the first thing I knew I had to change was the window treatments!
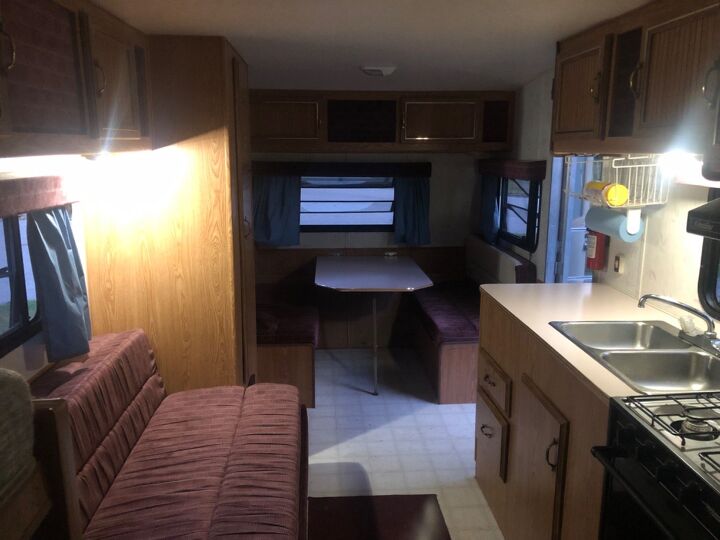
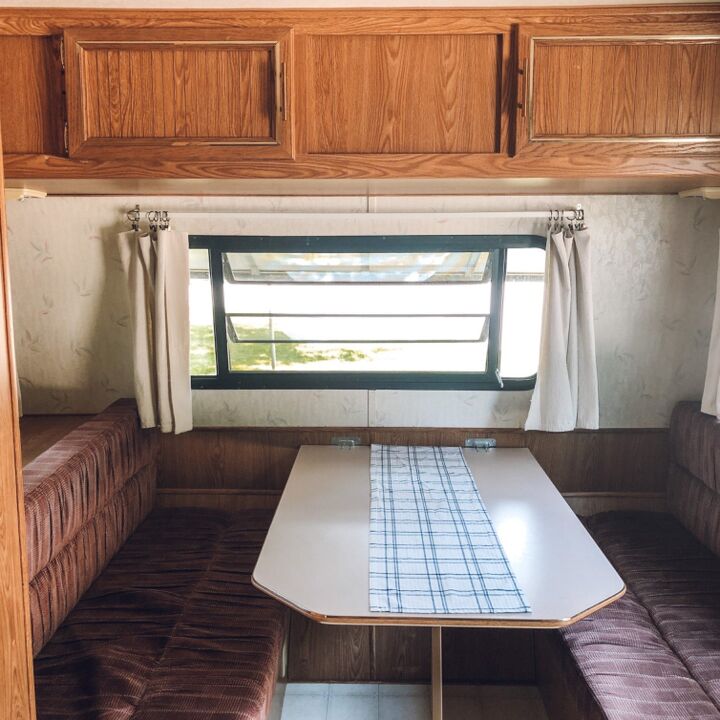
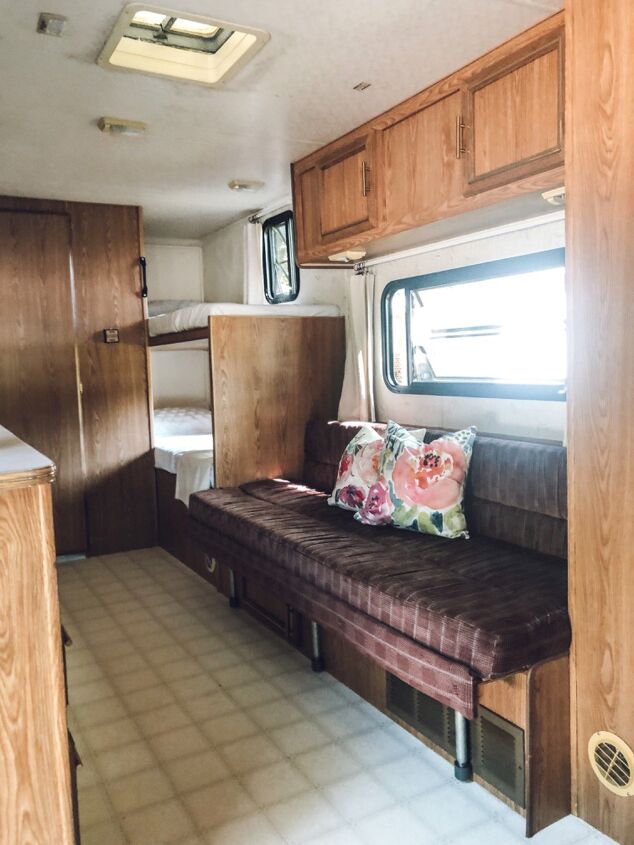
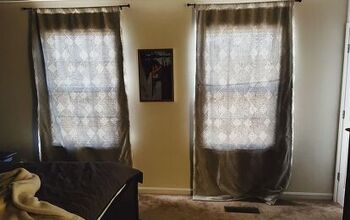
Here is what it looked like when we got it.
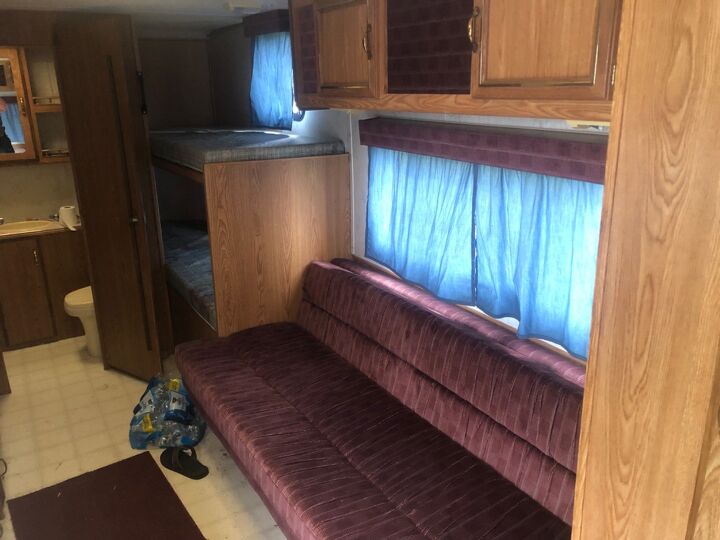
Not cute, right!?
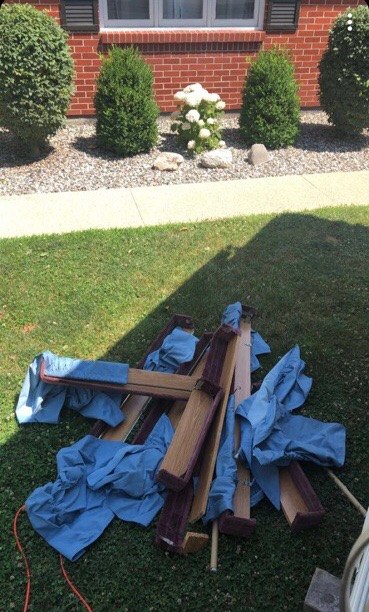
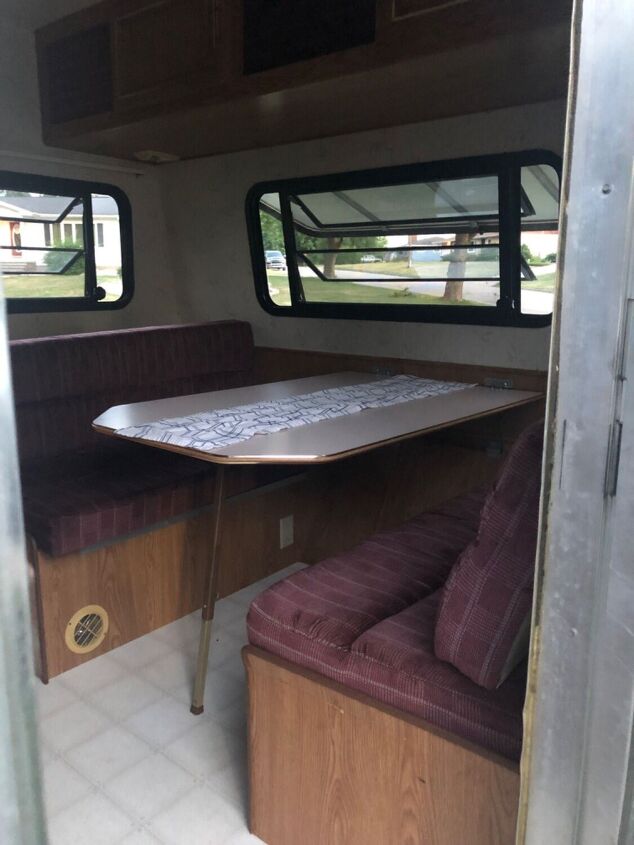
The first thing I did was remove the old valances and curtains. It had blinds as well originally, but they were all broken off.

After the old stuff was removed I measured all the windows and ordered new curtain rods and fabric. I chose the wrap around curtain rods to block out more light and provide privacy, since I didn’t want to put blinds up under the curtains.
For the fabric, I chose to use drop cloth canvas. They are thick enough to block out most of the light and I like the texture they provide. I also purchased a small bottle of bleach to lighten them a tad. I soaked both drop cloths in my washing machine on the deepest water setting with the bleach over night to do this. Then I washed them again with laundry detergent and vinegar on the extra rinse cycle.
I hung each curtain rod a little higher and out past the side of each window, so the curtain will actually cover the whole window.
Then I measured the width of my curtain rod and length to the bottom of the window from the top of the curtain rod for each window to get my curtain size. I added 6-8 inches to the width of each measurement to give a little extra room for me to finish the sides of each curtain and make sure there would be enough extra fabric for the curtains to wrap around the window.

The top, bottom and sides of each drop cloth are finished, so I made sure to plan out which curtains I was cutting. If they were going to be next to each other, like in the dinette area, I wanted them to all have matching top, bottom and sides. My dining table was the perfect size to cut the 6’ wide drop cloths.
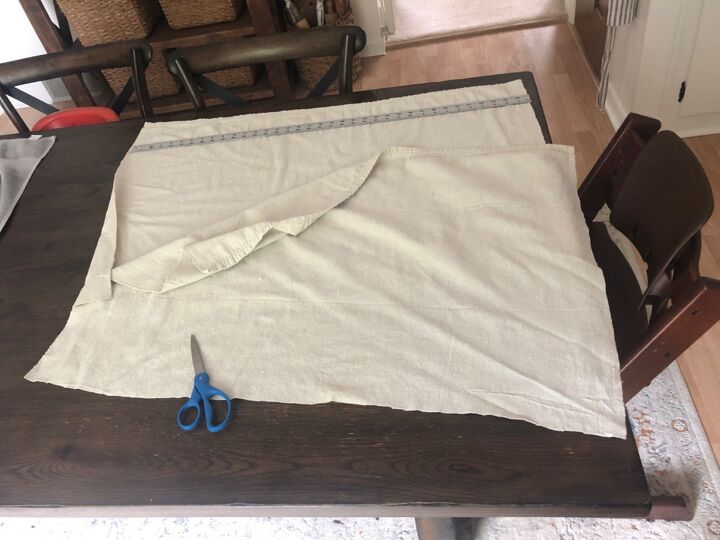
I found this long metal ruler in the garage that was super handy for this project.
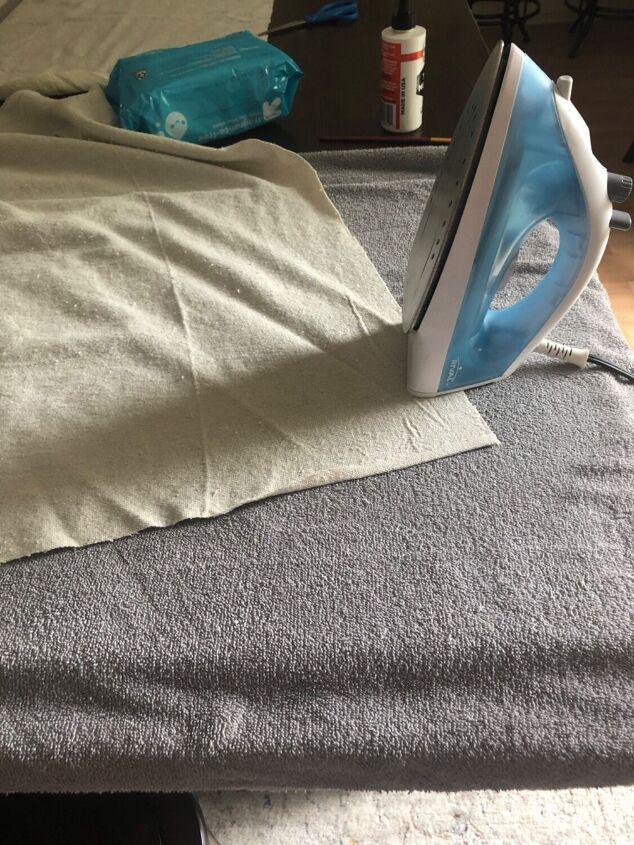
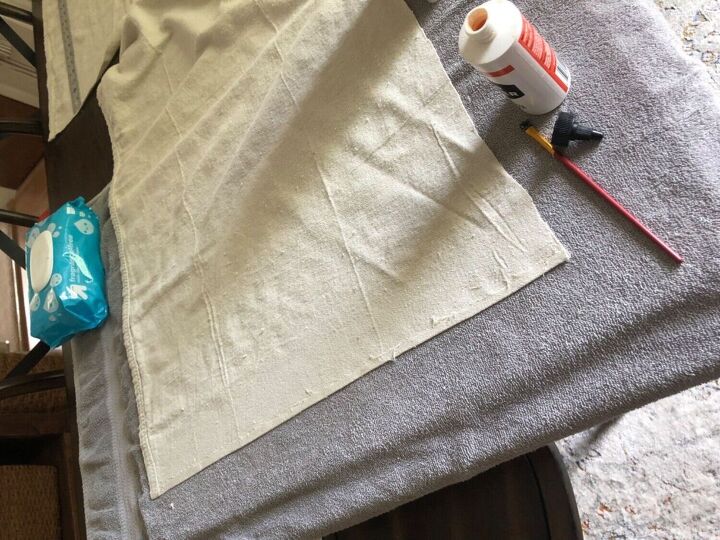
To finish the sides that I cut, I folded over about a 1/4” of fabric and ironed it flat.

Then I added a bit of fabric glue to the fold and ran my iron over it again to dry the glue.
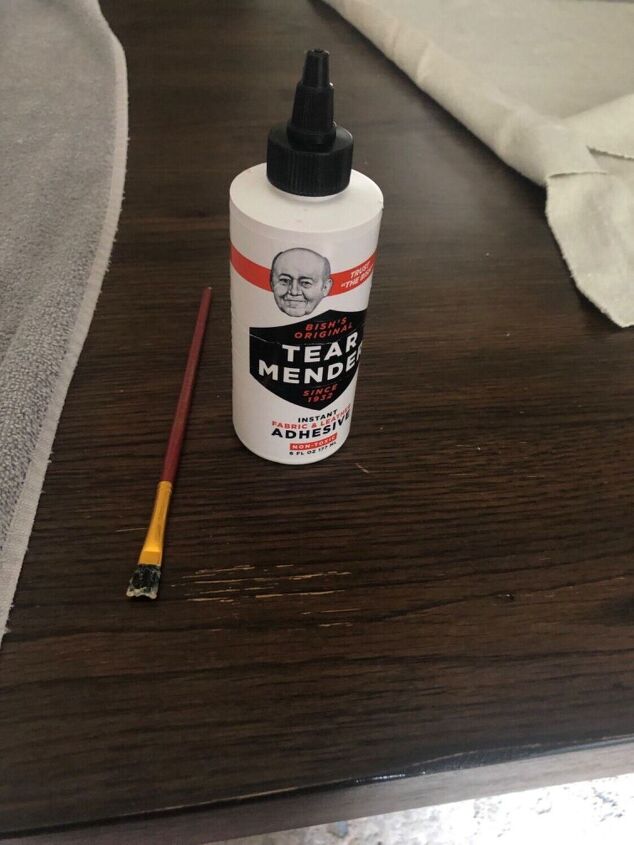
This is the glue I used. I applied it with a small paint brush. We use this glue often on my husband's work jeans and it lasts several washes, so I think these curtains will look nice for a long time!
I kept a bag of baby wipes handy to wipe my paint brush, since the glue starts to gum up the brush after a little while.
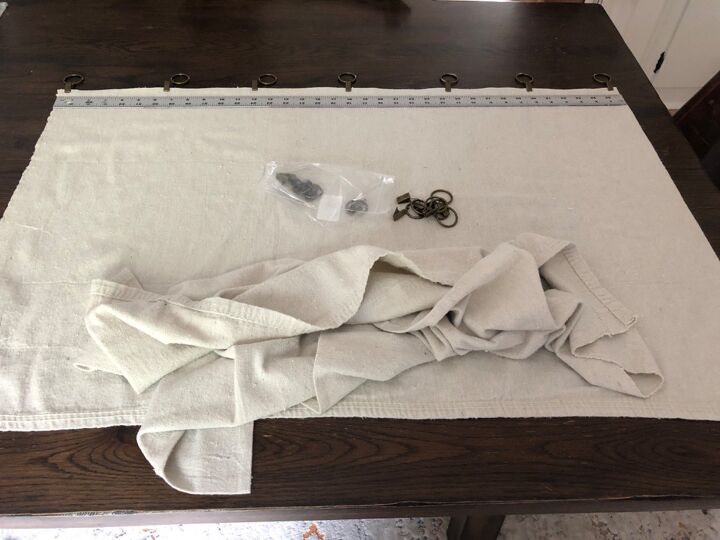
Once all sides of the curtain panels were finished, I used these little 1" drapery ring clips to attach the curtains to my curtain rods. I purchased (2) 40 packs of these clips and had just enough to do all the curtains in this camper, with none to spare!
That’s it! I love the way it turned out! Be sure to follow me on Instagram for my DIY projects.
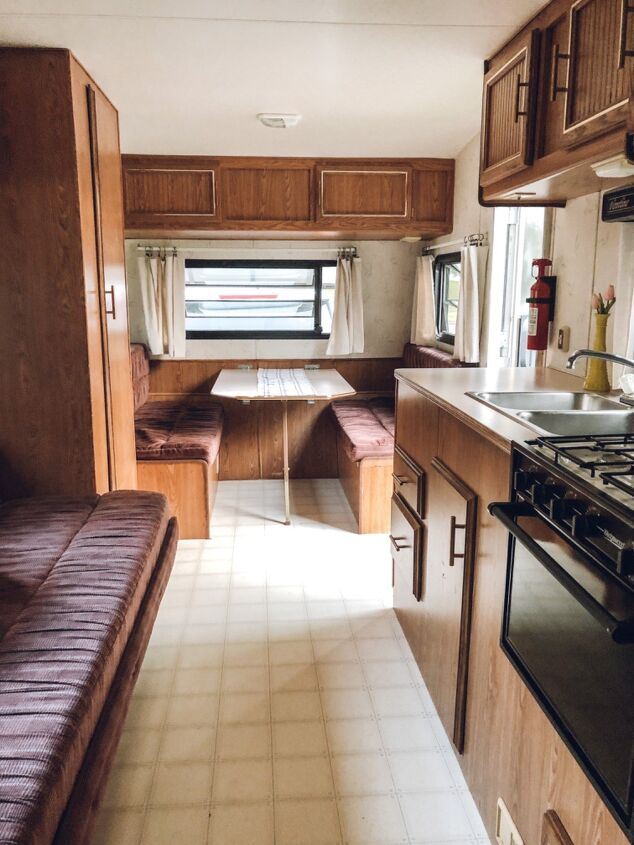
So much better!
Comments
Join the conversation
-
What an improvement from the original ones! They look great!
-
A lot better. Simple but they do the job. Dropcloths are not just for painting. Fabric glue makes it a no sew project. Good share.


![How to Make Curtains With Grommets [and Lining]](https://cdn-fastly.hometalk.com/media/2021/03/02/6965263/how-to-make-curtains-with-grommets-and-lining.jpg?size=350x220)


Frequently asked questions
Have a question about this project?