


Do It Yourself Mini Curtain Rods - CityGirl Meets FarmBoy
Build these curtain rods with these simple steps!
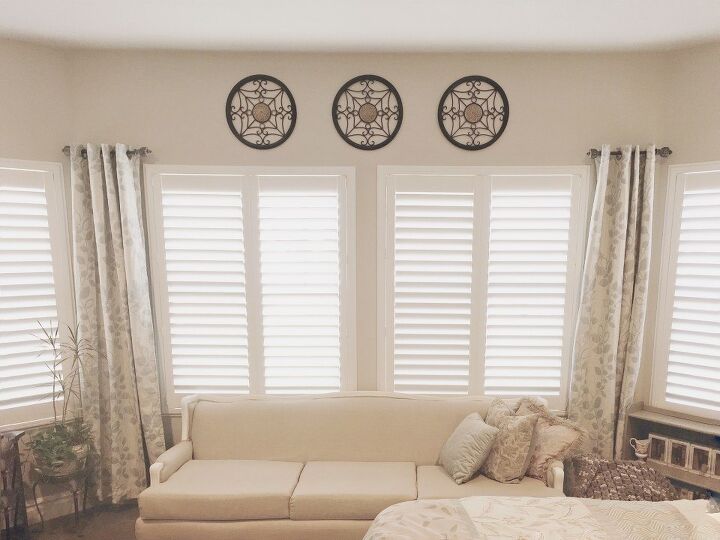
Do It Yourself Mini Curtain Rods! You will love these quick and easy rods that add a fun element to your room.
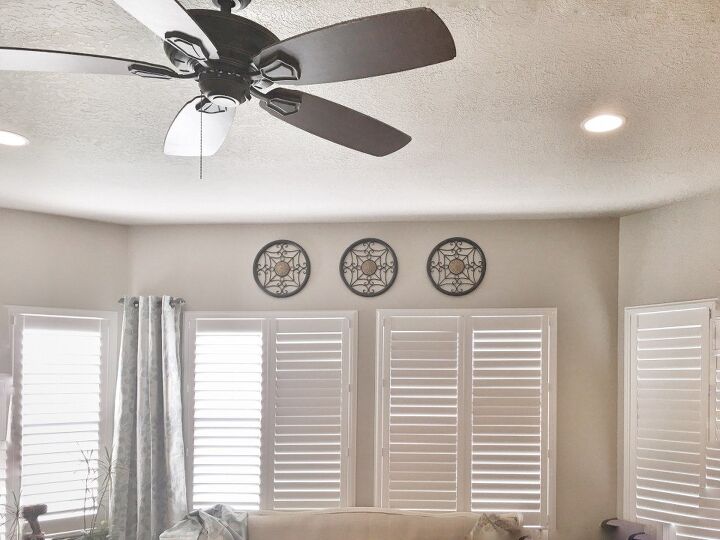
I didn’t want curtains to cover up the windows, just needed a small addition to spruce up the room. As I shopped I realized I could create my own look and spend very little. I decided to put my ideas to fruition last weekend.
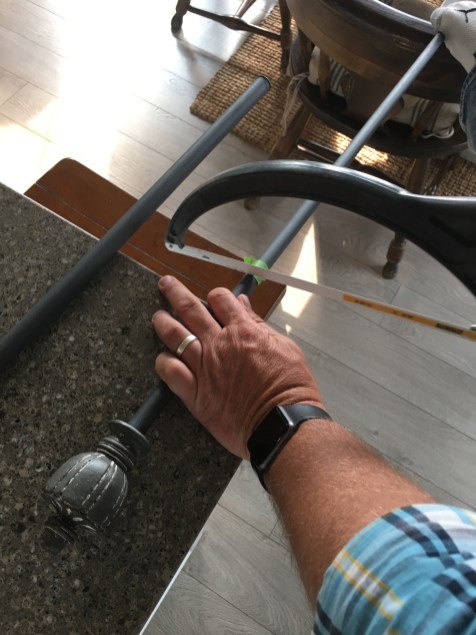
Step One – Cut Your Rods
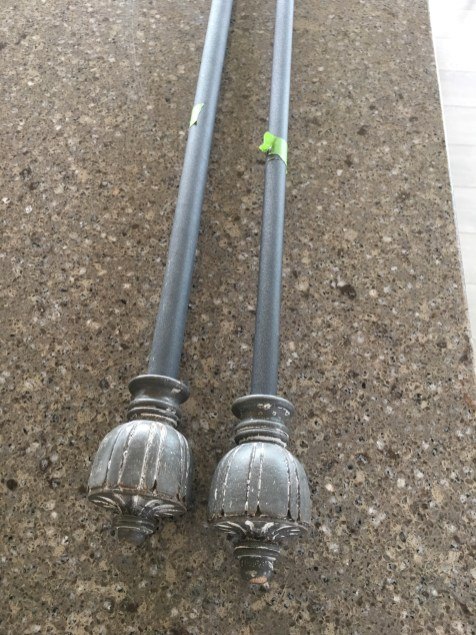
Start out with the curtain rods you would like to use. I had leftover ones in the basement that were perfect. You can find inexpensive ones on Ross Dress For Less or Walmart. I chose to use metals rods, but plastic will work too. I measured the length I needed and used my Dewalt 32 TPI (Teeth Per Inch) saw to make my cuts (Mr. Farmboy had to help me a little).
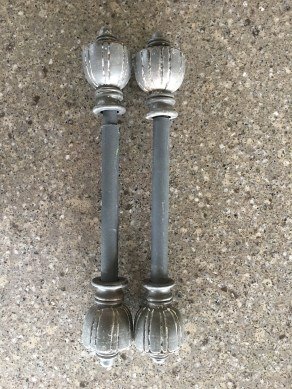
This is how they turned out!
Step Two – Gather Your Tools
Then I gathered the materials I would need for mounting. My Ridgid 18 Volt Drill, drywall anchor and screws, stud finder, and mounting gear. I always save leftover pieces that I do not use from other curtain rod projects, so these didn’t match the rods perfectly, but I knew they were be covered up so it didn’t matter.
Finally, I found the perfect curtains – on clearance at Kohls – plus I used my 30% off coupon. Total for entire project was $10!
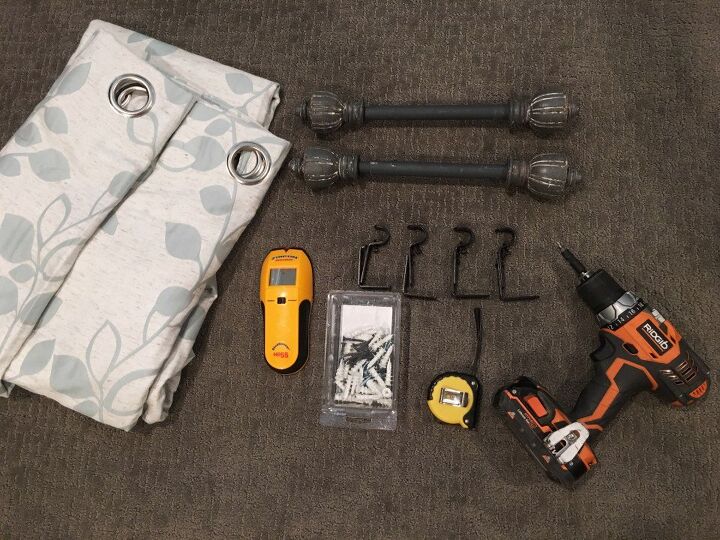
You can purchase this Zircon Stud Finder, Ridgid 18 Volt Hand Drill, and EZ Anchor Screws at The Home Depot.
Step Three – Find Your Studs
I used my stud finder to locate where I would like to mount my hooks. I try my best to mount in the studs. If not I will use drywall anchors for more support.
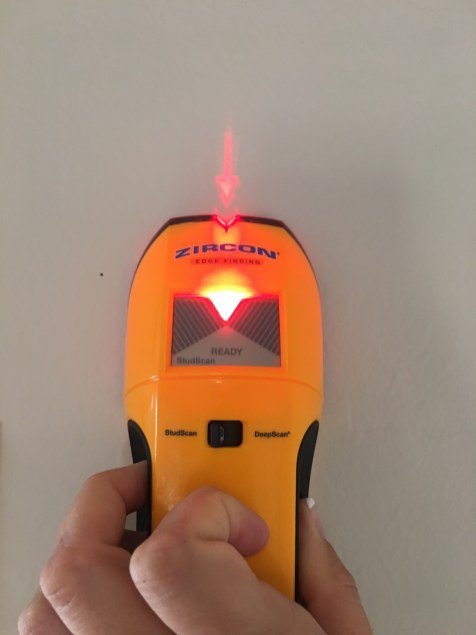
The bars will show you when you are close to the stud, and the light will appear when you are exactly over it. This is my go-to tool for everything I hang.
Step Four – Mount Your Brackets
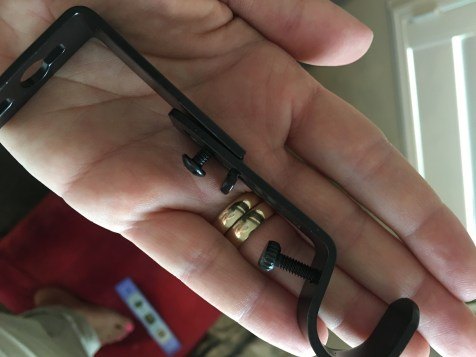
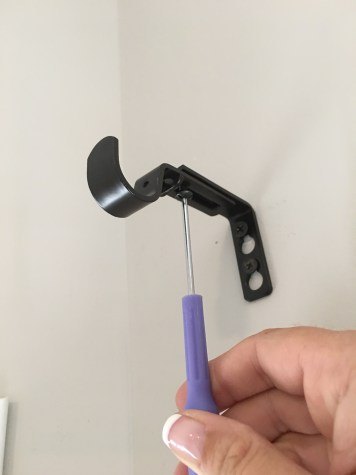
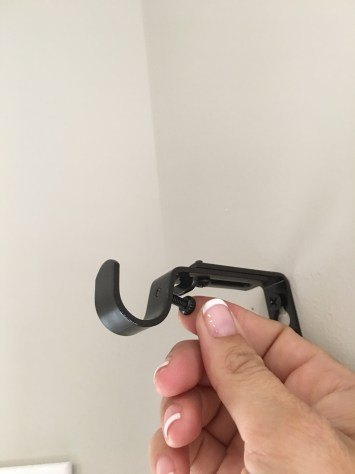
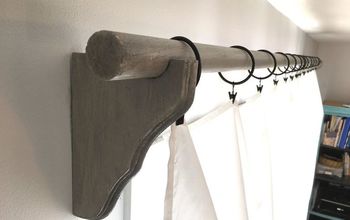
Next I take apart my curtain rod hooks. They look confusing at first, but make sense once you play with them. The first photo is how it will look completed. The second photo is them taken apart as I prepare to mount them. You will mount the back bracket first, then reattach the hook bracket.
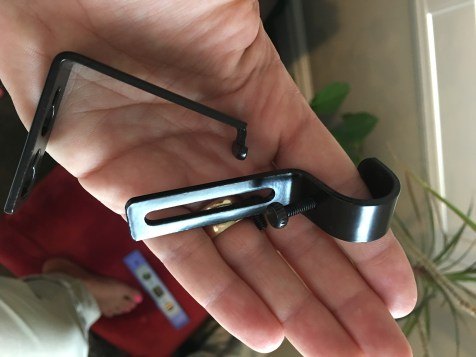
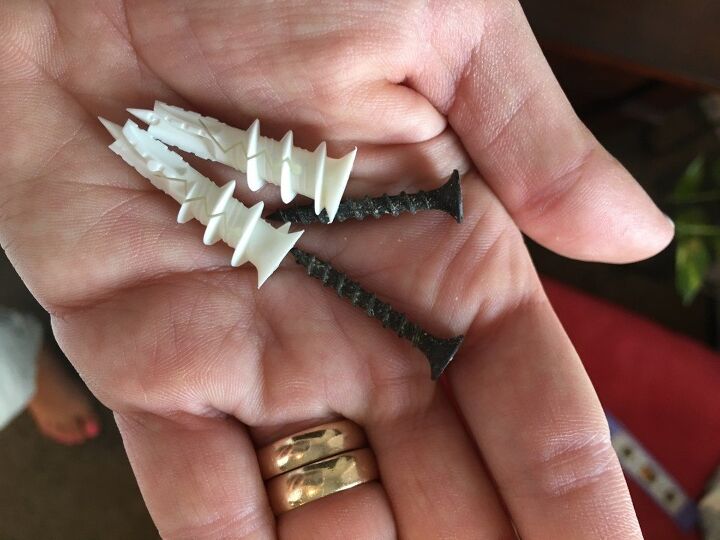
Mounting the back bracket is simple. If you are using the studs you will only need your wood screws to attach it into place. If you are not using studs, I recommend this style of drywall achors – they are my favorite:
Once the back bracket is installed, you will attach the hook bracket and use the screw to tighten it together.
You will then add the hook screw and use it to hold the rod in place, screwing it in to tighten the hold.
Step Five – Add Your Curtains
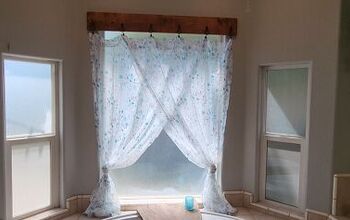
Now you will add your curtains to your shortened rod, and place it on the hooks. I like to place the end of each curtain over the brackets so they are hidden.
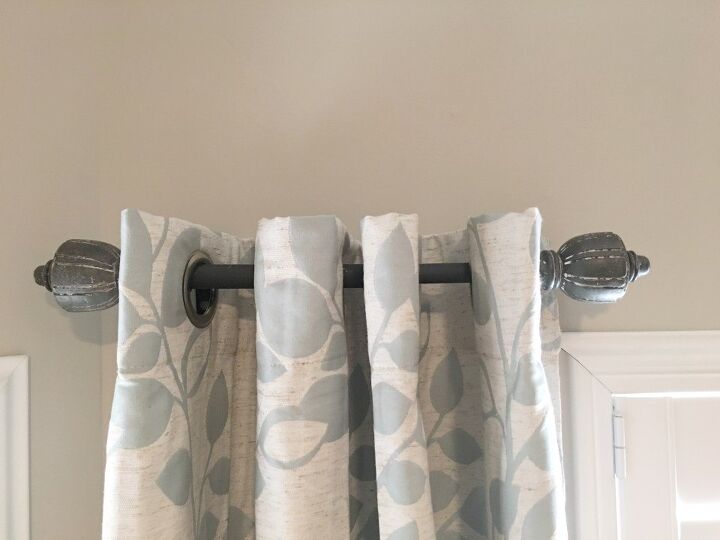
And there you have your first mini curtain rod!
Finish the other side and you are complete.

We hope you learned something new – let us know what you think.
Pin this for later my friends, we hop you try it out!
Love,
Kelly
Resources for this project:
See all materials


Comments
Join the conversation
-
Thinking outside the box...GREAT! PS...LOVE those round thingys in the middle!
-
Gorgeous


Frequently asked questions
Have a question about this project?
What is the pattern name of your curtains! It looks like that the leaves in them are the same colors as my walls. They are perfect for my den! I love this!!!