


Inexpensive Drape Rod for Long Row of Windows

by
Lisa L Hall
4 Materials
$25
2 Hours
Easy
If you have a home like mine, you have a room that has a long row of windows. What do you do when you want to hang drapes? I've done it the hard way in the past and measured out the distances so that I can buy 3 or 4 sets of rods to cover the area. You better make sure they line up and then what do you do with that gap where the two brackets are about 3 inches apart? While at Home Depot I went into the electrical isle hoping to get inspiration. I found it! I found metal tubing that was light weight and 6 feet long. I picked up three of them and the coupling to connect them. The trick was to get it small enough to use my drape rod brackets that I already had. I was a little off but nothing that a pair of pliers couldn't fix. Now I have a perfect line for my drapes and the wall looks so much better.
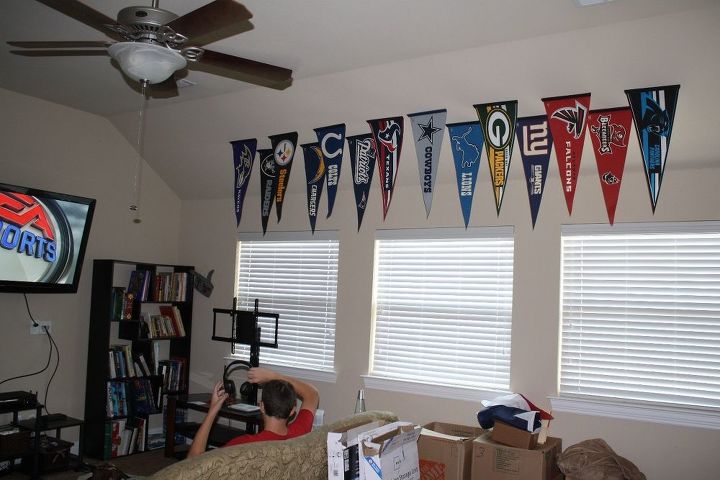
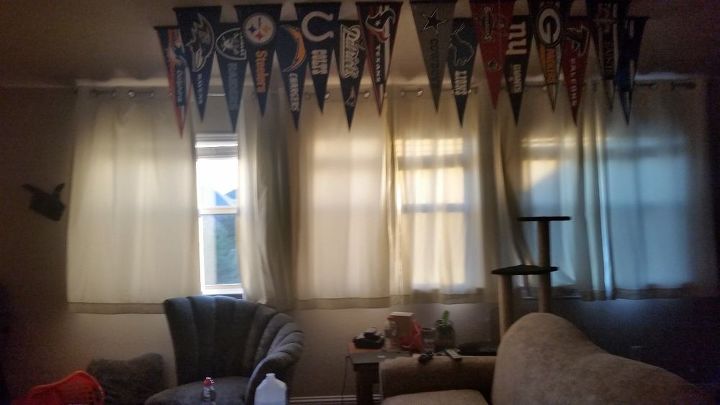
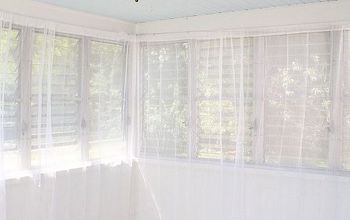
This is the row of windows. It had blinds on them but I'm not a fan of blinds. They break too easily in my house. So I wanted drapes. Each window is 48 inches.
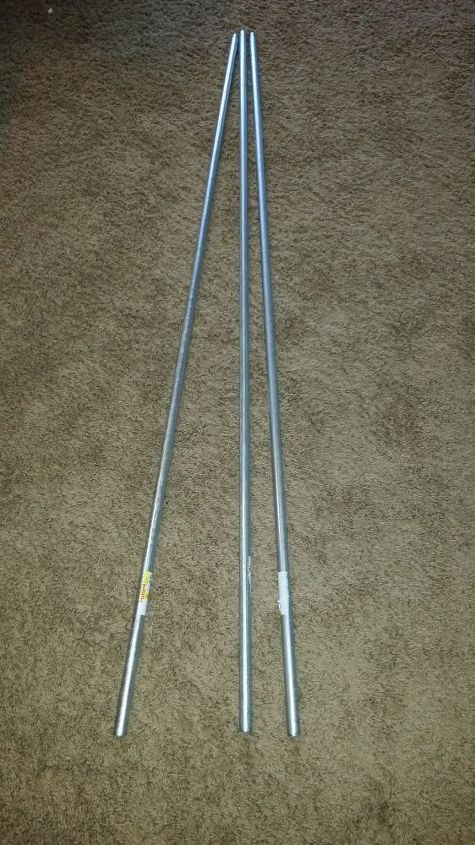
Here are my three rods. I wanted silver so this worked perfect for me. If you wanted a different color, Rustoleum spray paint will cover these very nicely. I do think you will see some rub off on the paint with use of the drapes.
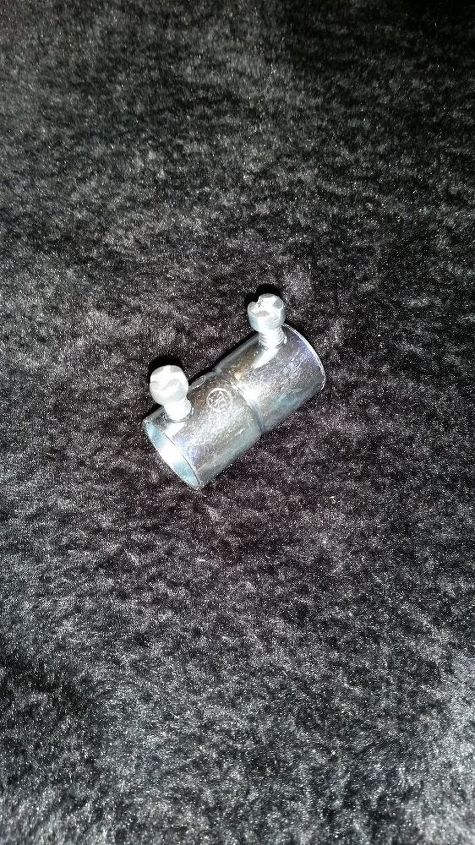
These couplers were in the same aisle and made specifically to hold these rods so they are a perfect fit. I also like that they have two screws so you can tighten each rod into the coupler and there is no chance of them sliding out while opening and closing the drapes.
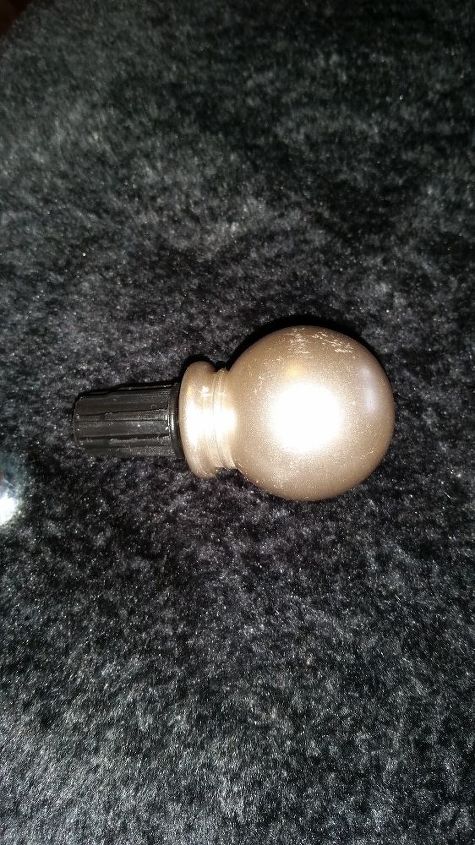
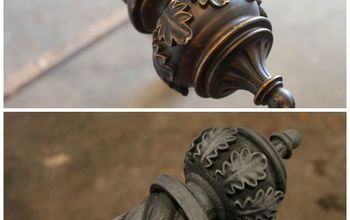
This is a horrible photo, but the finding is actually silver. I had these left over from the first set of rods that I had holding up the drapes. They fit into the rods perfectly. I used a bit of Elmers glue just to make sure they won't fall out.
When I was putting the rods together, it took a couple of attempts to figure out how to get them up there. An 18 foot piece wasn't going to work.
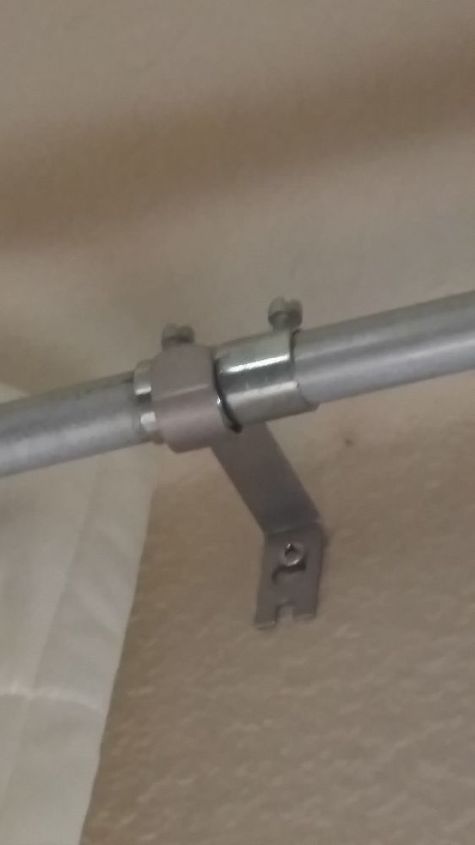
As in any drape install, the brackets need to be put into the wall first. So working from the outside edge of my first window. I then measured the rod and marked my next spot. Once that bracket was up, I put the coupling on one end of the rod and put it in the bracket. My brackets were also left over from the first set of drapes that I had installed. You can see how the coupling sits in the bracket. It's not a perfect fit but after a little bending, I got it almost perfect.
I measured the end point of the next rod, installed the next bracket, put a coupling on one end and then inserted the other end into this coupling. Following the same steps for rod number 3.
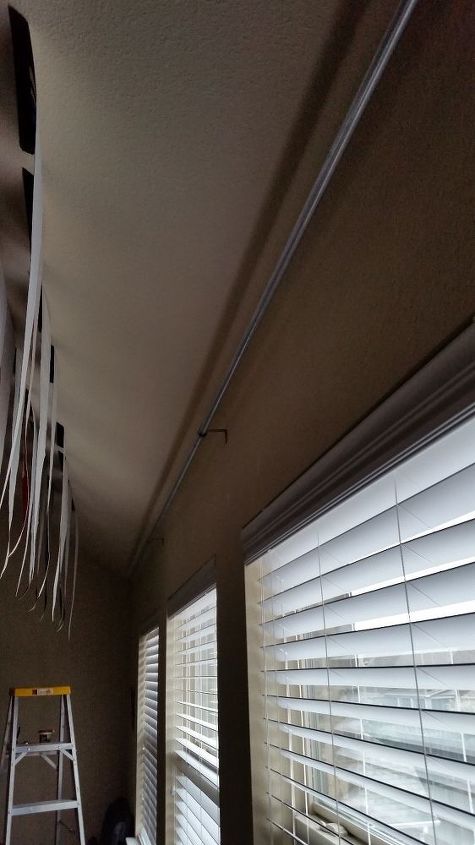
The rods were up. I know it's hard to see but it's a nice straight line. Now I just needed to put the drapes up. I have grommet style so I just started at one end and slid them all on one side and moved them across to their final positions. Once the drapes were in place, I tightened the coupling screws.
The rods were up. I know it's hard to see but it's a nice straight line. Now I just needed to put the drapes up. I have grommet style so I just started at one end and slid them all on one side and moved them across to their final positions. Once the drapes were in place, I tightened the coupling screws.
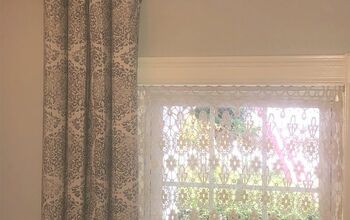
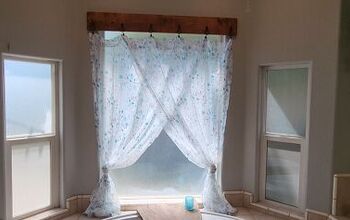
Here is my final product. I have 3 sets of drapes that have a nice clean line and it cost me less than 30.00.
Comments
Join the conversation
2 of 4 comments
-
Perfect thanks for this incredible idea
-
Perfect!
thanks for the great idea!


Frequently asked questions
Have a question about this project?