


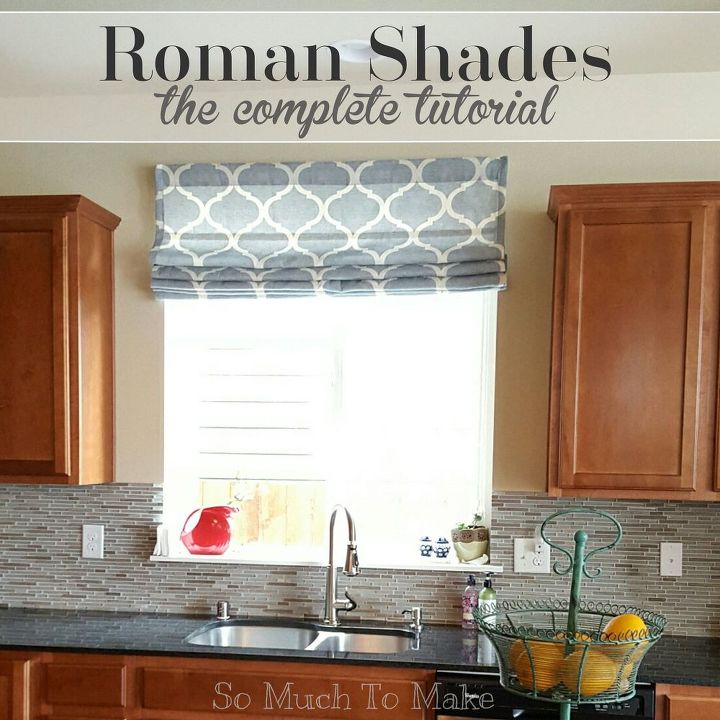
Roman Shades: The Complete Tutorial
I want you to have success making your Roman shades, and I hope this comprehensive tutorial gives you the full instructions you need. My goal here is one-stop-shopping for all your DIY Roman Shade from Mini-blind needs!
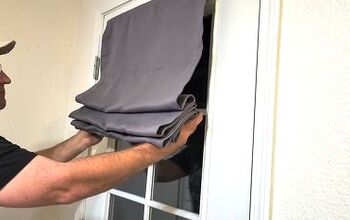
The internet is thick with tutorials for making Roman shades. I have seen some that tie-up, some that use dowels and pockets, and some that, like mine, use mini-blinds. I studied several before deciding to try the mini-blind method on fabric shades for my dining room. They were a success, but a learning process to complete.
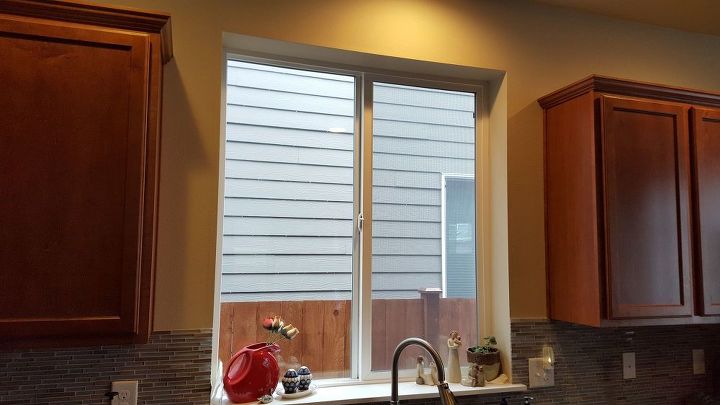
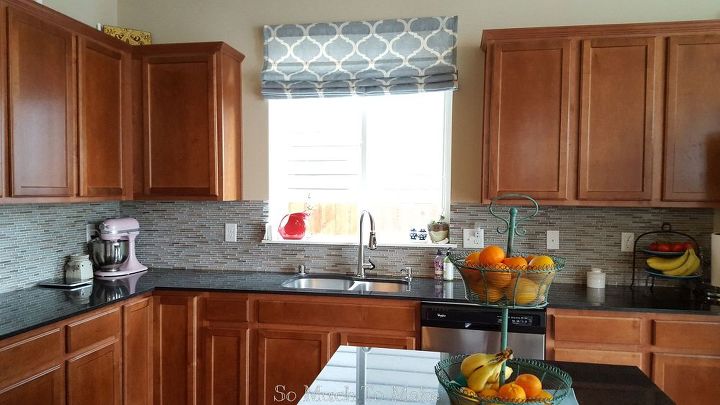
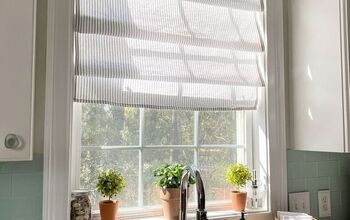
No tutorial is complete without the "Before" picture. Clearly, my window needed dressing. We live a few feet from our neighbors (who we love, thankfully!), but I'm sure they don't want to see me washing dishes every time they glance in our direction!
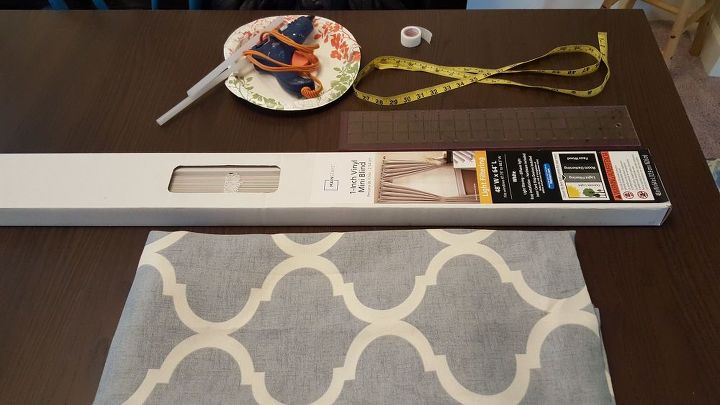
Gather supplies. You will need:
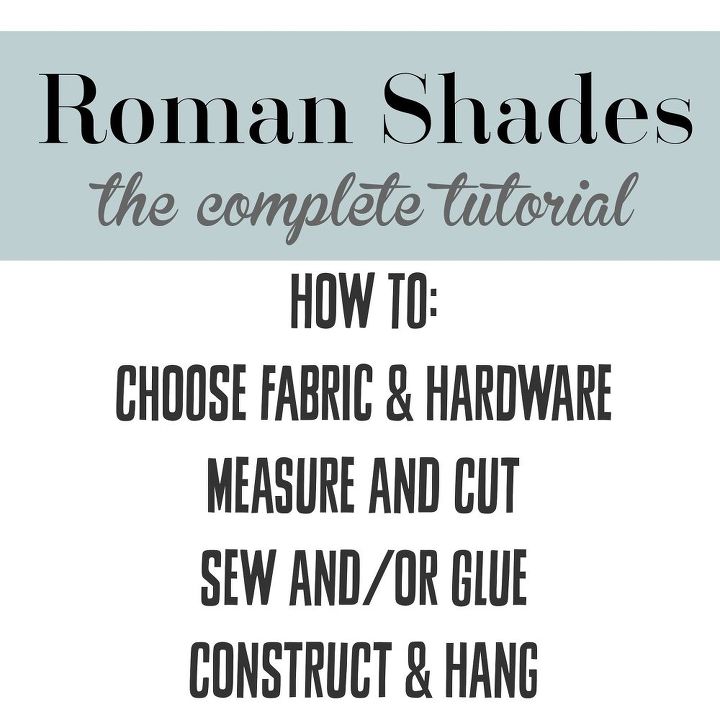
Instead of piecing together information from several tutorials, you can find everything you need to know to successfully construct a beautiful Roman shade in my step-by-step tutorial.
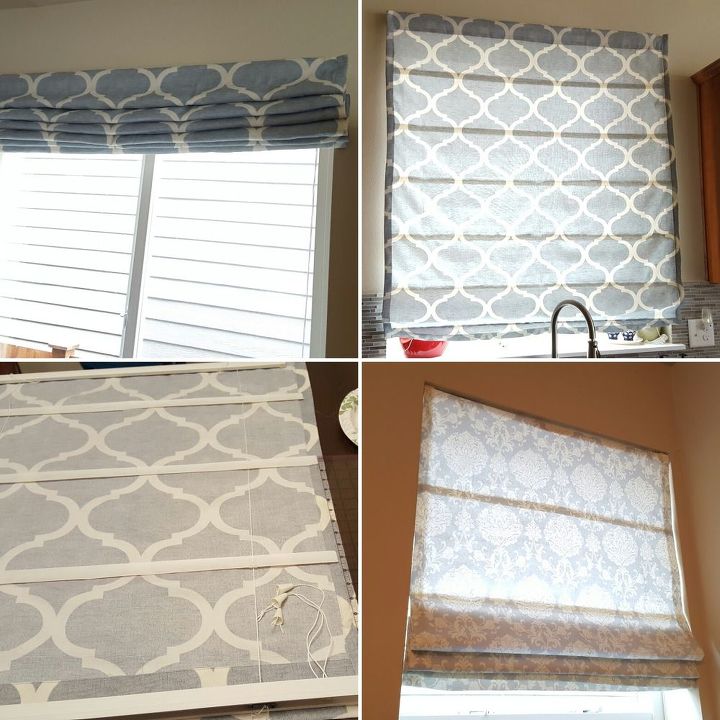
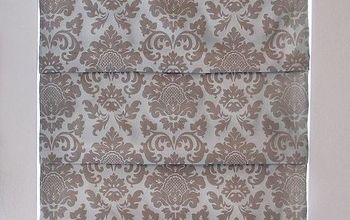
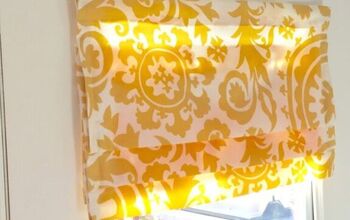
These Roman Shades are both decorative and functional. They can easily be raised and lowered the same way you raise and lower blinds.
Visit my blog for the entire step by step tutorial.

Want more details about this and other DIY projects? Check out my blog post!
Comments
Join the conversation
2 of 3 comments
-
Going to try this! I will definitely be adding a backing to this. It will cover the hardware, make it less see through, and will look cleaner from outside.
-
Thank you for this. It really breaks the whole process down step by step.


Frequently asked questions
Have a question about this project?