


DIY Ceiling Fan Update

Do you have a boring ceiling fan but don't want to spend $200 or more on a new fan? You can easily just replace the bulb covers and paint the blades for it to look like a brand new, expensive fan! Here's how! 
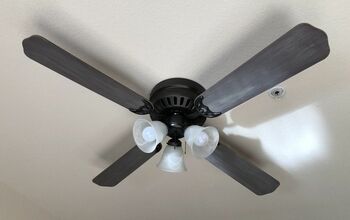
Our blades were a dark brown and the bulb covers were plastic. It just made the room look darker and I had been wanting a more farmhouse style fan but didn't care to spend the money on one. I had seen a fellow DIYer on Instagram update her fan with paint and some new bulb covers so I decided to do the same!
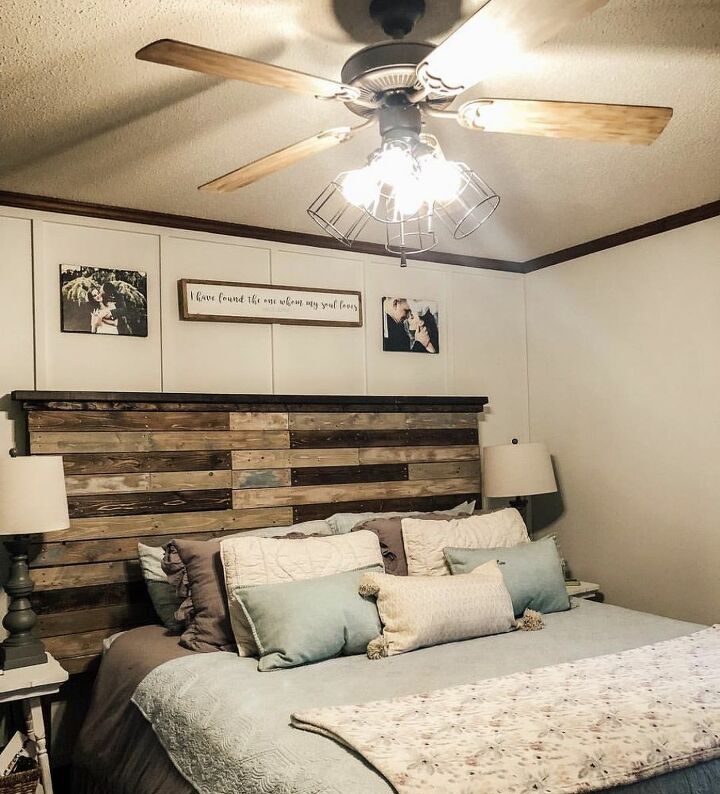
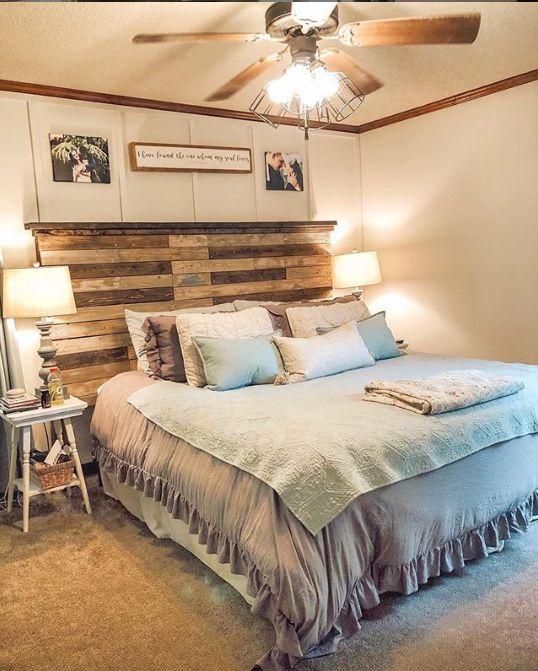
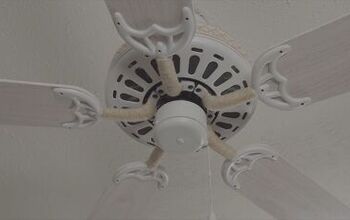
Keep reading to see how you can get a fan that looks just like this one below!!
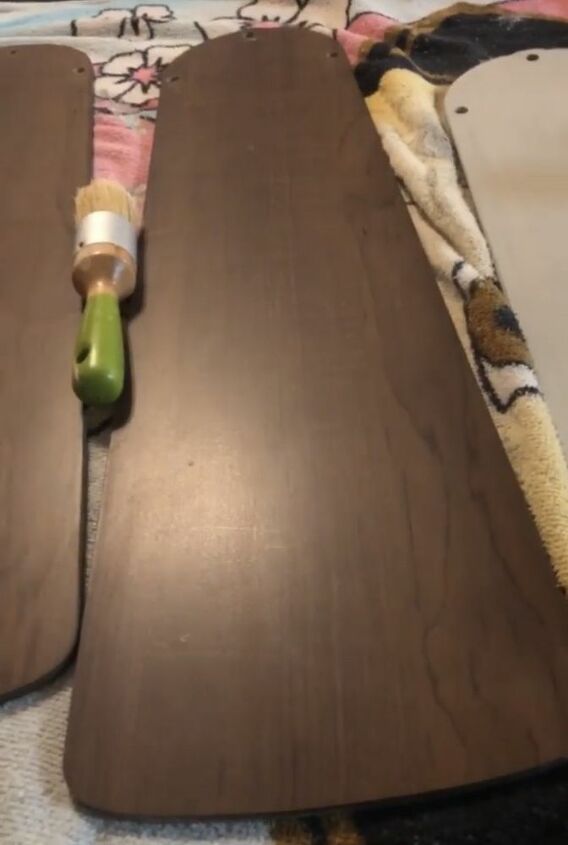
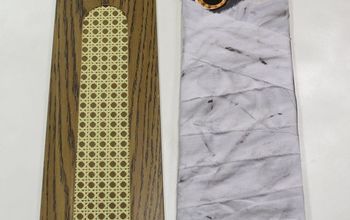
Here's the color of our blades before. 
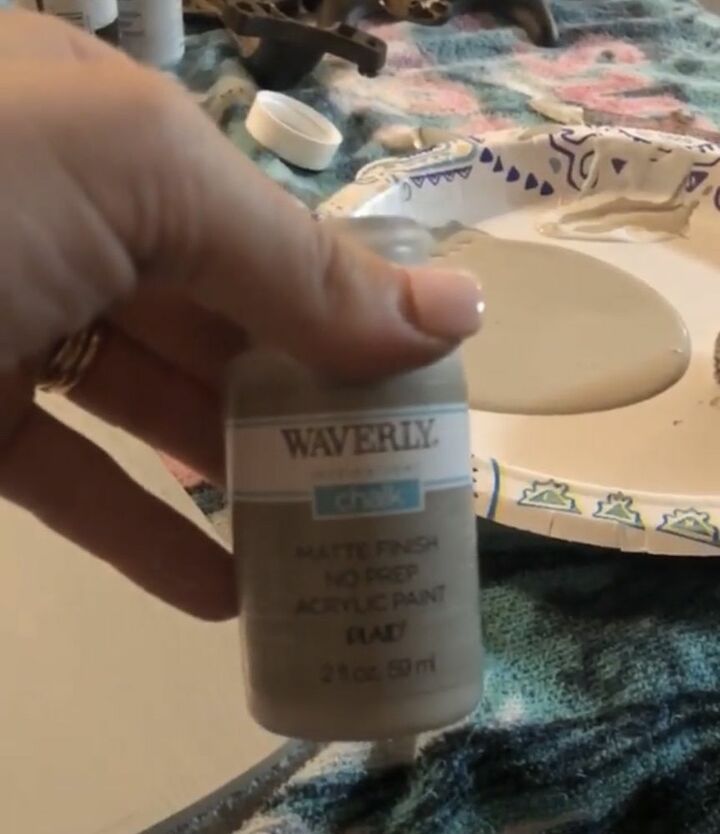
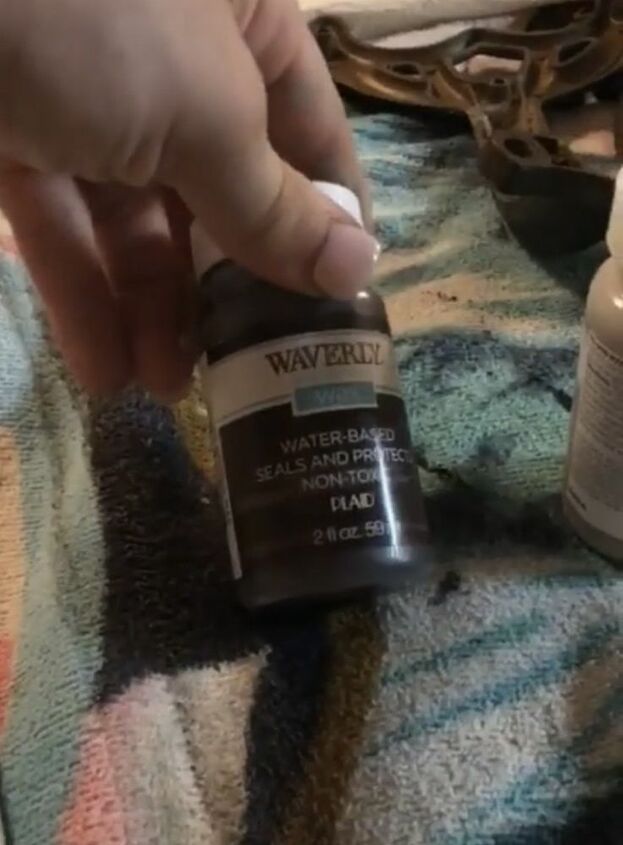
I bought the paint and antique wax from Walmart. I got the Waverly chalk paint in White and Mineral. I got the small bottles that are only like $2, if that! And same for the antique wax. I mixed the White in the Mineral until I got the color I wanted.
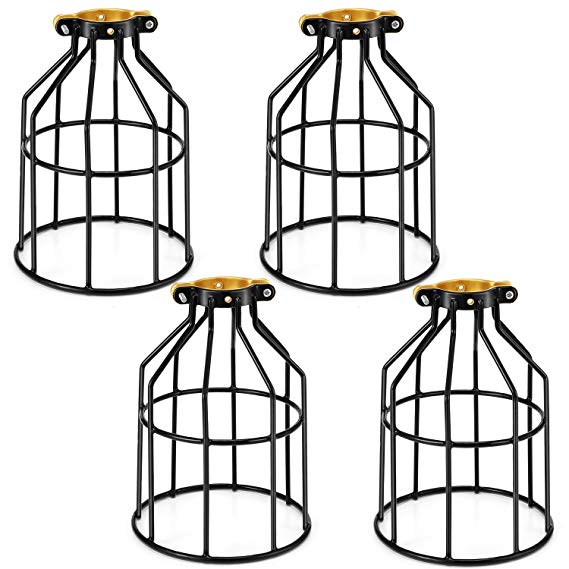
I got these cage, bulb covers for $20 on Amazon!
https://www.amazon.com/gp/product/B07CKPVK9L/ref=ppx_yo_dt_b_search_asin_title?ie=UTF8&psc=1
First Step: Clean the ceiling fan by unscrewing the blades from the fan and cleaning them off with soap and water and drying them completely.
Second Step: Paint the blades with the chalk paint.
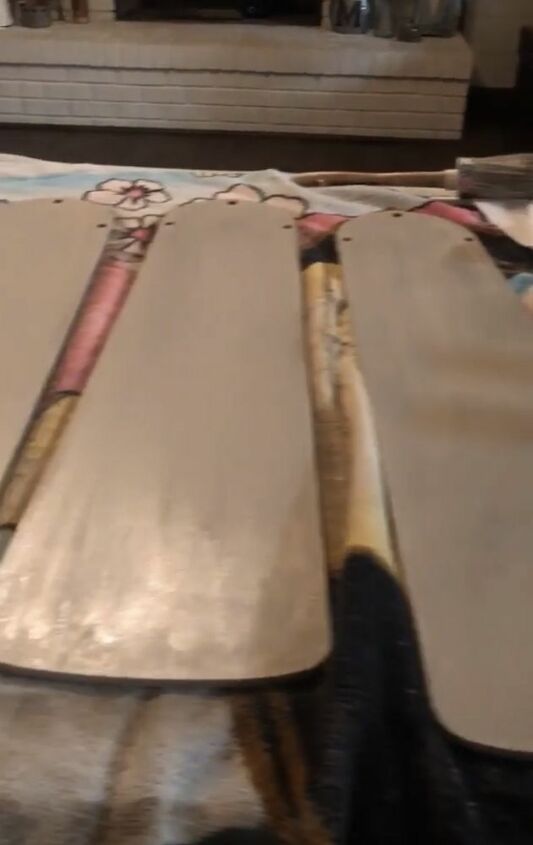
You don't have to worry about making sure it's 100% coverage because you'll be going over this with the wax. Let the paint dry completely before moving on to the next step.
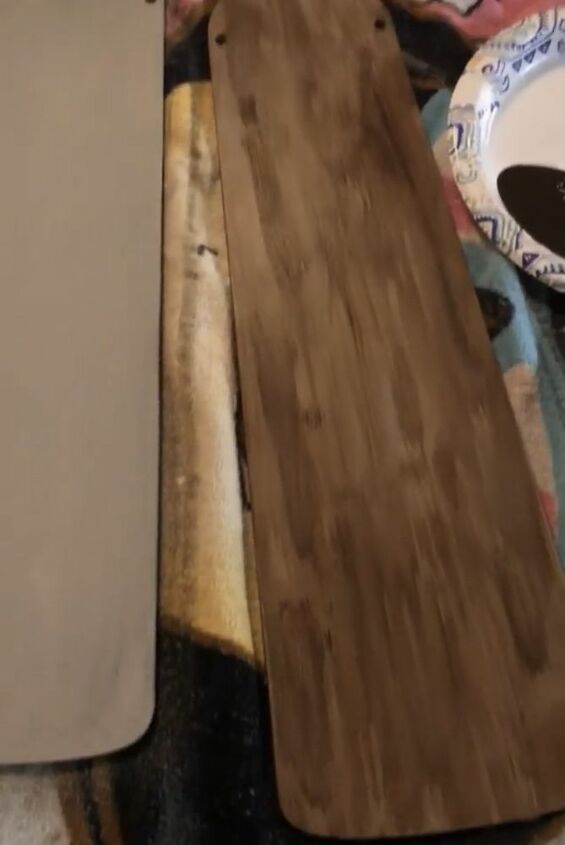
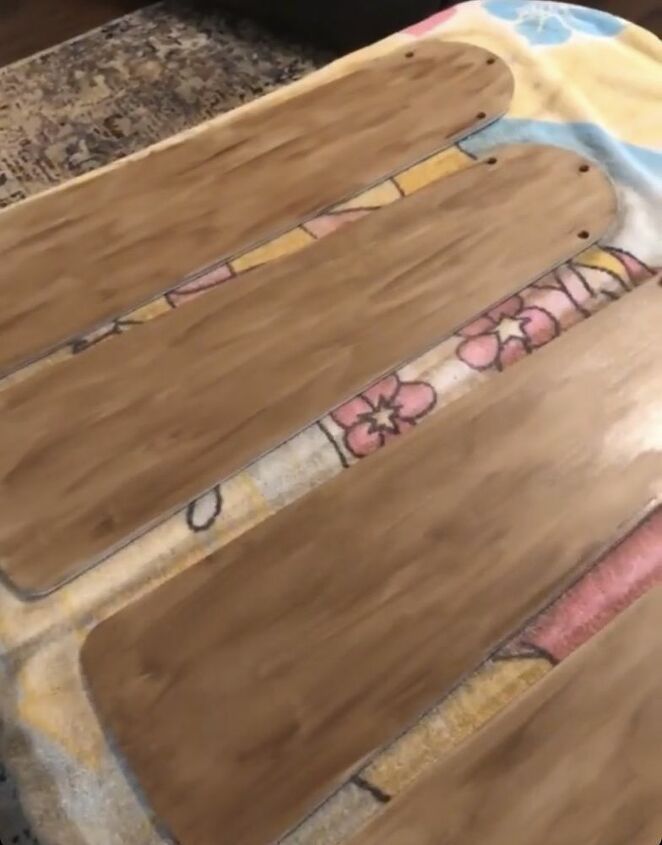
Step 3: Use a dry brush and dip the brush into the antique wax. Then use a paper towel or the edge of a paper plate and wipe off some of the wax. Then lightly brush it onto the blade. This is called dry brushing. You don't want a ton of paint on it, you just want a small amount. Do this to the entire blade until you get your desired look. I made some streaks darker than others to make it look like it had a wood grain. This is solely personal preference!
If you want a video of how to do this I saved a video on this whole fan update in my Instagram highlights under DIY Ceiling Fan.@CountryPinesFarm
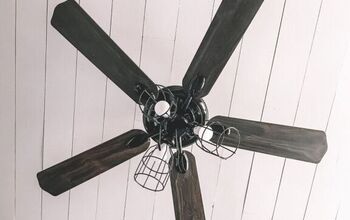
Here is what it looked like!
Step 4: Let the blades dry completely and then hang them back up. You can seal it with a varnish or top coat after too!
Step 5: Put the new bulb covers on
Step 6: (Optional) If the metal pieces of your fan are a different color you can paint them or spray paint them to match. I didn't have any black paint on me but one day when I have time I will probably take it all apart again and paint those all black to match the cage covers. But you really don't notice it when you're looking up at it.
Step 7: Enjoy your brand new, inexpensive fan!!!
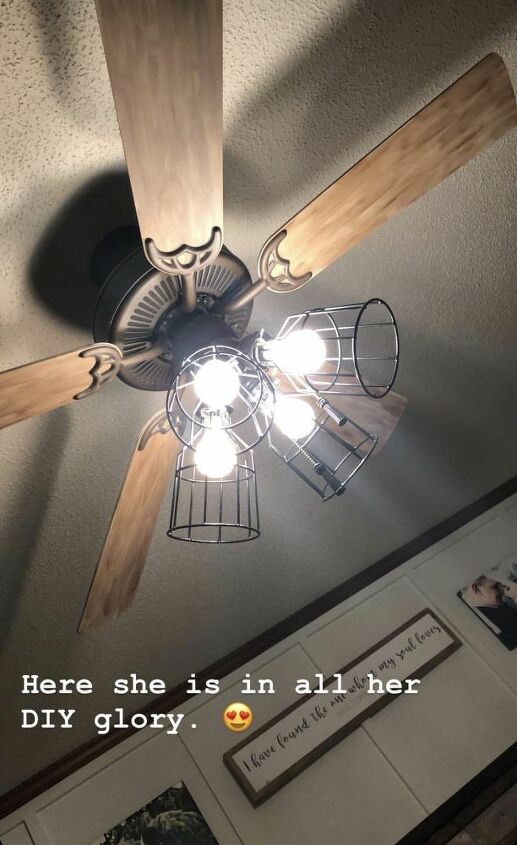
It really brightens up the room! I do want to find some prettier light bulbs that are still bright. I have a lot of the Edison bulbs but they are very dim and I like that the room is even lighter now than when we had the plastic light covers on it. So for now these light bulbs will do!
I'm so happy with how it turned out and how cheap and easy it was. I did this one night after work and had it back together and working before bed!
Resources for this project:
See all materials


Comments
Join the conversation
-
It looks so awesome!!
-
Looks great Turned out amazing. Love the headboard too.


Frequently asked questions
Have a question about this project?