


Budget Friendly Fireplace Update

Spruce up an outdated fireplace in less than a day and without spending a thousand dollars!

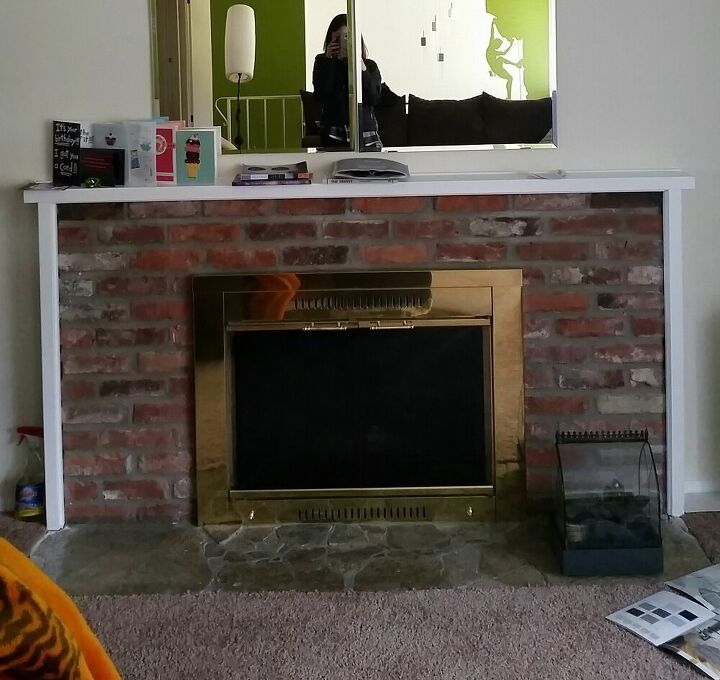
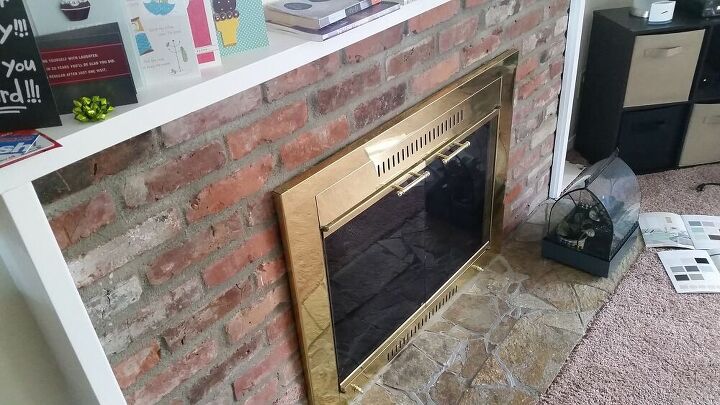
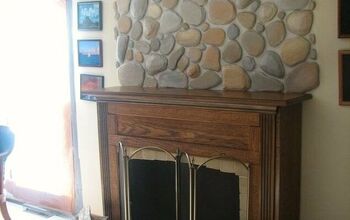
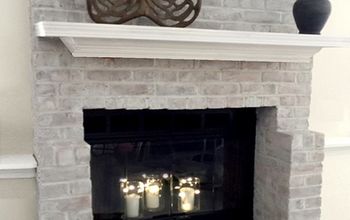
The gold/brass look and the red brick look outdated. And there was no decent mantle.
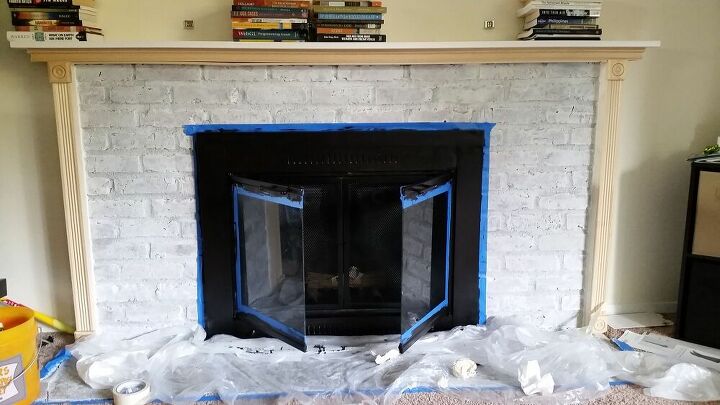
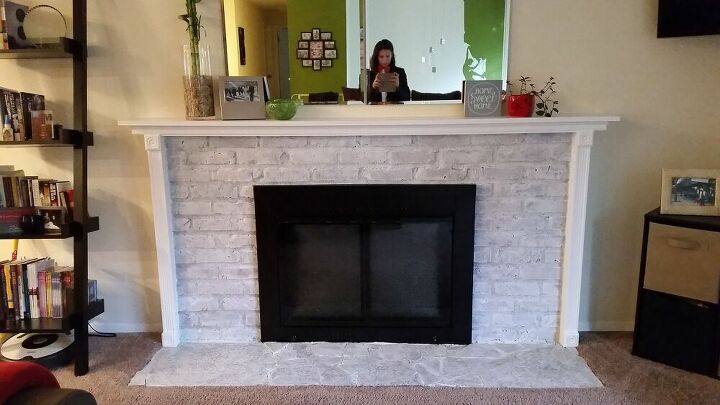
PAINTING THE BRICKS
I use white latex paint and mixed it in equal part with water.
Spray the brick with a little bit of water, and apply the paint.
Dab the painted brick with a sponge or cloth to get the "whitewash" look. I repeated this a couple of times until I got the coverage that I wanted
PAINTING THE FIREPLACE
Tape off the edges of the fireplace with paint tape. I use Rust-Oleum High Heat black paint and a sponge brush.
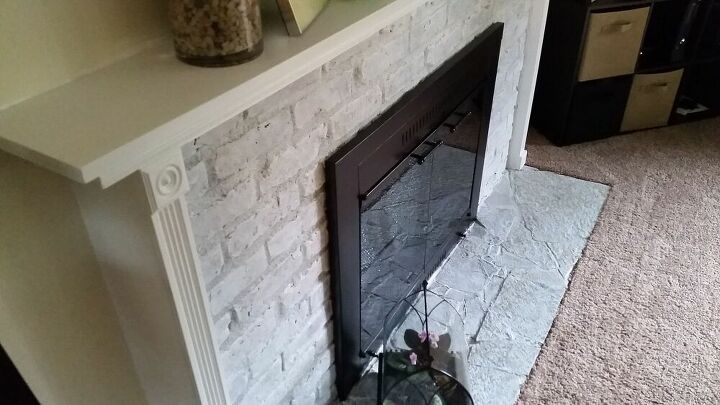
ADDING THE TRIM
I didn't want to remove the existing "trims" (too much work and I wanted to be able to do this by myself eg: one person job - and not ask my husband for help) so I measured it, went to Home Depot and shopped around for trims based on what would work with the measurement.
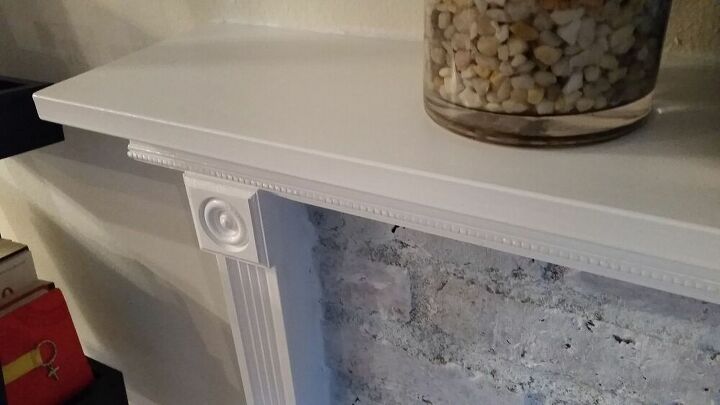
I bought a couple of cabinet trim molding and flat casing (about 7 inches wide) to extend the top of the fireplace. This would make it more functional and can hold photo frames, etc.
I found some solid pine corner block and fluted casing for the side of the fireplace.
I glued the trims and casings using a heavy duty glue, and held them in place with painter's paint until the glue is dry. To make it more secure, I used a brad nail gun to nail them in place.
Once all the trims are in place, I painted it a glossy white. I applied some caulk where the brick meets the trim to give it a finished look!


Frequently asked questions
Have a question about this project?