


DIY Electric Fireplace

I LOVE the look and feel of a fireplace. So I added one to our primary bedroom! This project is totally customizable based on your space, the materials that you use and even the fireplace insert.
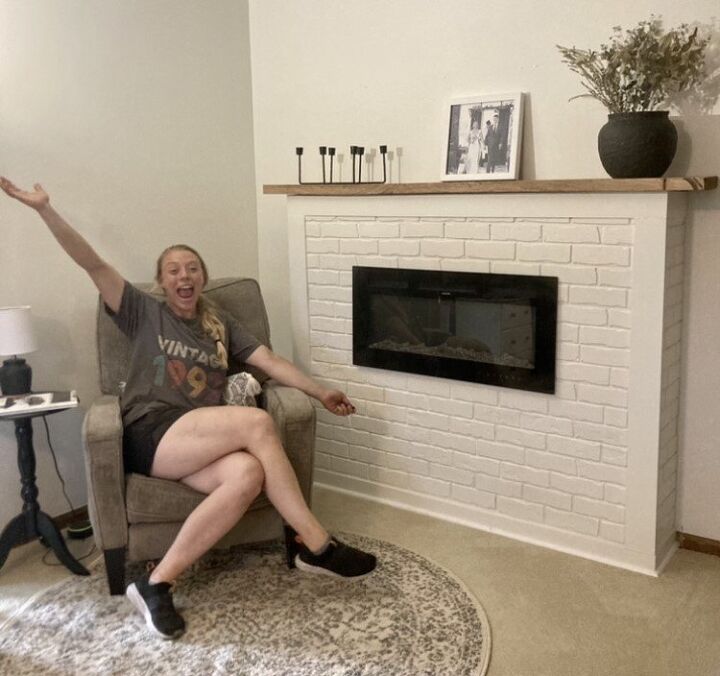
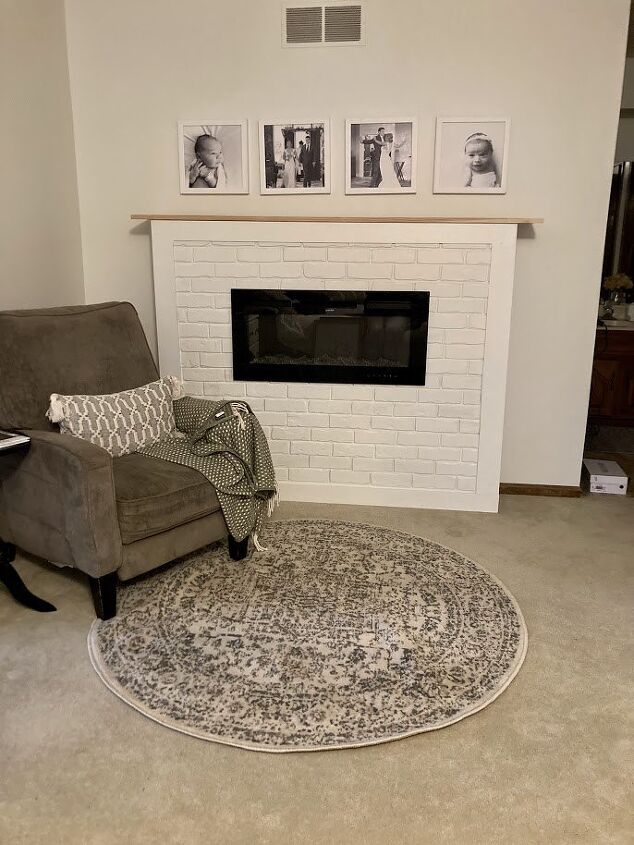
See how I transformed a corner of my room to look like this!
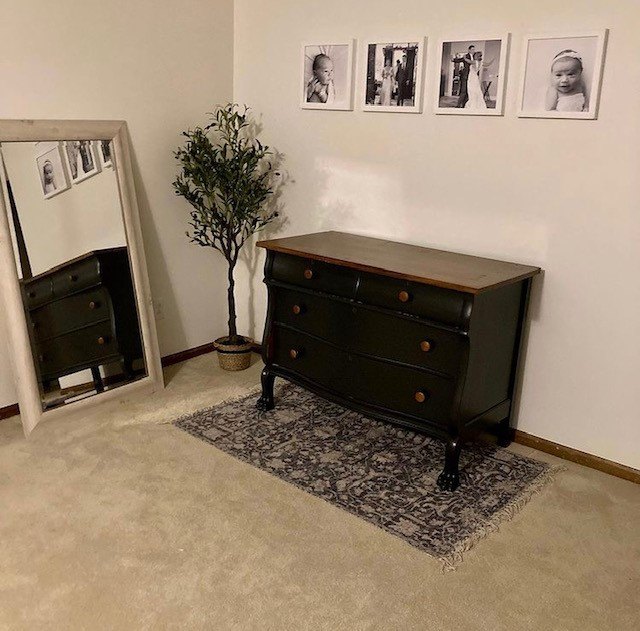
This is a corner in our primary room that just never felt right. So let's change that!
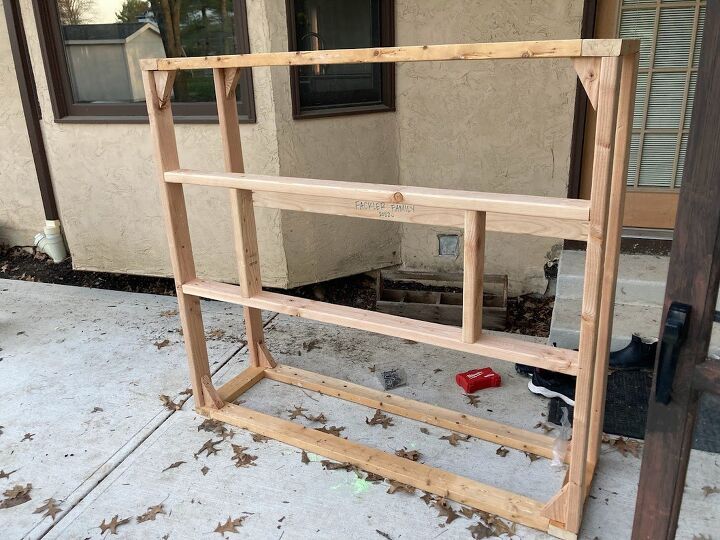
We assembled the frame custom to our room size using left over 2x4 and pocket holes to secure.
*While you are building the frame, remember that you will have a finishing detail (brick, shiplap, etc.) that will add depth)
*It is also important that you have your fireplace insert measurements before building your frame :)
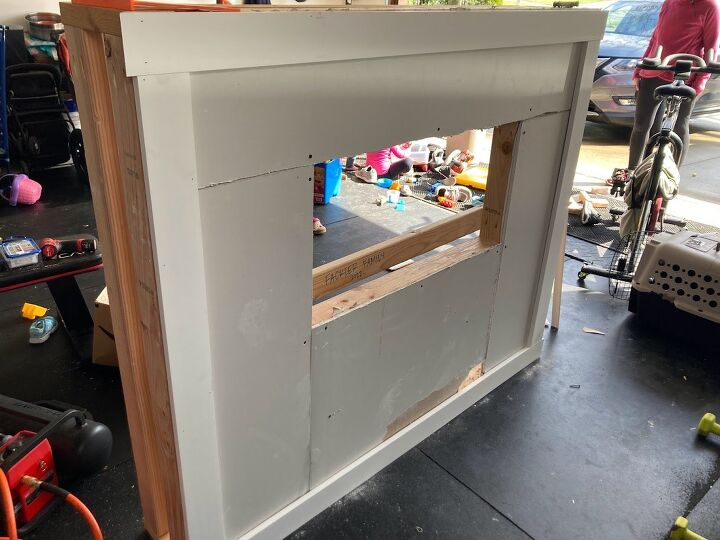
We chose to add drywall since we would be applying faux brick. If you chose to use shiplap, this step would be unnecessary.

We used this faux brick panels from Ninth and Vine. They are super easy to install using the miter saw and brad nailer. However..... the shipping time is 6 weeks and I didn't order enough the first time which delayed this project BIG time.
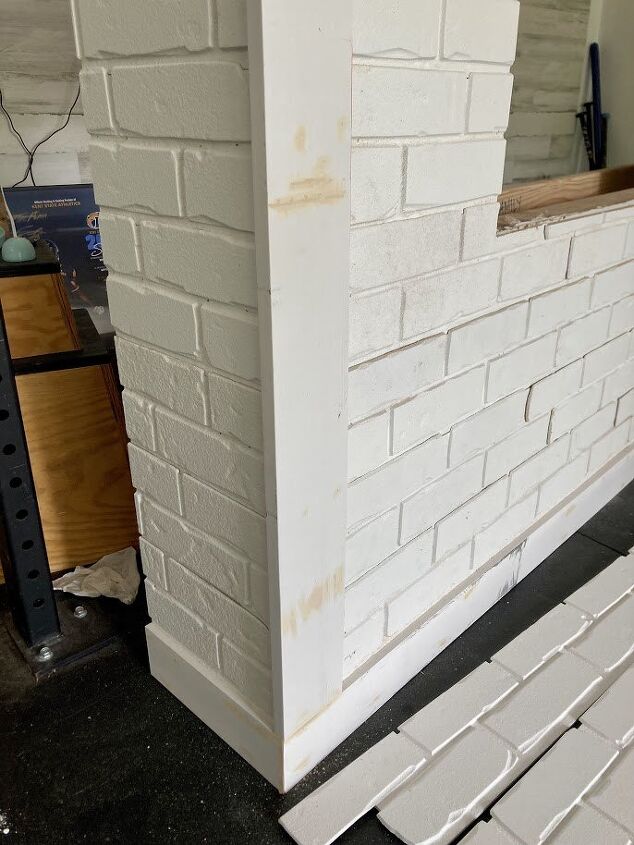
Using wood filler, I filled the nail holes on the trim as well as the joints of the trim.
I used paintable caulk to touch up seams and nail holes as well as the intersection of trim and brick for a seamless look.
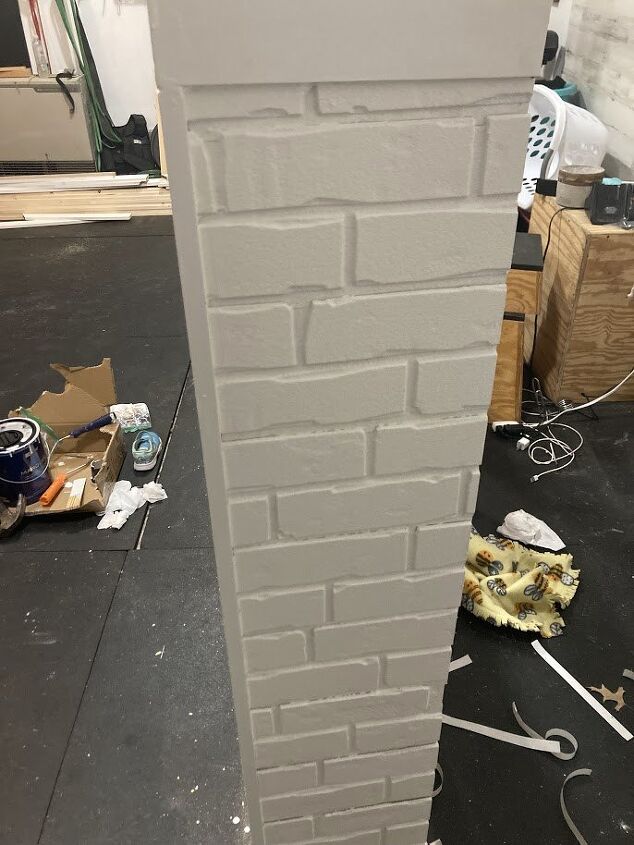
These brick panels came primed so I used Sherwin Williams Alabaster (a slightly off-white) to paint the trim and brick)
Remove carpet
Cut out baseboards to allow the fireplace to sit against the wall
Secure the fireplace into studs and the floor if necessary
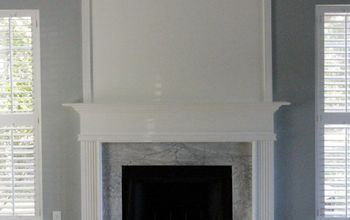
This picture includes the unfinished mantle :)
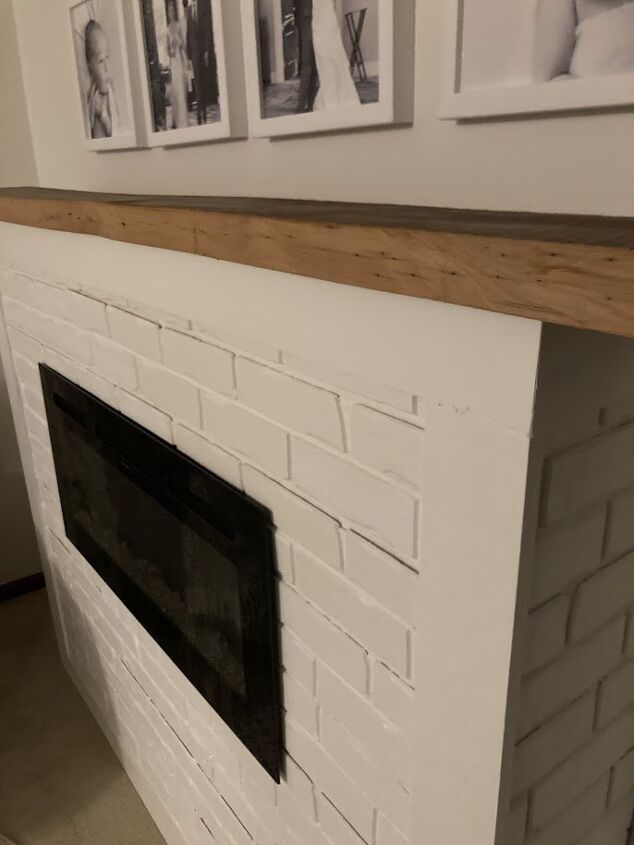
I used a mantle from a local lumber yard that I attached by going through the fireplace opening.
Follow the instructions on the fireplace insert for proper installation of the fireplace for best results after the mantle is secure.

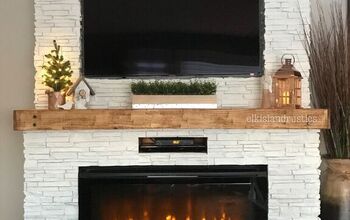
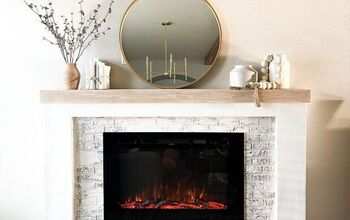
Here is the finished product! I will style the mantle differently for each season but this is what it looks like now! I love that this corner is now a cozy addition. Let me know if you try this one out!
Resources for this project:
See all materials


Comments
Join the conversation
-
I love it!!
-
Good job 👏


Frequently asked questions
Have a question about this project?