


DIY Fireplace

Y’all I am so excited to be tackling my next DIY project! As I have said in the past, we have been striving to make our downstairs area more enjoyable and esthetically pleasing. And with this DIY fireplace, we have done just that! I was gifted a beautiful fireplace from SimpliFire. The unique thing about this fireplace is that it installs flush into a very small footprint! And you can use my code “MACEDONIA10” here to get 10% off ANY SimpliFire fireplace through December 31, 2021! It turned out to be incredible, so I wanted to share the process with you.
It’s a lot of different steps so I thought I would break it up into two parts. That way it is easier to understand in case you want to do one as well. For this post, I will be sharing just how we framed it out to create the built-in look. And in my next post, I will share more about how we finished it. Including how we added the subway tile.
I was gifted this electric fireplace from SimpliFire, but all opinions are my own. This post also may contain affiliate links. Click here to read my disclosure policy.
Take Measurements
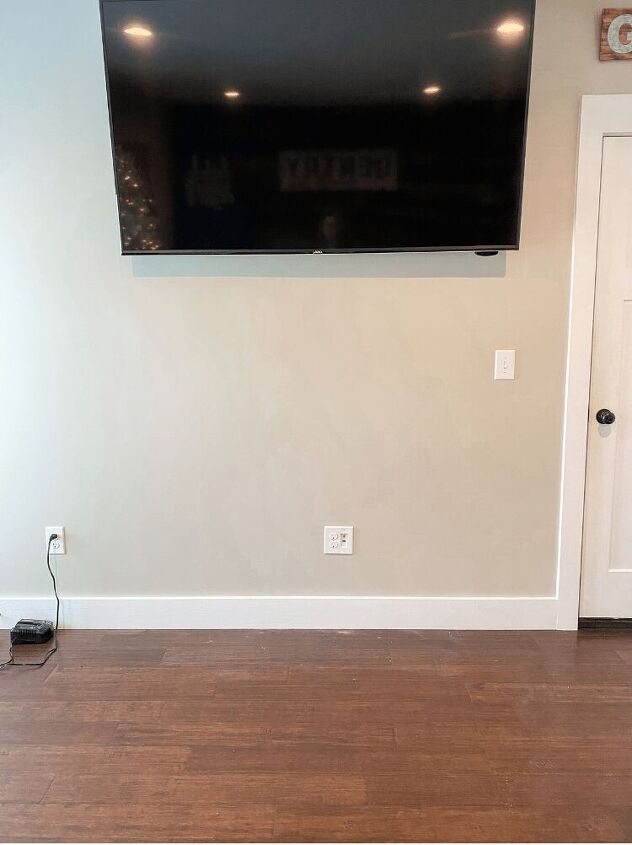
The first thing you want to do is to take measurements, obviously. You want to make sure you have the right dimensions for your space and take into consideration how large your fireplace will be. This will vary for everyone, but I will show you just what we did based off of our specific measurements.
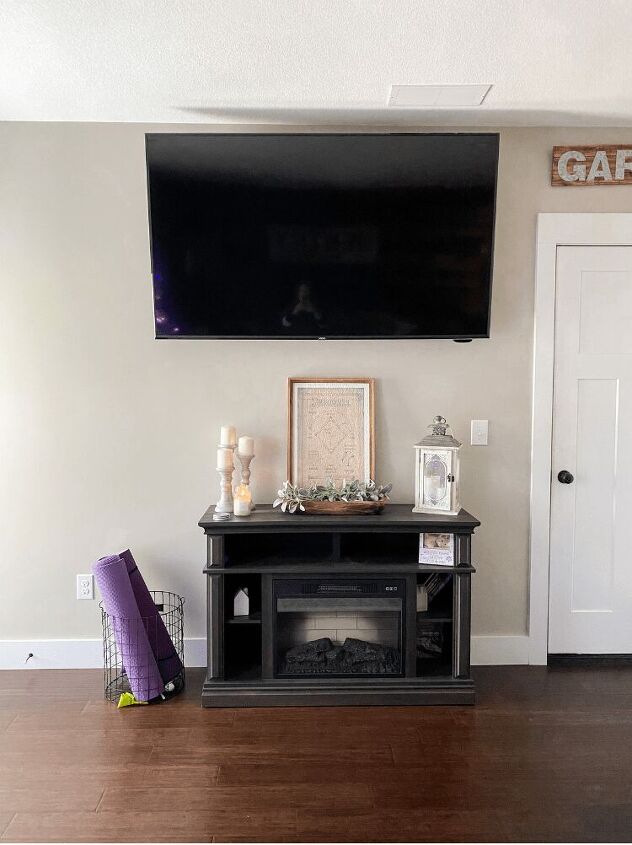
The fireplace we ordered was the SimpliFire 50-inch Allusion Platinum Electric Fireplace. It is 51″ W by 5″ D by 19.5″ H. The viewing area on it is 48″ by 15″. So taking all that into consideration, plus our wall length is how we came up with the dimensions for the built-in.
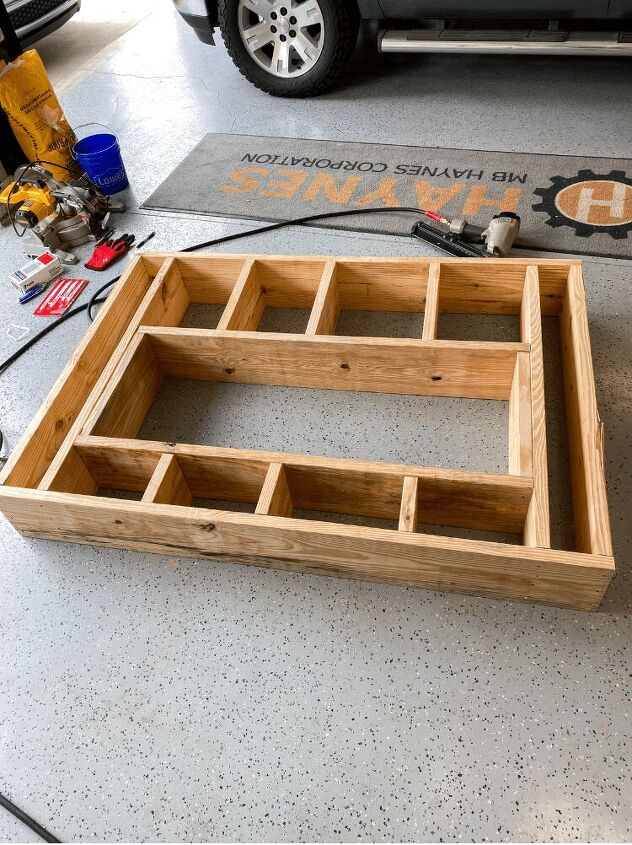
Frame The Fireplace Out
To frame the fireplace out, we used 2″ by 10″ lumber (this fireplace will actually fit into 2×6 construction, but we wanted extra room for the outlet). Then, we cut everything down to size which was as follows: 70″ W by 10″ D by 49.5″ H. We just wanted to go halfway up the wall and not all the way up behind the TV. We thought about doing that, but it would have been way more complicated to do so.
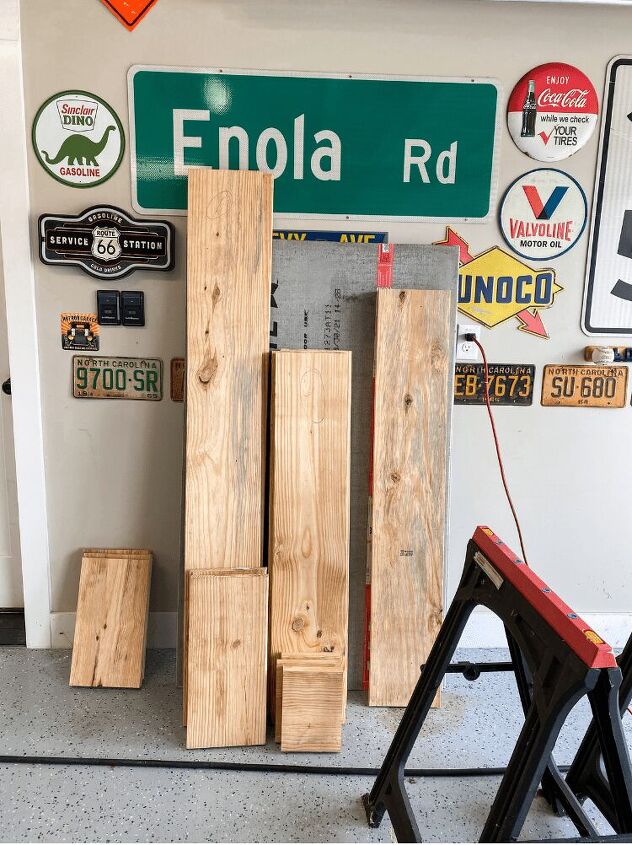
Then, my hubby and his friend assembled the frame in the garage before bringing it into our space. After getting it framed out, it is now ready to be attached to the wall downstairs.
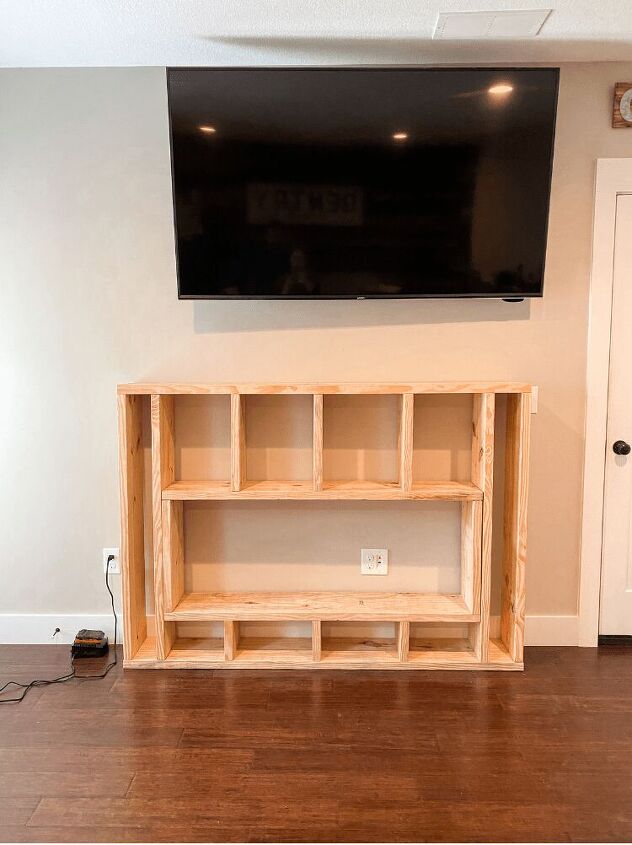
Attaching the DIY Fireplace Frame to the Wall
Once we got it all built, we attached it to the wall where we wanted it. We used a stud finder to find the studs in the wall to attach the frame to. And I know it looks off centered in the photo below, but no worries! We can easily move the TV over to where it is completely centered on the wall as well.
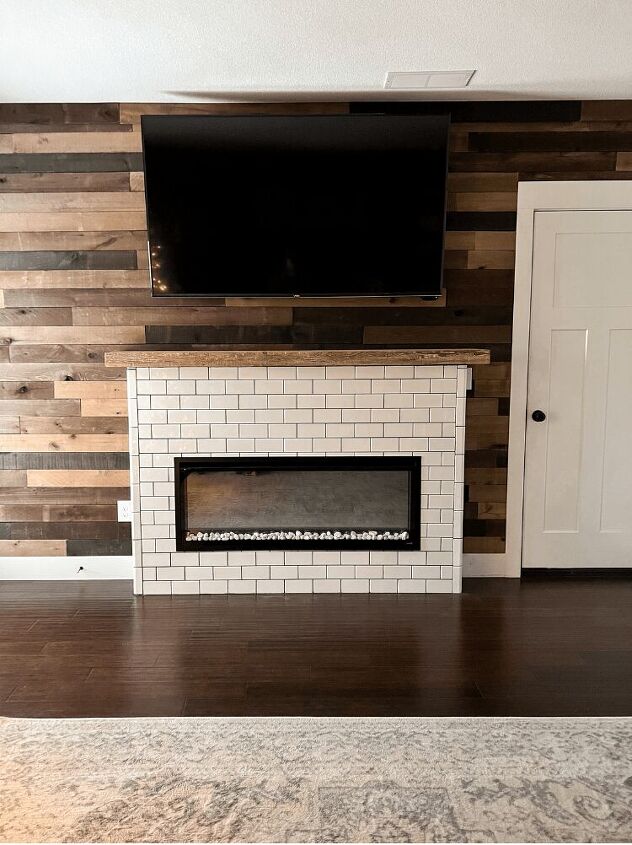
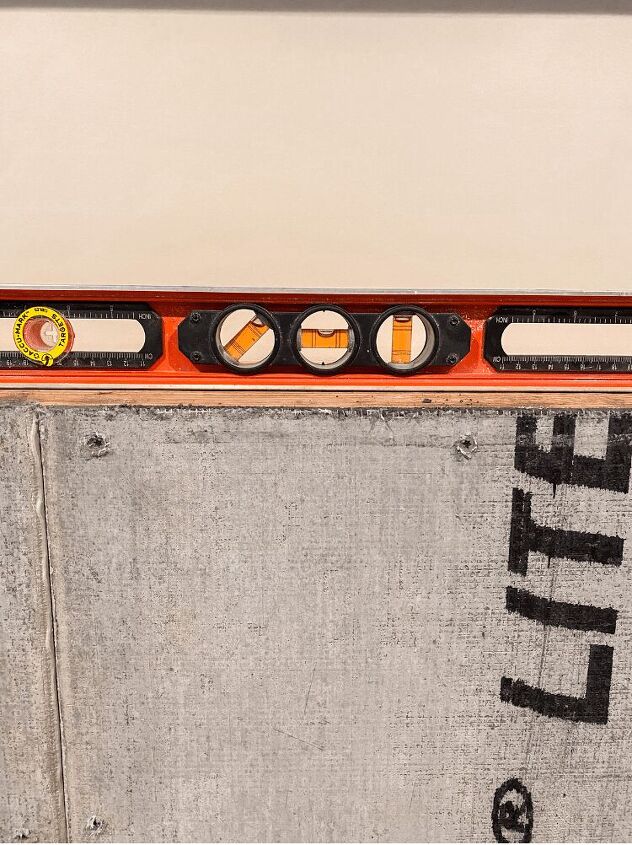
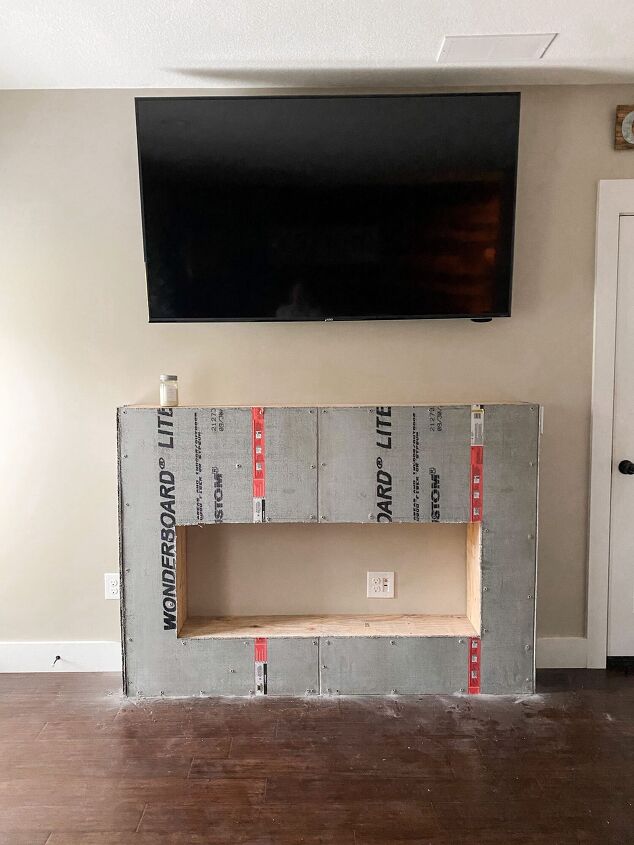
After attaching the frame to the wall, now it’s time to add in the backer board for the subway tile and grout that will come later. You want to make sure everything is nice and level for this process as well. This whole process was done in one day but it did take all day long. As you can see below, the DIY fireplace is really starting to take shape!
As I mentioned above, I will share everything in my next post about how we added subway tile to the fireplace and how we actually installed the fireplace itself. So be on the lookout for that one coming up soon and please let me know if you have any more questions or anything you want me to cover more in depth regarding the fireplace for my next post. I would love to hear some feedback from y’all as well! And also let me know, if you have ever tackled your own DIY fireplace as well. I would love to hear all about your experience too! And don’t forget if you’re interested to check out SimpliFire and use my code “MACEDONIA10” for 10% off any fireplace your heart desires!


Comments
Join the conversation
-
And the bigger change is the wood wall!


Frequently asked questions
Have a question about this project?
Is the fireplace ever used? If so, how is it vented? What type lumber is the frame constructed with?
How did you anchor to the wall?