


DIY Wood Mantel
6 Materials
$20
3 Days
Medium
I've shared our fireplace makeover recently, but I realized that I haven't shared how we finished it off with a GORGEOUS DIY wood mantel! Here's a look at how we took an old, dead tree and turned it into a beautiful live-edge mantel for our freshly made over fireplace. If you love this post, you can see more easy and affordable DIY ideas over on my blog, Love & Renovations!

We started off with a large old stump that we rescued from the dump. My husband noticed some trees being cut down near his office one day and asked the workers if he could have the wood. They agreed, so we found ourselves with a crazy amount of gorgeous wood and lots of project ideas! He took one of the larger pieces and cut it into quarters, then down to the length we wanted the mantel to be.
Next up? Tons of sanding! He used a chisel to remove the bark then sanded like his life depended on it until the wood was completely smooth. This is the hardest and most time-consuming part of the project, but once it's done you're practically ready to go!
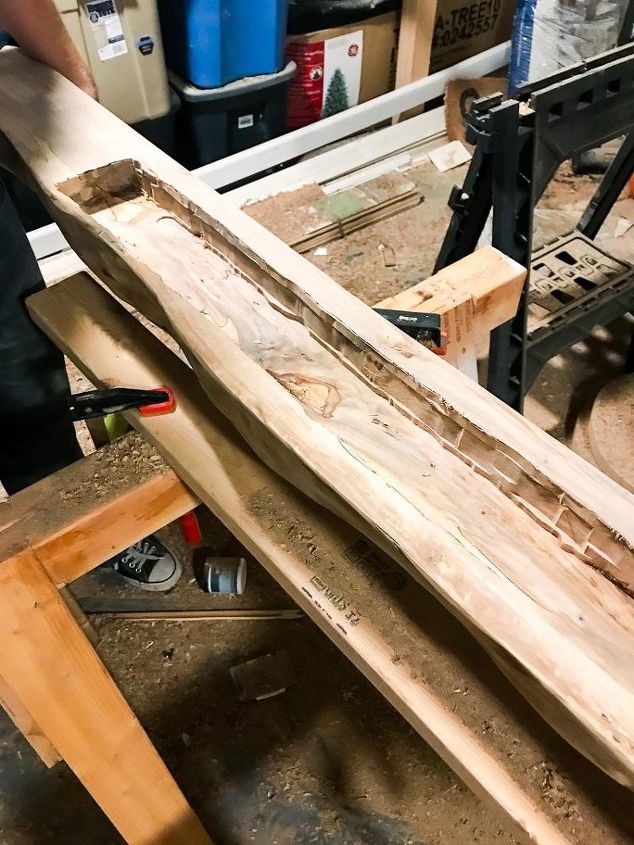
Once the board was fully sanded and smooth, he turned it so that the back of the board was facing up and chiseled out a hole for the ledger board so the mantel could be mounted. The hole needed to be the size of a 2X4 piece of wood that we mounted to the fireplace (pictured below). This also reduces the weight of your mantel by a fair amount!
Again, this part took a great deal of time and patience!
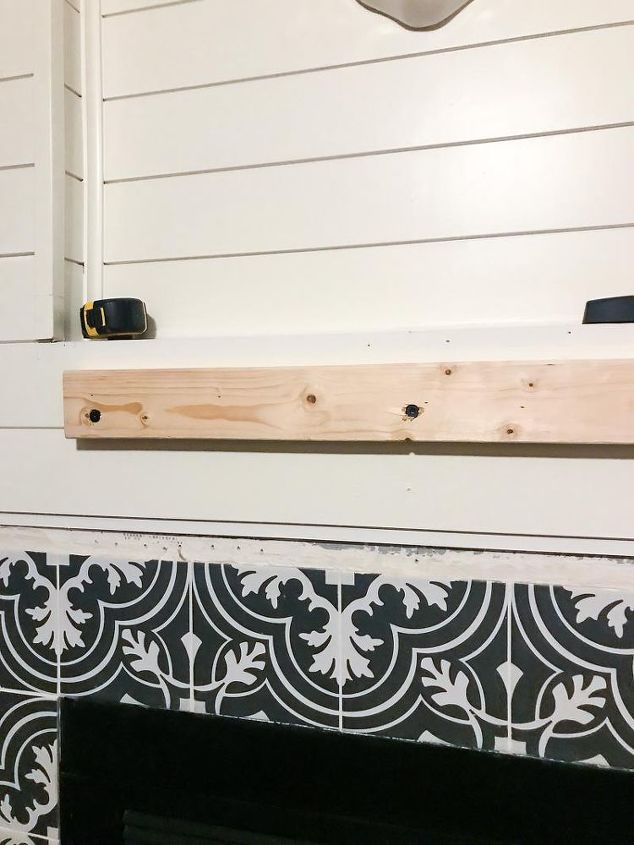
Next, we mounted a 2X4 piece of wood to the fireplace that was slightly shorter than the mantel would be (and the exact same size as the hole cut in the mantel). This was attached with seriously heavy-duty screws that can hold several hundred pounds.
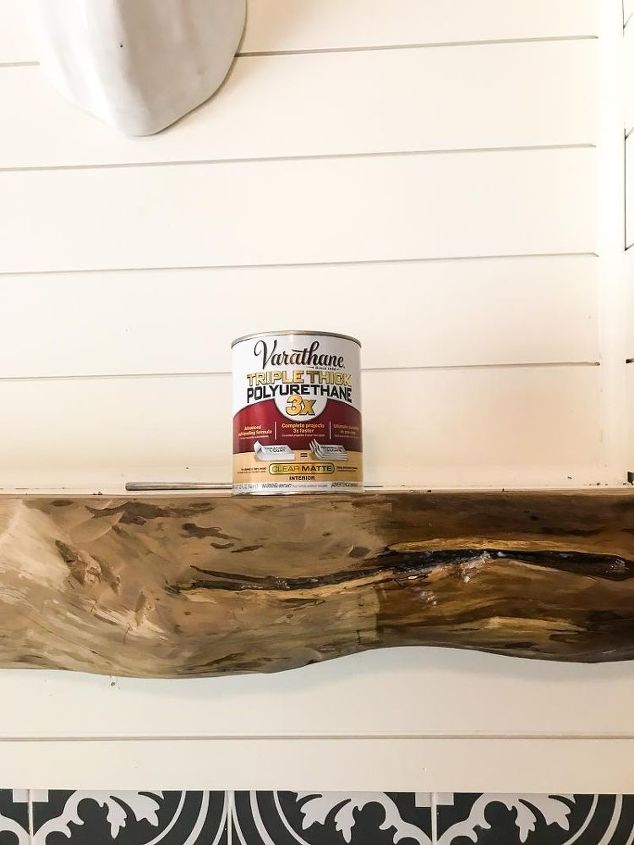
Then, the mantel got mounted on the ledger board and screwed in from the top (with the same heavy duty screws!). Once it was securely in place, I used polyurethane to seal it - you can see above that the right side of the mantel has been sealed and the left side hasn't - it creates a gorgeous sheen on the wood and brings out the natural color and texture!
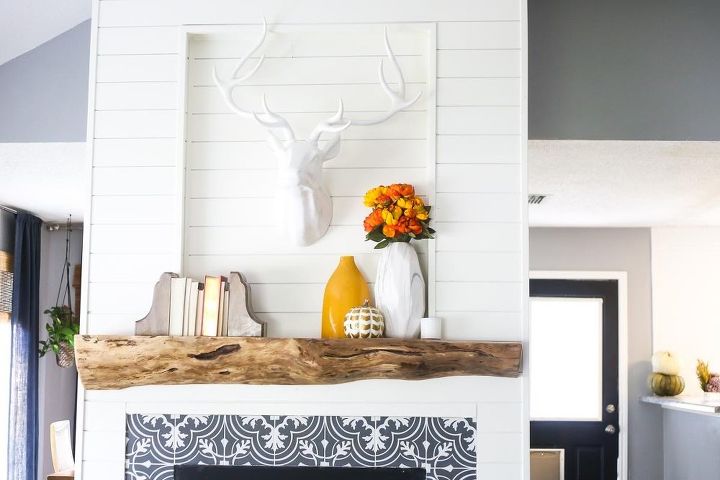
And then, we loaded it up with our favorite decor and called it a day! This project was a serious labor of love, but it was SO worth the effort!
Resources for this project:
See all materials


Any price and availability information displayed on [relevant Amazon Site(s), as applicable] at the time of purchase will apply to the purchase of this product.
Hometalk may collect a small share of sales from the links on this page.More info

Want more details about this and other DIY projects? Check out my blog post!
Comments
Join the conversation
2 of 16 comments
-
Wow absolutely Georgous!!!
-
Love any thing different. It is beautiful. Where did you get the deer head


Frequently asked questions
Have a question about this project?
Why is the fireplace slanted?
is that wallpaper around the fireplace? If so, what kind? How did you do it?
Was the wood dried out? New wood contains a lot of moisture (water). As the wood dries out it shrinks, causing cracks and unsightly splits. I really hope it was an old tree and dried out. Your exquisite fire place will look this good many years from now.