


Fireplace Makeover on the Cheap!

by
SANDY
7 Materials
$300
3 Days
Medium
A thrift store fireplace surround turns into a full-blown fireplace makeover!
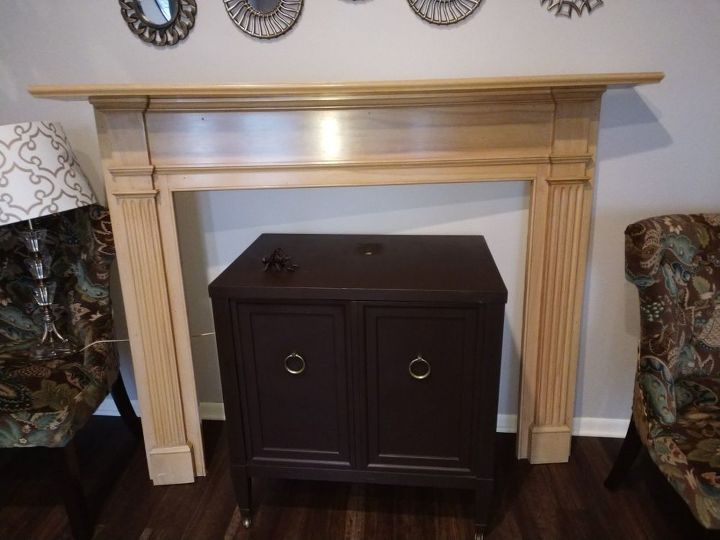
I found this fireplace surround at my favorite consignment shop. I loved the lines but the light wood just didn't do it for me. No big deal I planned to paint it white anyway. The price was $135. I figured by the time I stressed over what molding to buy, actually made the purchase and then lugged everything home (probably in two or three trips) I would have spent at least $135.
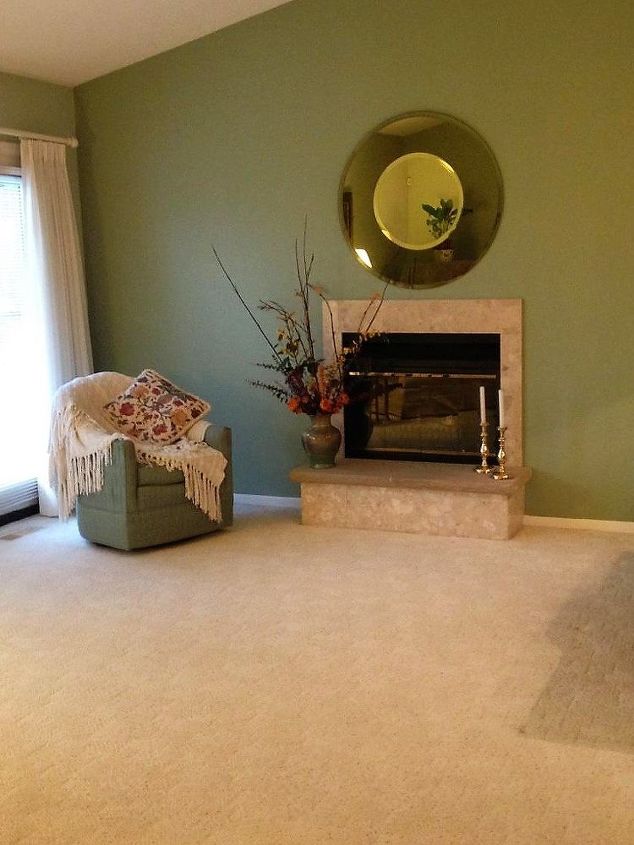
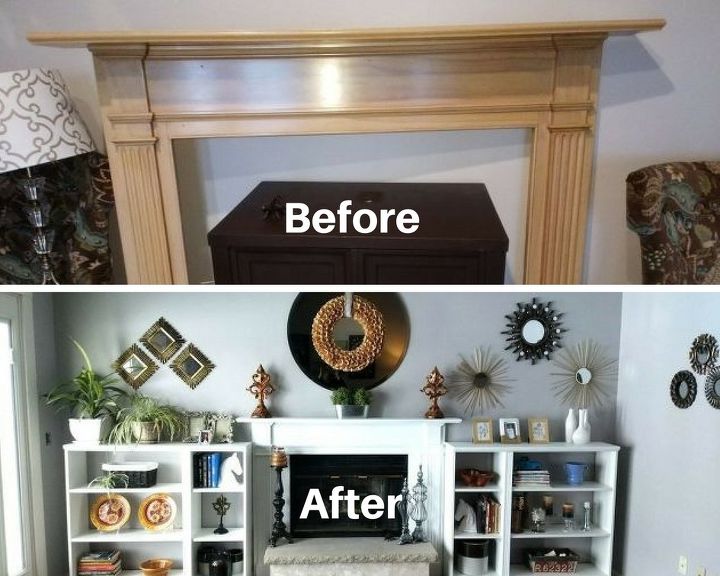
When I bought my condo this is was the fireplace. Nice but boring. The previous owners left the very expensive round mirror. I like it but it just wasn't enough. It also seemed a little cold to me.
I found a mantel/shelf at Kirland's for $80. It's actually foam! I liked it and it served it's purpose for a few years, but every time I looked at my fireplace I felt something was missing.
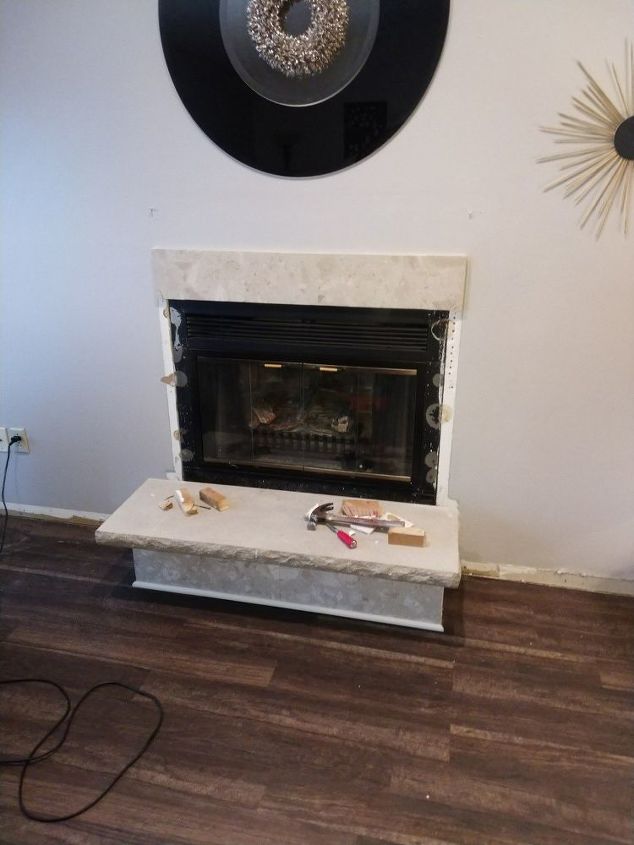
Once I purchased the surround, I began by removing the stone around the fireplace. I thought I could get away with leaving the top piece of stone and just remove the side pieces but no such luck. I removed all of the stone surround.
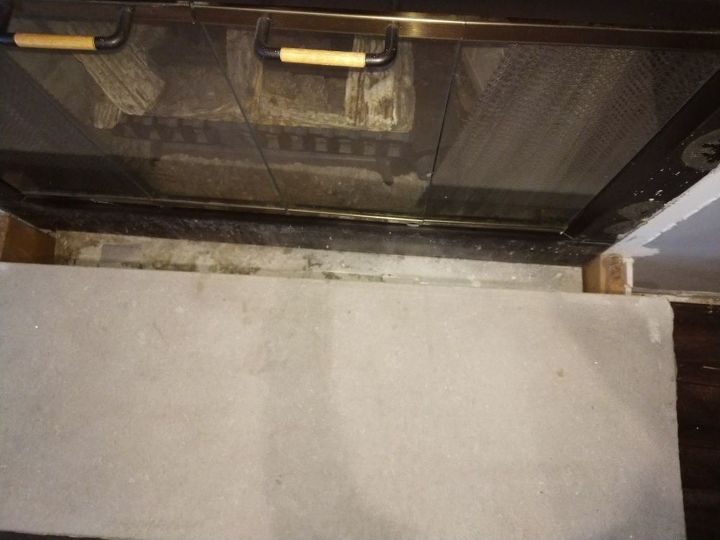
I loosened the very heavy concrete hearth top from it's base. This picture is looking down to show the space between the hearth and the fireplace.
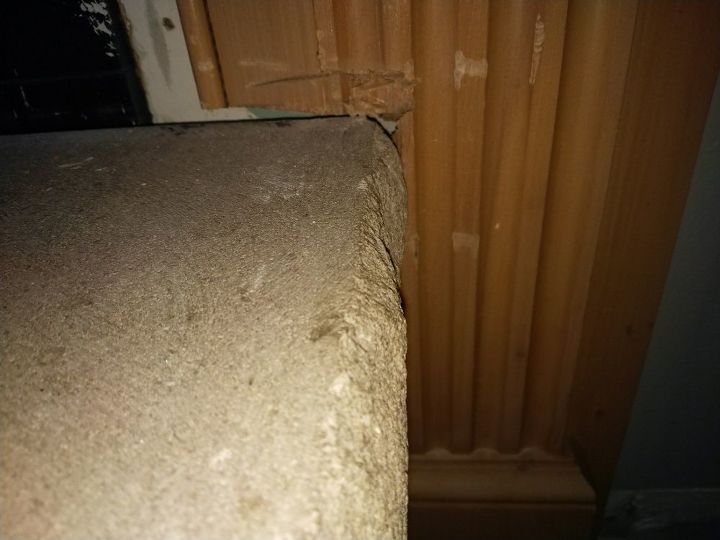
I thought I was home free and could just slide the fireplace down into that space but the hearth box was too wide. I would need to either cut the surround or tear the hearth box apart and completely rebuild it. I opted to cut the surround. This is a close up of how badly I mangled the surround. At this point I felt like giving up. I couldn't do that though. I had broken the stone when I removed it! No turning back. I cleaned up the cut and bought some caulk!
Here is a picture of the surround once I got it into place. Success! Much better but I still wasn't digging the light wood. The wall still looked somewhat bare to me too.

I purchased two billy bookcases from IKEA like the one shown above.
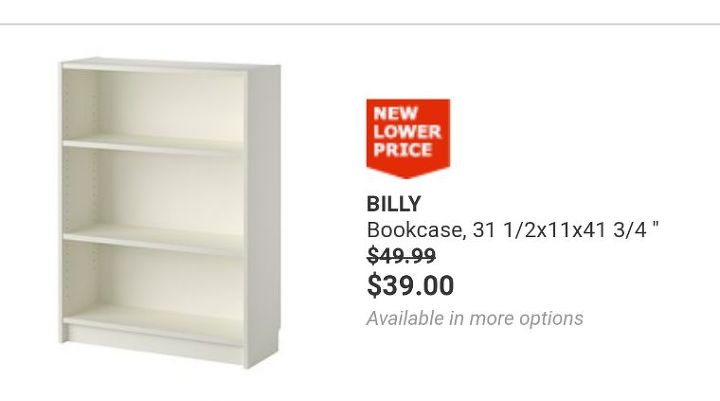
...and two like the one pictured. This was solely based on the length of wall on either side of the fireplace. I would have preferred to have two wider bookcases on either side but that wasn't in the cards.
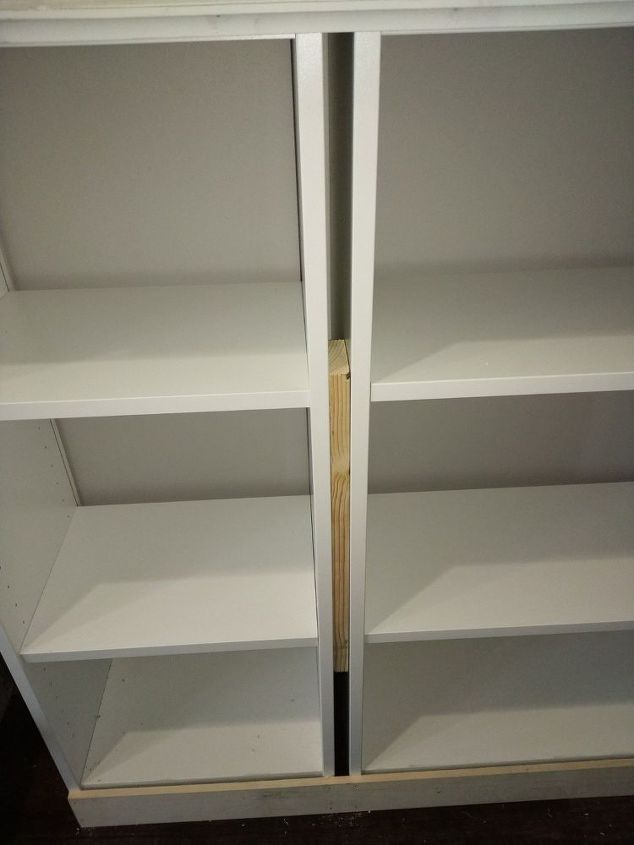
I stuck a length of 1x2 board that I had laying around in the garage between the bookcases so that I had something to screw into to join the two pieces.
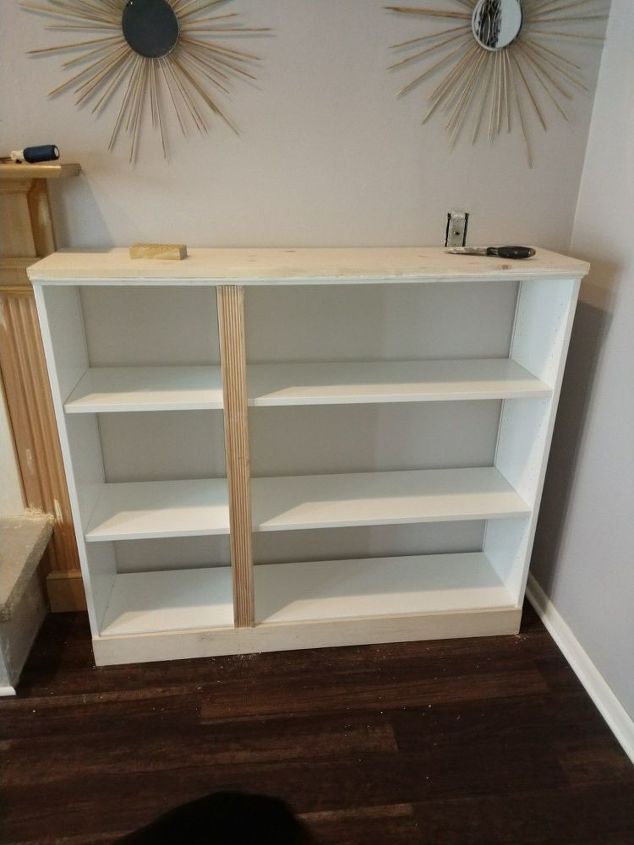
I also added a wood shelf to the top of the two books. It was exactly 48" long-the width of my two joined bookcases. Every once in awhile something goes right in home improvement! I also added a piece of molding with grooves that mimicked the grooves in the surround. A added a trim piece to the bottom to cover the gap where the two pieces were joined.
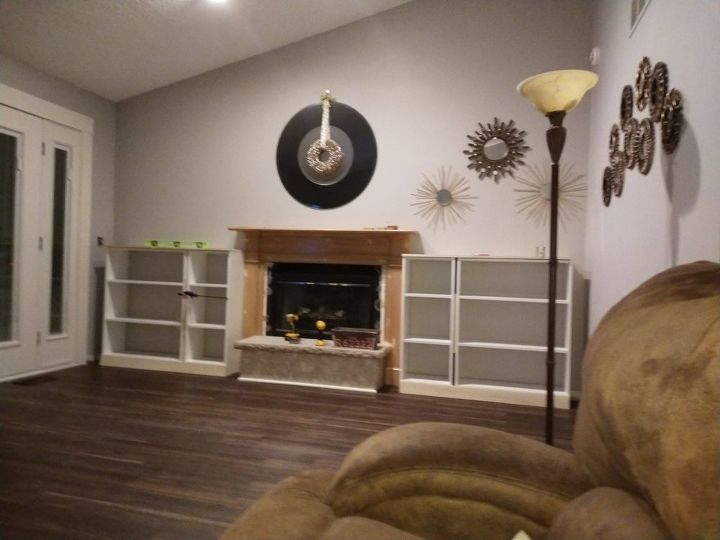
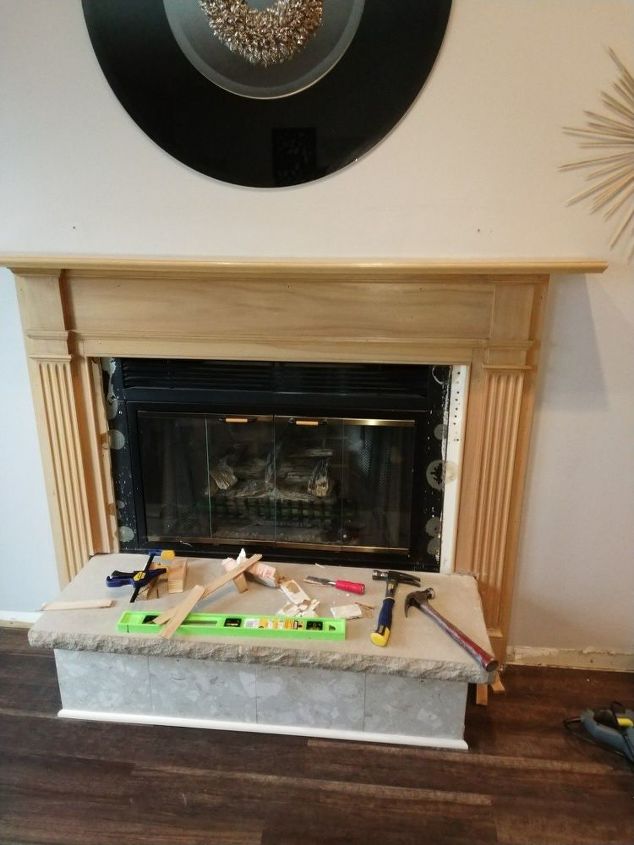
Here is the project midway. I couldn't wait to get an idea of the how they would look in the space. Surround still isn't painted.
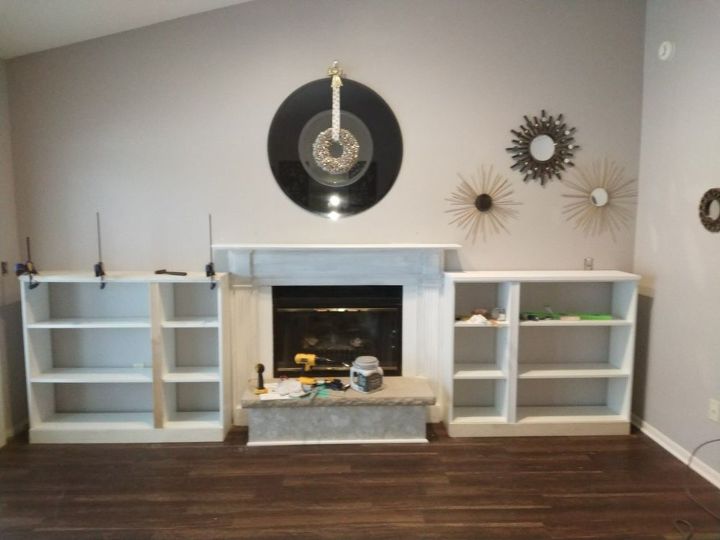
Now the surround has a coat of primer and the project is starting to look more cohesive. Originally I was going to space out the two bookcases so they would span the entire width and meet the walls on the sides. To be honest it was just a little more than I wanted to handle on that day and I opted not to. The bookcases are not actually "builtin." They can be moved to anywhere in my home should I choose. I do like having the option. I change my mind a lot!
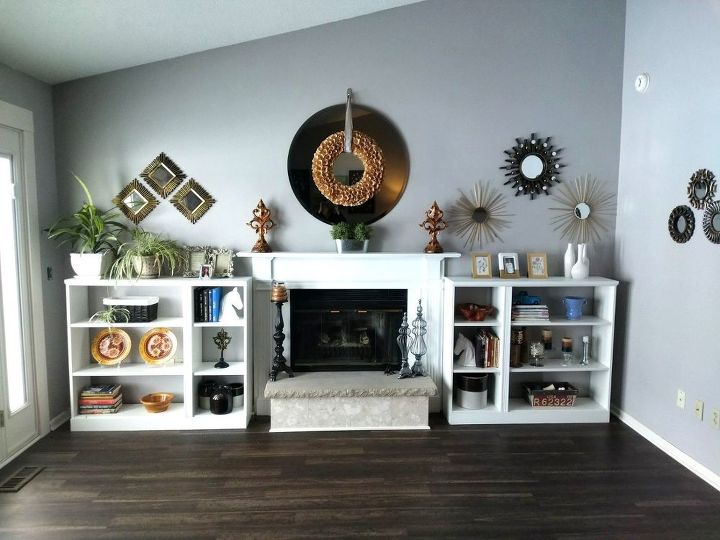
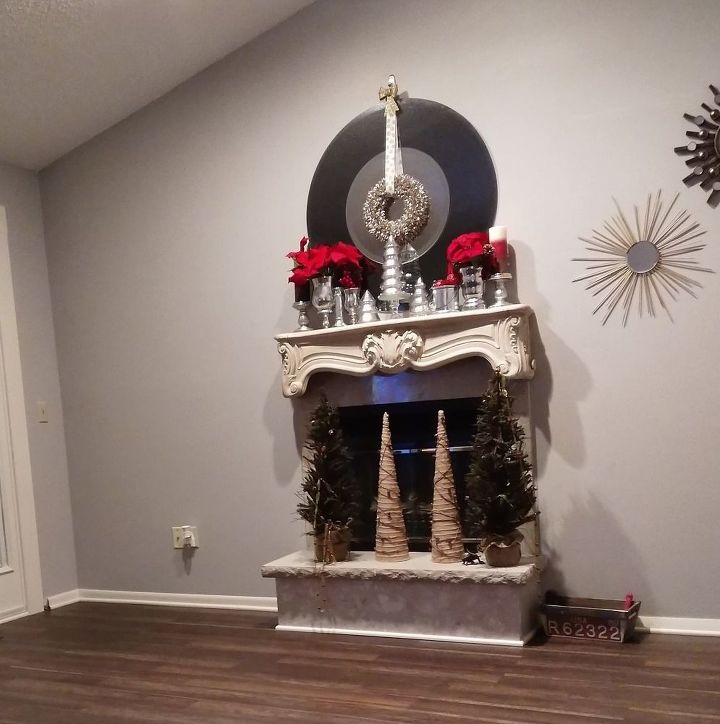
Here is the finished decorated project. I personally would have preferred if the hearth completely filled in the space between the bookcases but it doesn't. I am single. I did this project by myself and I think it turned out pretty well. Just remember "Done is better than perfect." How many times do people pay for services only to get a mediocre job? I think my project is above average and best of all my labor was free! I know where my mistakes are but I bet no one else notices. I packed so much caulk in the gap between the surround and the hearth that no one would ever know that I mangled it. If you are on the fence regarding a project. Take a leap of faith and go for it!


Frequently asked questions
Have a question about this project?