


How to Create a Concrete Look With Venetian Plaster

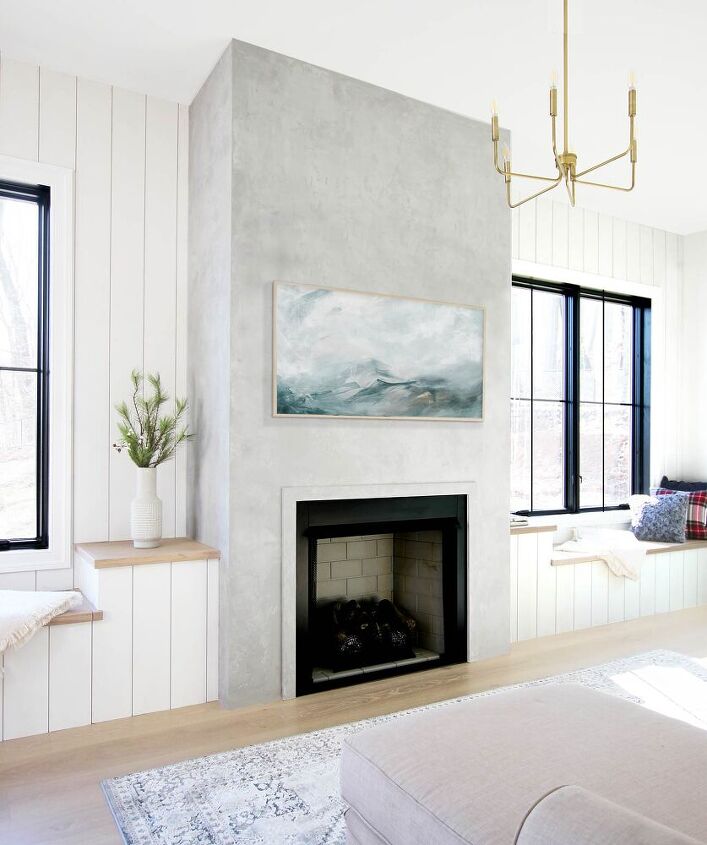
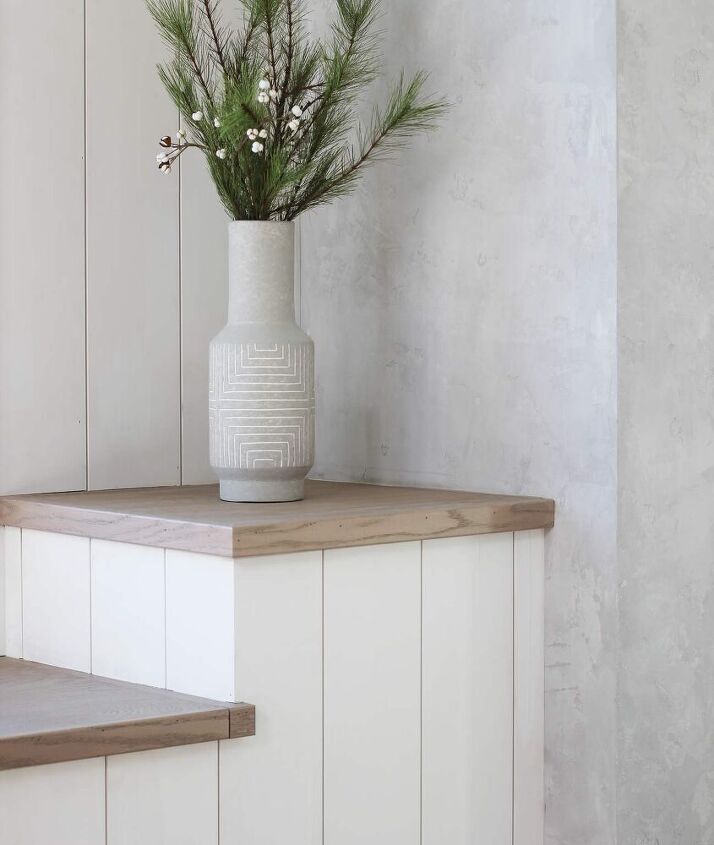
I love the look of concrete and it’s a great way to add an industrial or modern vibe to a room. However, adding a solid concrete wall or fireplace after the fact is usually not an option. But there is a way to achieve a really nice concrete look using Venetian plaster.
In this tutorial, I’m going to show you how I created a concrete look on one of the fireplaces in my sister-in-law’s house using Venetian plaster.
Use the Best Plaster
Before starting a plaster project, it’s important that you use the best product possible to ensure you get the best results.
Last year when I was planning out plaster range hood, I discovered FirmoLux. It’s an authentic plaster made from lime, marble, and other minerals and natural elements. You can order it online from VenetianPlaster.it and even get it tinted to match popular paint colors from Sherwin Williams, Benjamin Moore, and Farrow & Ball.
We were so happy with the results of our plaster hood, that it was a no-brainer to use it again for this fireplace.
Tools and Materials
Here’s everything I used for this project:
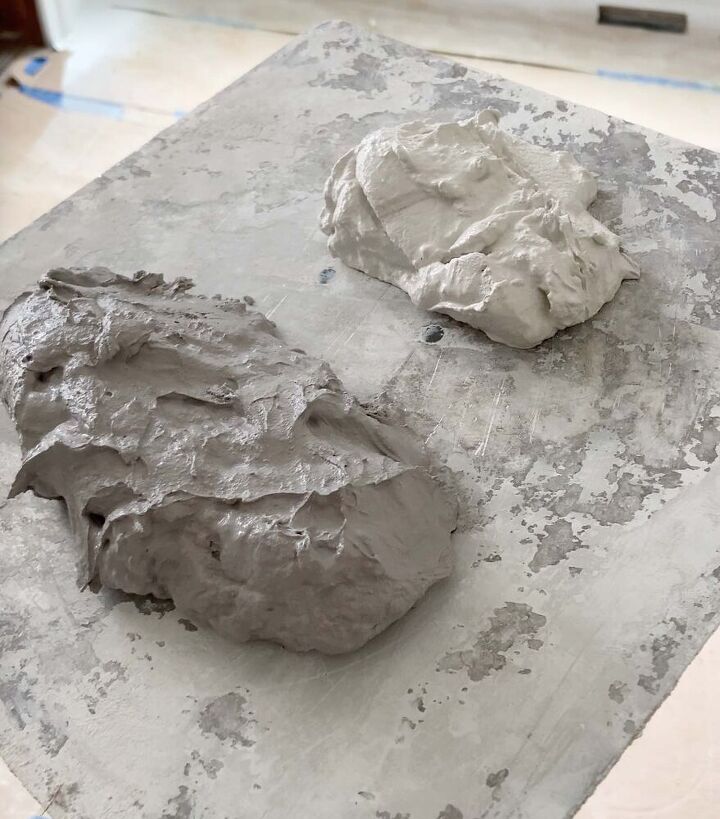
- FirmoLux Marmorino Piatto tinted with Benjamin Moore Cement Gray
- FirmoLux Marmorino Piatto tinted with Sherwin Williams Pure White
- Anchor Primer
- 12 inch Hawk
- 12 inch Trowel
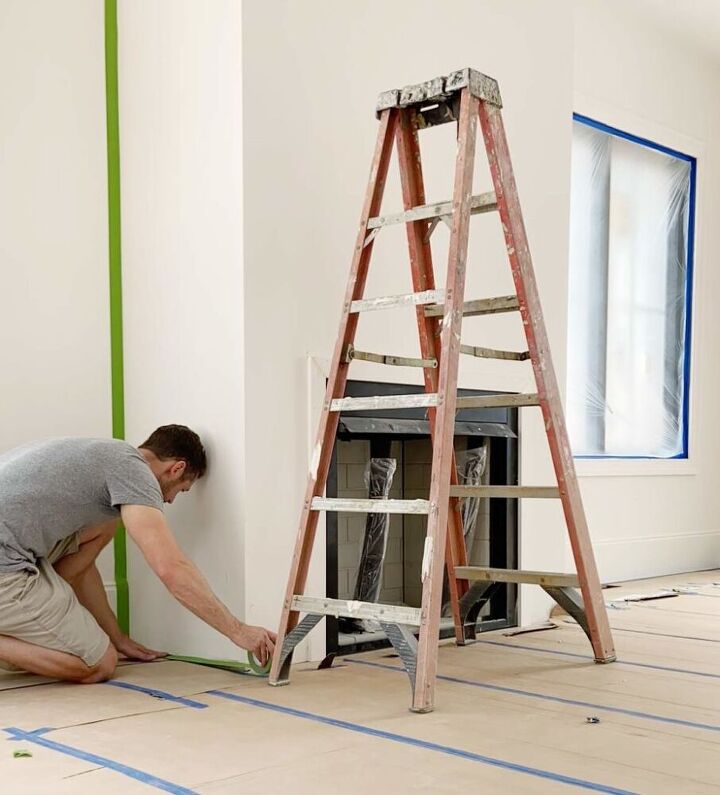
Step 1: Apply Anchor Primer
Since this application was over exiting drywall, I used Anchor Primer to help the plaster stick to the surface. Before applying the primer, I taped off all of the edges to create a clean line between the fireplace and walls.
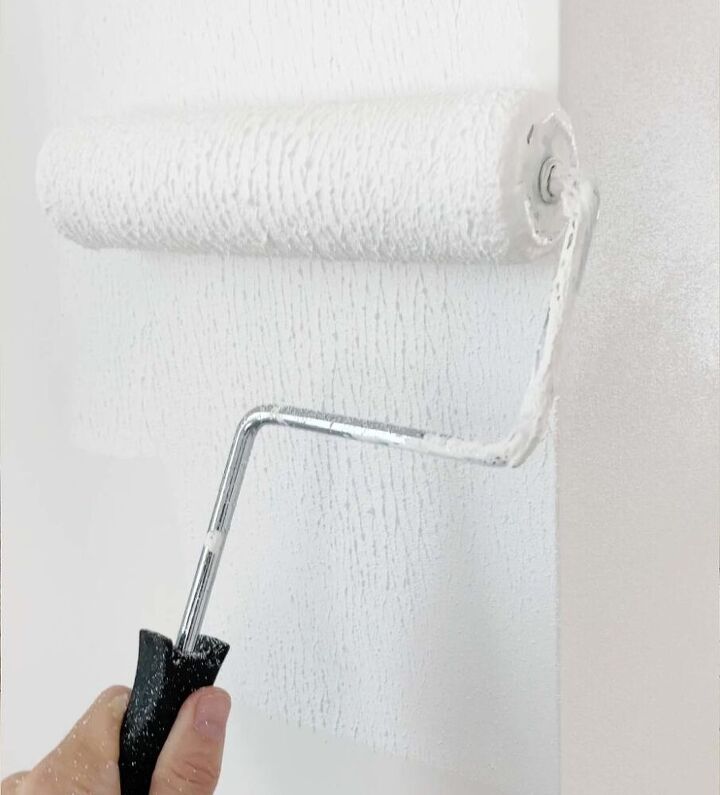
I used a smooth roller to apply an even coat over the entire area and let it dry overnight.
Step 2: Apply First Coat of Plaster
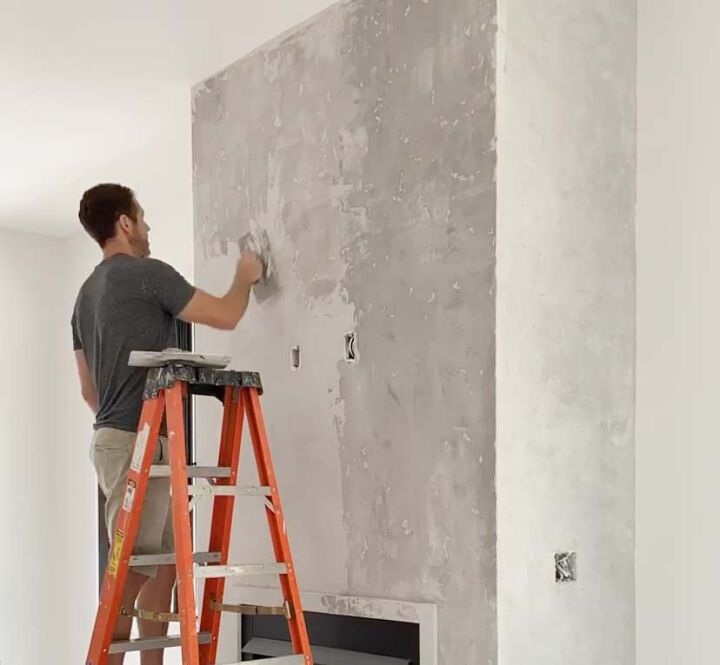
I decided to work on one side of the fireplace at a time. I started with the far left side. I loaded my hawk with a generous amount of the Cement Gray plaster and started in the upper right corner.
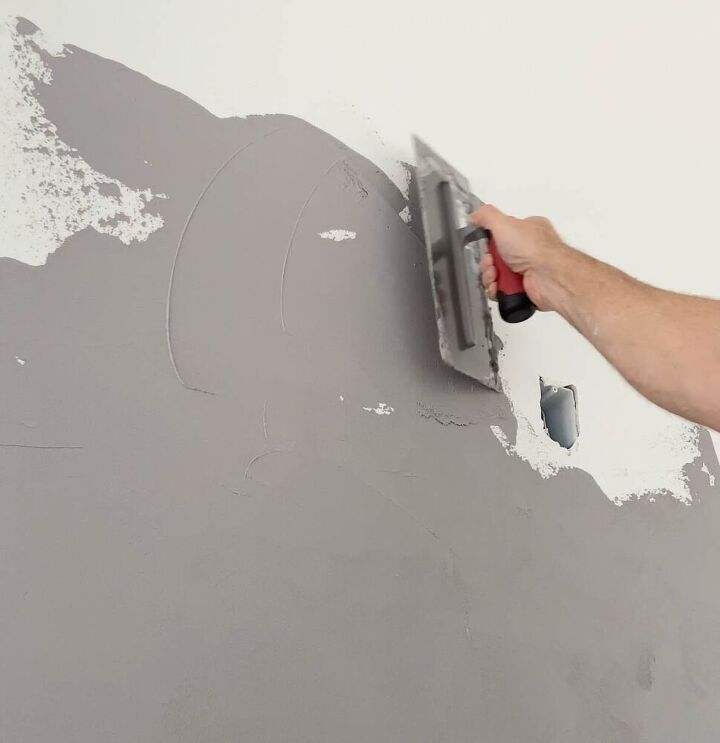
I applied a thin coat of plaster by holding the trowel at about a 15-degree angle. Then I increased the angle to about 30 degrees to spread the plaster with varying lengths of strokes. I repeated this until I had an even coat on the side I was working on. Then I did the same for the other two sides.
The wet plaster will be much darker than the actual color. So don’t panic thinking that you order the wrong color or they tinted it incorrectly. As it dries, it will get lighter.
I let the first coat dry overnight.
Step 3: Apply Second Coat
The next day, I applied the second coat of Venetian plaster.
The purpose of the second coat is to add texture and shade variation.
I added the second coat just like the first, but to add texture I used a skipping motion on the second pass. This leaves subtle voids in the plaster and gives it texture.
Concrete naturally has some shade variation. So as I applied the second coat of Cement Gray, I added in some Pure White by putting a little on my trowel and working it in different areas to lighten up the color.
Step 4: Burnish the Plaster
After the second coat had completely dried, I burnished the surface. I did this with a clean trowel held at a 30-degree angle. I went over the entire hood in circular motions giving the plaster a polished finish in areas.
Step 5: Clean the Surface
The last and final step is to clean any dust off of the surface. I did this by wiping the entire fireplace with a damp cloth.
More Affordable Home Upgrades
Resources for this project:
See all materials


Comments
Join the conversation
-
Great idea.
-
This beautiful I had this done in my family room years ago and still love the look and paid plenty to have it done you did a great job!


Frequently asked questions
Have a question about this project?
Beautiful! Using as the inspiration for our own fireplace wall. How much of the plaster did you actually buy/end up using??
thanks!
How much product did you use? And what ratio of gray to white?
Hi, love this and I’m trying it out in my home! For the second coat did you mix the cement gray and the pure white to create a new color? Or did you give it another pass with cement grey and then strokes of pure white? As of now I just have the cement gray color on and letting it dry overnight.