


How to Create an Anique Brick Fireplace Surround
9 Materials
$250
4 Hours
Easy
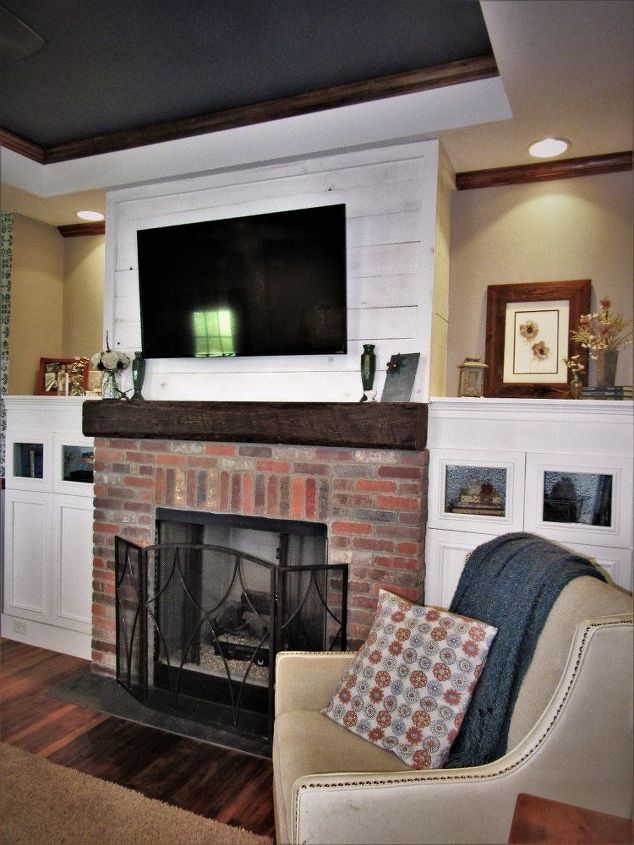
Love the antique brick look and want to easily add it to your home? Here's a simple tutorial on how to face your fireplace! This can also be used for flooring and walls!
Thin brick is 1/2 thick brick veneer that can easily to added to several different surfaces in the same way tile is applied. It can be purchased through Lowes or Home Depot and through a local stone retailer. The thin brick I used in this project is General Shales in the color English Pub. To find a local vendor in your area, visit the General Shales website and click "where to purchase".
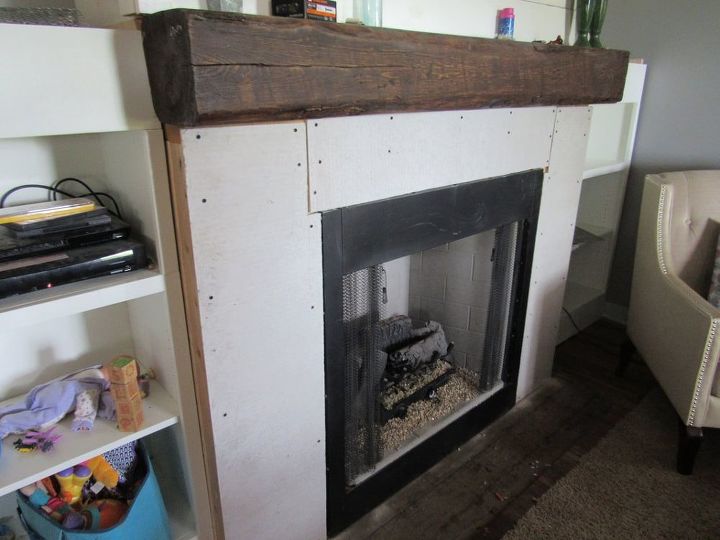
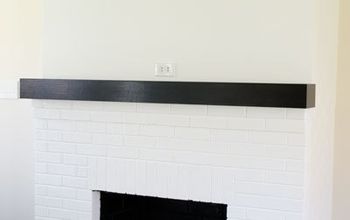
First, have your mantle installed and anything that is butting against your brick installed (in this case cabinets). Apply drywall or make any necessary repairs to smooth your surface. To figure how many rows and how thick of grout lines take a measurement from the bottom to top of the surface being faced. Add 1/4" to the height of your brick. Divide your surface height by that number. In my case, I have 49 1/4" divided by 2 1/2 = 19.7. Since I got a decimal I added 3/8" to the height of my brick and divided. 49.25 / 2.625 =18.76... still a decimal so I added 1/2" to my 2 1/4" height and got 17.9 which is close enough to 18. So I have 18 rows with 1/2" grout.
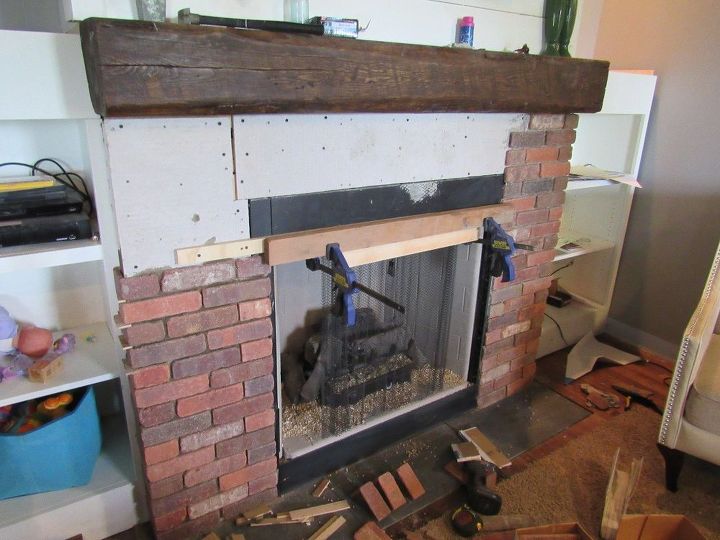
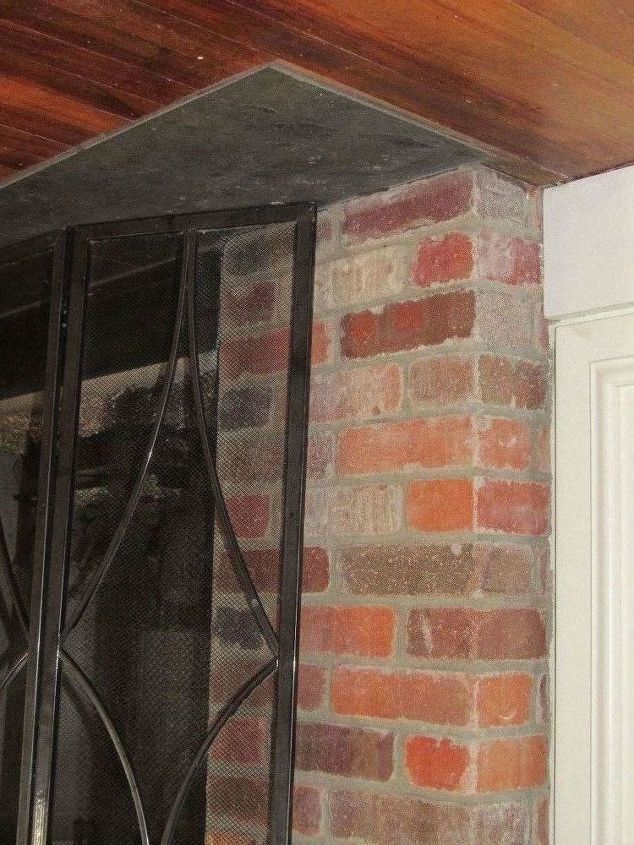
Thin brick is installed just like tile. The difference is grouting. Snap a chalk line or use a level to mark your rows. Mix your thin set mortar to the consistency of cookie dough. Butter the back of your brick and press the brick into place, starting on the corner (if applicable). Thin brick manufactures make corner pieces specifically for this. If you are going from corner to corner, as I am in the above picture, you need to have both corner pieces installed and then measure the gap in between. In this case, you will trim off the brick edges instead of increasing/decreasing the grout line.
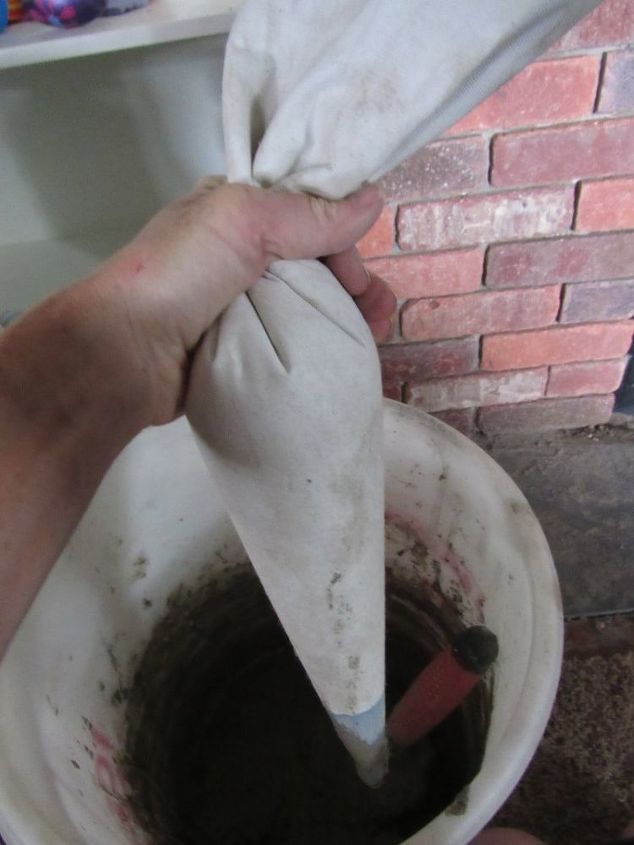
After you have allowed your mortar to dry according to manufactures instructions, mix your grout to the consistency of cake batter. Trim the tip of your grout bag slightly. Fill the bag 1/3 way full and slightly shake the bag to remove any air. Twist the top and gently squeeze to push some of the grout into the bucket. If it doesn't easily come out, check that your hole is big enough and your mix is runny enough. Squeeze the grout in between all of the bricks filling all horizontal gaps first and then going back to fill vertically.
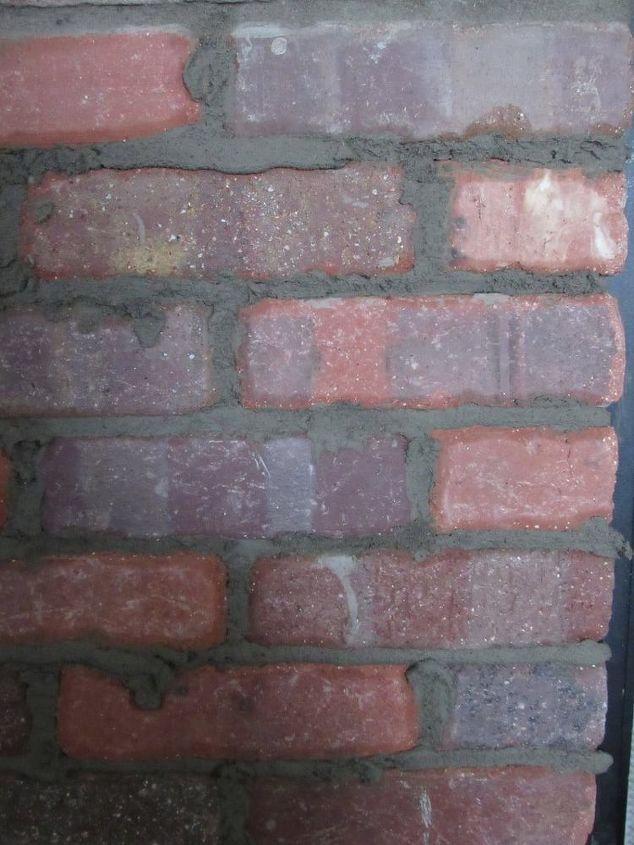
Allow grout to partially dry. When you touch it, it should crumble. If it sticks to your finger, it's still too wet. Use a popsical or something similar (butter knife end) to knock out the spilled over mortar and smooth. If you got sloppy anywhere, not would also be the time to scrub it off the brick with water and a toothbrush and blotting with a clean dry rag.
Clean up and enjoy your handiwork!

Want more details about this and other DIY projects? Check out my blog post!
Comments
Join the conversation
2 comments
-
Love fireplace makeovers. Yours look great!


Frequently asked questions
Have a question about this project?