


Painting the Mantel
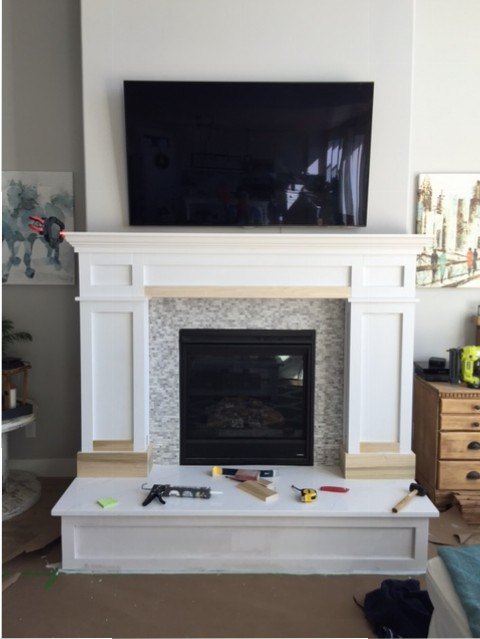
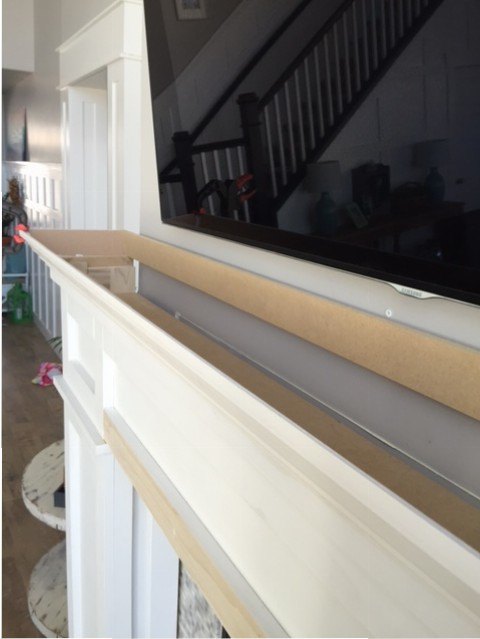
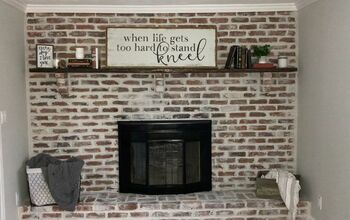
The mantel is 99% done! But I’m going to show it to you anyway because the only thing it’s missing is the very very top which won’t make a huge difference in looks once it’s on. We haven’t done that yet because a) I’m 34 weeks pregnant now and so, so tired all the time and b) in order to make the top I have to slide a 2×8 piece of 3/4″ MDF through my table saw which I just can’t do alone and c) my husband has been, as usual, extremely busy. That’s why I learned to DIY everything myself and I hate it when I have to rely on others for help! I just want to get stuff done!
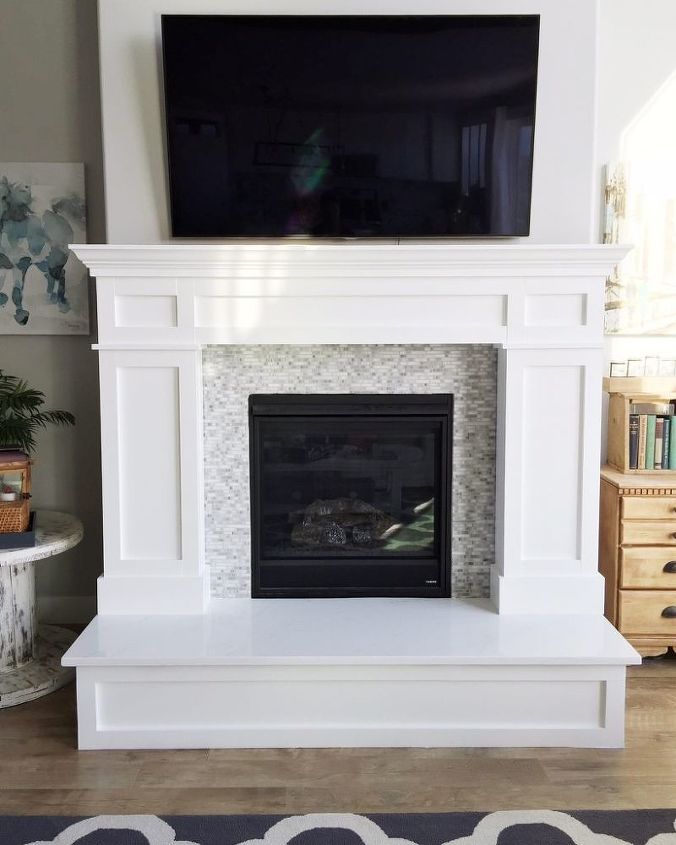
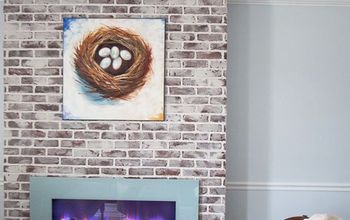
Anyway, isn’t it pretty? The quartz was delivered and installed and it’s the same as our kitchen quartz (Hanstone Tranquility) and I added the final trim around the feet of the mantel. And I had to fix that center trim piece because the mantel fell over when the hearth stone was being installed and it caused some damage.
I also had to add a piece across the back to cover the openings caused by crown molding. It also helps to complete the rectangle on the top which will support the top piece. I filled nail holes and caulked here and there and sanded really well and it was time to paint.
I have been agonizing about the painting process for this for like two months. I knew it had to be sprayed to achieve a more professional quality look, plus when I primed with a brush it was really hard to get in all the nooks and crannies of the trim. So spraying was the way to go. Unfortunately, I hate my current sprayer because it’s really glitchy and bulky to haul around and leaves this ugly flashing (when you can see the streaks in the light.)
I looked into many kinds of sprayers but the nice expensive ones seemed too big for a small job like this. I really want to get the one recommended by my friend Sandra of Sawdust Girl, but she said that it takes a lot of paint to even get it started. Plus it was pricey and my budget for the mantel was blown out of the water by choosing to install real stone on the heart instead of MDF (but I don’t regret that.)
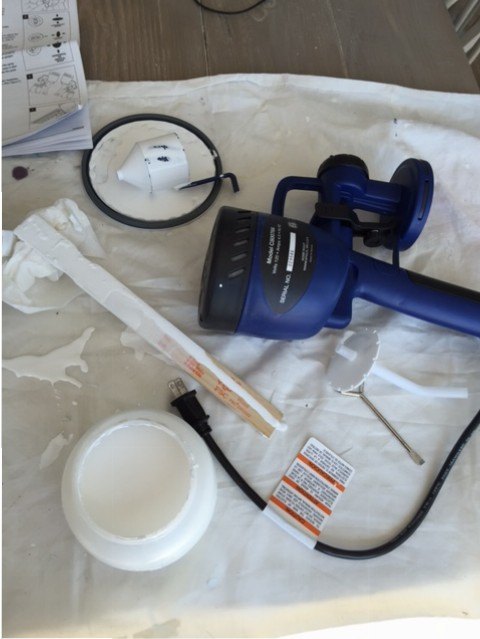
I have heard about the HomeRight Finish Max sprayer for a long time, since tons of bloggers have used it. I was worried it would be a similar quality to my current sprayer since it had a similar price point (which isn’t much, like $75.) But I knew they worked with bloggers so I reached out to them for a partnership. They quickly agreed to send me one of their sprayers as well as a spray shelter and we were set! Awesome! (Insert thumbs up emoge here!)
This sprayer is extremely easy to use. It’s SO small compared to my other sprayer which has this huge long hose and air compressor attached to it. The Finish Max is an airless sprayer so it has a small motor thing on top of the gun. You just have to squeeze the gun and off you go! It also completely stops when the trigger is released, unlike my other sprayer which always sprayed a fine mist unless the compressor was completely turned off.
You have to thin the paint which took me a little trial and error. At first I thinned it too much and I thought it wouldn’t be a big deal but it caused a LOT of drips. I added more latex and then it was a good consistency. I just thinned it with a little bit of water. It comes with a viscosity cup which helps you know the right consistency.

Want more details about this and other DIY projects? Check out my blog post!
Comments
Join the conversation
2 of 3 comments
-
Love it!
-
It's a really nice job. Can't believe you did it all pregnant. :-)


Frequently asked questions
Have a question about this project?