


Updating a Wonky Mantel
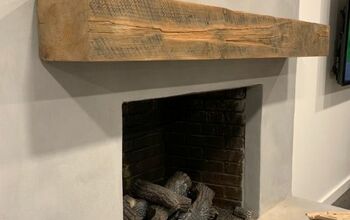
When I remodeled my fireplace, the only original piece I kept was the mantel. It was bolted solidly to the wall, and was the right size and shape for the space. I just needed to add a few things to give it an update!
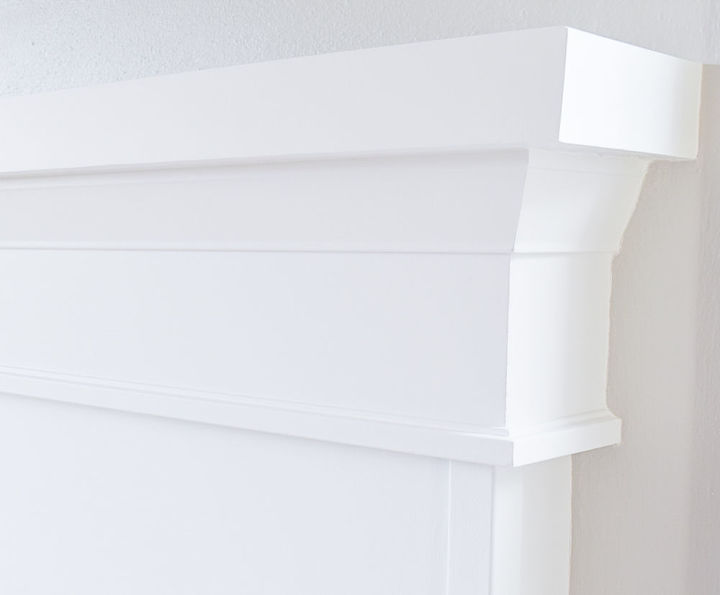
I wanted clean, modern lines to go along with the tile I installed on the fireplace surround.
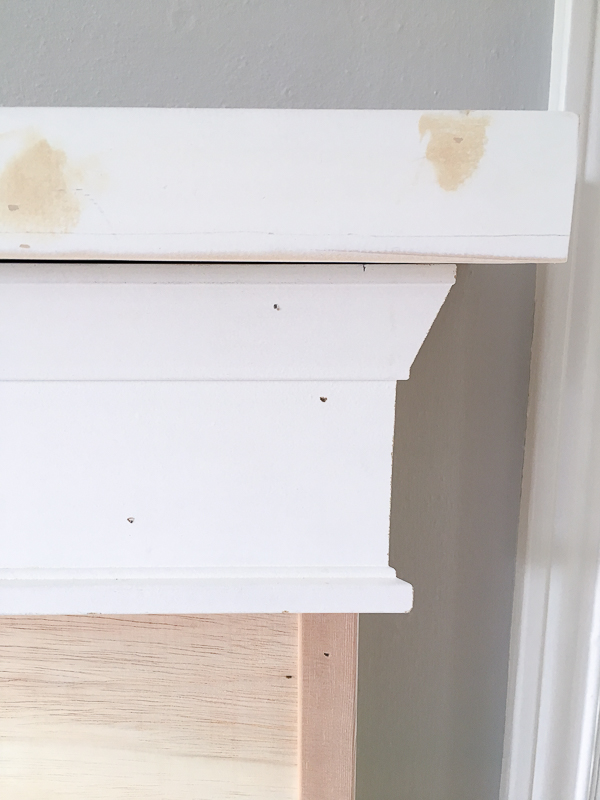
The moulding underneath the mantel was removed, revealing the hideous paint colors underneath. Orange on the front and hunter green on the sides!
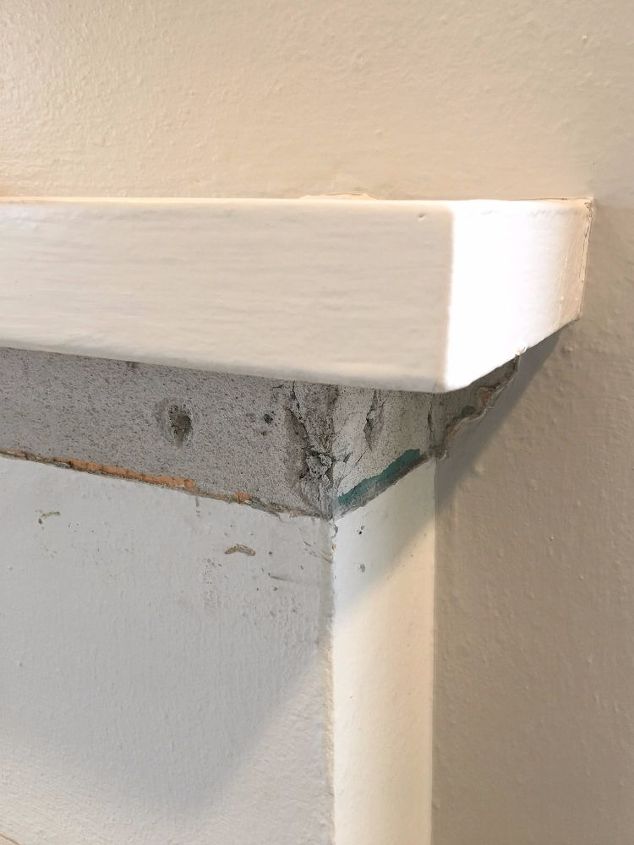
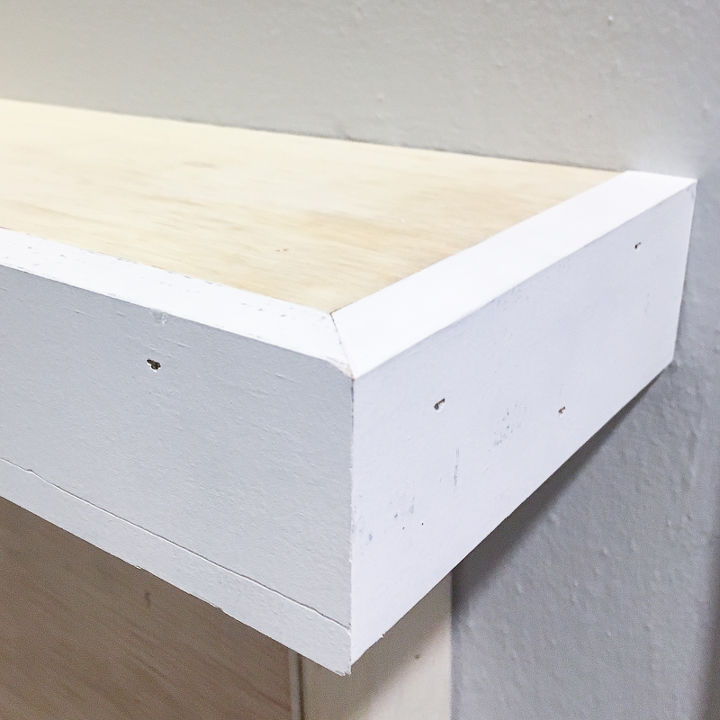
The brackets holding the mantel to the wall were creating unsightly bumps on the top that I needed to hide. I cut 1/4" plywood to the same dimensions as the top of the mantel, then marked the location of the bumps with a pencil. I used a jigsaw to cut a notch in the plywood at my marks, and slid it into place.
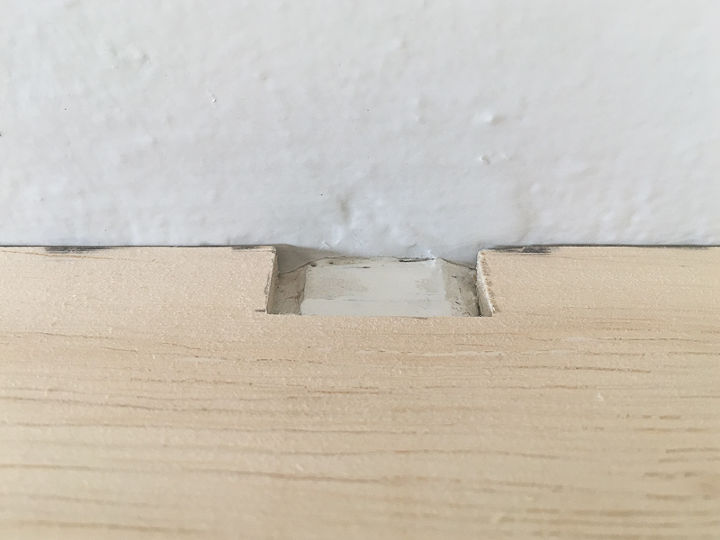
Another piece of 1/4" plywood on top covered up any evidence of the bump, and provided me with a smooth surface for painting later.
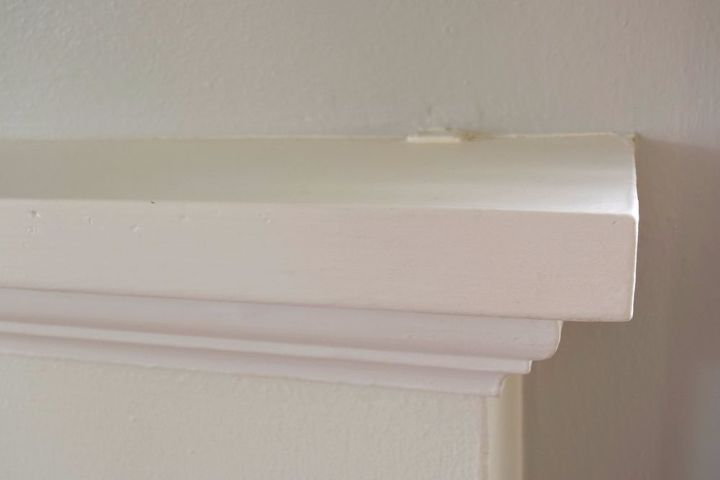
To cover up those plywood edges, and to make a slightly deeper mantel, I used 1x2 boards to wrap around the front and side.
Underneath the mantel, I installed a gorgeous architrave architectural moulding. It rests on top of the corner trim I also installed, and gives the mantel the clean, modern lines I was looking for.
With some wood filler, caulk and paint, it was starting to look like the fireplace I dreamed of!
You can see more about every step of my fireplace remodel project here. Or visit my blog, The Handyman's Daughter, for more amazing home improvement projects.

Want more details about this and other DIY projects? Check out my blog post!


Frequently asked questions
Have a question about this project?