


A Low-Cost Outdoor Coffee Table

Something custom-made to match my outdoor space without a lot of time, expensive tools, or effort
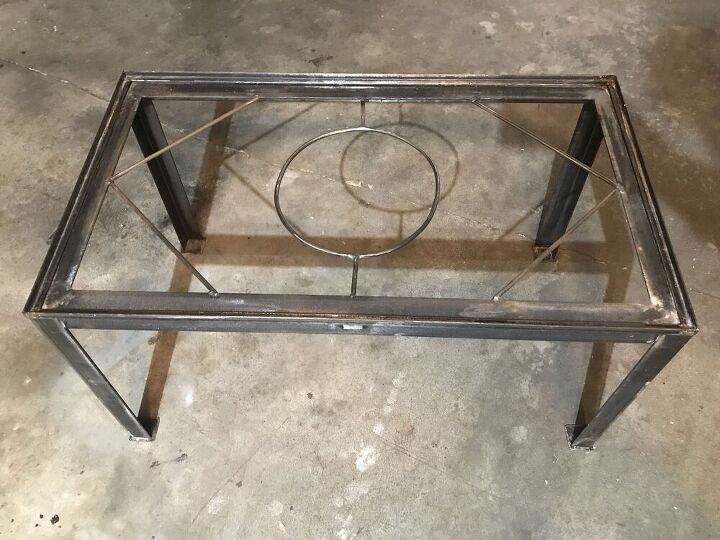
I bought this table on Facebook marketplace for $10. It had an etched glass top that did nothing for me (fish, streams, etc) so I gave the top away to a buddy. I only needed the base : )
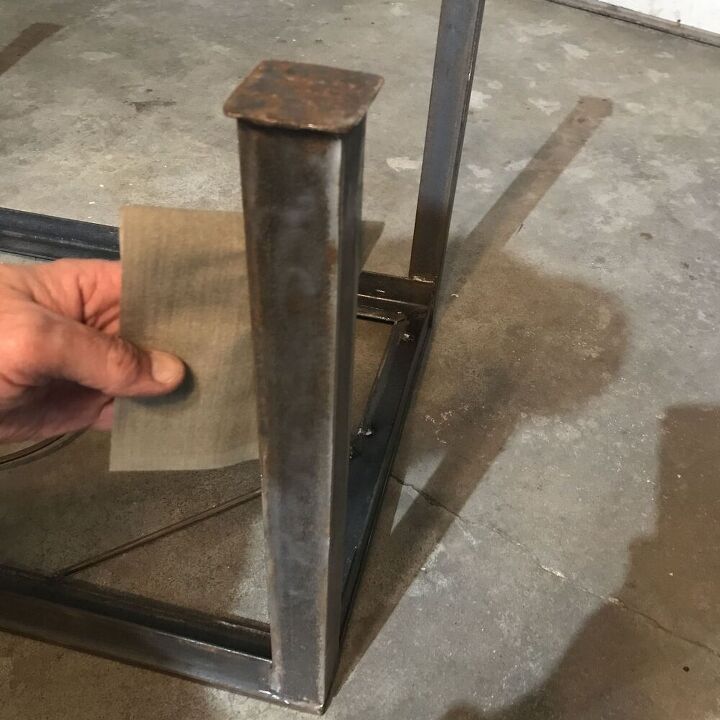
The previous owner had only used it indoors, but there was a hint of surface rust, 'patina' I guess, so I took some sandpaper and Scotchbrite and got rid of it. Afterwards I wiped it down with Windex and got all of the dust off.
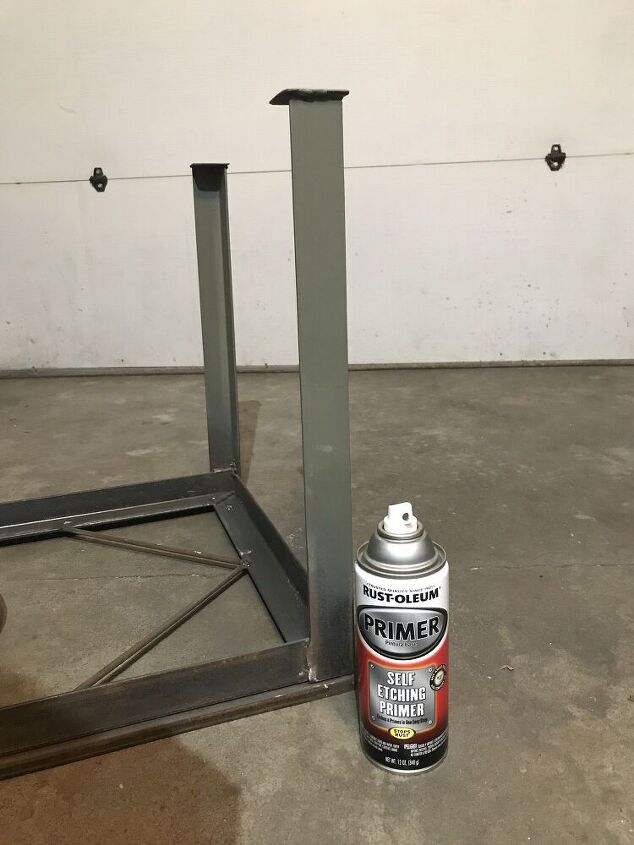
I primed the whole thing with Rustoleum self-etching primer. In my Limo engineering days we used a more expensive version of this, so I thought I'd try the rattle can DIY version. I did the legs first, and then flipped the table over the next day and did the top.

I'm updating my deck with new semi-gloss aluminum balusters ( Here's the new stair railings) so I painted the table to match, again with Rustoleum brand, hoping the two would bind together better than if I switched brands etc.
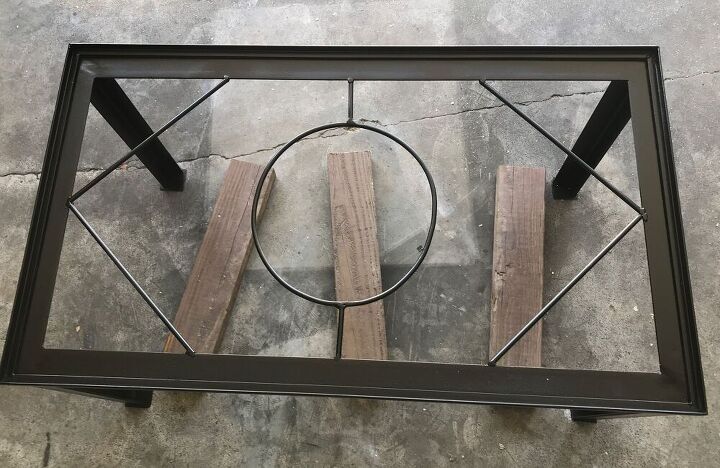
I cut three pieces of 2x4 from scraps I had from the deck railings I had taken out when I put in the new stairs last summer (saving the scraps for another headboard project!) I will screw the top to these.
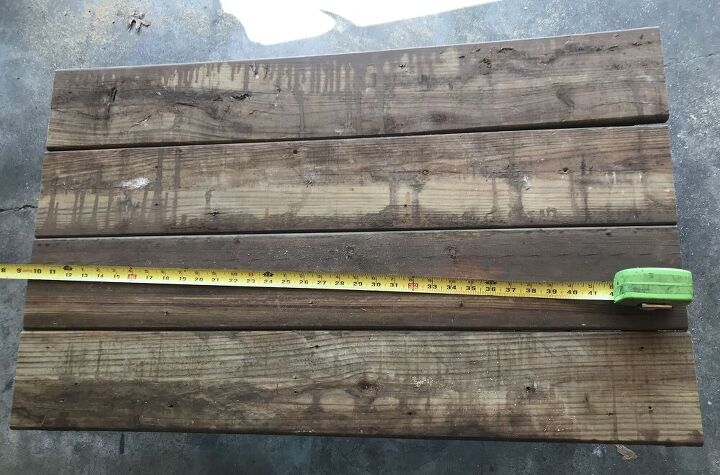
I cut four pieces from the old joist trim and drink railing for the new top. I had the reclaimed pressure treated wood on hand. If I had used new, a 5/4x6"x12' would have added about $17 to the project.
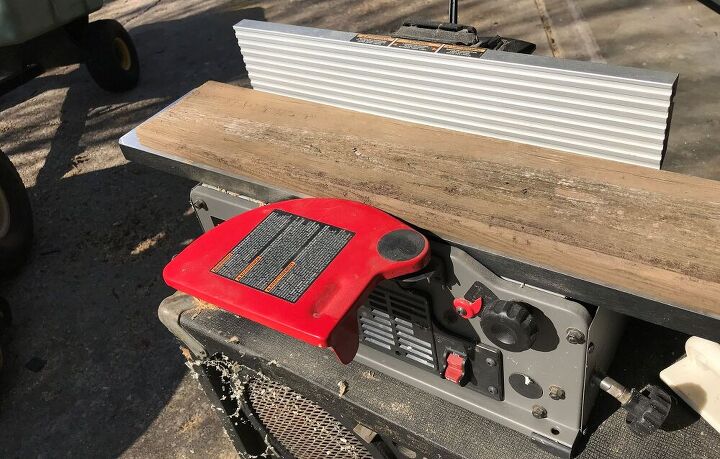
I used my 6 1/2" planer to clean the top pieces up. I got this for $150 on FB marketplace. It has paid for itself in reclaimed wood. I don't have any $4000 machinery in my garage, this is real DIY stuff. I cut the boards with a used $50 miter saw. The stand is a $20 speaker cabinet I found on FB too ♪. (I'd rather have the planer stand than another guitar cabinet)
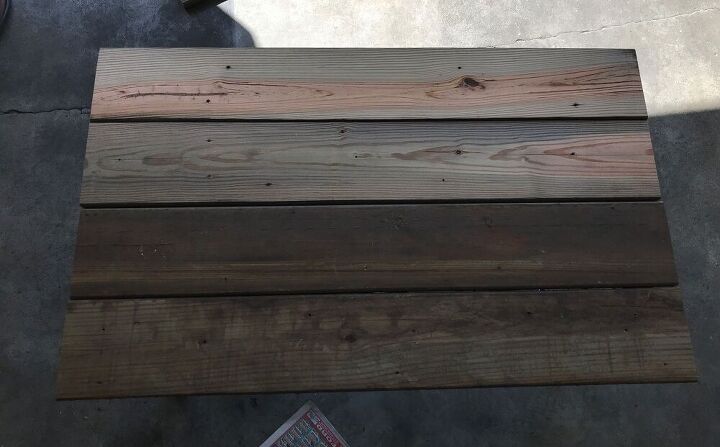
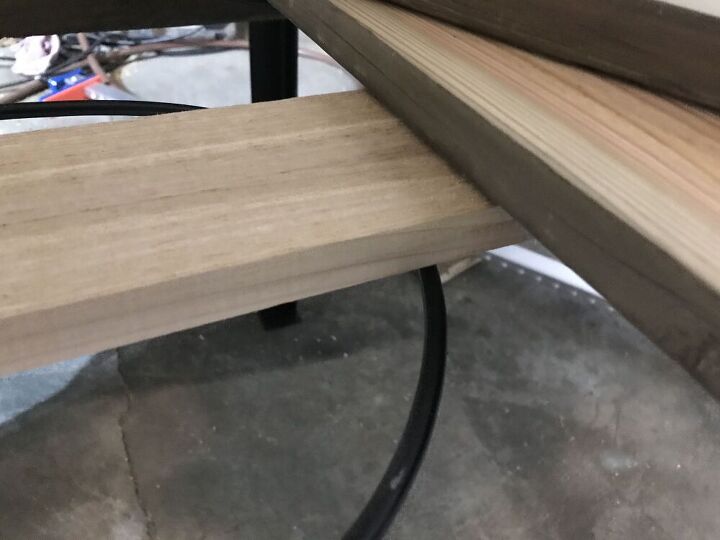
Here are two of the boards before planing, and two after. I'll trim up the ends after it's all assembled.
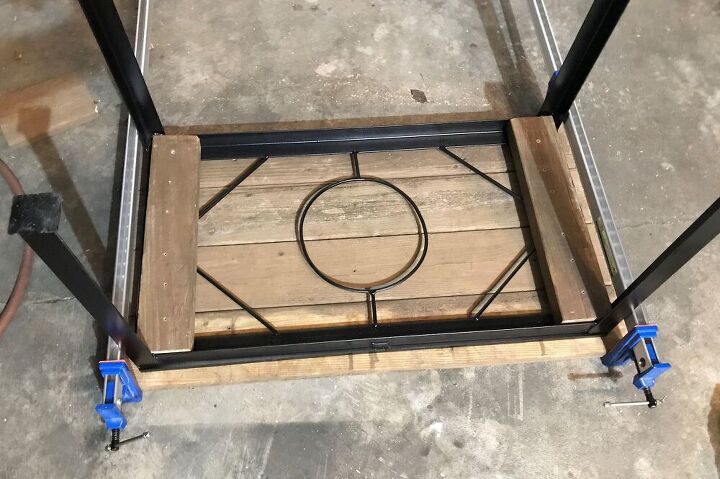
Once the boards were all planed, I turned the boards upside down and assembled everything upside down as well. I hid all the screws on my deck stairs , and this table is intended to match, so I decided to carry the theme forward. I used No 10 x3" outdoor rated deck screws. to hold it all together. The Clamps on the end are making sure I don't have any unnecessary gaps. Pre-drill with a 1/8" bit to avoid splitting. Note: I ONLY put the outside top boards together at this point - you'll see why....
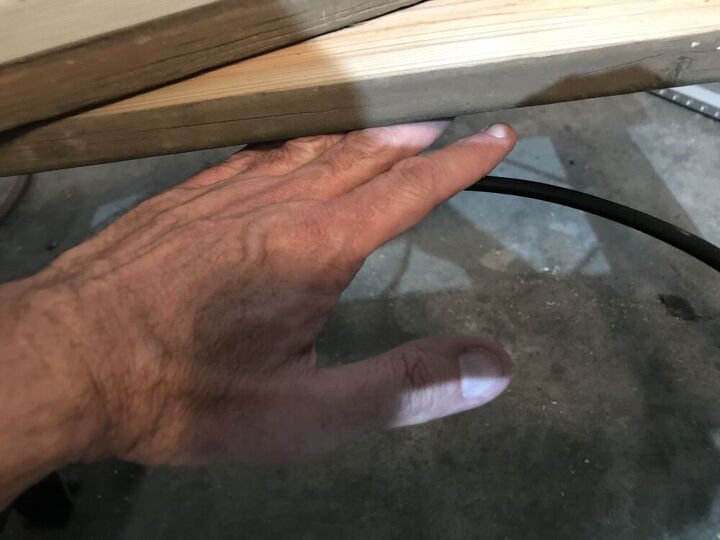
The original top of the table was inset glass. I turned over the table and took the two middle boards out to take this pic. My wooden top will ride over the steel angle, so there's a gap to deal with (where my fingers are). When I screw down the top I was afraid it would pull the center down too much, so I planned for it.
Here's a scrap of cedar from the last barn door I build for a friend, I literally wedged in in between the ornamental design of the top and the two outside-most top boards. (It turns out it was a bit to thick, but that's actually OK) This 'shim' will keep the top from being drawn down too much when we screw it all together
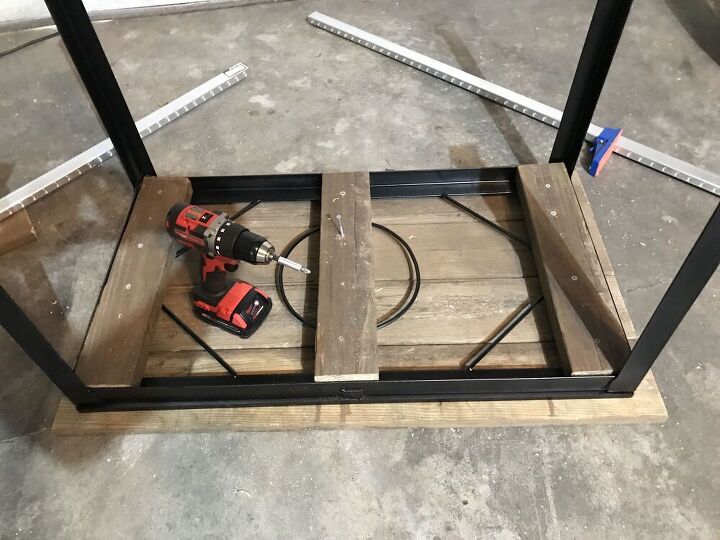
Once the center shim was in place I put the last brace across the bottom. These were only to hold the top boards in place. I could have drilled the metal rails of the table frame, but I thought this would be faster (easier?) and the holes might rust, so this would avoid that as well.
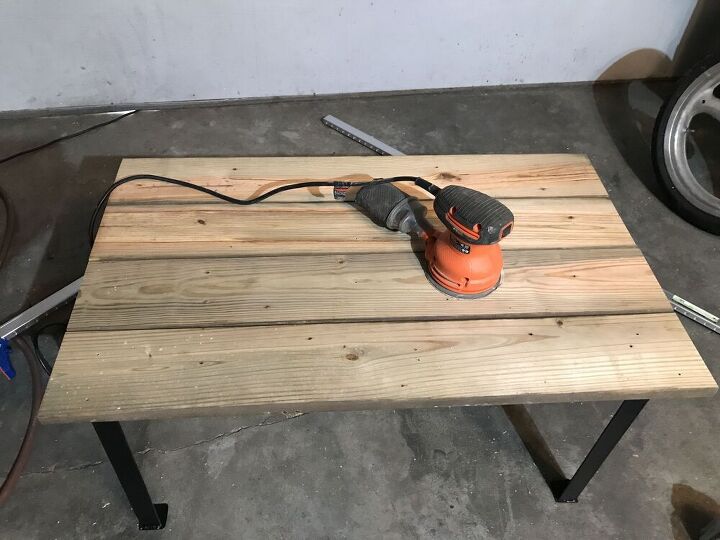
I took a power sander to the boards to level out the varying thicknesses after planing etc, and to smooth out any wear. Not sure how old these were, but the neighbor suggested 1988 or so.
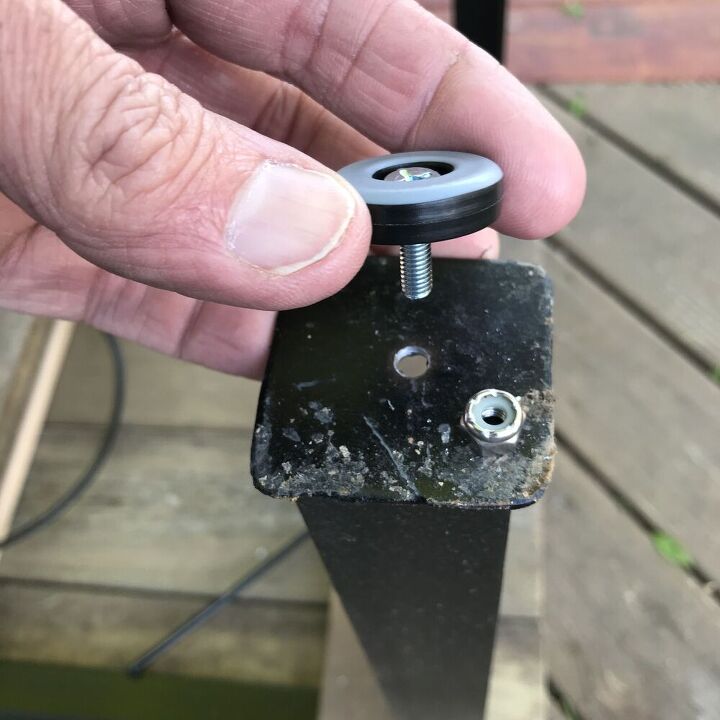
I got some plastic feet from Amazon (bag of 16 for $7) to avoid scratching the wooden deck surface. I counted it as $3 in the final total below, I'm sure I'll have a guitar amp/table, chair/etc need the rest. The feet came with wood screws, so a trip to the hardware store for No. 10 flathead screws and No. 10. Locknuts. You can see how much paint was lost on the table feet just moving this outdoors.
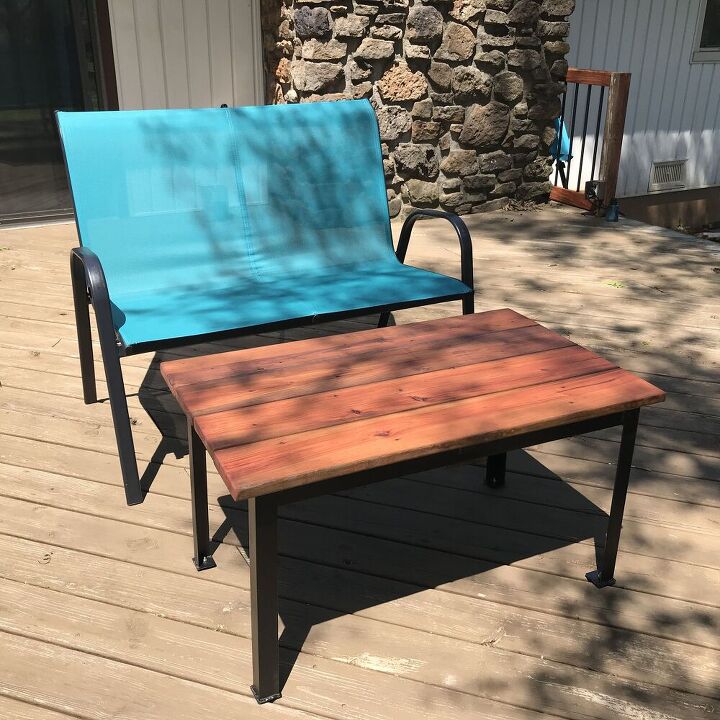
Finally a coat of stain to match the new deck railings and we're ready for Saturday morning coffee. The lumber and stain both match my new stairs, and I have three hours in this. Best of all it's small, and exactly what I want. It's light enough I can pull it around, and with the plastic feet it glides fairly easily.
That gap in the middle I shimmed? Well the shim was a bit too thick, but now the table has a hint of a bubble/crown, and water runs off in all directions. Since I'll leave this outside year-round, that's a good thing after all. A happy accident.
Holler if you have any questions, and happy Hometalking!
Resources for this project:
See all materials


Comments
Join the conversation
-
Absolutely fantastic!! I love happy accidents!
-
Awesome repurposing idea!


Frequently asked questions
Have a question about this project?
What did you do with the piece of leftover glass?