


Antique Clothes Wringer Coffee Table
If you enjoy flea market flip I think you'll love this project. This could be the MashUp Project or Ugly Duckling. While shopping with my daughter-in-law, Steph, at a flea market last summer we spied this great rack. I had no idea what it was, but I saw coffee table!
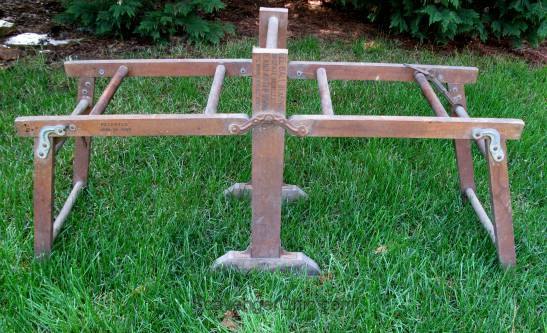
I was just about to ask the price when Steph tells me that her dad had one just like it in his basement. It was leftover furniture from her grandmother who had used it as a drying rack. More importantly, I could have it if I wanted it. It has now been months later and I was finally ready to make my coffee table dreams come true. I didn't quite remember the sticky uppy part on the center support at the flea market, but I didn't let that little detail deter me.
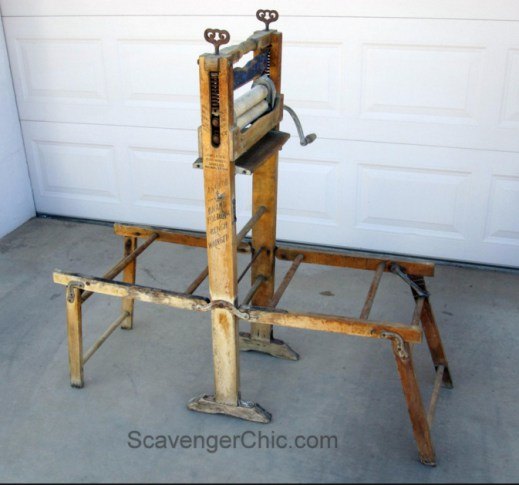
After a little research, I found that this wasn’t just a bench or drying rack, it used to have a wringer attachment in the middle. What I think you did with it is, you would have two buckets, one on either side. One side had wet clothes, send the clothes thru the wringer to another bucket on the other side.
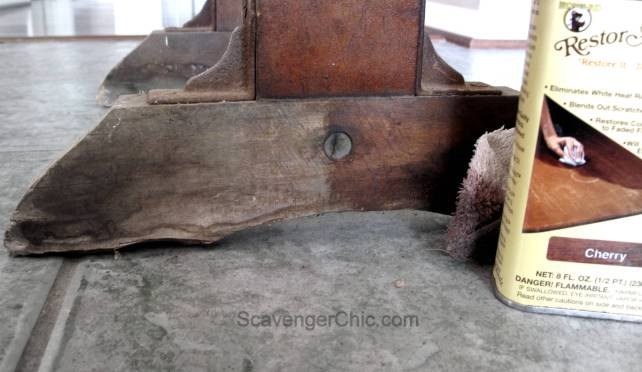
There wasn’t any varnish left to strip, but the wood on this poor thing was crying out for help. Since I had a container of Restor-a-finish, I thought I would start there. Look how much prettier the wood looked after just rubbing this stuff on with a rag.
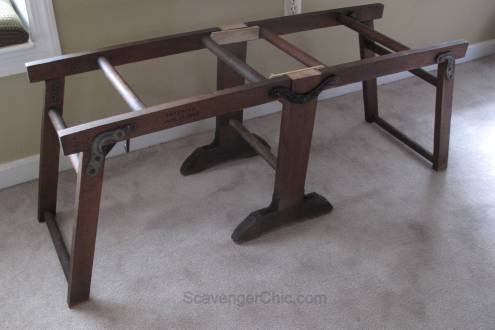
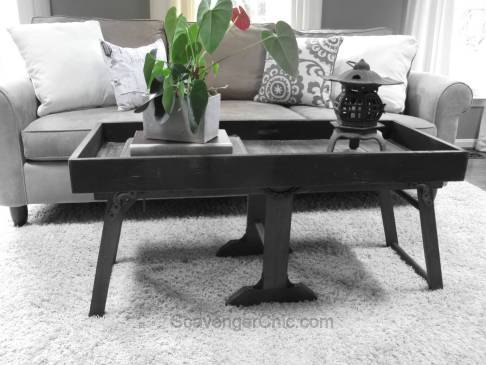
I'm giving you the cliff notes version, if you want the full step by step click the link at the bottom. Sorry, there were too many pictures. The brackets holding the middle supports were taken off and turned upside down, the legs were chopped off a couple of inches to be more coffee table height, the middle supports were cut down to be even with the new coffee table height and the rusty hardware was painted black.
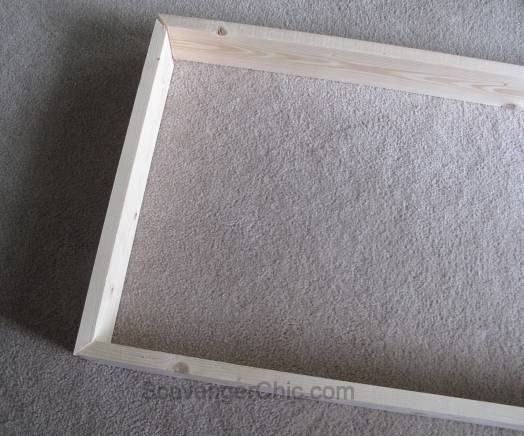
Moving onto the top, I started out by cutting a frame out of 1×4 lumber. I cut 2, 43″ and 2, 19″ pieces, mitered at the corners. You could also just make straight cuts, the choice is yours.
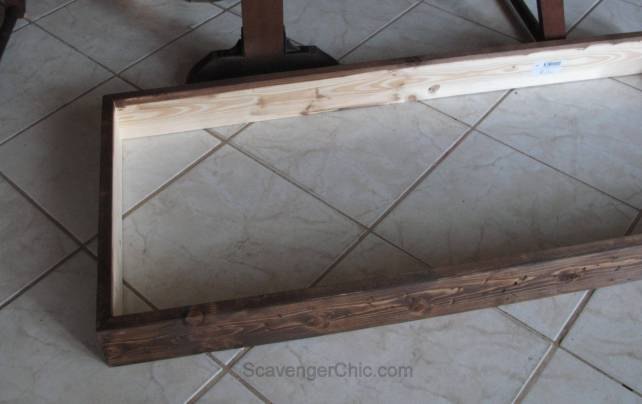
The frame was attached with wood glue and finishing nails then stained a dark walnut.
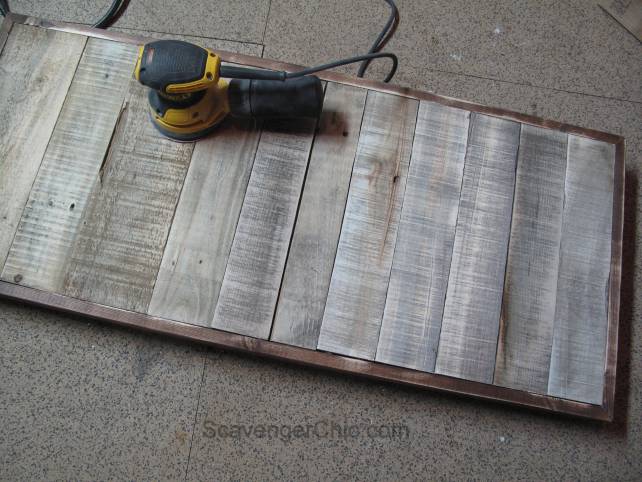
Pallet wood was cut to fit inside the frame. The pallets were nailed to the frame with finishing nails . Sand until smooth.
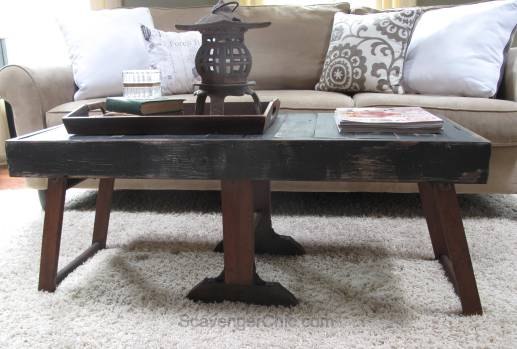
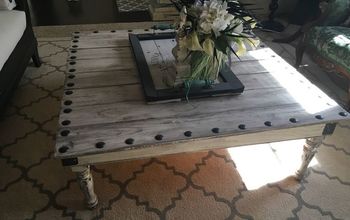
Layered on chalk paint and finished with a dark wax.
Like I said, this is the abbreviated version. If you need more details, a ton more step by step pictures and finishing techniques stop by for a visit at the link below.

Want more details about this and other DIY projects? Check out my blog post!
Comments
Join the conversation
1 comment
-
Oh wow it turned out so beautiful!


Frequently asked questions
Have a question about this project?