


Before and After DIY Farmhouse Table With Crackle Finish - Thistlewood

Looking for an easy way to transform a thrift store table? Here’s a simple DIY on how to create a crackle finish for your table with glue.
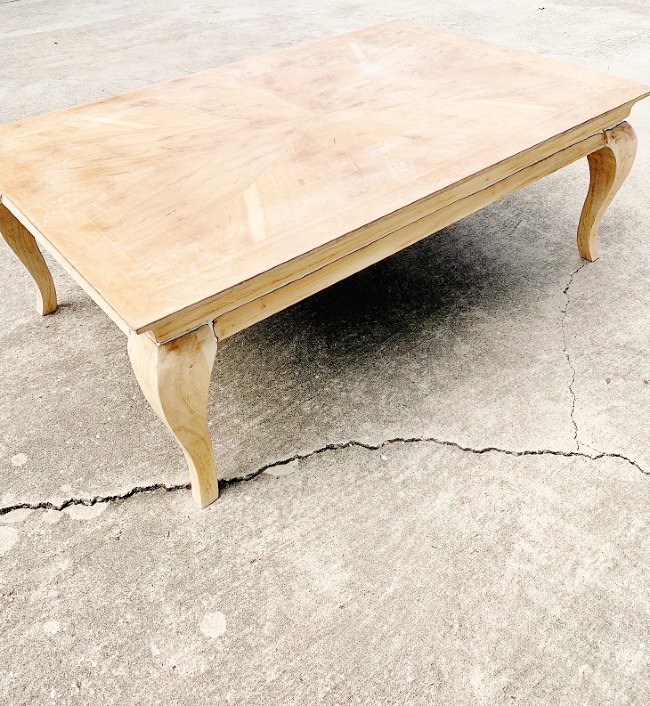
I know this looks like a table.
It’s got four legs and a top and it looks like it’s fluent in furniture.
But really?
It’s just a project waiting to happen.
This is the table from our family room. In full-circle news, it used to be a dark orange-brown color which I didn’t like.
So I painted it white and put it in the family room.
But it always seemed too white to me.
I wanted a little more character.
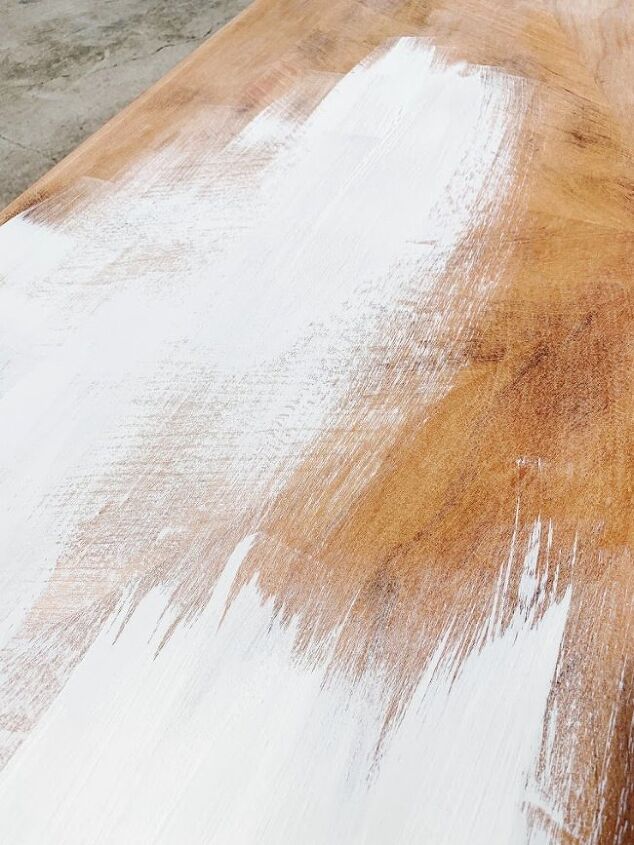
So we took all the paint off of it and then it looked like this.
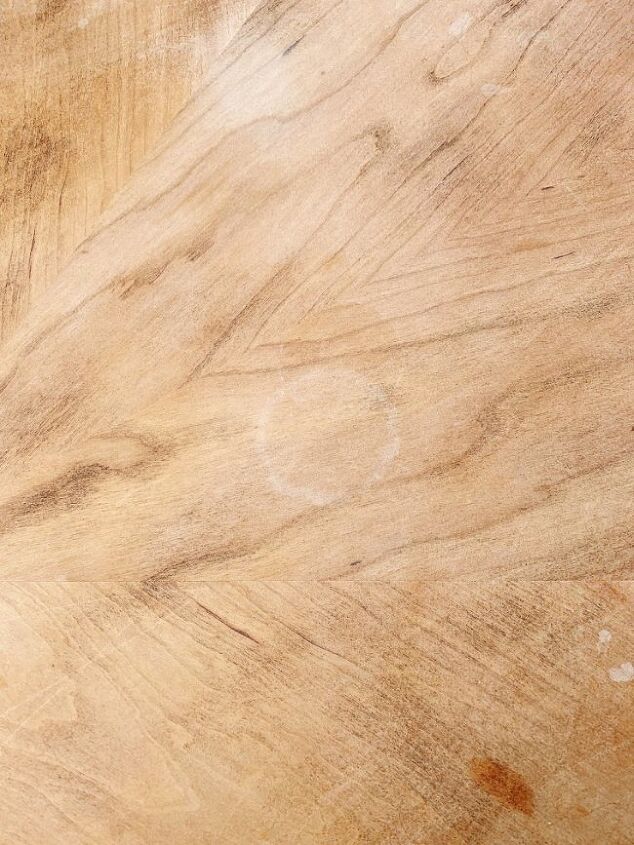
Except.
Except the wood was super orangey (maybe from all that dark brown orangy stain) and we didn’t really seal it properly and I turned into someone that I never thought I would be.
A member of the coaster police.

I would start breaking out in hives if someone put a drink on the table.
And no matter how hard I tried.
No matter how many coasters I added, inevitably there were stains.
And myself and the table and the general population of this house were a little miserable.
So I decided to paint the table again.
Sigh.
Have you followed this entire furniture drama? I can hear what you are thinking. YOU HAVE JUST COME FULL FURNITURE CIRCLE.
But this time I wanted to go all character on the table so I created a crackle finish with glue.
Want to know how I did it?
Oh, good.
Me, too.
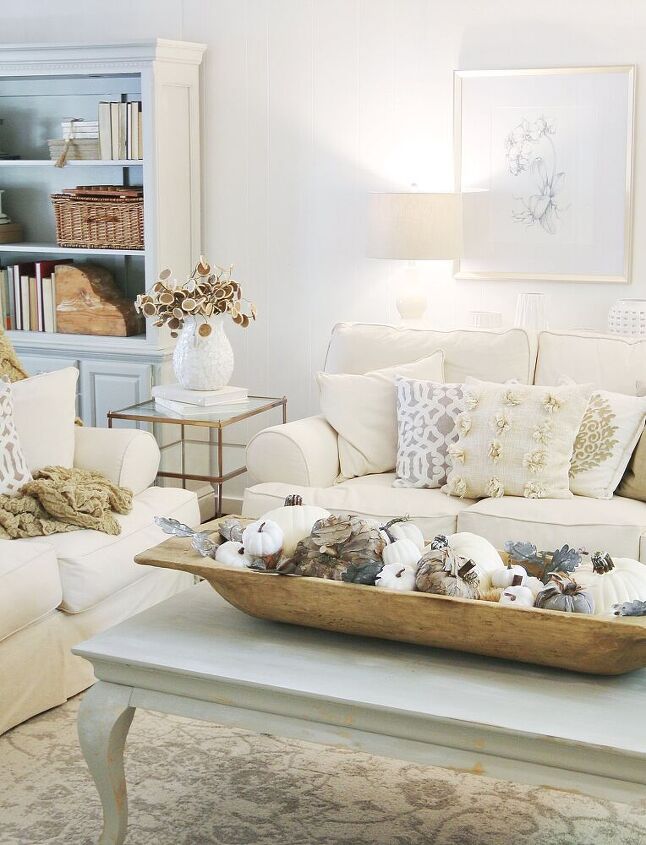
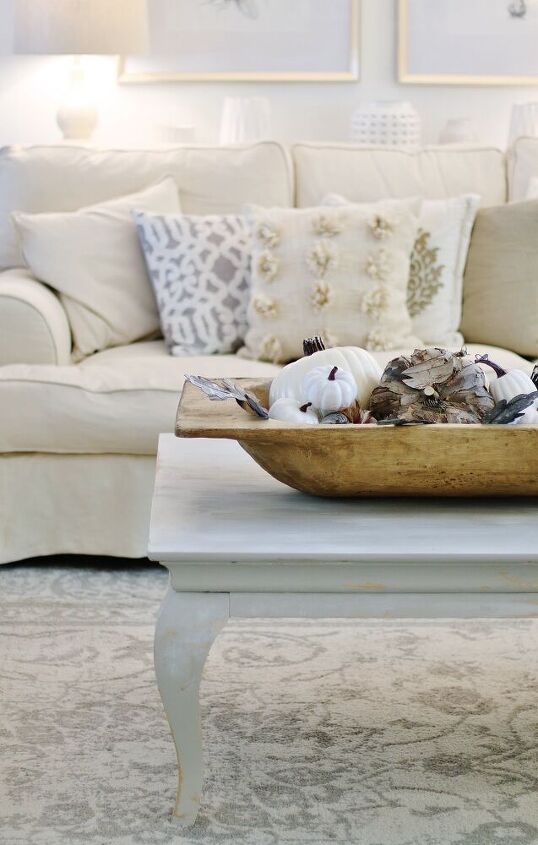
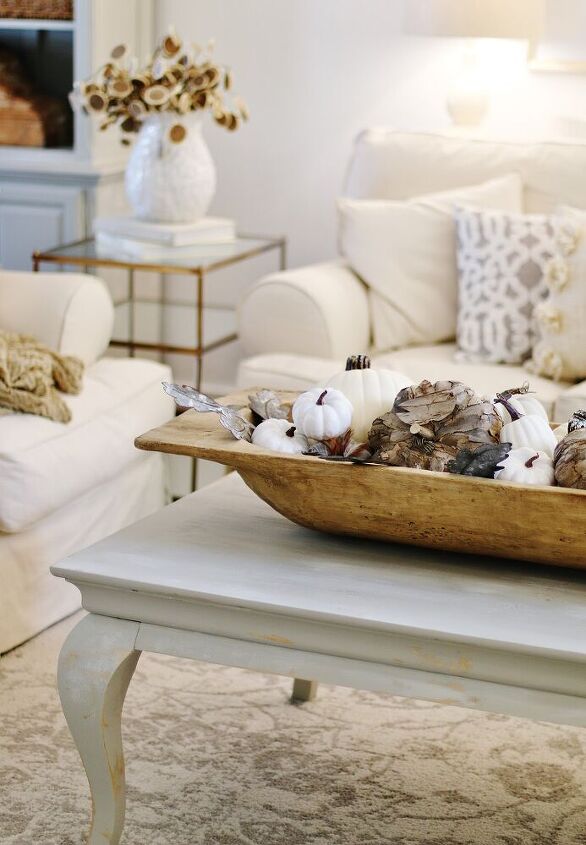
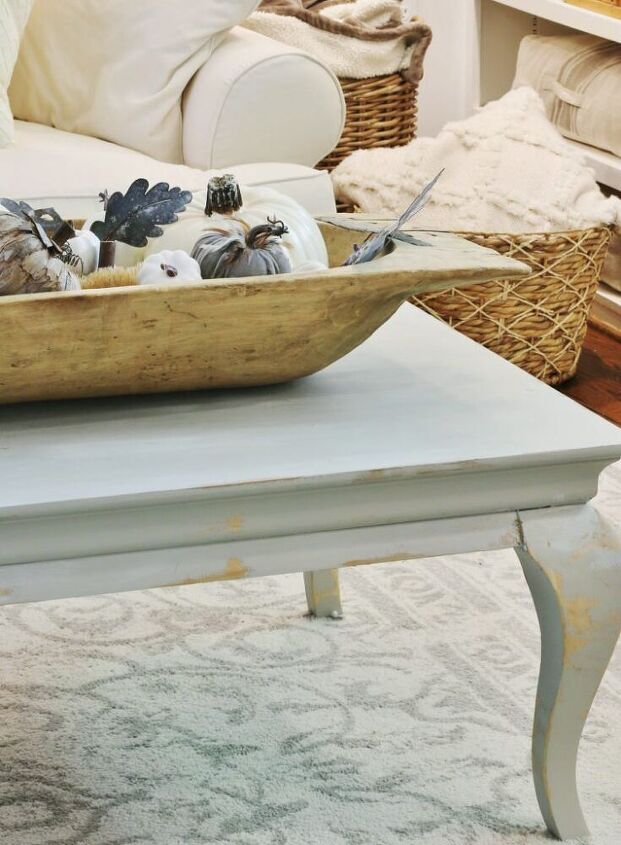
Before we get started, here’s a picture of the crackled tabletop in the room.
You can see how the crackle finish gives it so much character.
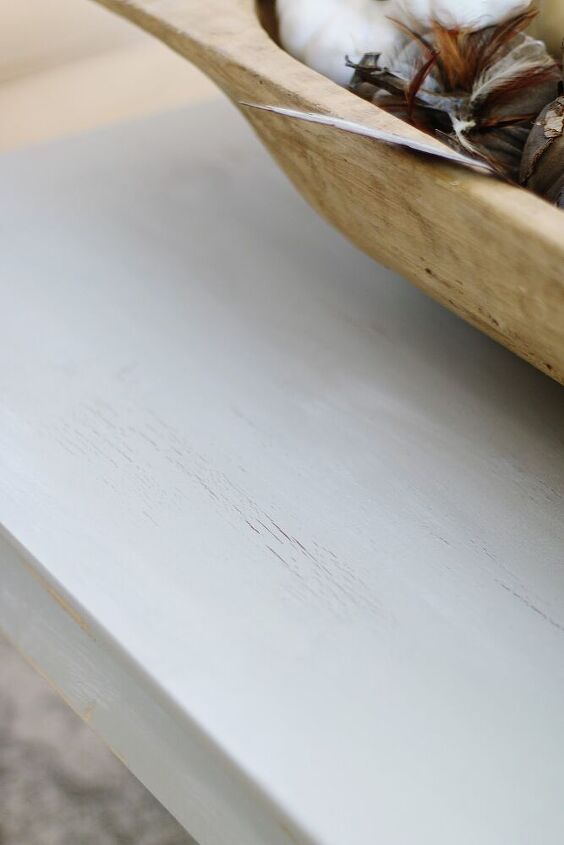
And here’s a close-up of the crackle finish on the tabletop.
It’s really such an easy finish.
I’ve been doing it for years and anyone can do it.
All you need is a little glue.
DIY farmhouse table with crackle finish
supplies:
piece of furniture
brush
glue
paint
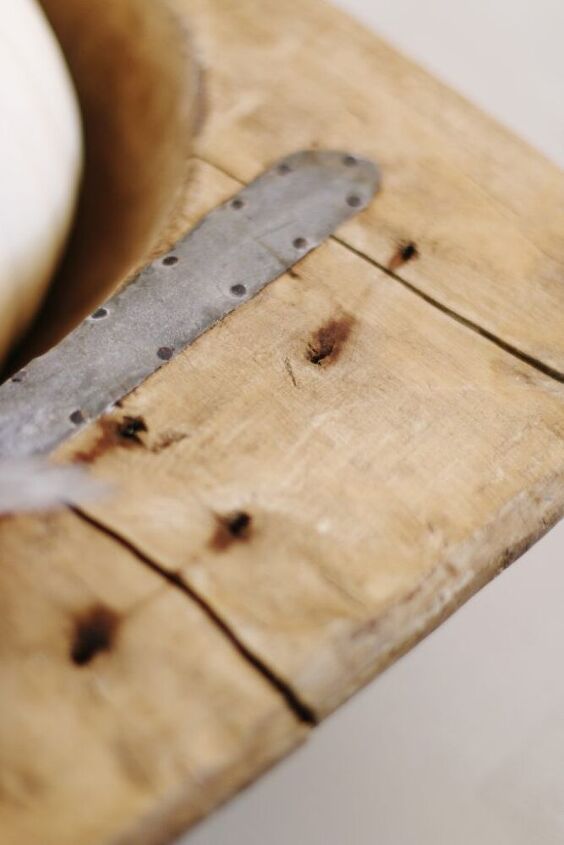
1. Lightly sand
You want to lightly sand the surface of the table.
This gets rid of any raised parts on the surface, but it also prepares the table for the glue and the paint.
I also want to introduce an important concept here about crackle. When you crackle there are two layers. The first layer is the part that you want to SHOW THROUGH the crackle and the second part is the color you want to have CRACKLE on it.
For example, I wanted the wood to show through the crackle, so I didn’t use a first coat. If I wanted white to show through the gray I would have painted it white first before adding the crackle layer.
Does that make sense?
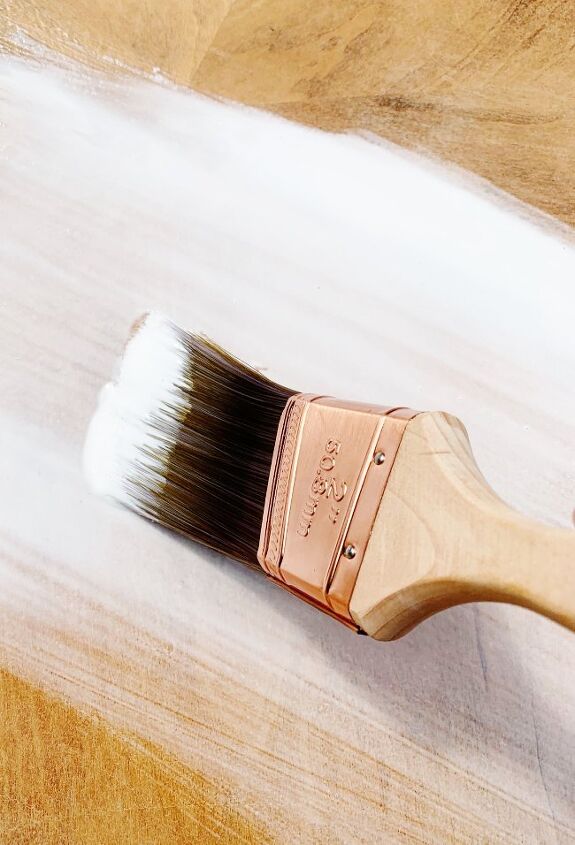
2. Start by glumping on the glue for the base of the crackle finish
This is just regular Elmer’s glue.
The kind you used to put in your backpack in elementary school.
I just opened the bottle, poured it on and glumped it.
3. Brush in one direction
When brushing the glue (and the paint) you want to make sure you are brushing in ONLY ONE DIRECTION.
I’m not sure why or how, but it just works better.
Your crackles will be so much cuter if you brush one way.
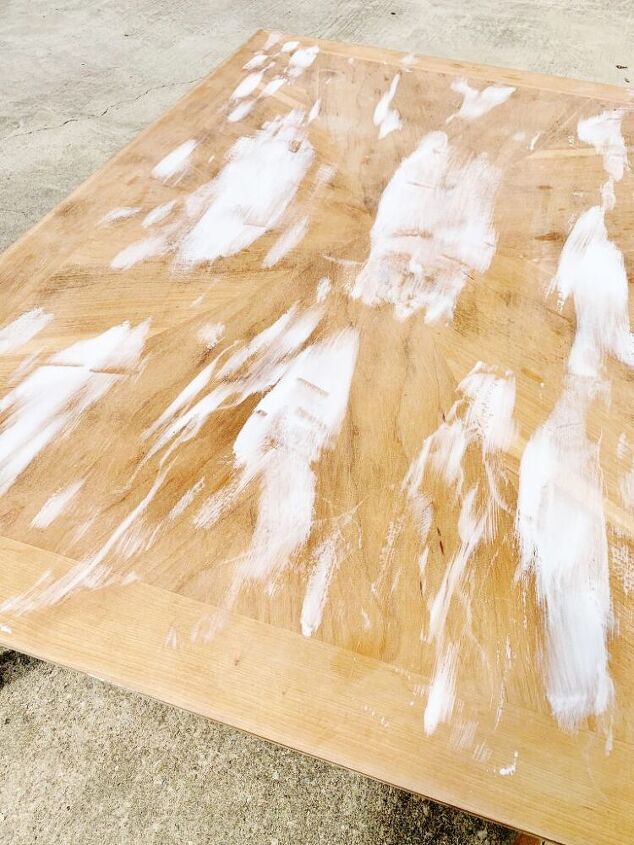
4. Brush glue only where you want it to crackle
This is super important to remember.
You don’t want to cover the entire table—just the parts where you want the crackle color to show through.
Here’s my table covered in glue.
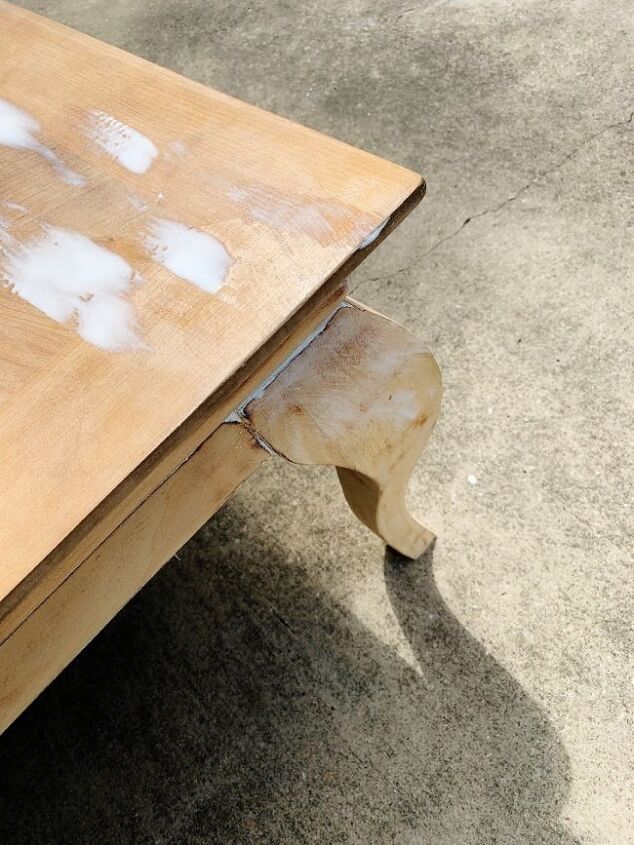
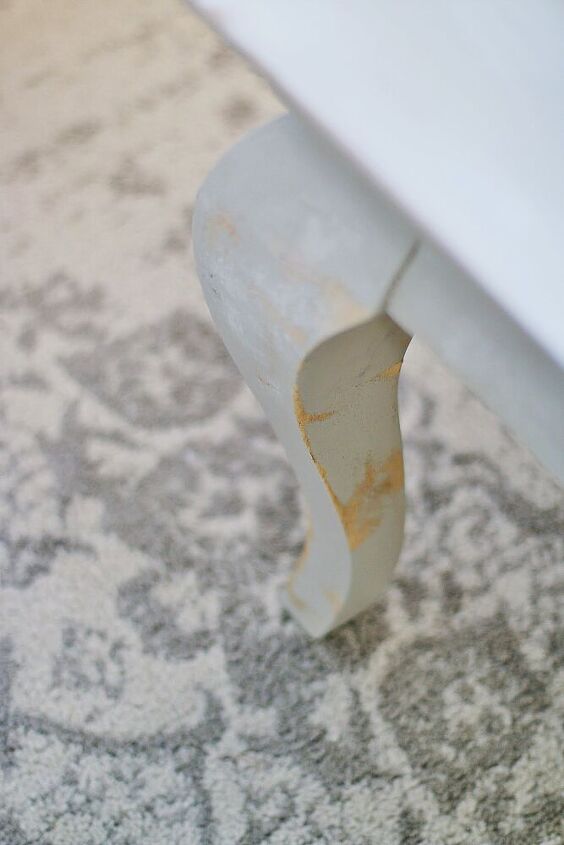
Here’s where I added a little bit of glue to the legs to have a small crackle there.
The more glue you add, the bigger the crackle.
The less glue?
The less crackle.
5. Paint top coat for the crackle finish
Wait until the glue ALMOST dries before you paint.
You want your glue to be slightly tacky.
Then you’ll want to add your top coat.
Again, make sure you brush it in only one direction. I painted this with Sherwin-Williams Mindful Gray.
Let dry.
6. Lightly sand
I like to add a little sanding when I crackle.
It’s like the glue does most of the work, but a little sanding gives it even more character.
Here are the legs after they were crackled and sanded with 220 grit sandpaper.

Here’s the finished table in the space.
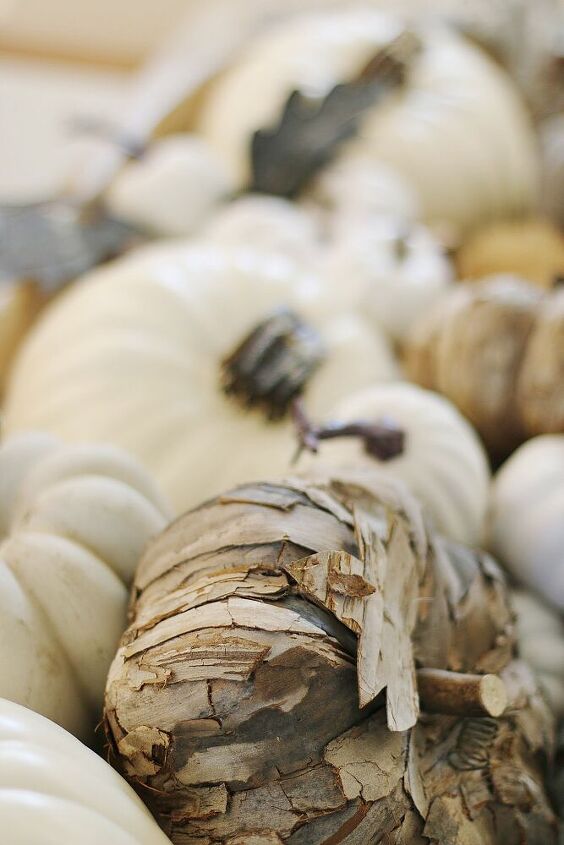
I started taking pictures of the table, but somewhere along the way I got fascinated with the pumpkins and took a zillion pictures of them.
I couldn’t help it.
I hadn’t seen them in 12 months.

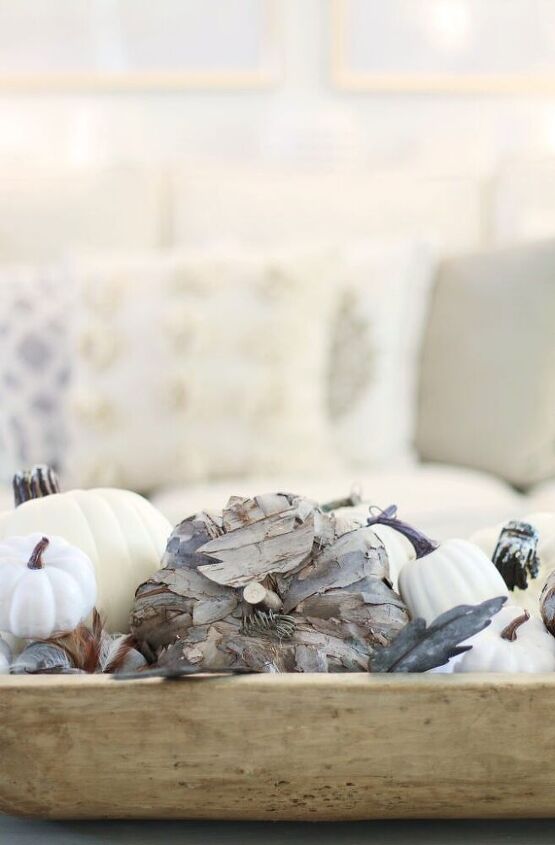
Fall is going to be amazing this year.
I can feel it in the air.
My crackled glue table is ready.
My football stadium seat is ready.
My dough bowl is ready.
Are you ready?
Oh, good.
Me, too.
LET’S GO. 🙂
PS If you are looking for some ideas to decorate your coffee table now that you’ve finished crackling it?


Comments
Join the conversation
-
It's absolutely lovely. Just beautiful. Your while living space is to die for. How in God's name do you keep it so clean? Lol
-
Do u think I can do this to a non wood table..
the surface I want to do is like that faux marble.. so it’s shiny, not porous.. and smooth.. thanks


Frequently asked questions
Have a question about this project?
Beautiful room. Can you tell me where you got the area rug?
Do you scrape the glue off or just sand wherever there was glue?
Can i see a picture of the table please