


DIY Herringbone for $10

by
Deb Foglia
I became obsessed with the herringbone pattern, especially floors. I knew that was not going to be possible in this house so I was eager to add something to our house that has the herringbone design.

Well, after a few scuffed up marks on the painted Ikea Hack log holder I knew just where I would be adding my Herringbone pattern to.
This is how the Ikea piece started out as before I had even added any paint to it. I decided instead of buying a new piece of furniture for a while I could paint this gray (with some latex paint) and add some logs underneath during winter.
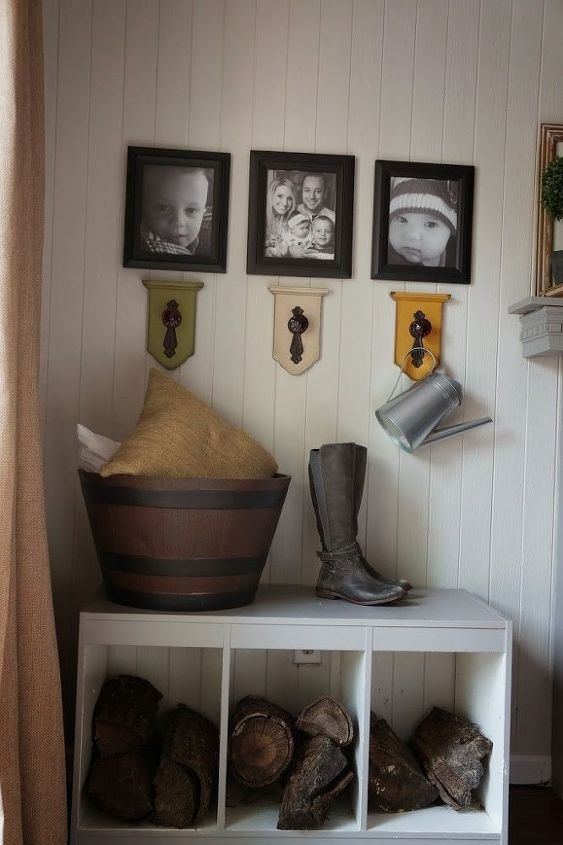
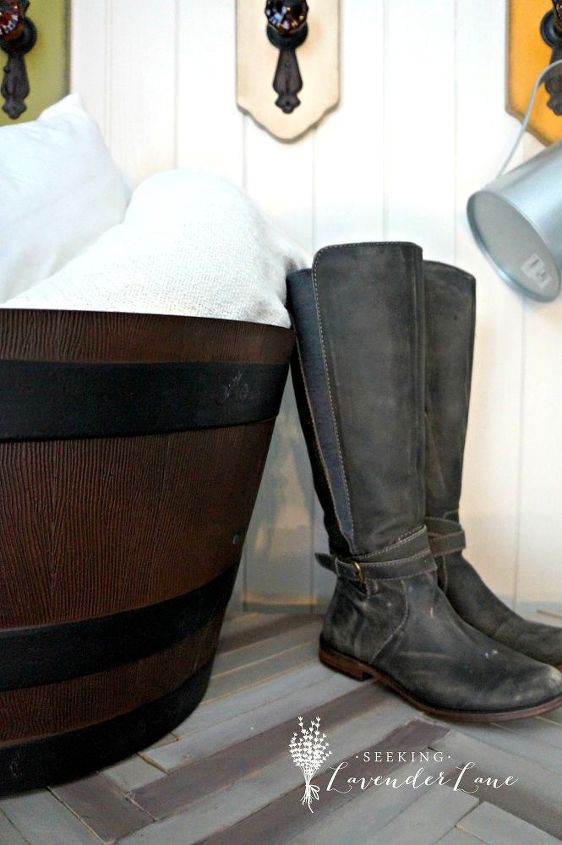
Well after a little paint it looked great! Wasn't being touched much or used except to store logs in so not sealing the paint worked out fine for a while. Well then the kids figured out that they could climb on top...and that's where the paint started to chip away. And the herringbone top came to the rescue!
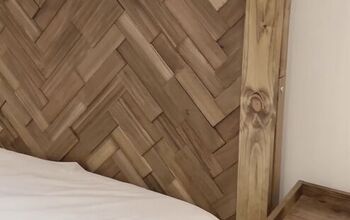
Using some very affordable shims and making cuts as we went, the herringbone became like a puzzle piece we were putting together. We made the end cuts last and worked from left to right.
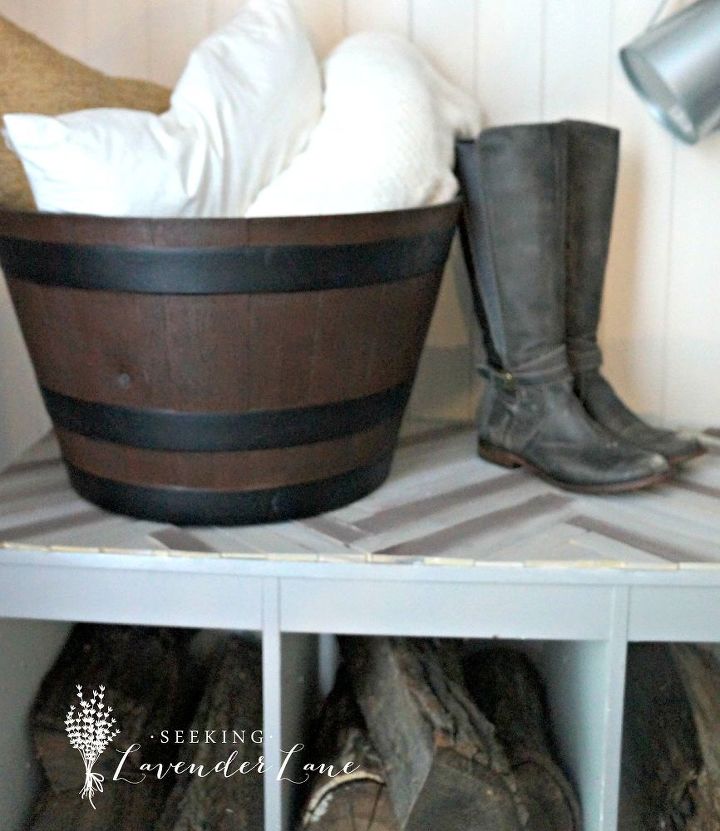
To achieve the definition in the patterned I chose to stain each piece differently which really added to the herringbone style! Using leftover stained helped keep the cost of this project down. The entire project cost me $10!!!! This herringbone could also be great for artwork or on anything that you choose. I would not recommend shims on a surface you use too often though.
Want more details about this and other DIY projects? Check out my blog post!
Comments
Join the conversation
2 comments
-
Love herringbone like this!!
-
Great job! Maybe some rulers would have worked easier and cut those off to size? I bet the shims were hard to work with since they are so fragile but they are cheap!


Frequently asked questions
Have a question about this project?