


DIY Upholstery Chair.....First Time

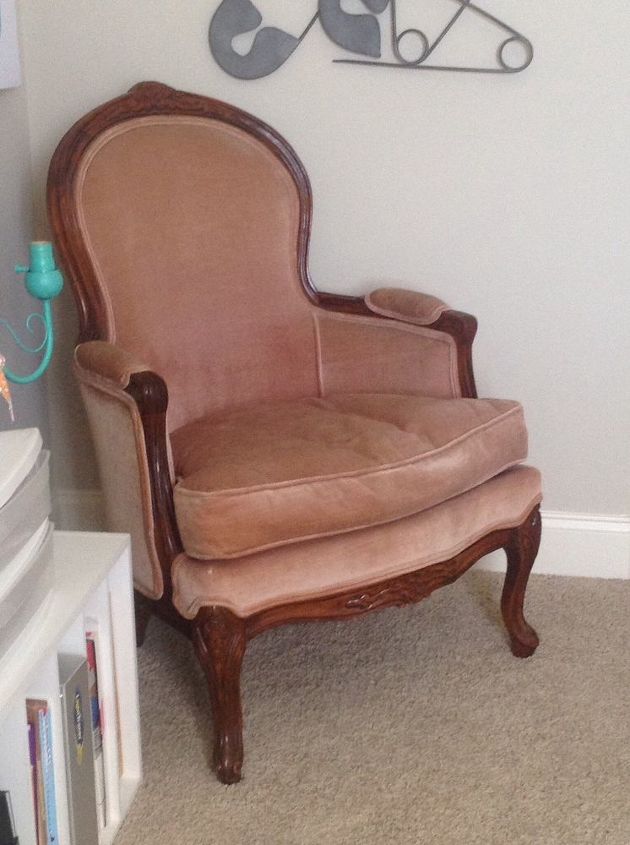
My mom moved south with us and downsized. She had pieces of furniture that just wouldn't fit in her place. This chair was one of her favorites.
I told her I would give it a home and would reupholster it. Well, after YouTube videos, I was very intimidated. I honestly didn't think it would be too involved.
In a sense it was very involved but I also think since this was my first time taking on a project like this, it was time consuming and a learning experience. I didn't want to ruin my mom's favorite chair.
I wouldn't think twice now about purchasing a chair or bench to reupholster.
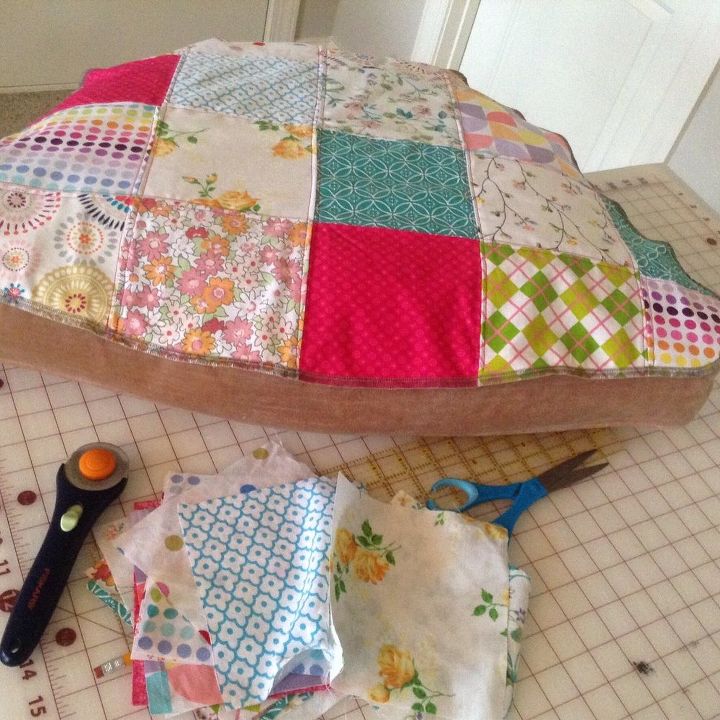
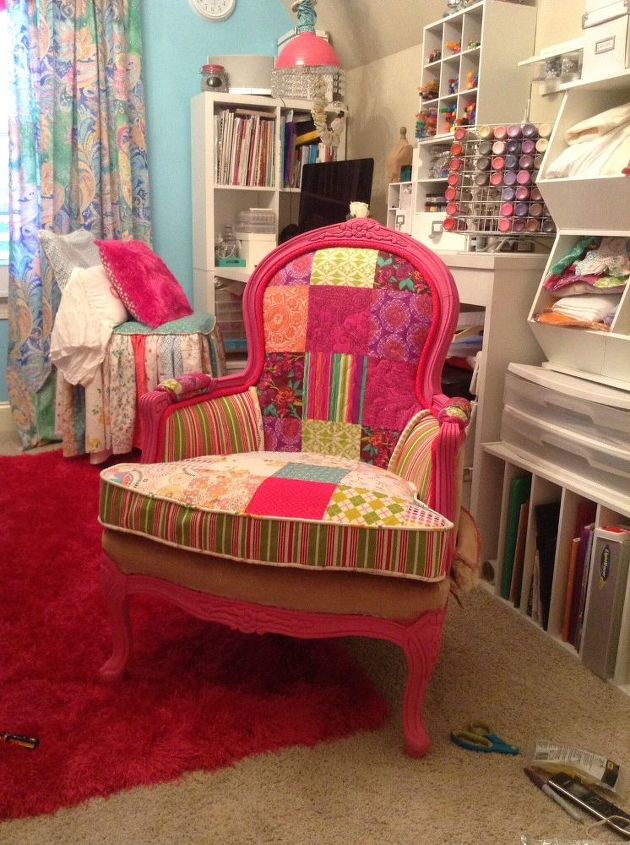
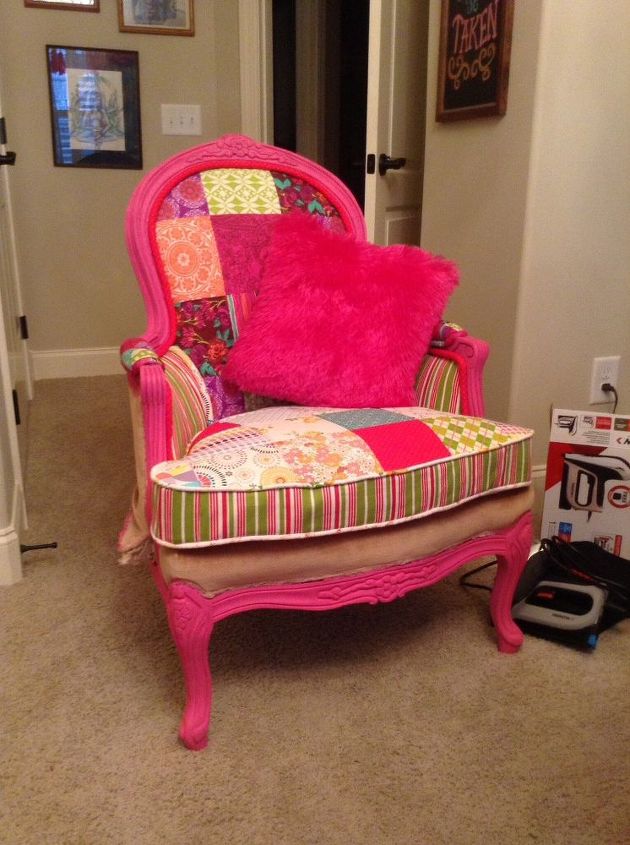
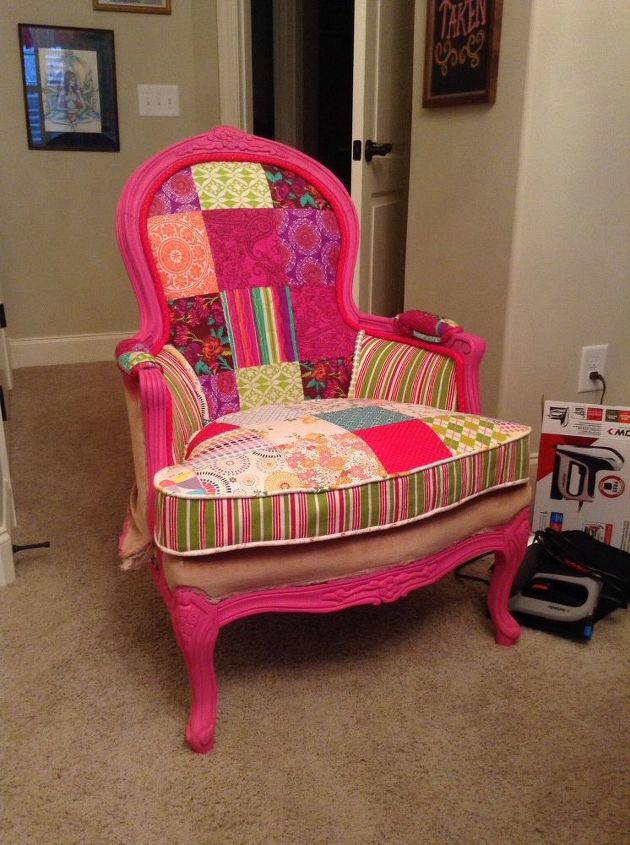
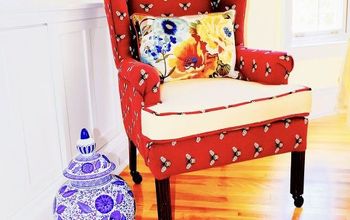
The first thing I did was work on recovering the cushion. I wanted to create a truly girlie girl chair for my craft room/office. I ended up purchasing fabrics on sale, marked down bedding, and sheets. I wanted a patchwork, eclectic design.
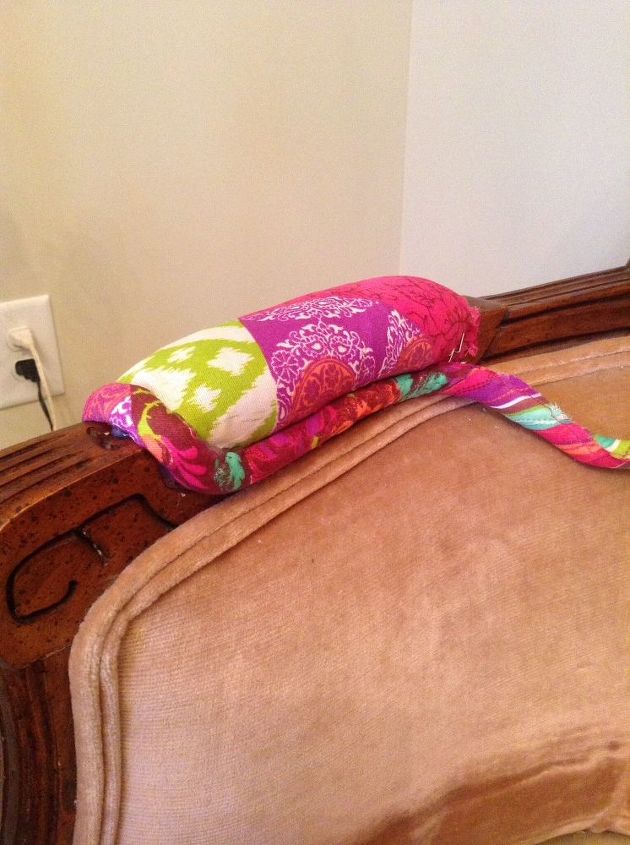
My next step was tackling the cushion on the arms of the chairs. I decided to use a larger piping which also makes it a little easier to cover mistakes.
While waiting for the staple gun to arrive, I took my Pantone book to Lowes Home Improvement and had them mix a custom Chalk Paint by @Valspar. Let me just say I love their
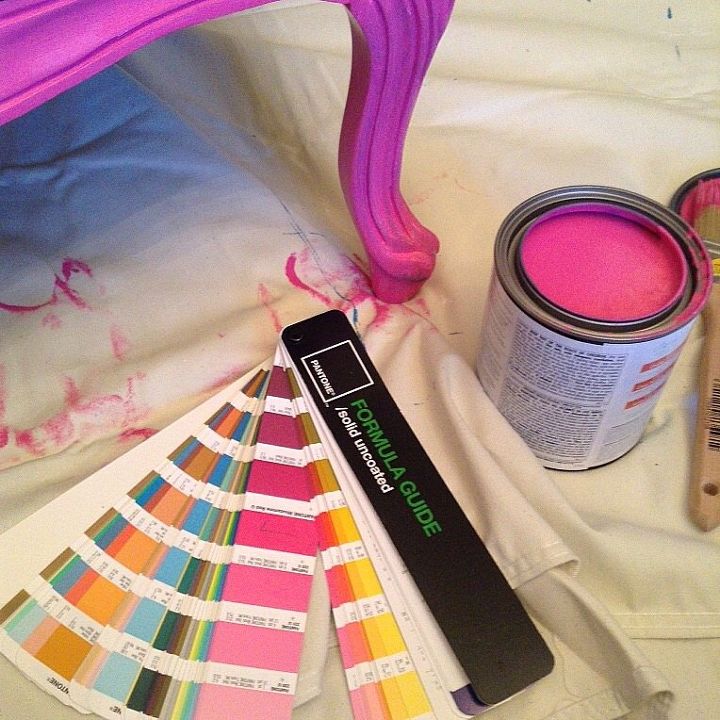
I painted the wood frame. It took about three coats and there was no bleed through. I really like their chalk paint. It's $5 cheaper than most companies that sell a quart and you can have them mix any color. So no more trying to match from a few select color options. Coverage is great too. Two thumbs up for
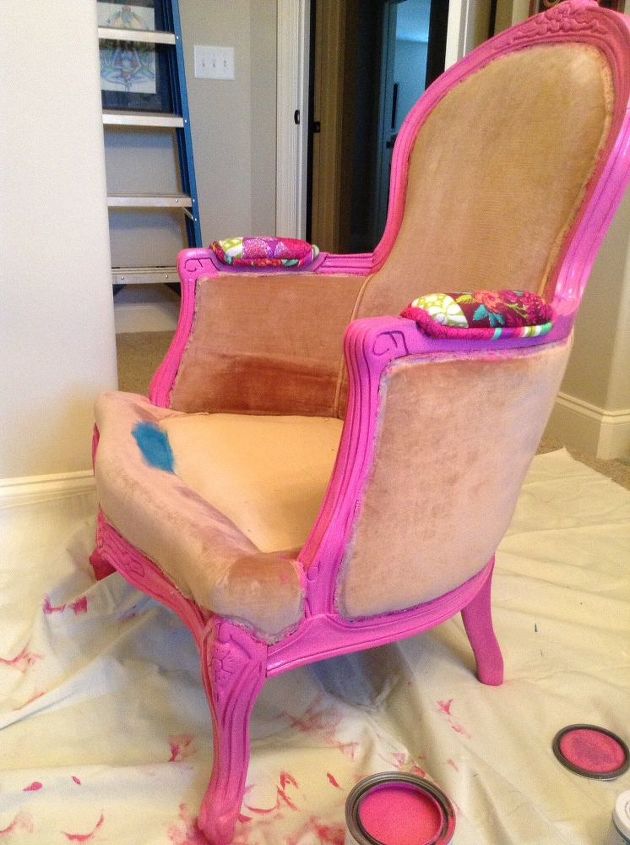
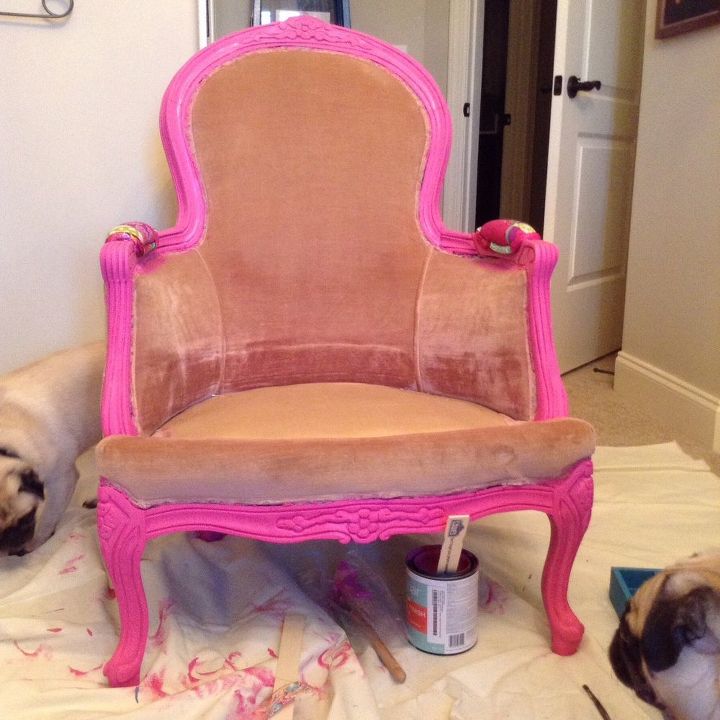
So now it was time to tackle this huge, terrifying reupholstering job. I started to pull staples out. I decided I wanted to reupholster over existing fabric. Honestly the fabric was in good shape so there was no need to remove all the fabric. I had a lot of fabric and for the large pieces, like the back of the chair and back seat I purchased a patchwork quilt. It made my sewing time easier.
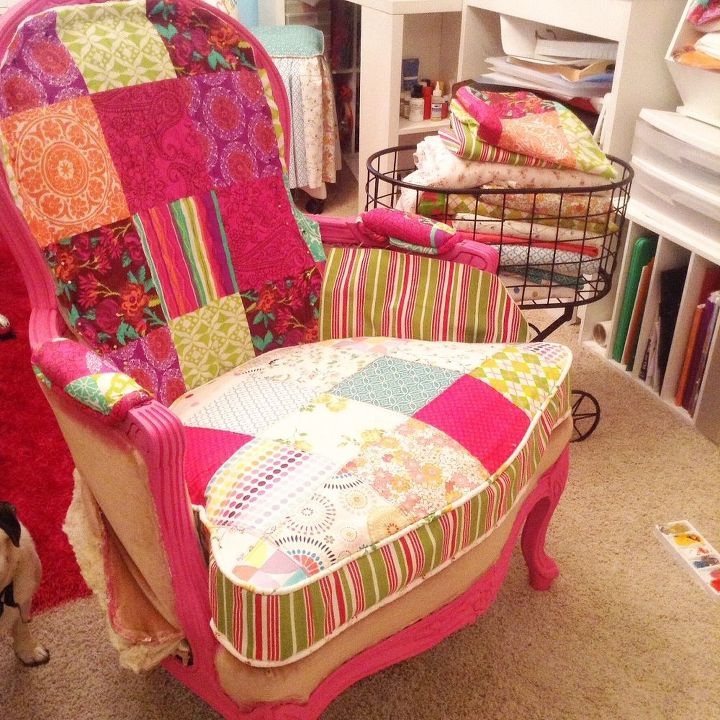
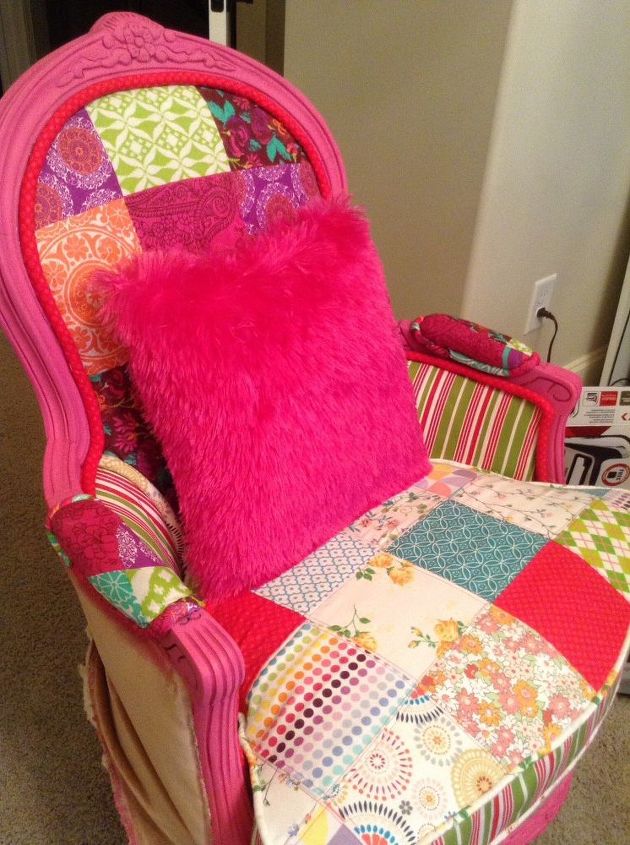
Above you can see I finished covering the seat cushion and have the pieces of fabric cut to size. I did a simple sewing machine straight stitch to attach two different fabrics for inside arms (not shown here but I also inserted a piping between the fabrics).

Photo above is without added piping. Although there is piping added in between fabric transitions to give a cleaner, more tailored appearance.
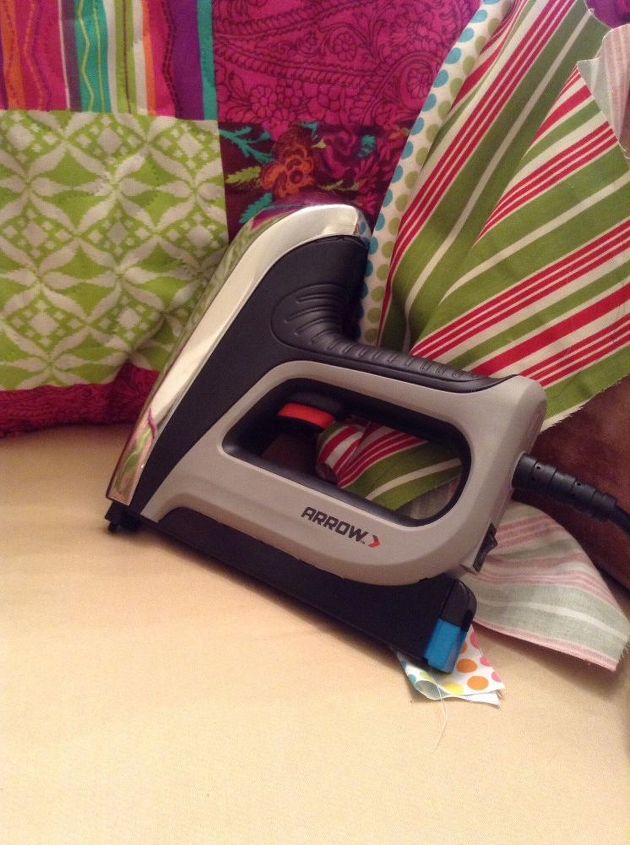
This is with added piping. Piping I attached with glue gun. Easy peasy! Of course I sewed the piping.
Now, I started this project at the end of November so of course the holidays side tracked me.
Comments
Join the conversation
3 of 23 comments
-
Absolutely beautiful!!! I am not sure I am up to this stage yet. Just a beginner!!!but you have inspired me!!
-
NO Drama? oh that chair is all Drama! Love it!


Frequently asked questions
Have a question about this project?