


From Garbage to Cool Foot Stool

by
Lisa L Hall
12 Materials
4 Days
Medium
My husband sits at a desk for long hours and we all know what doctors have said about that...it's not good for you. But if you have to, try to have your feet elevated a little. Well the hard part is finding a foot stool that is not too large and fits under his desk. This search has been going on for a while. A while back a neighbor had 2 little chests out for the garbage...you know the saying 'one person's garbage....' Well that has become my little treasure. It was in really bad shape so I knew it would take a while to complete this but I finally did it. It did take me 4 days but a lot of that time is drying time for paint, glue or epoxy.
The best part is, the sub woofer he has for his desk speakers fits inside perfectly so now it is up off the floor and is a little less like to get kicked.
Bear with my post as I have a lot of photos but I think it makes it easier to follow with more photos.
I was able to do this entire project for $0.00 since I had everything on hand.
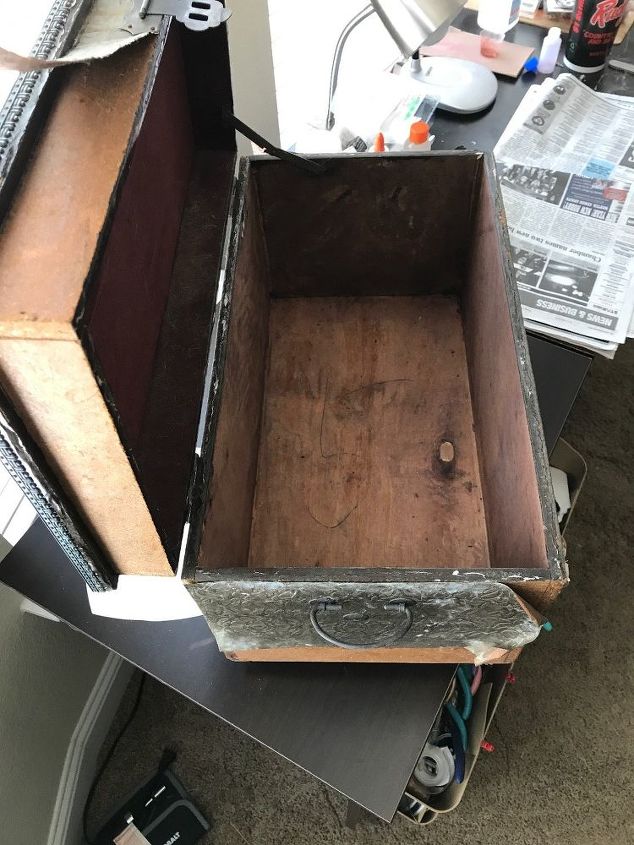
You can see that the wood and particle board is not in the best shape. The metal on the top and sides has to be removed and can't be reused. So step one was to get all of the metal off, all of the hardware removed and/or loosened. The side handles were hammered into the sides so I just needed to get them loosened enough to get paint around them. The trim around the top edges I removed and kept so I could reuse it.
Since this is going to be used as a foot stool and to hold a sub woofer, I removed the front panel of the chest.
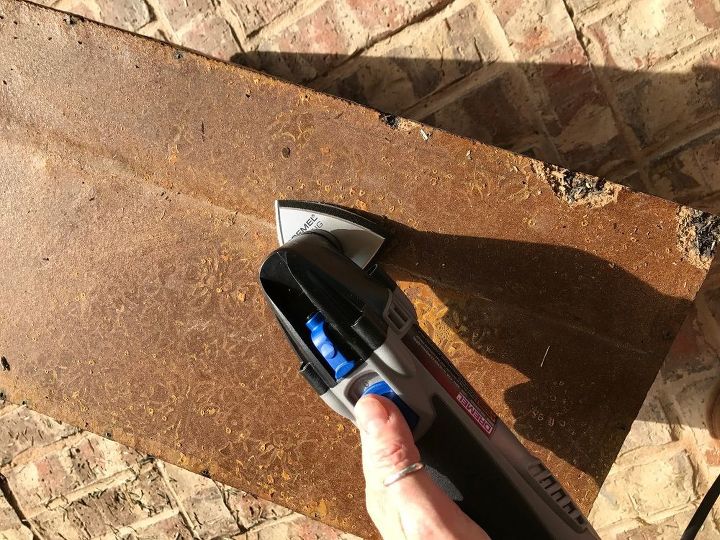
Sanding was the next step. As you can see, the top has a lot of water damage. I will fill that once everything is sanded down and all the loose pieces are removed.
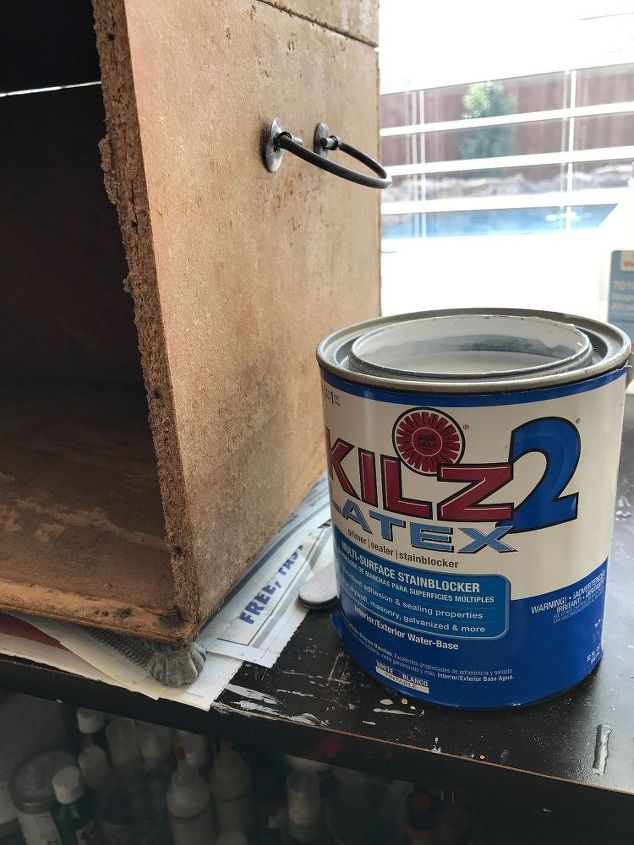
It did have a little smell to it, I'm sure from the water damage. So I decided to put a base layer of Kilz paint on it. If you have something that is not damaged too badly you may not need this step
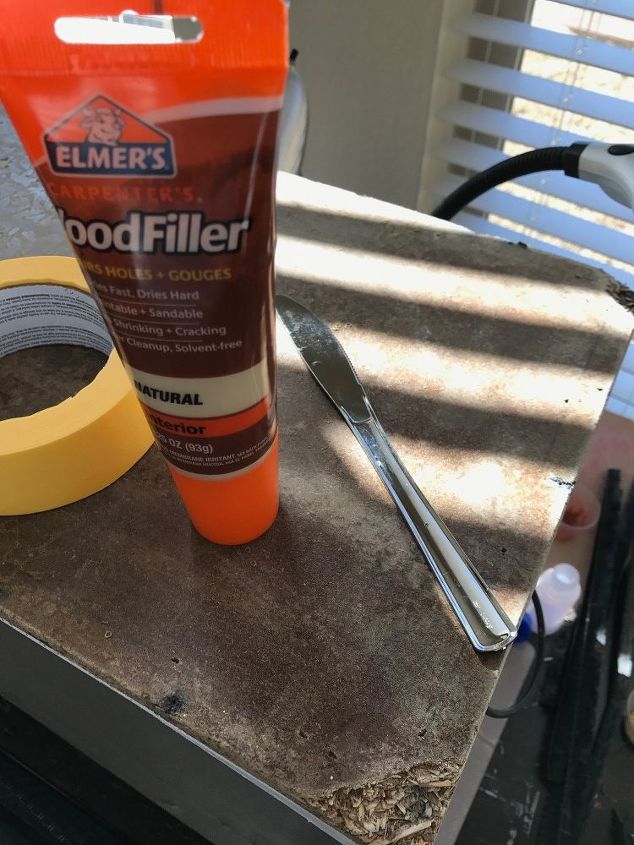
Next, the wood filler. Since I wasn't going to paint the top (I have another cover for it), I was able to do the filler while the base layer of paint was drying. It came in handy that I didn't remove the handles since I was able to pick up the chest and rotate it as needed and not touch the paint. If you don't have handles, you may want to do just the areas that you can reach comfortably while the paint is wet.
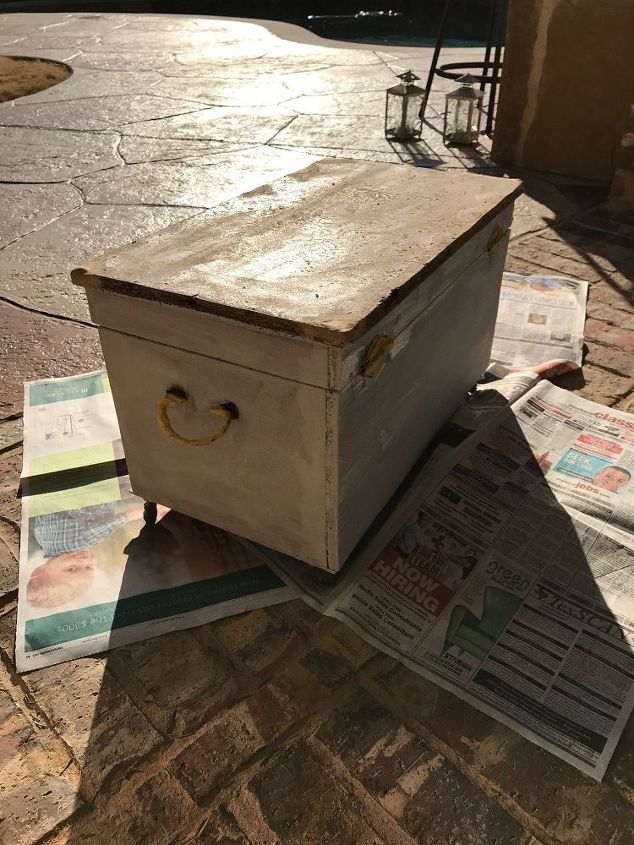
So this is what I have when all the prep work is done. It actually doesn't look half bad now. So I didn't want to have to buy anything extra to make this stool. When I was going through my paints, I came across stone paint. It's a spray paint that makes the item look like it's stone. Since this is for a man's office, I thought that would be a good choice.
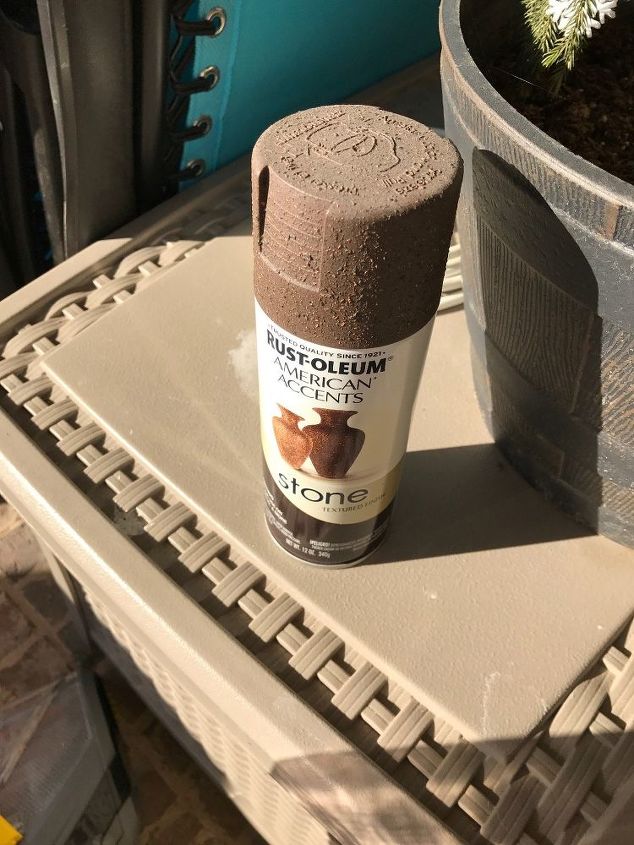
It's super easy to use since it's a spray paint. I opted to do 2 light coats since it does spray actual sand on your project. I didn't want any of the white base layer to show through and I wanted really good coverage.
Once I finished the outside I also painted the inside with a dark gray chalk paint. I had it on hand, so you could use any type of paint you want, or you could use a contact paper.
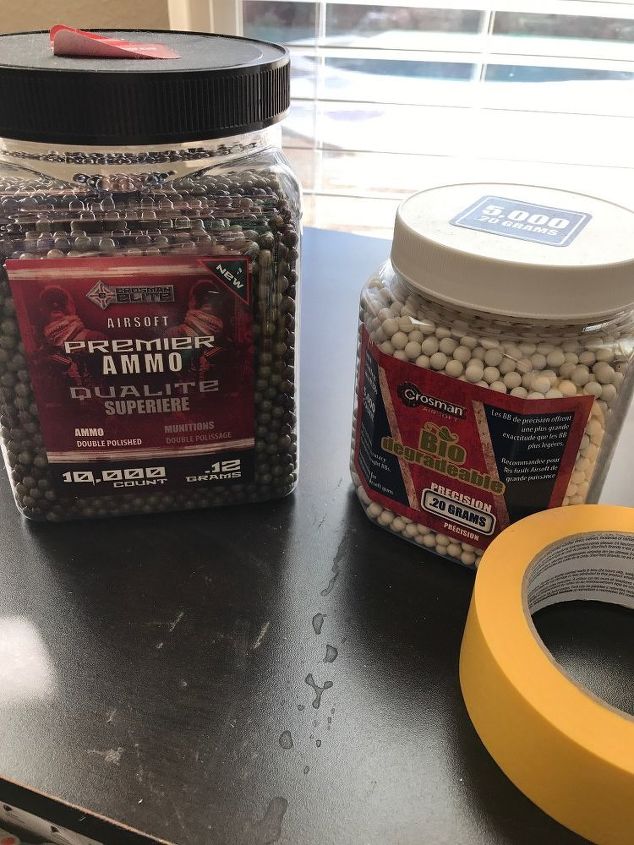
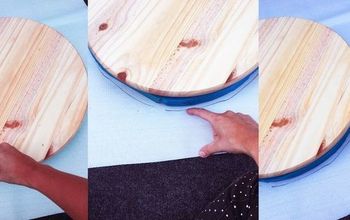
So, I said I didn't need to prep the top since I was going to cover it. Yes those are airlift pellets. My boys don't do a lot of airsoft gunning any more and I must have 5 large containers of these things around my house. I liked the color combination too. So I just had to decide on a masculine type design. After I finished this stool, the ideas went wild about what other type of designs I could do with these little things. I even have glow in the dark. So what seemed like it would be a piece of cake quickly turned into a very time consuming venture.

I masked off the design I had in my head. Use the white pellets for accent lines between the green and brown pellets. I used painters tape and Elmer's glue. Nothing fancy because I knew I was going to seal it when it was dry.
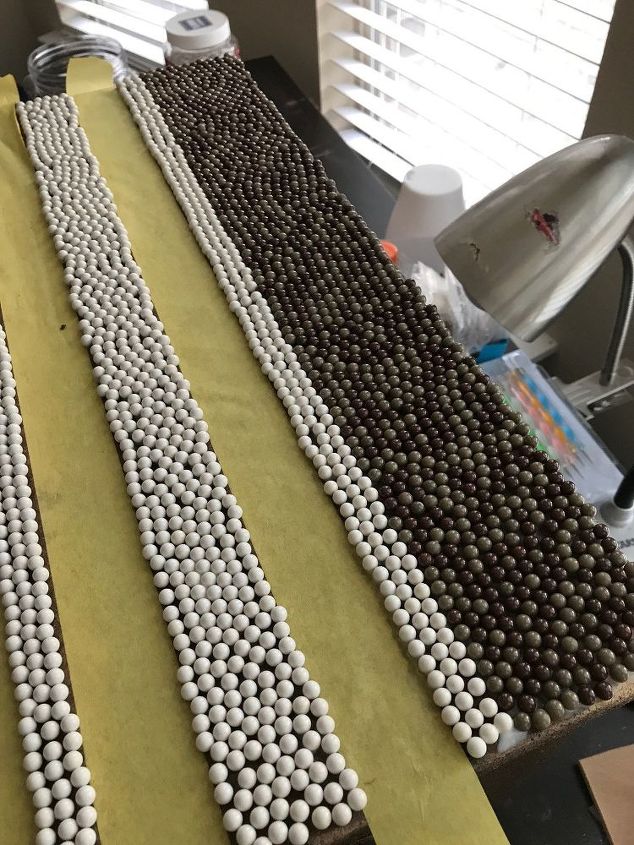
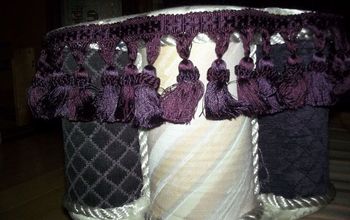
So here it is part way. This was taking forever. The two smaller rows I really tried to keep them in a straight line but the larger middle row....well you can see things got a little crazy. But once filled in with the darker pellets things really started to take shape. Once I let all of the pellets dry over night, I used a glue gun to put the metal trim back on.

On to my sealant choice. Because this is a foot stool, I wanted something very strong and impervious to any type of shoe, water, dirt, etc. So epoxy was my go to. Be sure you do this part outside. It did take longer for mine to set up since I'm doing this in the winter. Epoxy really likes warmer weather.
If you are not using your project for something like a foot stool, you can easily use Mod Podge to cover the top. That you can do in the house.
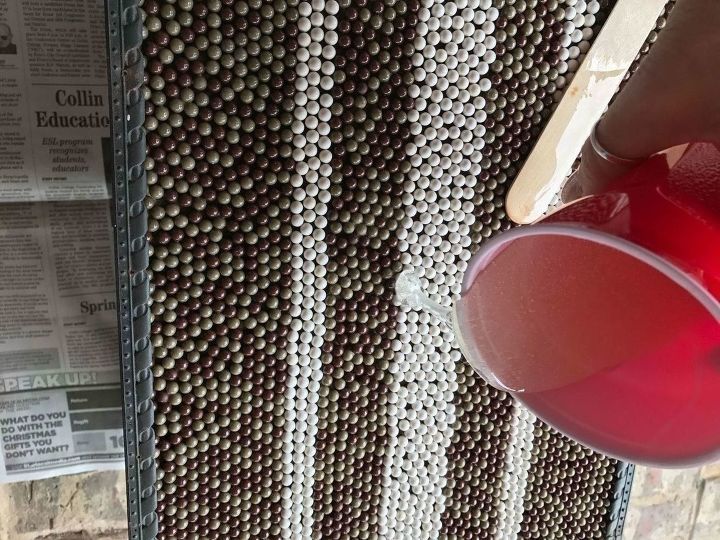
Since you are going to do a larger area, I highly suggest doing your expoxy in two sessions. The first one, is a sealant layer, You will want to do a rubber or sponge type brush to get a thin layer of the epoxy all over the top. Wait about 4 hours (I still waited just the 4 hours even though it was cold out). After that, you will make a new batch of epoxy and do what is called a flood layer. That is only if you want to do a complete cover of the top. If you would want your top to retain the look of the pellets you only need to do the sealant layer. Then comes the waiting. I had this outside for 24 hours but it dried. It really would have been happier where it was warmer and it would have dried faster.
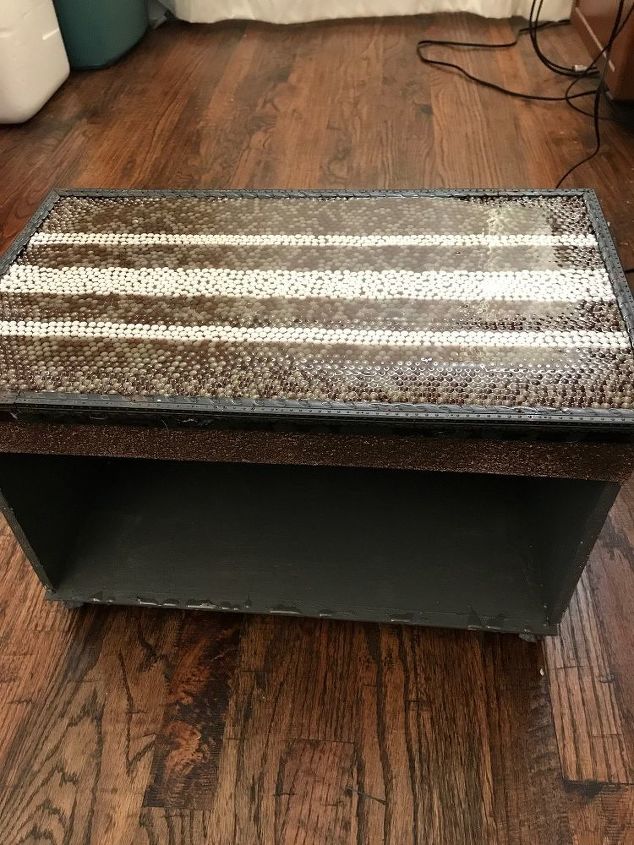
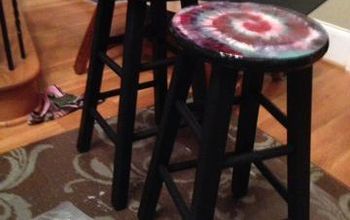
So here is the finished product.
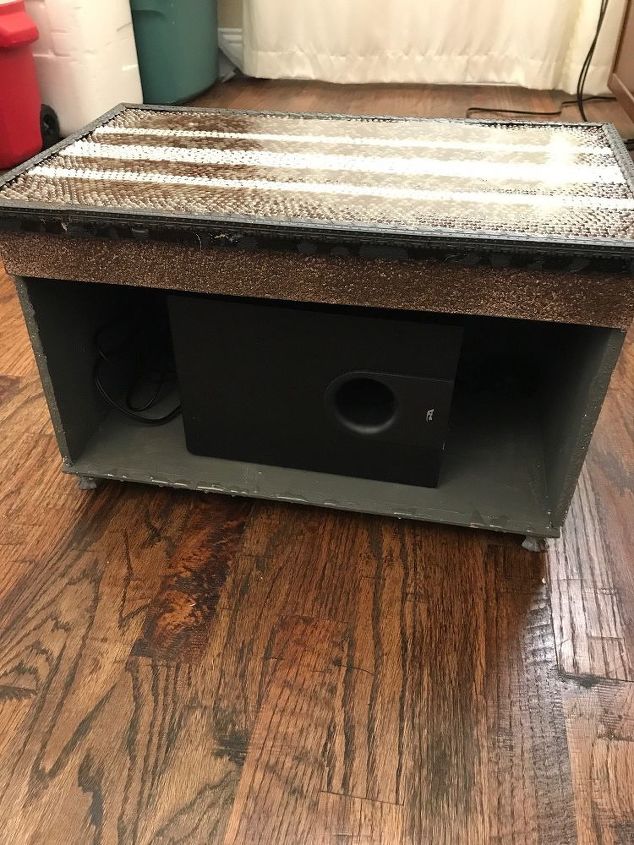
Here is the little sub woofer in it's new case.
Resources for this project:
See all materials


Any price and availability information displayed on [relevant Amazon Site(s), as applicable] at the time of purchase will apply to the purchase of this product.
Hometalk may collect a small share of sales from the links on this page.More info
Comments
Join the conversation
3 of 4 comments
-
Wowww so Nice 👍👍👍😉😃
-
No


Frequently asked questions
Have a question about this project?